Implement X++ scoping and access identifiers
Scope is the area where an item is located or can be accessed. X++ variables and methods are within a defined scope. The scope can be set by the placement of declaration and the use of access identifiers.
Access identifiers are [public], [protected], and [private].
- Public - Methods that are declared as public can be called from anywhere that the class is accessible. In addition, a public method can be overridden by a subclass unless the method is declared as final.
- Protected - Methods that are protected can be overridden in
subclasses. Methods that are declared as protected can be called
only from:
- Methods in the class.
- Methods in a subclass of the class that contains the protected method.
- Private - Methods that are declared as private can be called only from methods in the class where the private method is declared. No private method can be overridden in a subclass. When you create a new method, the default accessor keyword that appears in the code editor is private. Private is the most conservative default for maximum security.
Internal
Internal is a keyword in X++. It has the same semantics as in C# see internal (C# Reference).
When you select a class or method as internal, it can only be accessed from within the model where it's defined.
internal class MyInternalClass
{
   internal void myInternalMethod()
   {
   }
}
Notice that you can also define internal methods on public classes.
Instance variables
Instance variables have a large scope and are also referred to as class fields in X++. These variables are declared in the class declaration and can be accessed from any method in the class and subclasses that extend the class, if they're declared public or protected.
Local variables
Local variables have a small scope. These variables are defined in a method and can only be accessed in that method.
Parameters are a kind of local variable that is defined on a method.
To use a variable from one scope to another scope, the variable must be passed by using parameters. Methods can use multiple parameters. The parameters are treated like local variables and initialized with the value from the parameter in the method-call. In the following example, the class method has two parameters that give method1 access to four variables. The instance variables a and b can be accessed, and the parameters x and y act like local variables. Using parameters allows values to be assigned to those parameters when the method is called. If method1 is called by using the code Test.method1(a,b);, the x variable will be assigned the value Car, and the y variable will be assigned the value 20. You can then use the values of the parameter variables to assign values to the instance variables c and d.
class Test
{
   	 str a = "Car";
     int b = 20;
 	 str c;
 	 int d;

    void method1(str x, int y)
        {
          c = x;
          d = y;
        }
}
Keep in mind that when you pass a value through parameters, you don't by default change the value of the original variable. The term for this is "call by value" as opposed to "call by reference." Only the local variable is changed.
Example
In the following example, method2 has a local variable a with a value of 5. The first info() statement displays the value of a, which is 5. It calls method1 and passes the value of its local variable a. Method1 now has a different local variable a, with the value of 5. Method1 then increments the value by one, making a the value of 2. The info() statement then displays the value of 2. The code will go back to method2 and run the second info() statement and display a value of 5. This result is because even though the variable name is the same, and the scope is unique to their respective methods.
class infoValue
{
     void method1(int a)
     {
       a = 1;
       a = a ++;
       info(int2str(a));
     }

	  void method2()
      {
        int a = 5;
        info(int2str(a));
        this.method1(a);
        info(int2str(a));
      }
}
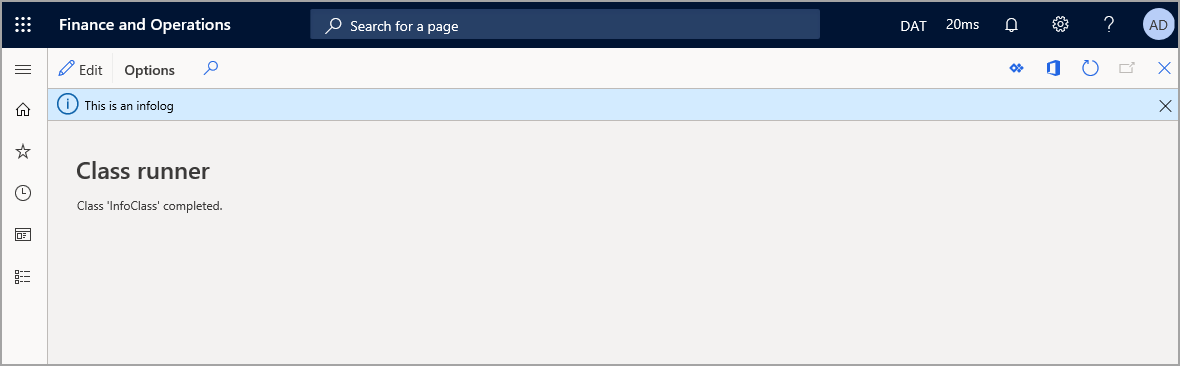
The following image shows how the info displays in the user interface.