Exercise - Install packages
The developers at Tailwind Traders realize that they're about to put extensive resources into developing apps for the .NET platform. These apps are going to display human-readable data to users, including dates, times, and numbers.
.NET has the capabilities to develop this app, but the developers are certain that someone already solved this problem. They need a framework. After some searching, they find Humanizer in the NuGet package registry. It seems to be widely used and it promises to meet all of their .NET needs. Specifically, manipulating and displaying strings, enumerations, dates, times, timespans, numbers, and quantities.
At this point, the developers want you to install Humanizer, write a couple of data manipulations, and run them to see if Humanizer delivers on its promise.
Note
This module uses the .NET CLI (Command Line Interface) and Visual Studio Code for local development. After completing this module, you can apply the concepts using Visual Studio (Windows) or continued development using Visual Studio Code (Windows, Linux, and macOS).
This module uses the .NET 8.0 SDK. Ensure that you have .NET 8.0 installed by running the following command in your preferred command terminal:
dotnet --list-sdks
Output similar to the following example appears:
6.0.317 [C:\Program Files\dotnet\sdk]
7.0.401 [C:\Program Files\dotnet\sdk]
8.0.100 [C:\Program Files\dotnet\sdk]
Ensure that a version that starts with 8 is listed. If none is listed or the command isn't found, install the most recent .NET 8.0 SDK.
Create a sample .NET project
To set up a .NET project to work with dependencies, we use Visual Studio Code. Visual Studio Code includes an integrated terminal, which makes creating a new project easy. If you don't want to use another code editor, you can run the commands in this module in a terminal.
In Visual Studio Code, select File > Open Folder.
Create a new folder named DotNetDependencies in the location of your choice, and then select Select Folder.
Open the integrated terminal from Visual Studio Code by selecting View > Terminal from the main menu.
In the terminal window, copy and paste the following command:
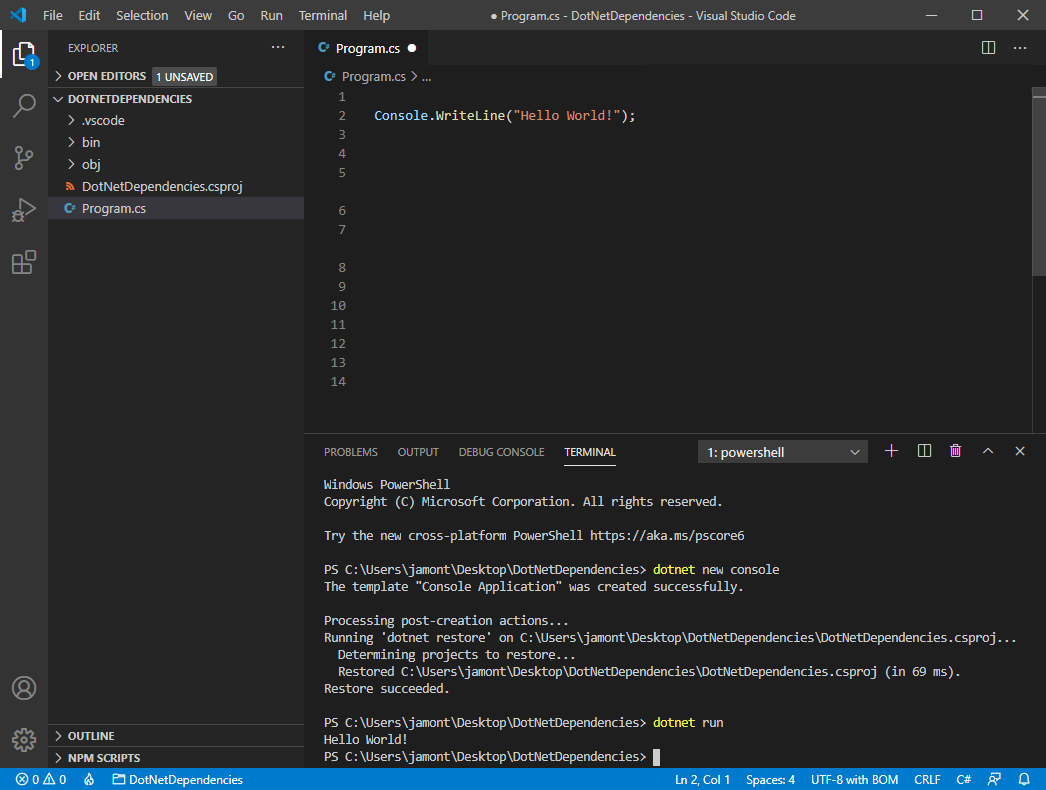
dotnet new console -f net8.0This command creates a Program.cs file in your folder with a basic "Hello World" program already written, along with a C# project file named DotNetDependencies.csproj.
You should now have access to these files.
-| obj
-| DotNetDependencies.csproj
-| Program.cs
In the terminal window, copy and paste the following command to run the "Hello World" program.
dotnet run
The terminal window displays "Hello World!" as output.
Set up Visual Studio Code for .NET debugging
Open Program.cs. The first time you open a C# file in Visual Studio Code, you get a prompt to install recommended extensions for C#. Select the Install button in the prompt.
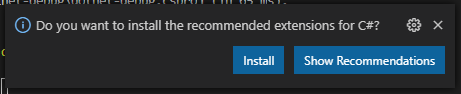
Visual Studio Code installs the C# extension. It shows another prompt to add required assets to build and debug your project. Select Yes.
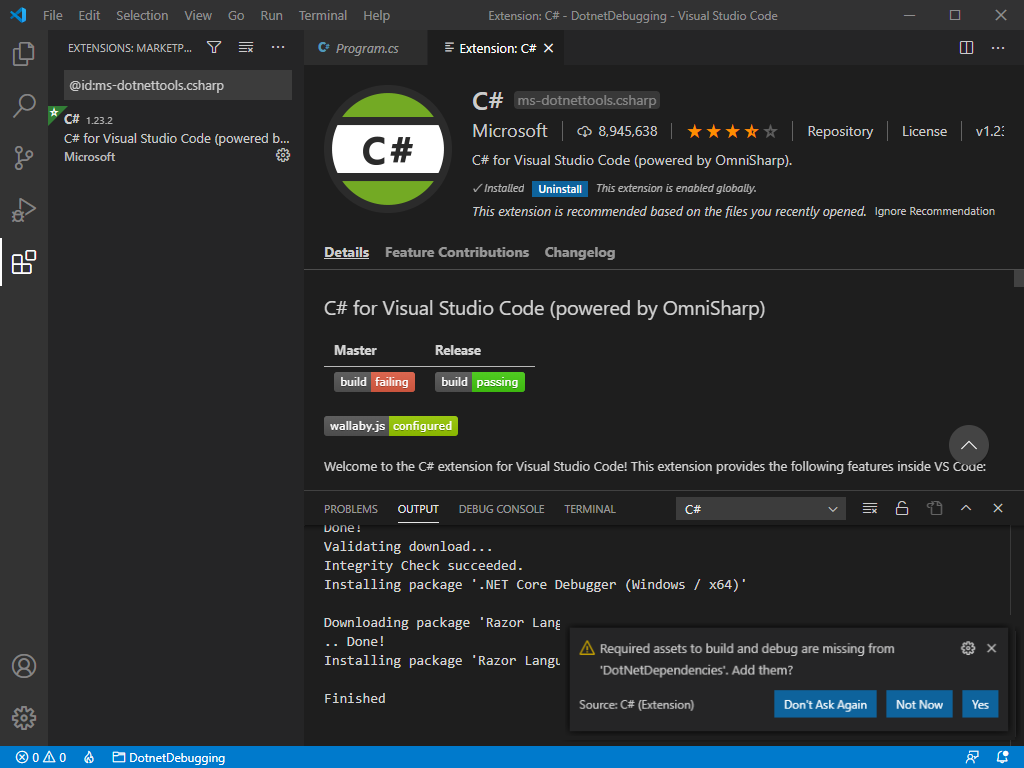
You can close the Extension: C# tab to focus on the code you're writing.
Add a NuGet package by using the .NET Core tool
Open Program.cs. It should look like this:
Console.WriteLine("Hello, World!");The preceding function runs at the start of the application and outputs a string to the console. Let's add Humanizer and manipulate data and write it to the console.
Install the Humanizer library by running the following command:
dotnet add package Humanizer --version 2.7.9Open the DotNetDependencies.csproj file and find the
ItemGroupsection. You should now have an entry that looks like this one:<ItemGroup> <PackageReference Include="Humanizer" Version="2.7.9" /> </ItemGroup>Add the following content at the top of the Program.cs file that initializes Humanizer:
using Humanizer;Your Program.cs should now look like this:
using Humanizer;

Console.WriteLine("Hello, World!");
Add the following content to the Program.cs file to the bottom of file under the
Console.WriteLine("Hello, World!");:static void HumanizeQuantities() { Console.WriteLine("case".ToQuantity(0)); Console.WriteLine("case".ToQuantity(1)); Console.WriteLine("case".ToQuantity(5)); } static void HumanizeDates() { Console.WriteLine(DateTime.UtcNow.AddHours(-24).Humanize()); Console.WriteLine(DateTime.UtcNow.AddHours(-2).Humanize()); Console.WriteLine(TimeSpan.FromDays(1).Humanize()); Console.WriteLine(TimeSpan.FromDays(16).Humanize()); }Replace the
Console.WriteLine("Hello, World!");with the following code:Console.WriteLine("Quantities:"); HumanizeQuantities(); Console.WriteLine("\nDate/Time Manipulation:"); HumanizeDates();Save the file (File > Save or CTRL + S). Run the application by running the following command in the terminal:
dotnet runYou should get the following output:
Quantities:
0 cases
1 case
5 cases

Date/Time Manipulation:
yesterday
2 hours ago
1 day
2 weeks
Congratulations. You successfully installed Humanizer as a dependency and written logic for application code to make data more human-readable. Humanizer seems to deliver on its promise, and Tailwind Traders is likely to be happy with this evaluation.