Edit and update data in Excel
Based on the selected option for the file under Export to Excel, you can import the updated records back into Dataverse.
Keep the following considerations in mind when you're importing updated records into Dataverse:
Open in Excel Online - You can manage the process to update the records back to Excel by using the Save option in that file.

Dynamic PivotTable - Because this type of file export doesn't include the required hidden columns, you can't import by using the Import from Excel option.

For all other Export to Excel options:
Hidden column values can't be modified. If you modify the hidden fields after Export to Excel, the files won't Import back in to Dataverse.
Avoid new columns that have been added in the spreadsheet.
In general, you can use automatic mapping if column headers weren't modified.
If the original record has been modified between the last time when the Excel spreadsheet was exported (for static worksheets) or refreshed (for dynamic worksheets) and the time when the file is imported, an error is generated and the record will be identified as such in the import log.


Update records in Dataverse with data edited in Excel
When you're done editing the records in Excel, be sure to save the file as a .csv. Follow these steps to update the related Dataverse table:
In a model-driven app, from any view for the table to update, select Import from Excel. Then choose Import from CSV.

In the displayed form, select Choose File to find the Excel spreadsheet that you want to import. If necessary, modify the default Owner For Imported Records with the appropriate user. Select Next to proceed to the next steps.

If rows were added in the Excel file, and if potential duplicates might be detected, select the Duplicate Data Settings option that's appropriate for your business scenario. Then select Review Mapping. To proceed with importing the file, confirm your mappings and correct and select Finish Import.

In the last form for the Import from Excel process, select Track Progress to know when the records have been imported in Dataverse.

Select OK to confirm that you accept leaving the page to open the import log page.

Select Refresh a few times until the Status Reason for the imported file has changed to Completed.


Use the Office Add-ins option
In some scenarios, a user might be expected to edit Dataverse records in Excel (desktop version) and to publish changes back to Dataverse directly.
This option is available when you use the Microsoft PowerApps Office Add-in.
Keep the following considerations in mind when using the add-in:
Make sure that you install the add-in individually for each user.
Validations and full lookup options are available to help ensure quality of data.
Security permissions are applied based on the user who's connected.
You can publish modifications, including adding new rows and deleting existing rows, to Dataverse.
All rows and columns are visible in Excel. This option isn't available from a view in a model-driven app.
To install the add-in option in Excel, follow these steps:
In Microsoft Excel, under the Insert menu, select the Get Add-ins option. In the CRM category, select Add next to Microsoft PowerApps Office Add-in. Make sure that you are logged in to Excel with your Developer account, if different than your 365 account.

Review the license terms and privacy policy. Select Continue if you agree to proceed.

Close Excel and return to the Power Apps portal. Navigate to the Tables. Select the ellipsis next to the appropriate table, and then select Edit > Edit data in Excel.

Open the generated Excel spreadsheet. If a notification message displays, select Enable Editing.

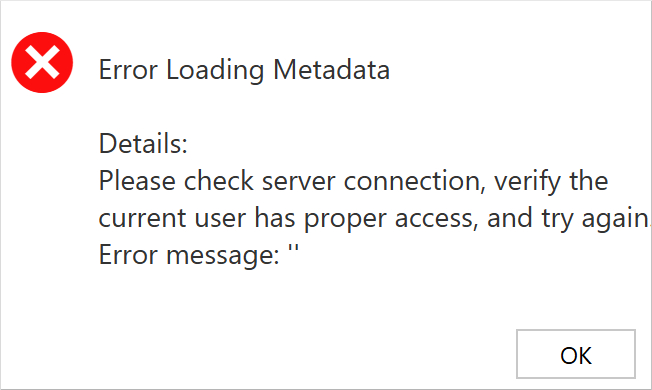
If you receive an error message like the one below, it's likely because you're signed into a Developer account that doesn't match your Microsoft 365 Account. (Your Microsoft 365 account is likely the one logged in to Excel.) To fix this, sign in to your Excel account using the same credentials as your Developer account. In Excel, select File, More, Account, Switch Account, and enter your credentials from your Developer environment. You'll need to uninstall and reinstall the add-in with the correct account, or the connector will continue to use the wrong account.
If you're not connected, select Sign in from the Add-In pane and then provide the credentials that you use to connect to Dataverse.

After modifications have completed in Excel, select Publish in the Add-in pane to update Dataverse.


Next steps
You've now learned how to edit data in Excel and update the related Dataverse table. Next, you'll edit account information in Excel and visualize the modifications in Dataverse.