Configure the document automation base kit
In this unit, you'll
Learn which are the predefined personas supported and which features are available.
Discover how to configure the roles.
Understand how to create a forms processing model to extract data from your documents.
Assess how to prepare the pipeline to process your documents.
The targeted person for configuring roles and permissions should:
Understand which users must have access to which features.
Have good knowledge of Microsoft Power Platform's role-based access control.
Makers are usually a good fit for this task.
The Document automation base kit provides a basic implementation of role-based access control allowing you to control features available to each persona described in the previous unit, the manual reviewer, and the process owner.
The features available in the validation application by each persona are summarized in the table.
| Feature | Manual Reviewer | Process Owner |
|---|---|---|
| Controlling Dataverse role | Document Automation Reviewer | System Customizer |
| Access the Configuration tab | X | |
| Configure the model to use | X | |
| Access the Documents tab | X | X |
| View documents | Only in Manual Review state if not yet opened by another reviewer* | X |
| Filter documents list by state | X | |
| Open the side-by-side viewer (file/extracted data) | X | X |
| Edit fields | X | X |
| Validate a document | X | X |
| Delete a document | X |
When someone opens a processed document, they automatically assign it to themself. Other validators no longer see this document in the list and get an error if they try to update it.
Note
If your company does not need to have role-based access control, you can just assign the System customizer role to everybody.
Configuring roles
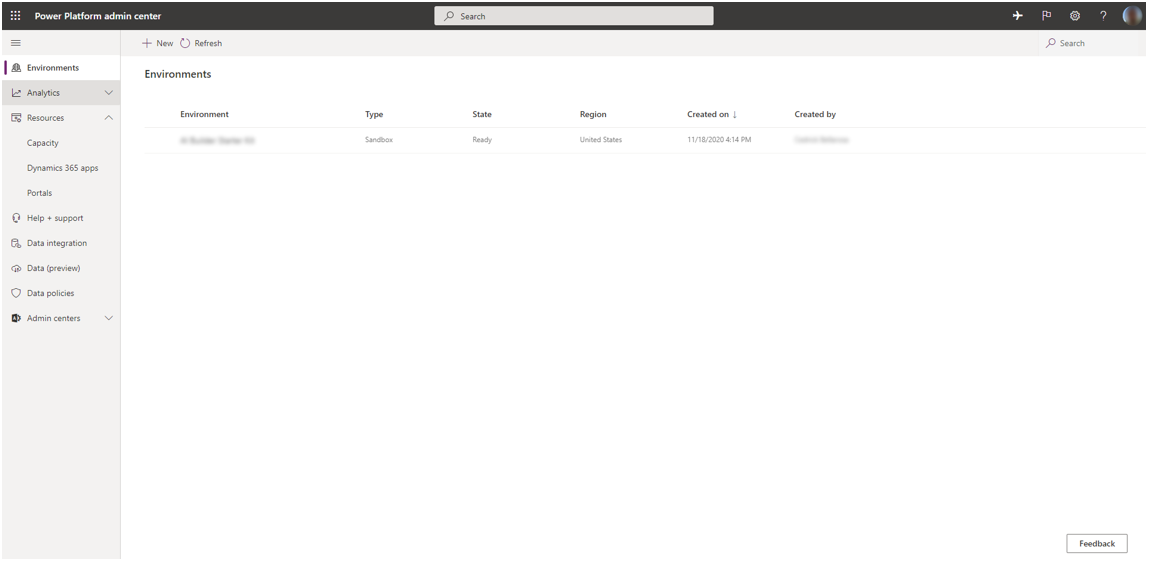
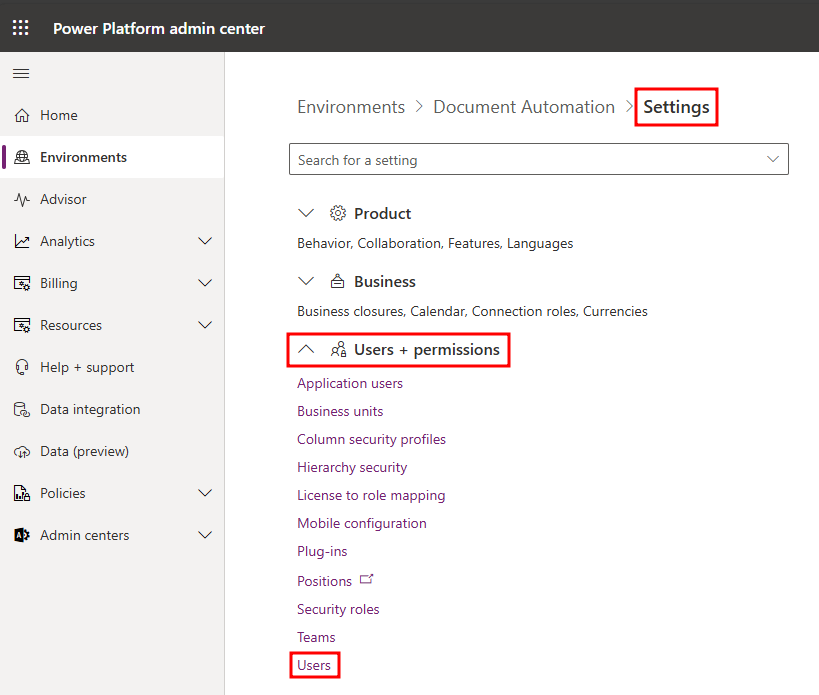
Open the Microsoft Power Platform Admin center and select your environment, then select Settings on the top.
Expand Users + permissions and select Users.
Select Manage users in Dynamics 365 from the top ribbon.

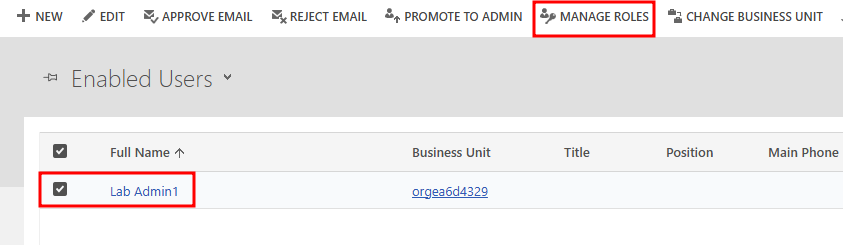
Choose your user and then select Manage Roles at the top of the page.
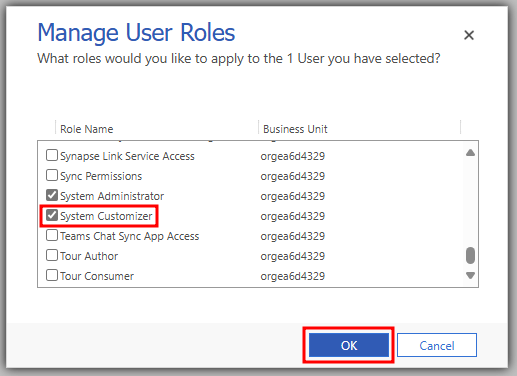
Add the System Customizer role to Process Owners or the Document Automation Reviewer role to Manual Reviewers.
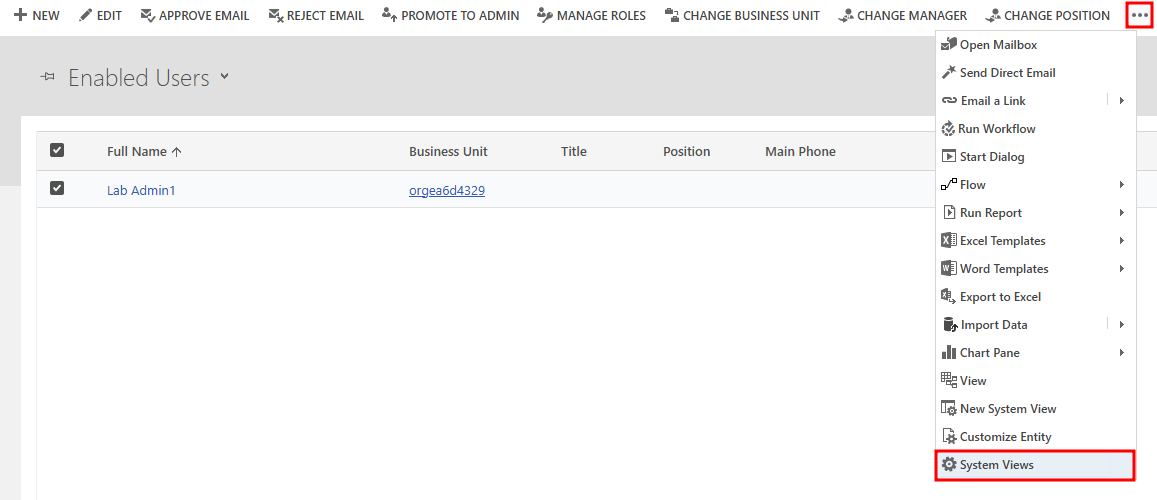
Select the ellipses ... at the top of the page, and choose System Views.
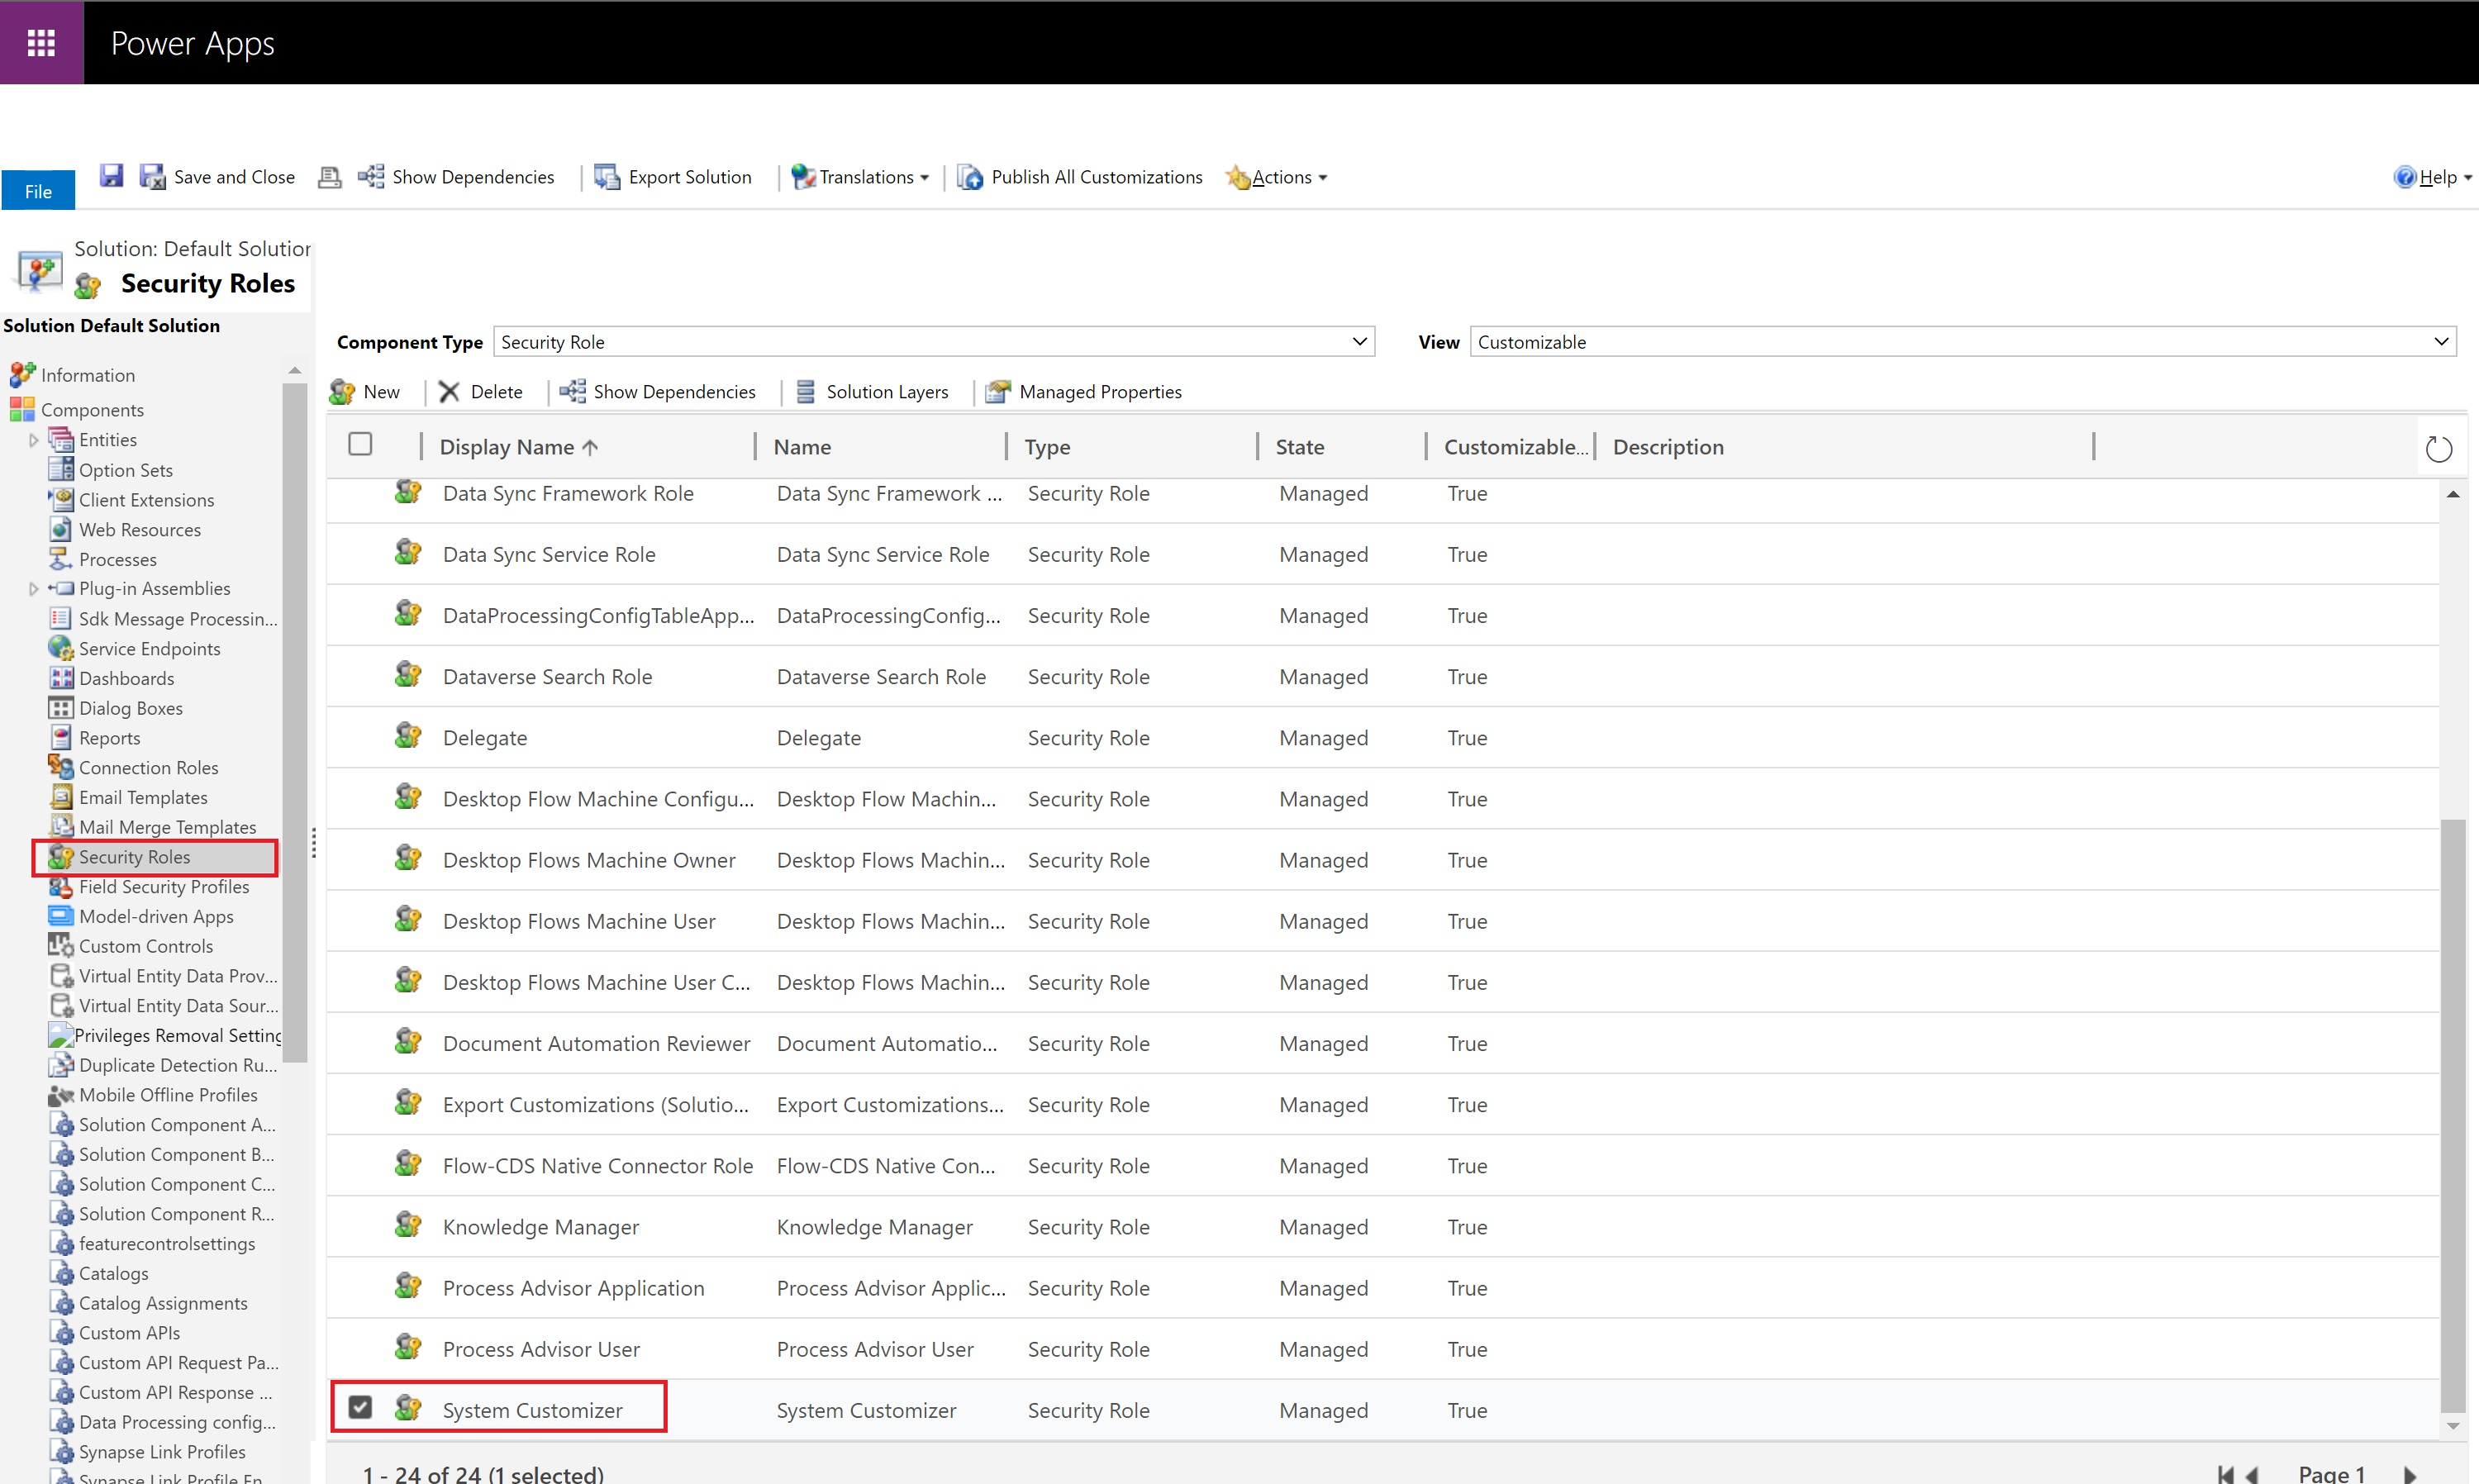
On the left pane, select Security Roles, then double-click System Customizer from the list.
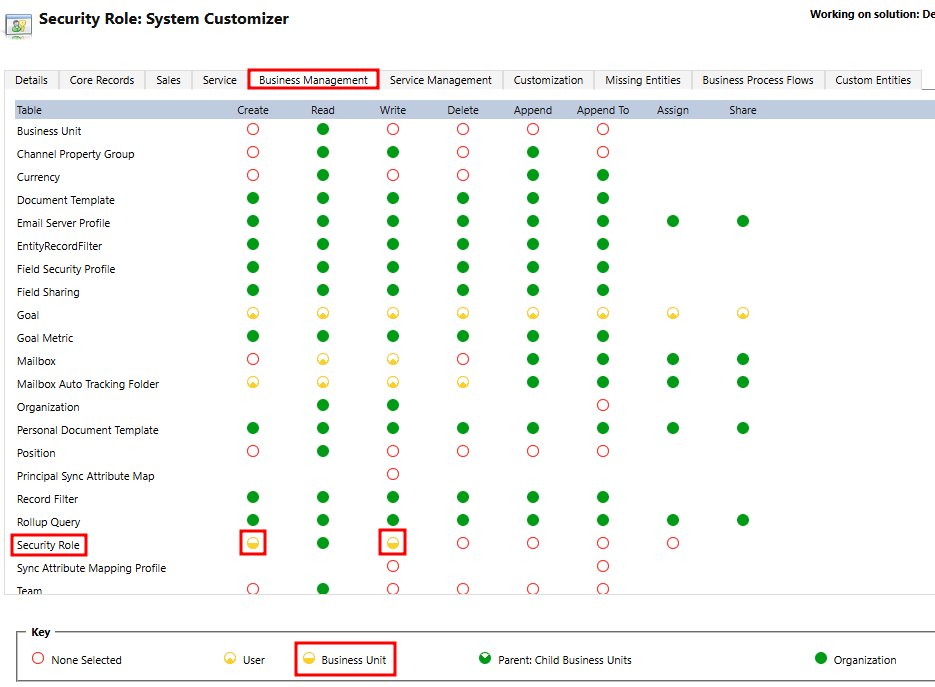
Select the Business Management Tab, and under Security Role, enable the privilege Business Unit for Create and Write then select Save and Close.


Create a form processing model
The next step is to create a Form Processing model that will extract the data from your document with AI Builder.
Follow the module Get started with Form processing in AI Builder to learn how to make it.
Tip
To create an AI Builder model, you need at least 5 samples of documents. If your suppliers send documents with various layouts, you should consider creating one collection per document type in the model.
Optionally configure rules on received emails
You can customize the way emails are processed by selecting View Solution under Custom documents and invoices in the Document processing tab of AI hub.

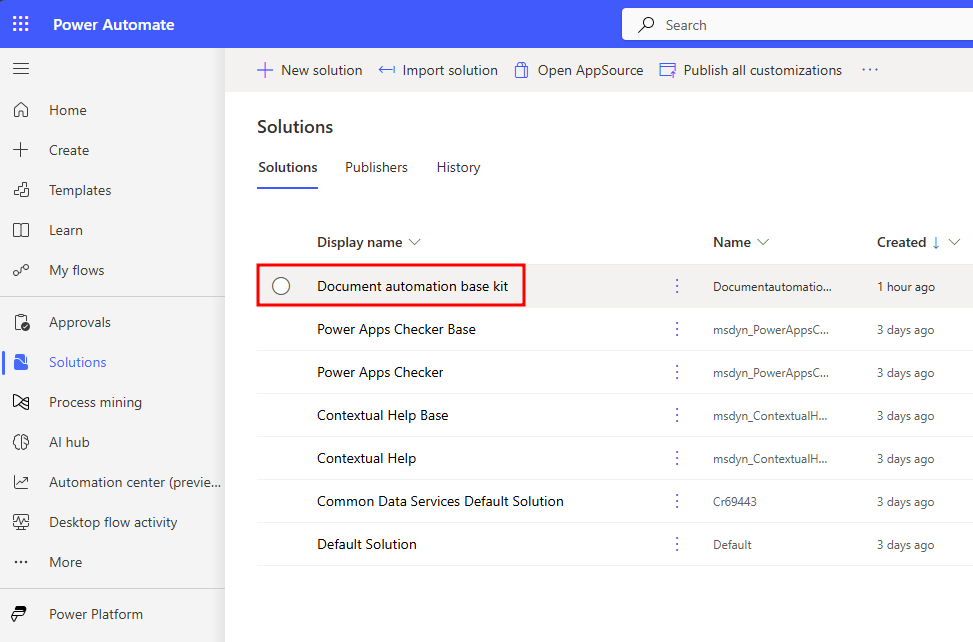
Select Document automation base kit.
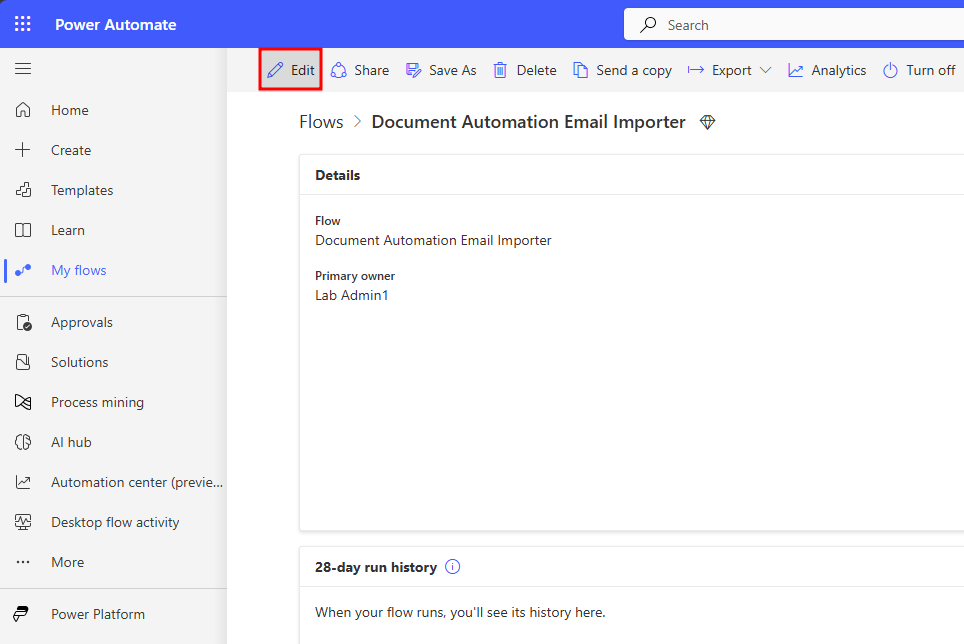
Then select Document Automation Email Importer, and in the flow details page, select Edit in the top banner.
You are in the authoring experience of the email importer flow. Here you can configure the email rules to filter on the specific emails that you want to process. You must keep the Include Attachments property set to Yes as this flow takes the document on attachment as the document to be processed. But you can configure filters on the topic, senders, and so on, based on your needs.


Configuring the model to use
Role
The targeted person for configuring providers should:
Have an overview of the suppliers of the company and get samples of these documents.
Have good knowledge of AI Builder including building a Form Processing model.
Makers are usually a good fit for this task.
Once the model is created, you can use it in the pipeline.
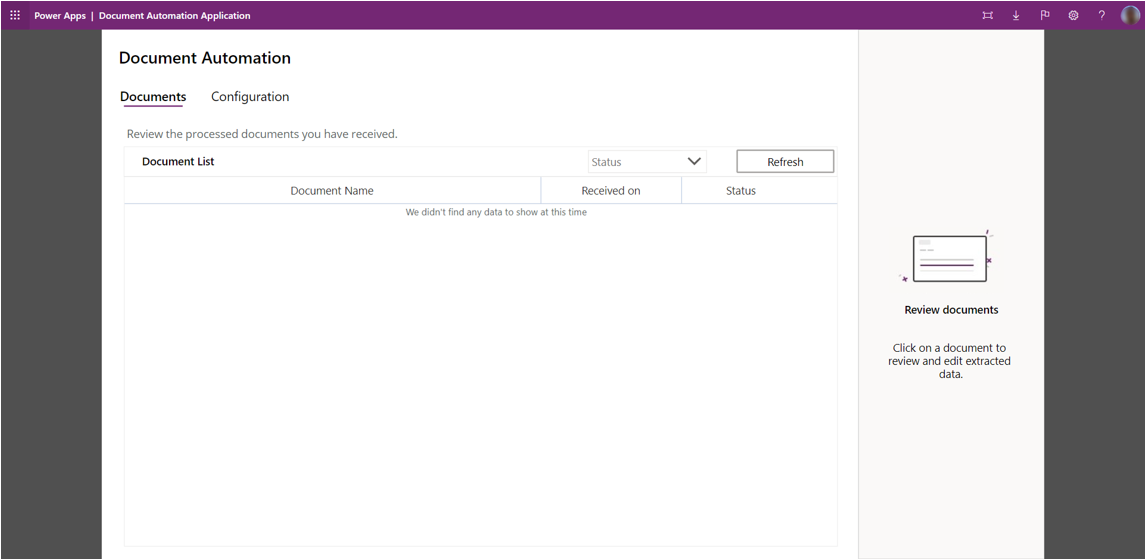
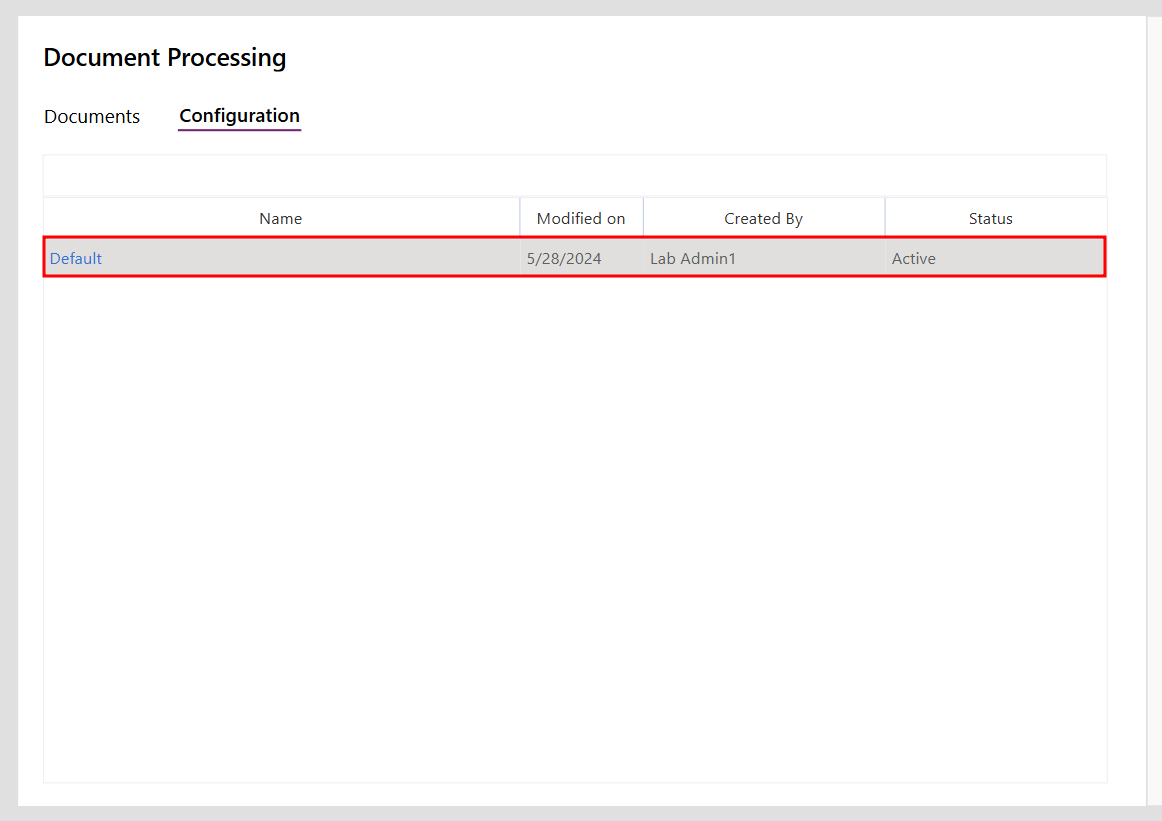
Launch the Document Automation Application from Power Automate Document Automation by selecting Open application. You land on the documents list page where you see all processed documents.
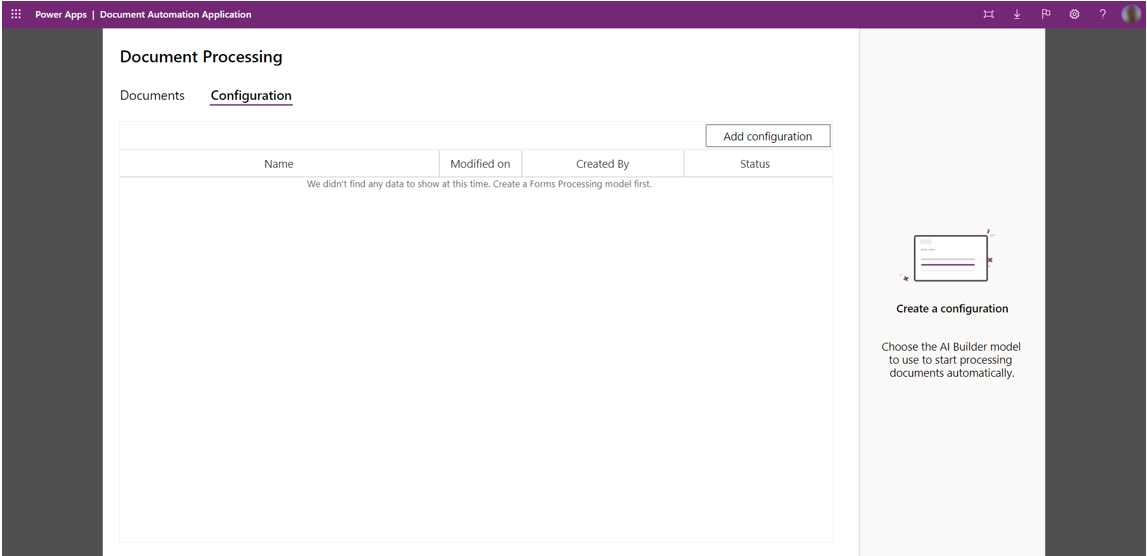
Select the Configuration tab, then Add configuration to configure the AI model to be used.
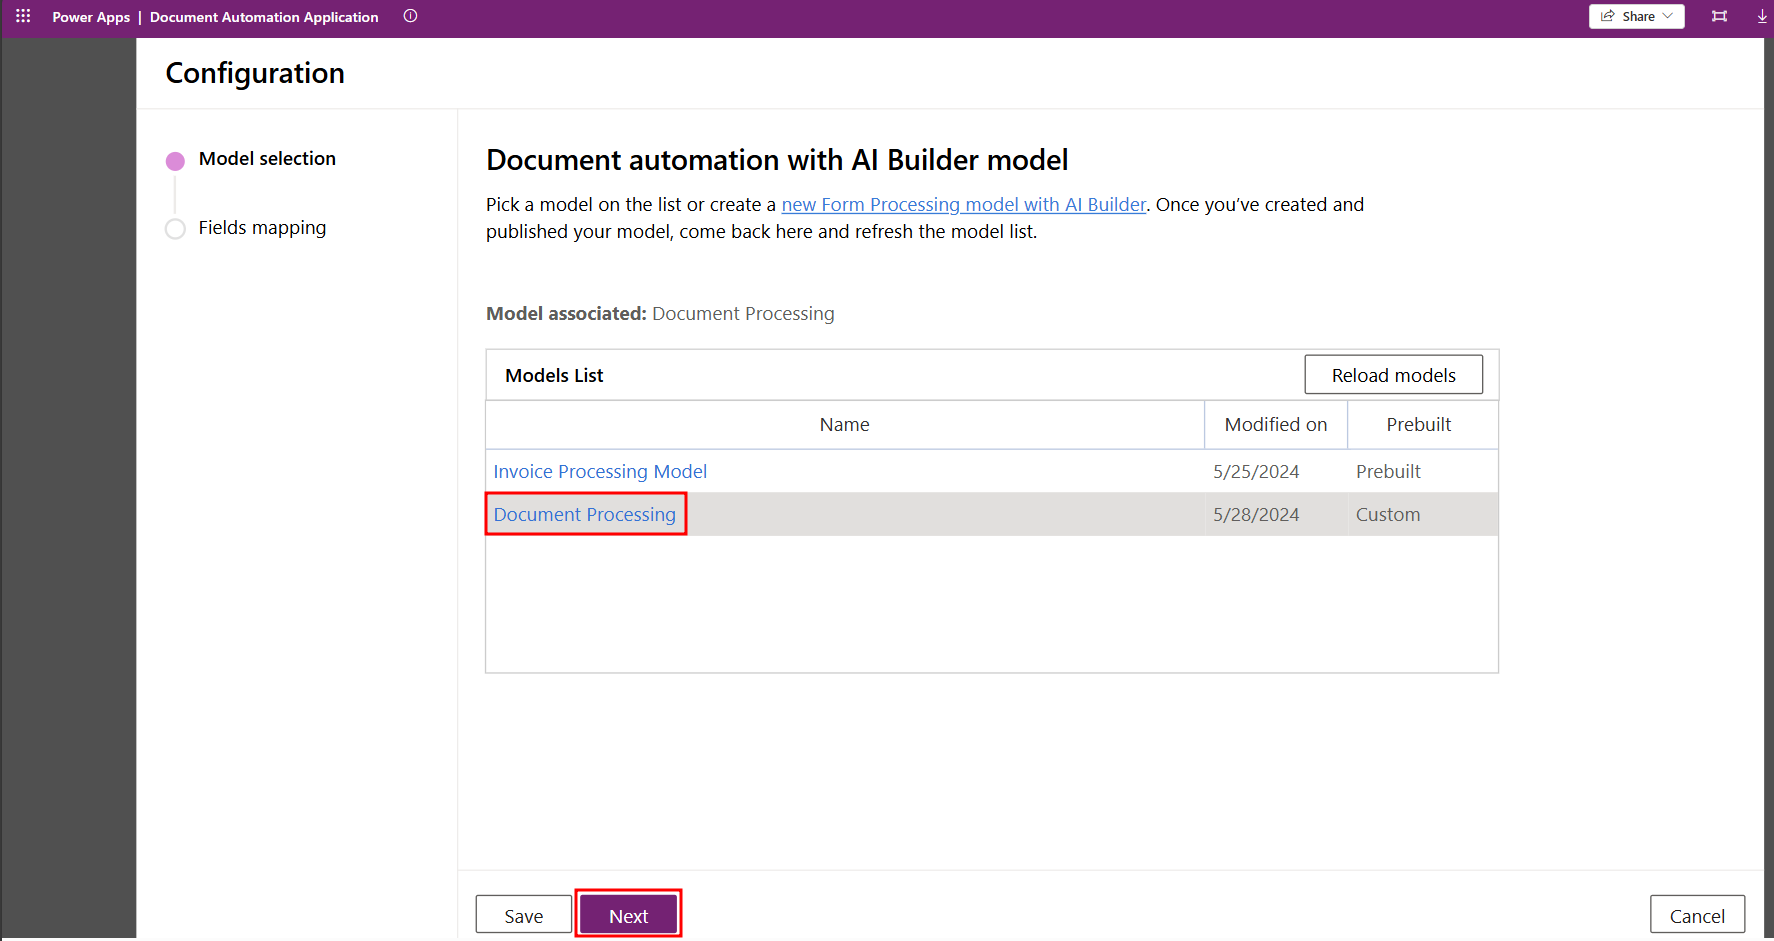
You now need to select an AI Builder model to extract labels from documents.
See Get started with form processing to learn how to create an AI Builder form processing model.
Once your model is created and published, you can refresh this page with Reload models, select the appropriate model, and select Next.
The next screen will show how the labels of the model will be stored in the Document Automation Data table of Dataverse. Select Save.

Note
If you update your model changing the label of model, you must get back to this page and use the Refresh button to have changes applied to the starter kit and select Save again.
The kit is ready to perform the document extraction and to automate the processing of your documents.
Note
If you get the following error: The specified record was not found. Server Response: Document Automation Configurations failed: Entity 'aib_documentautomationconfiguration' Does Not Exist. You will need to create an unmanaged solution in the same environment, then add the existing Document Automation Application, and run the app from the unmanaged solution.


You successfully understood how the Document automation base kit allows you to define different security roles and how it must be configured to process your documents.