Approve time and expenses
Time and expense submissions move through an approval workflow. After the entries are approved, transactions are recorded in actuals or time is booked in the schedule.
Approvals workflow
When you create and submit a time or expense entry, an approval entry is created. The project approver or your manager reviews and approves your entry. If the entry is related to a project, when it's approved, the actuals will be created. This approach allows the cost and billing to be tracked.
Approve an entry
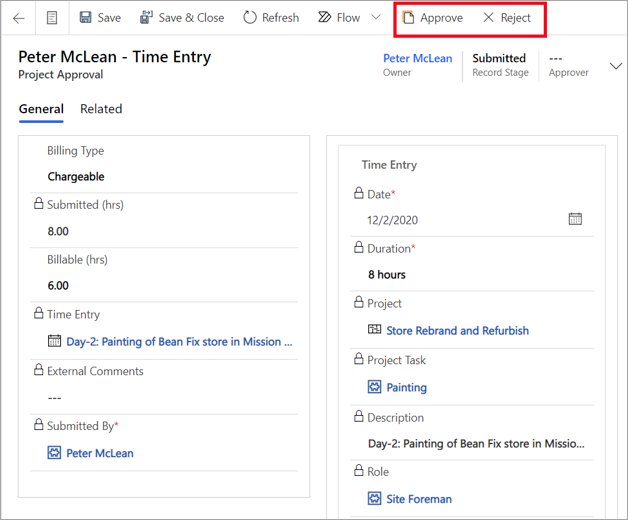
The Approvals page allows you to switch between different views so that you can view the different types of approvals.
- Go to the Approvals form and select Expenses, Time, or Recalls.
- Review each approval and select the ones that you want to approve.
- Select Approve to approve the selected entries. The system will process these entries and create actuals or a booking.
Reject an entry
As the project approver, you might have to send an entry back to a user for correction.
- Go to the Approvals page and select the entry to reject.
- Select Reject.
- Optional: Add a comment in the Rejection Comments dialog box to inform the user why the entry is being rejected.
- Select OK. The entry will be returned to the user.
For more information, see Work with Expense management in Dynamics 365 Project Operations.