Hierarchy security
In addition to business units, you can help secure Dataverse by using one of the out-of-the-box hierarchical security models.
Important
To make changes in Hierarchy security, you must have the System Administrator security role or the Change Hierarchy Security Settings privilege.
Types of hierarchical security models
The hierarchy security model extends Dataverse security. Two security models that you can use for hierarchies are:
Manager hierarchy - To access data the subordinate's data, a user must be in the same business unit as the subordinate or in the parent business unit of the subordinate’s business unit.
Position hierarchy - Allows data access across business units.
Manager hierarchy
The manager hierarchy security model is based on the management chain or direct reporting structure.
You can establish the manager and subordinate relationship by using the Manager field on the User table.
With this security model, managers can access the data that their subordinates have access to, and they can perform work on behalf of their subordinate. The manager can have full access to the subordinate’s data for their direct reports. For non direct reports, a manager only has read-only access to their data.
Position hierarchy
With position hierarchy security, you can define various job positions in the organization and arrange them in a hierarchy by using the Position table.
Then, you can add users to any given position by using the Position lookup column on the User record.
Users with higher positions in the hierarchy have access to the data of users at lower positions. Similar to manager hierarchy, parent positions have full access to the child positions’ data but positions higher than a direct parent have read-only access.
Note
In both hierarchy models, a user who's higher in the hierarchy must have at least the User level Read privilege on a table to view the subordinates’ data. For example, if a manager doesn’t have Read access to the Case table, the manager can't view the cases that their subordinates have access to.
Configure manager hierarchy security example
The following procedure shows how to configure manager hierarchy security.
Prerequisites
To complete the steps in this exercise, you need to meet the following prerequisites:
A Microsoft Dataverse instance
System Administrator security role
Configure hierarchy security system settings
By default, hierarchy security is turned off. To make hierarchy security available, follow these steps:
Sign in to Power Apps.
In the upper right, select the settings gear icon and then select Admin center.
Select Environments from the left panel and then select the environment that you want to configure.
From the ribbon, select Settings.
Select the Users + permissions dropdown menu and then select Hierarchy security.
A new browser tab titled Hierarchy Security opens. Select Enable Manager hierarchy Model. The Depth field no longer appears dimmed and displays 3. The hierarchy depth is how many levels deep a manager has Read-only access to the data of their reports.
In the Hierarchy Table Management section, all system tables are available for hierarchy security by default. You can select (or clear) the tables that you want turned on for the hierarchy model.
Select Save on the ribbon.

Important
Turning on hierarchy security in the new, modern UI is in preview. For Legacy UI, the instructions are similar. For more information, see Legacy UI interface.

Set up a manager hierarchy
You can create a manager hierarchy by using the manager relationship on the user record. Use the Manager (ParentsystemuserID) lookup field to specify the manager of the user.
Important
An environment can only have one hierarchy security model available at a given time.
Go to the Hierarchy security settings page from the Power Platform admin center.

Next to Enable Manager hierarchy Model, select Configure.
Assign each user a manager and position (optional). You can search for a user by using the filter field in the upper right. Select a user from under Enabled Users to bring up the User pop-up window.


The following example shows user Adele Vance selected. Adele Vance reports to Nestor Wilke in the Manager hierarchy and also has the Sales Person position in the Position hierarchy.

To add a user to a particular position in the Position hierarchy, select the Position lookup field on the user record’s form. Existing positions in your organizational hierarchy show, and you can search for positions by using the search field.

You can add positions as required. To do so, select + New Position to display the New Position pop-up window. Then, enter the Name and (optionally) the Parent Position. If you save this position, it shows as available in your position hierarchy.

Create a position hierarchy
To create a position hierarchy, follow these steps:
Sign in to the Power Platform admin center.
Select Environments and then choose your environment to modify.
Select Settings from the ribbon.

Expand Users + permissions and then select Hierarchy security. Alternatively, you can enter hierarchy in the Search for a setting field under the header.

Select the button next to Enable Position hierarchy Model and then ensure that Depth is set to 3 (default).
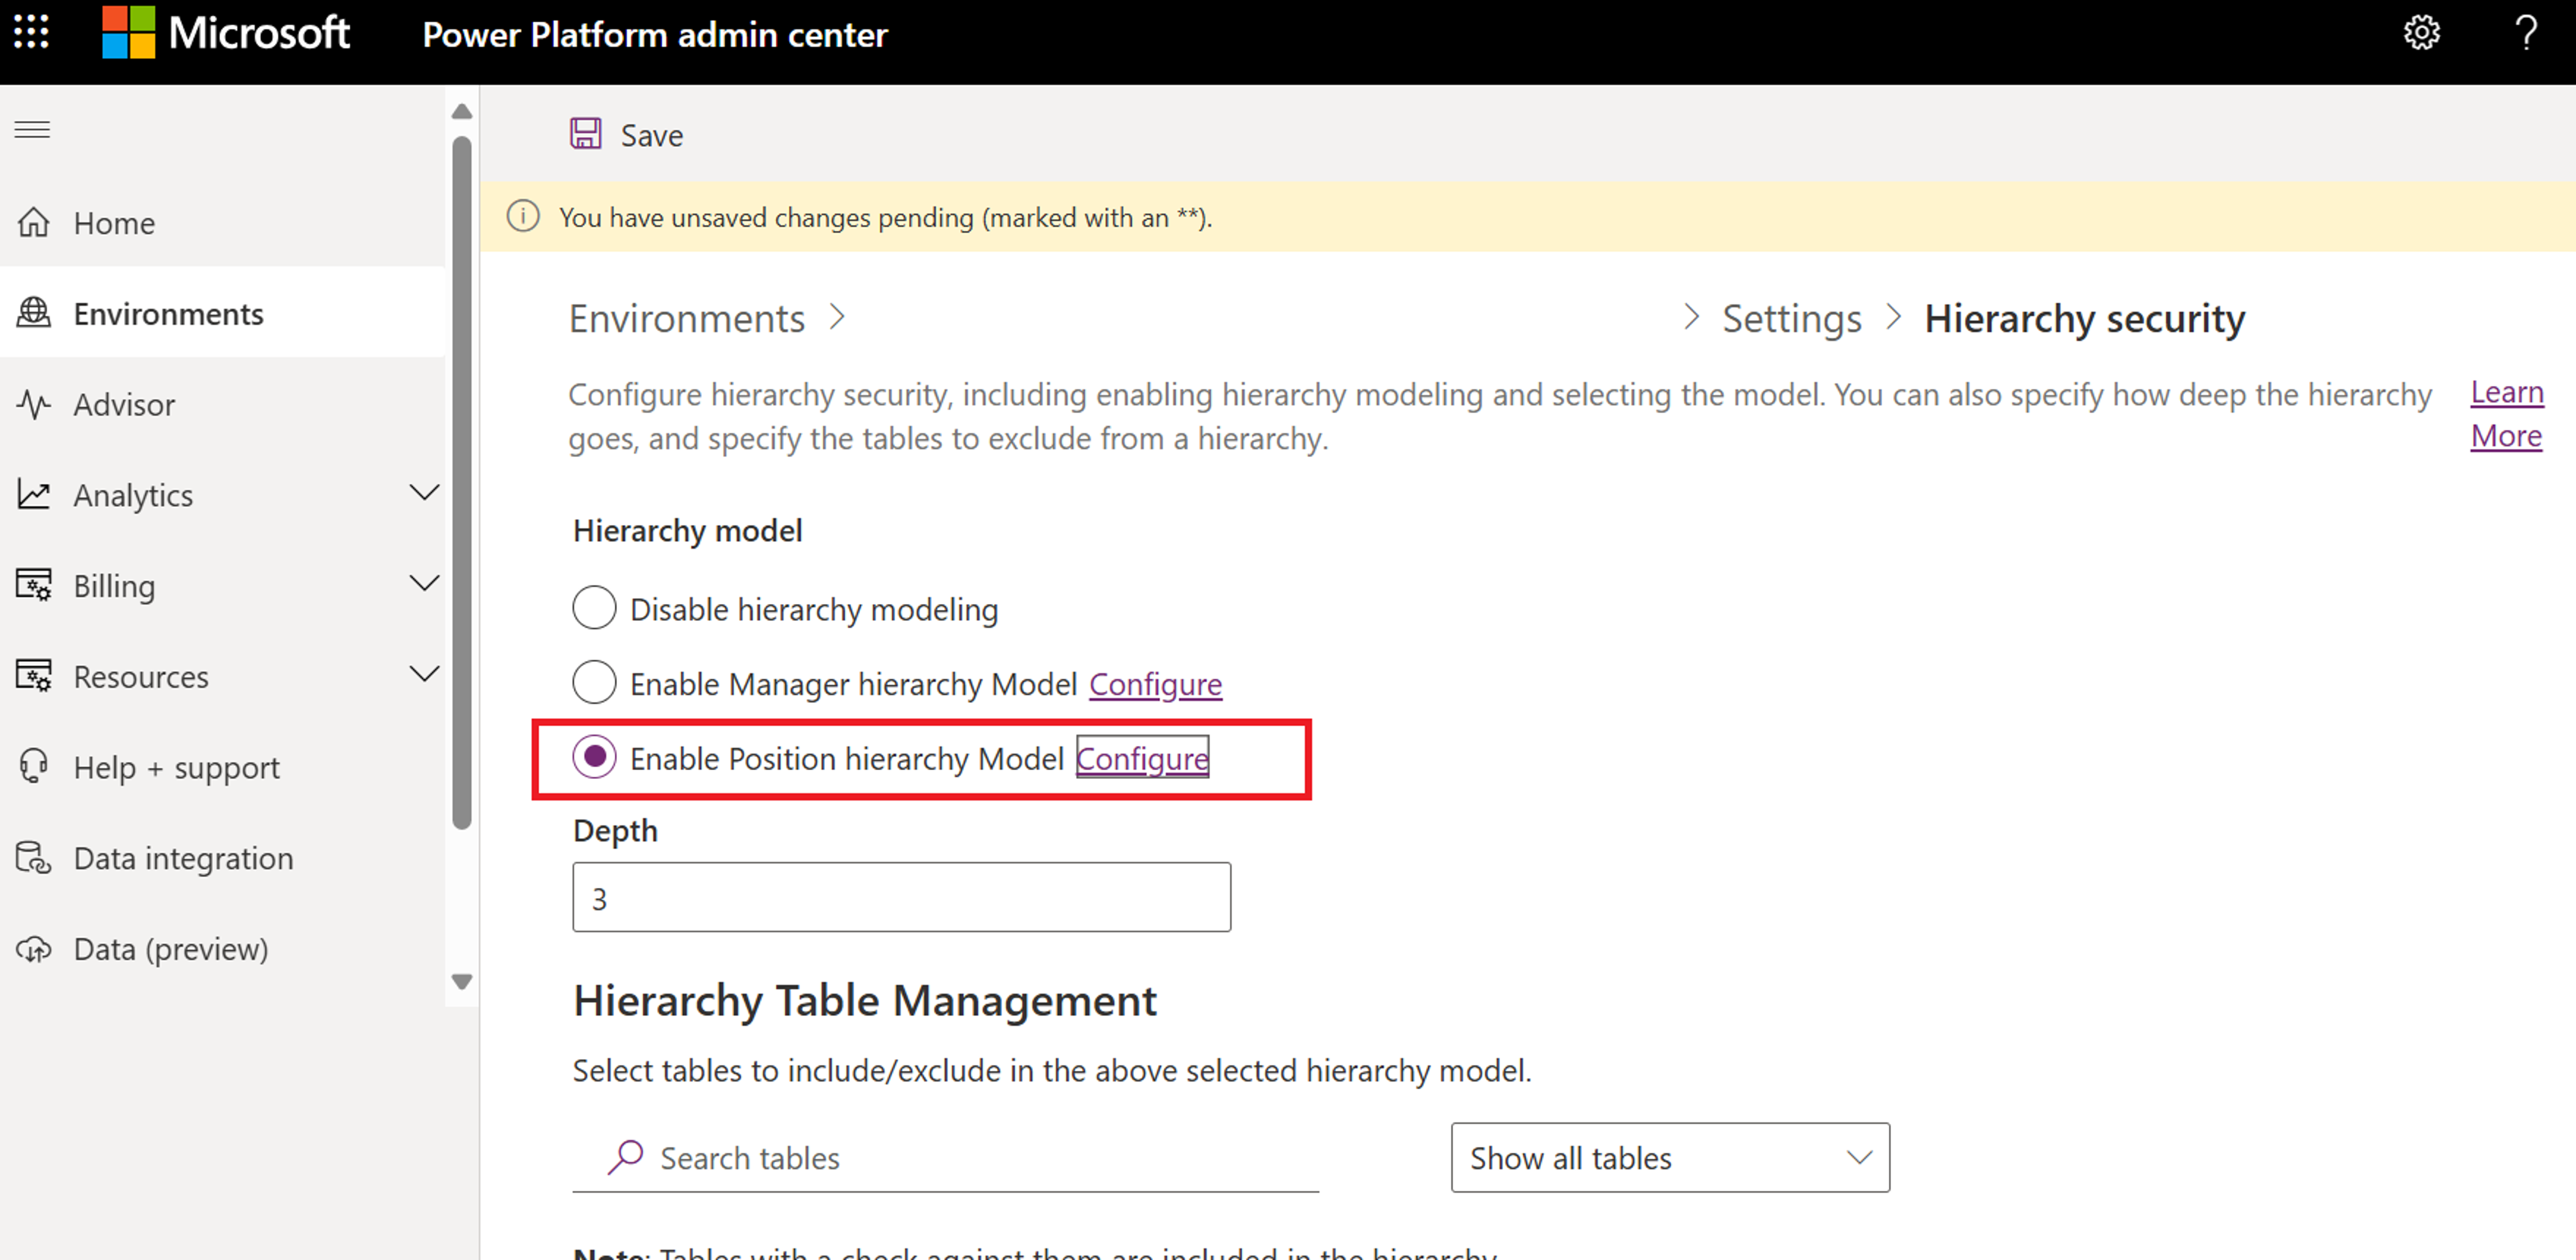
Select Configure.
For each position, provide the name of the position, the parent of the position, and the description. Add users to this position by using the Users in this position lookup field. The following screenshot is an example of a position hierarchy with the active positions. You can select any position and then assign/add other positions in your hierarchy.

If you select a position, a list of users who are in this position displays. Each user is selectable. Selecting a user directs you to their User admin screen where you can change user details as required. Back arrows in the upper left of the window return you to previous screens.

Use the Active Positions screen to ensure that each user is set up with the correct positions in your hierarchy.


Performance considerations
To boost the performance, we recommend that you:
Keep the effective hierarchy security to 50 users or less under a manager/position. Your hierarchy might have more than 50 users under a manager/position, but you can use the Depth setting to reduce the number of levels for Read-only access. With this setting, you can limit the effective number of users under a manager/position to 50 users or less.
Use hierarchy security models with other existing security models for more complex scenarios. Avoid creating a large number of business units. Instead, create fewer business units and add hierarchy security.