Route cases by using basic routing rule sets
Before examining the capabilities of unified routing, you need to learn about the basic routing that's available without the need for enabling unified routing. You can apply basic routing when you want to assign records, such as cases to individuals, teams, or queues. Basic routing assigns items based on predefined logic that's based on properties of the record to determine which queue to route the case to.
You can create routing rule sets in the Dynamics 365 Customer Service admin center to automatically route cases. Under the Customer support group, select Routing > Routing rule sets (basic).
Note
Out-of-the-box routing rule sets are associated with case records. However, you can set up the same type of behavior for other record types that use queues. In these instances, you would use other options such as Microsoft Power Automate.
When you first create a rule, you need to define a rule name. After you define the name and saved the rule, you can add rule items to the rule. Consider rules items as similar to providing the what and where for the rule set. A rule item specifies the conditions that are evaluated for routing cases to a queue, a representative, or a team.
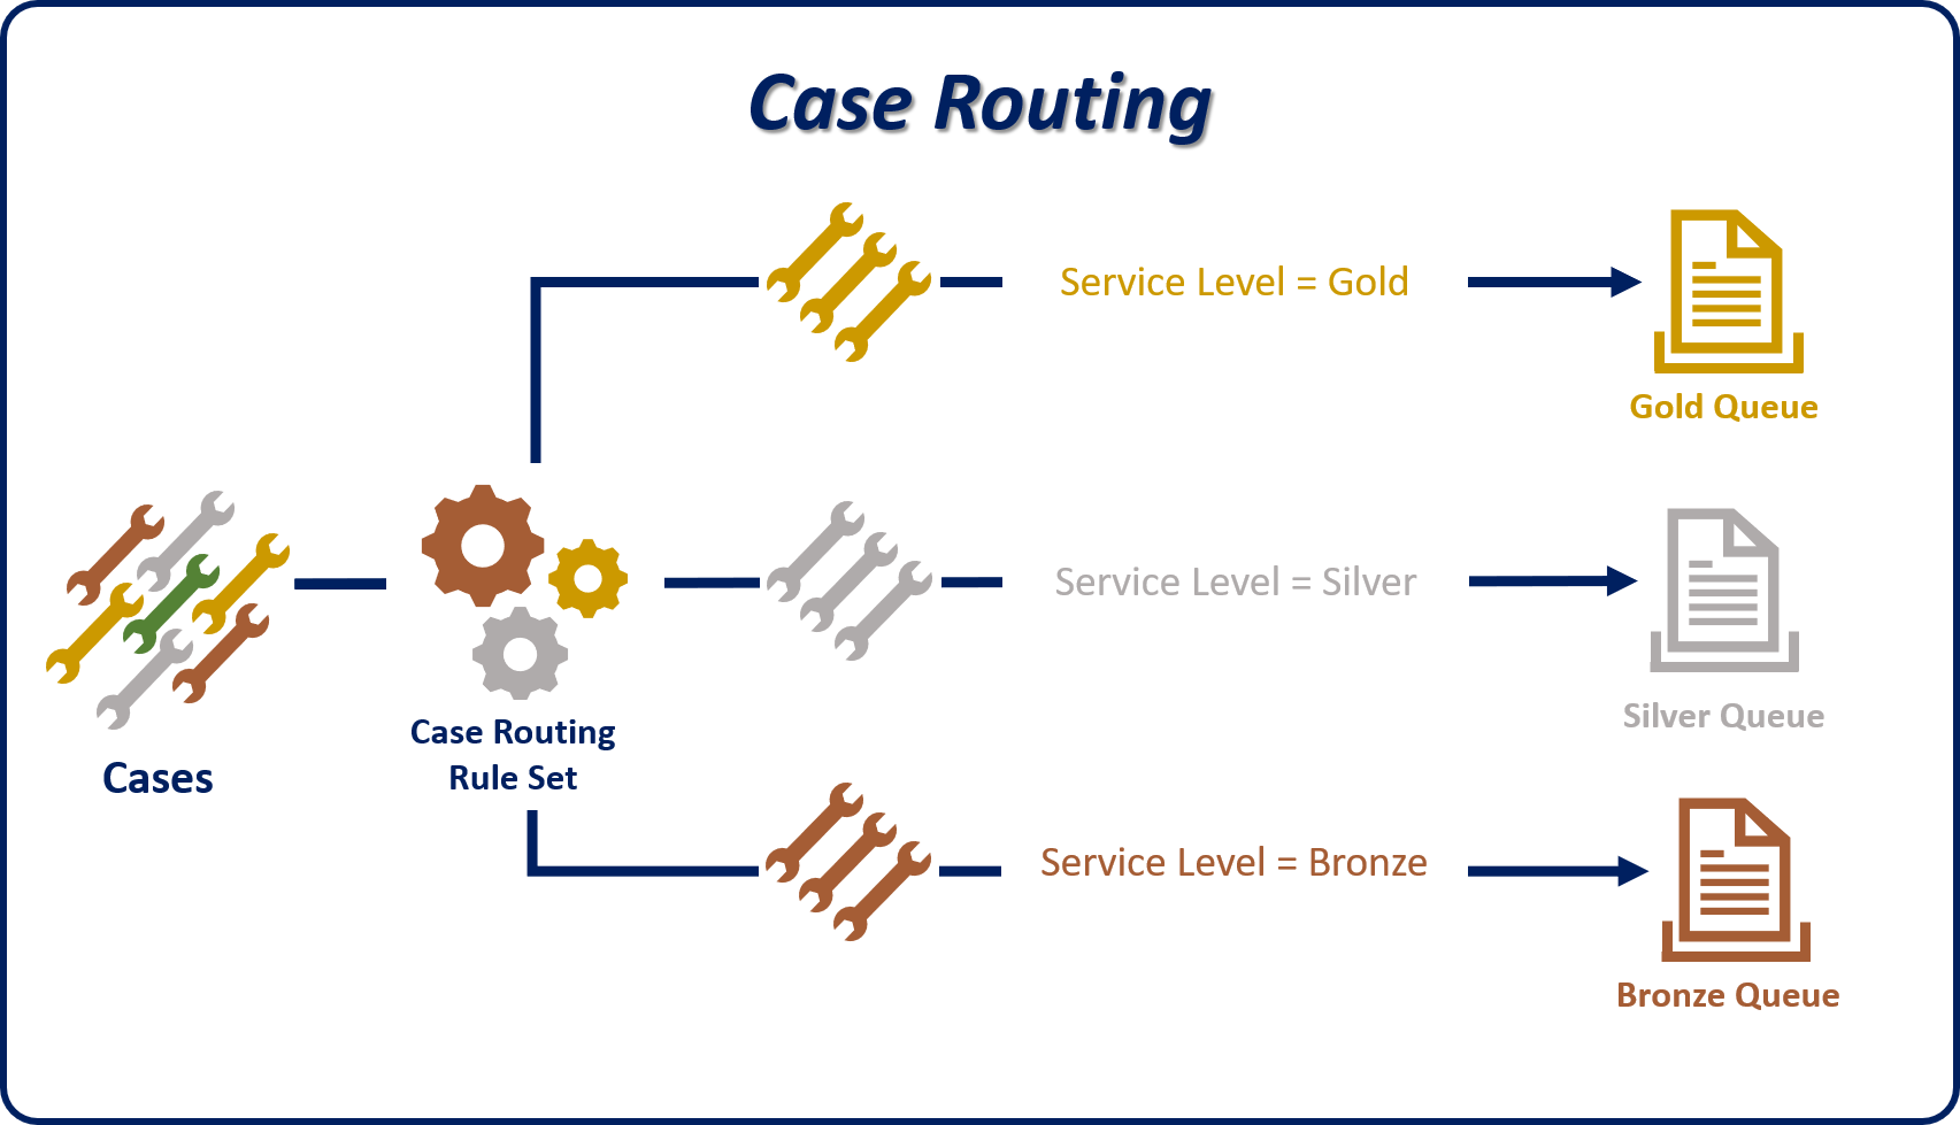
For example, when cases are created, they can have the Service Level field set manually or automatically based on the needs of the organization. To ensure that cases are routed to the correct queue based on their service level, a routing rule set named Case Routing might have the following three rule items:
Gold route - Route any case that has a service level of Gold to the gold queue.
Silver route - Route any case that has a service level of Silver to the silver queue.
Bronze route - Route any case that has a service level of Bronze to the bronze queue.
Define a rule item
Each rule item has two sections:
Rule Criteria - Defines the specific conditions that are used to determine whether the rule item applies.
Conditions can evaluate fields from the case record or from related records in many-to-one relationships, such as the customer account.
You can use multiple AND/OR conditions in a single rule item.
Action - Specifies where the case should be routed to. You can select one of the following options:
Queue - Route the case to a specific queue (public or private).
User/Team - Route the case to a specific user or team.
In the following image, the rule criteria determines if the Service Level field is set to Gold. If so, then the Action section routes the case to the Gold queue.

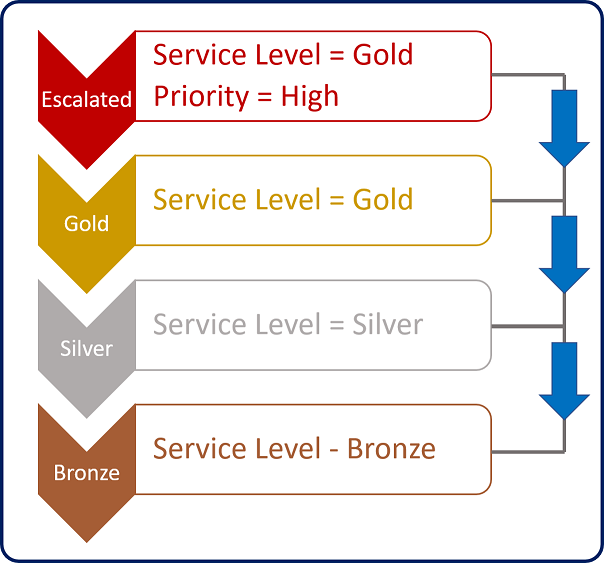
A routing rule set can have multiple rule items. Rule items are applied in the order in which they're listed in the rule set. The first matching rule item whose conditions are met is applied to the case. The rule set doesn't evaluate the remaining rule items to try to find a better match. We highly recommended that you put more specific rule items higher in the rule set so that they're checked first. Consider adding a catchall rule item at the bottom of the list to route cases that aren't matched by the other rule items.
For example, in the following image, the Escalated and Gold rule items refer to the Gold service level. Because the Escalated rule item has a priority of High, it must be evaluated before the Gold rule. Otherwise, the Escalated rule item would never be checked.
You can control the order that rule items are checked by using the Move up or Move down options on the rule item's sub grid.

After you define all rule items for a rule set, you'll need to activate the basic rule set by selecting the Activate button on the command bar. After you activate the basic rule set, you can't modify it. If you want to make changes, you need to deactivate it first.
Important
While you can define multiple basic rule sets in Dynamics 365, only one basic rule set can be active at a time. If you try to activate a basic rule set when another basic rule set is active, it'll deactivate the currently active rule set. Make sure that you've defined enough rule items in your rule set to cover all possible routing scenarios that you need to support.
After you activate a basic routing rule set, you can apply it to a case in one of two ways: manual application and automatic application.
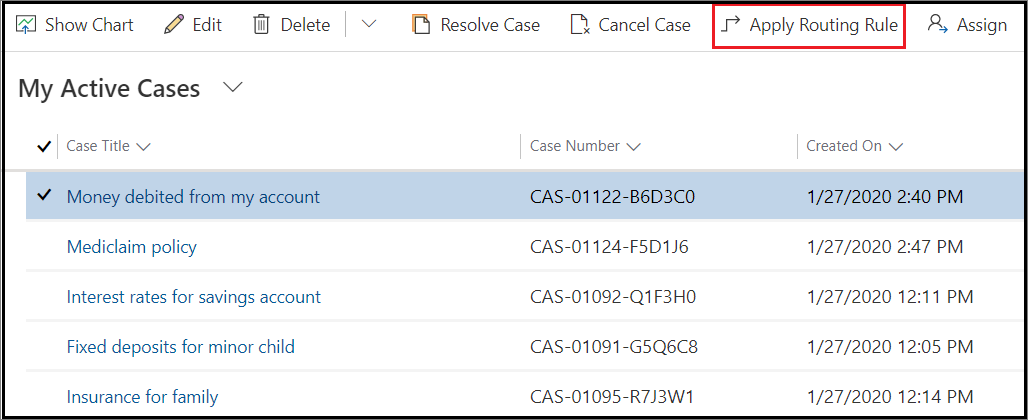
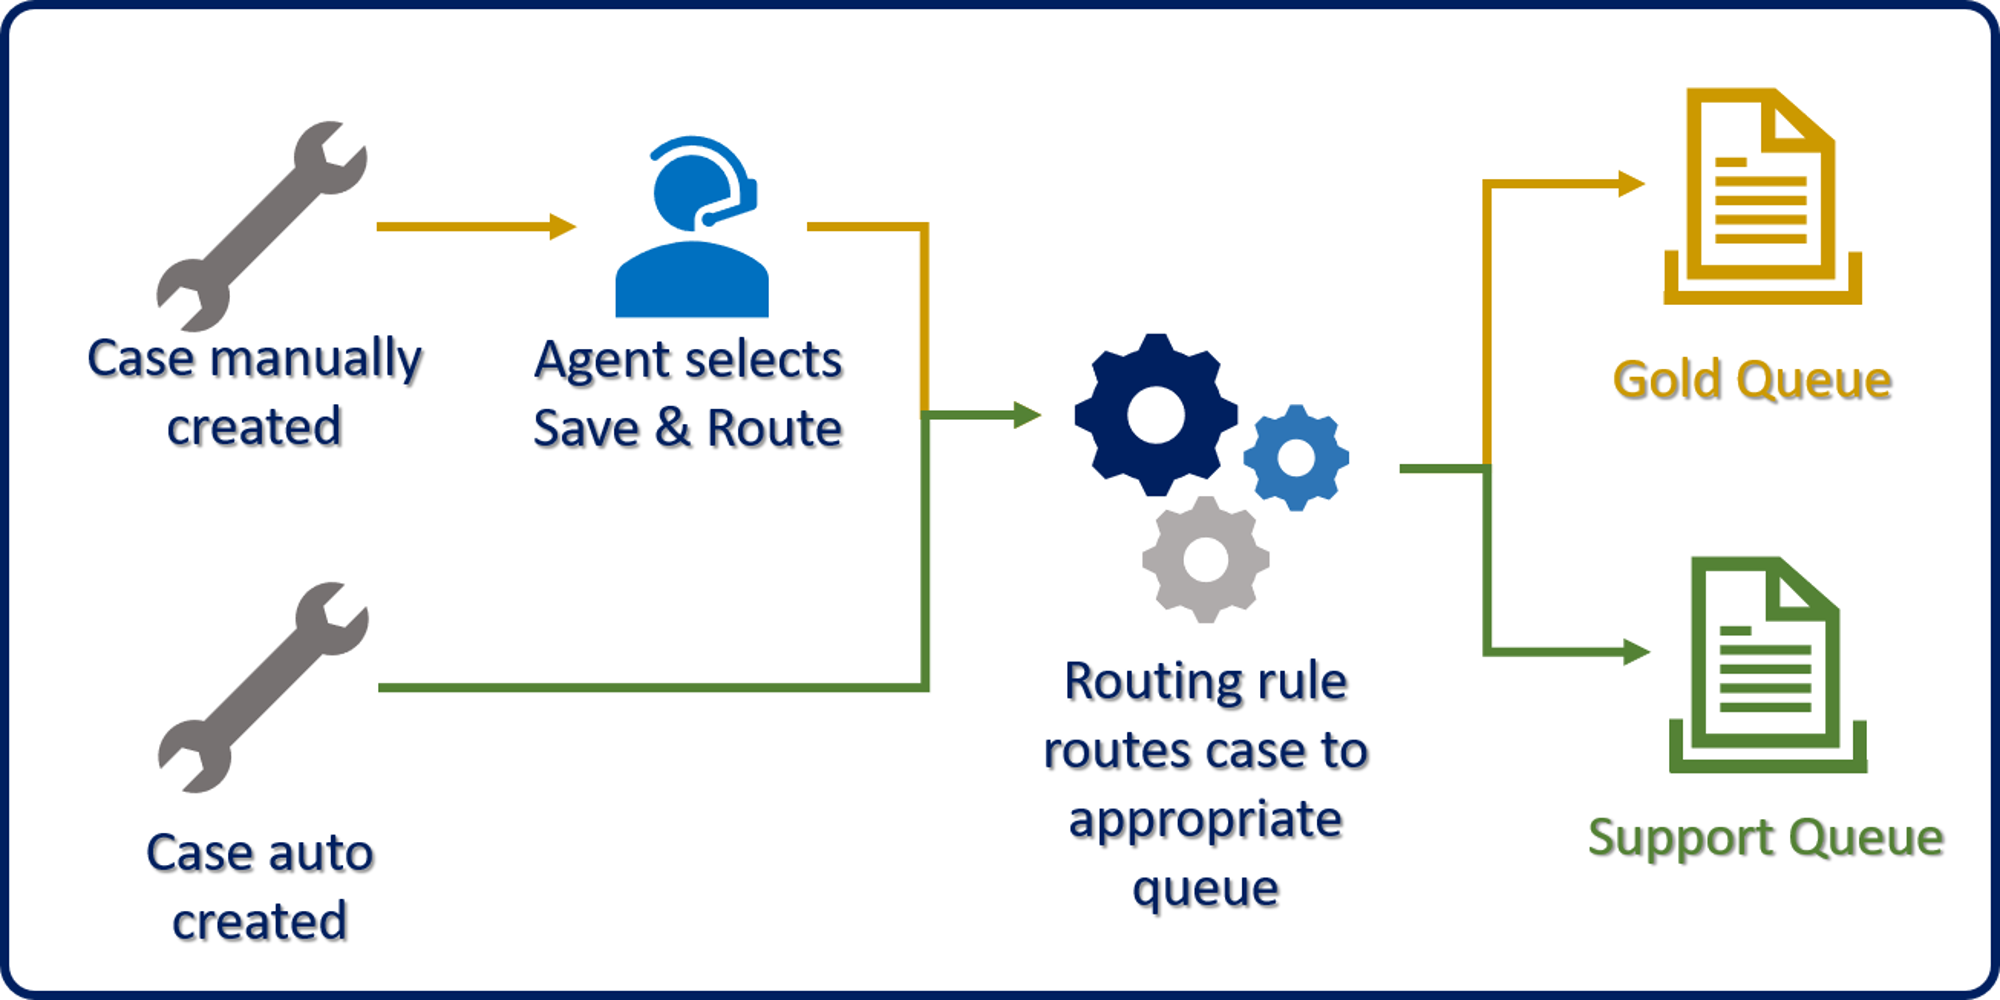
Manual application - You can manually apply the case in the case form by using the Save & Route button. Alternatively, you can complete the action from a case view by using the Apply Routing Rule button. When a representative selects the button on the command bar, the routing rule set is applied, and the case is routed to the most appropriate queue.
Automatic application, when records are created - When a case is automatically created (for example, by a classic workflow, a record creation rule, or a Power Automate cloud flow), Dynamics 365 applies the routing rule set automatically, and then the case is routed to the most appropriate queue.
Route cases automatically
Cases that are created manually aren't routed automatically. In these instances, you can use a Power Automate cloud flow to trigger the routing of a case for your specific business scenario, such as when the service level is changed.
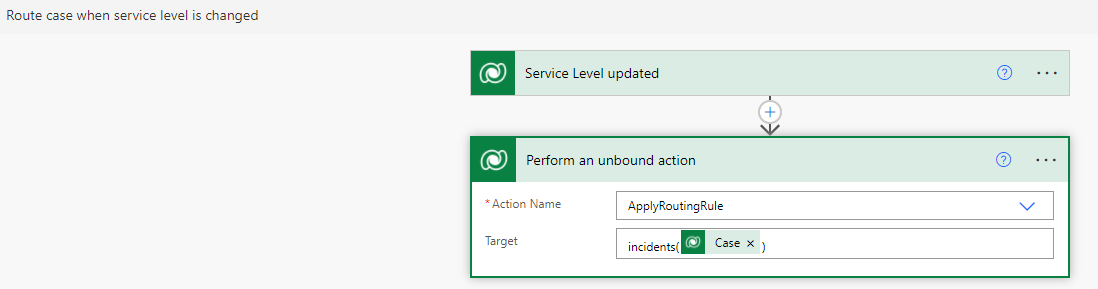
While the basic routing capabilities that are available in Dynamics 365 provide a solid foundation for routing items, they only work for records, such as cases. Many organizations want to route records and route records from other channels. In addition, the company might require the ability to apply more advanced logic in their routing. In these instances, you would likely use unified routing, which you'll learn how to set up in the next unit.