Exercise - Create a Microsoft Dataverse table
In this unit, you'll create a custom table and configure key components. You’ll learn how to:
- Create a custom table
- Add custom columns
- Customize a view
- Customize a form
This tutorial uses a scenario from Contoso, a pet grooming business that serves dogs and cats. Contoso needs an app for client and pet tracking that employees can use across various devices.
Create a custom table
Follow these steps to create a new custom table:
Sign in to the Power Apps maker portal.
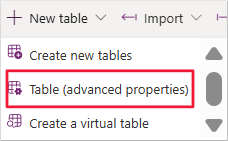
In the left navigation, select Tables, then select the New table dropdown, and choose Table (advanced properties).
In the Properties tab of the New table pane, enter:
- Display name: Pet
- Description: Track pets for pet grooming

Select the Primary column tab and enter:
- Display name: Pet Name

Select Save.


Add and customize columns
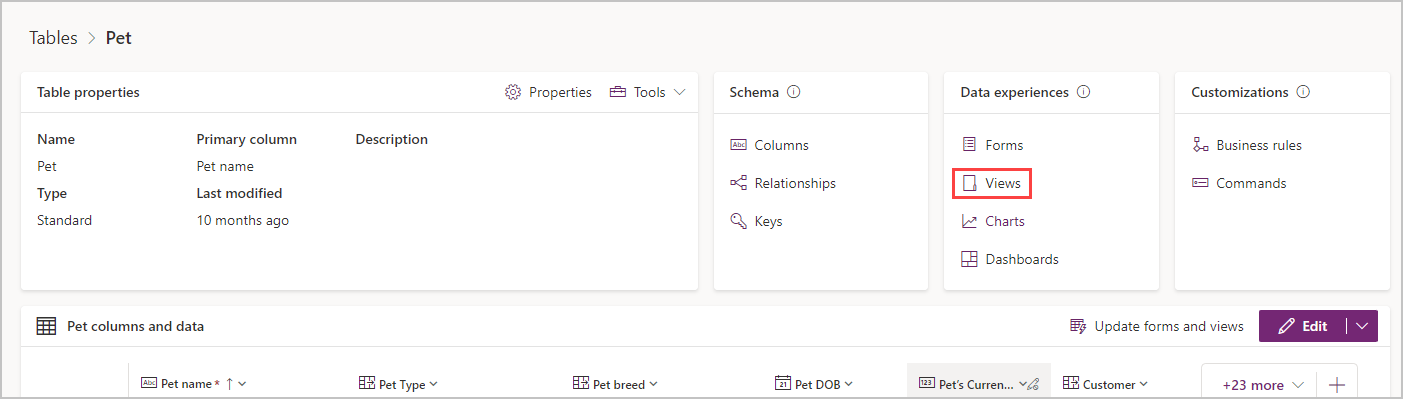
Once the table is created, the Pet columns and data section displays. You'll see Pet Name and an indicator of additional system columns. Select + to add a new column or use the Edit button.
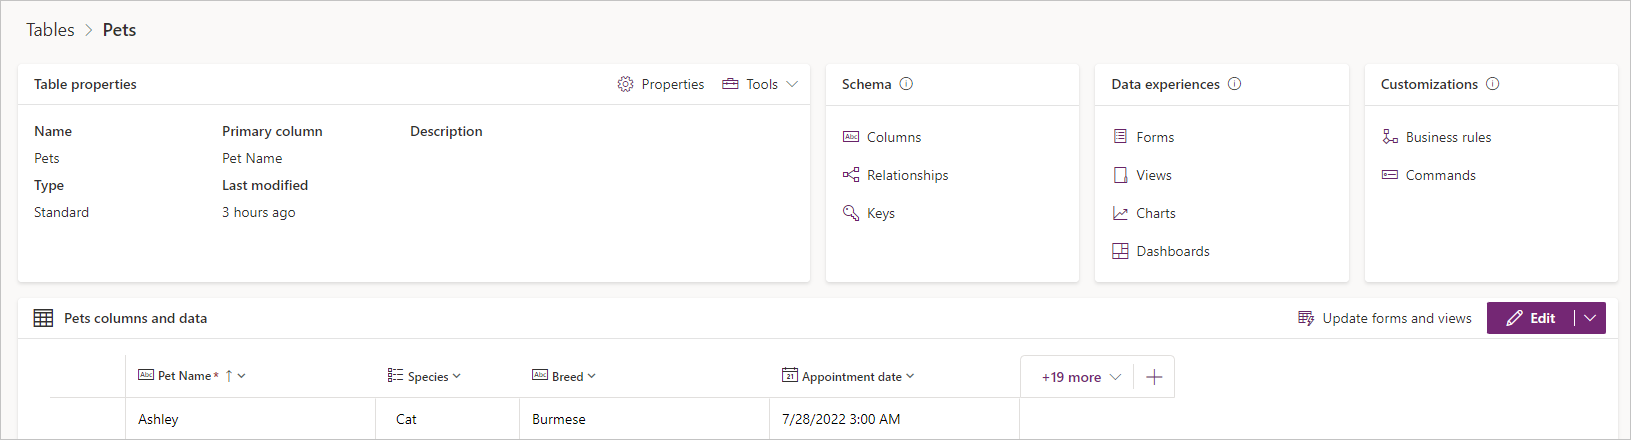
Select New > Column from the command bar.
In the New column pane, enter:
- Display name: Species
- Data type: Choice
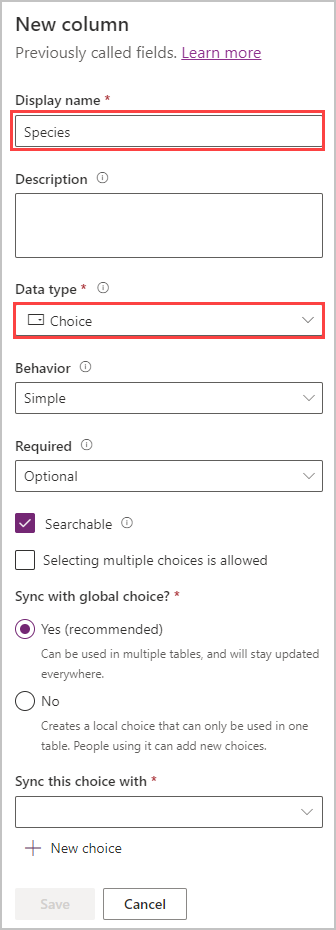
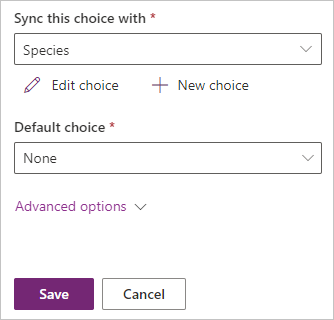
Create a new choice set:
- Under Sync this choice with, select New choice
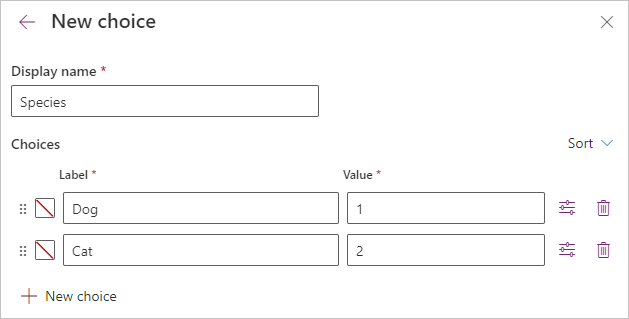
- In the Display name, enter Species
- Add Dog as a label
- Add Cat as another label
- Select Save
To assign this choice set to the column, search for Species under Sync this choice with, select it, and then choose Save.
Add another column:
- Display name: Pet Breed
- Data type: Single line of text
Add one more column:
- Display name: Appointment date
- Data type: Date and time
Select Save after each column.


Customize a view
Select Views from the Data experiences pane.
Select Active Pets to open the view designer.
Add columns to the view by selecting them from the Table columns panel:
- Appointment date
- Pet Breed
- Species
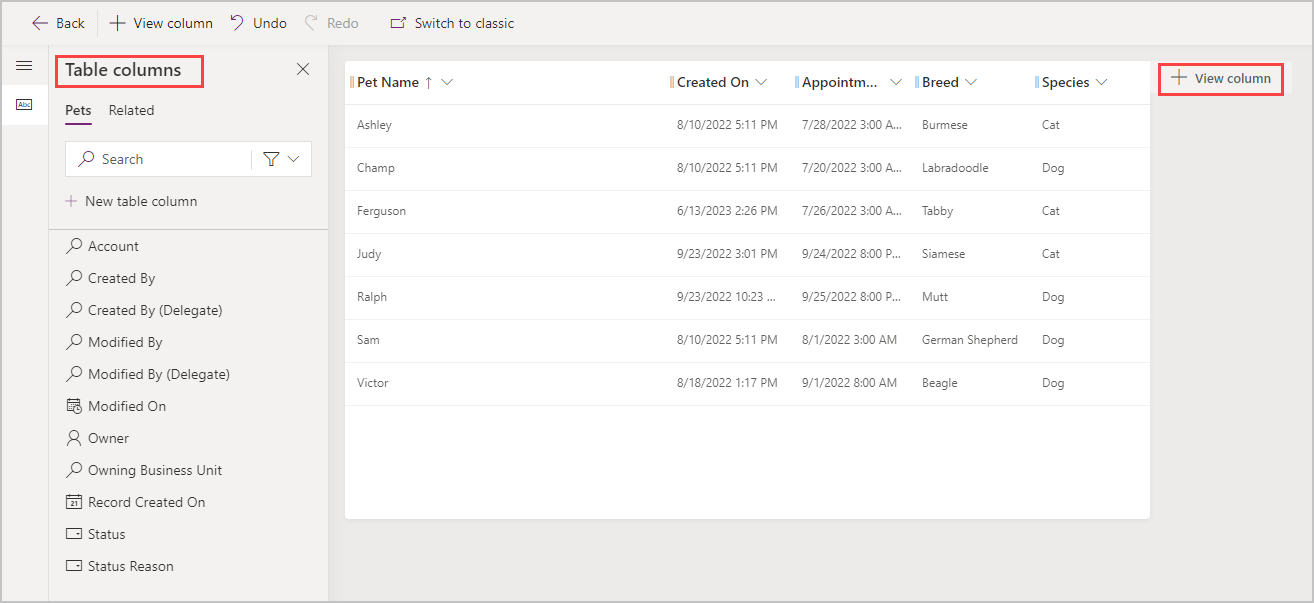
To remove a column, select its name in the view header, then choose Remove. Remove the Created On column.
Drag column headers to reorder them. Move Species before Pet Breed.
Select Save and publish.


Customize the main form
Select Forms from the Data experiences pane.
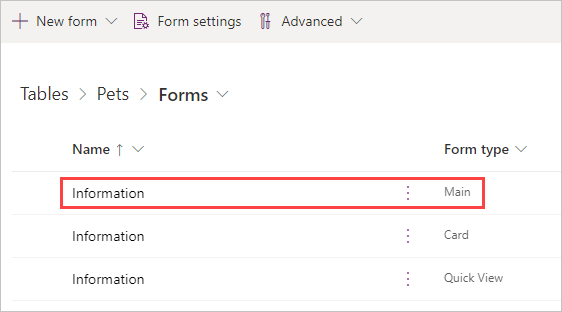
Open the Main form and select Edit.
In the form editor, add Species, Pet Breed, and Appointment date to the General section.

Select Save and publish.
Return to the Pet table after publishing is complete.
You can now enter data directly in the table. Select + New row to add test data for display in views and forms.


You can also import data into the table. The next unit covers how to import data.