Exercise - Import data into your Microsoft Dataverse database
You can import data into your Microsoft Dataverse database in bulk from sources such as Excel, Access, SharePoint, SQL, and others.
Note
The Dataverse Pet table referenced in this unit was created in the previous exercise. If you need sample data to import, the steps below show how to quickly create a SharePoint list to use for practice.
Create sample import data
Before importing data into your Dataverse table, create a SharePoint list to use as your source. If needed, go to office.com or Microsoft 365 in a separate browser tab and sign in with your work or school account.
In the top-left corner, select the app launcher (waffle icon), and then select SharePoint. Navigate to the SharePoint site where you want to create the list.
Select New > List from the command bar.
In the Create from blank dialog, select List.
Name the list "SharePoint Pets" and select Create. You can clear the Show list in site navigation checkbox if you prefer not to display it in the site's left-hand navigation.
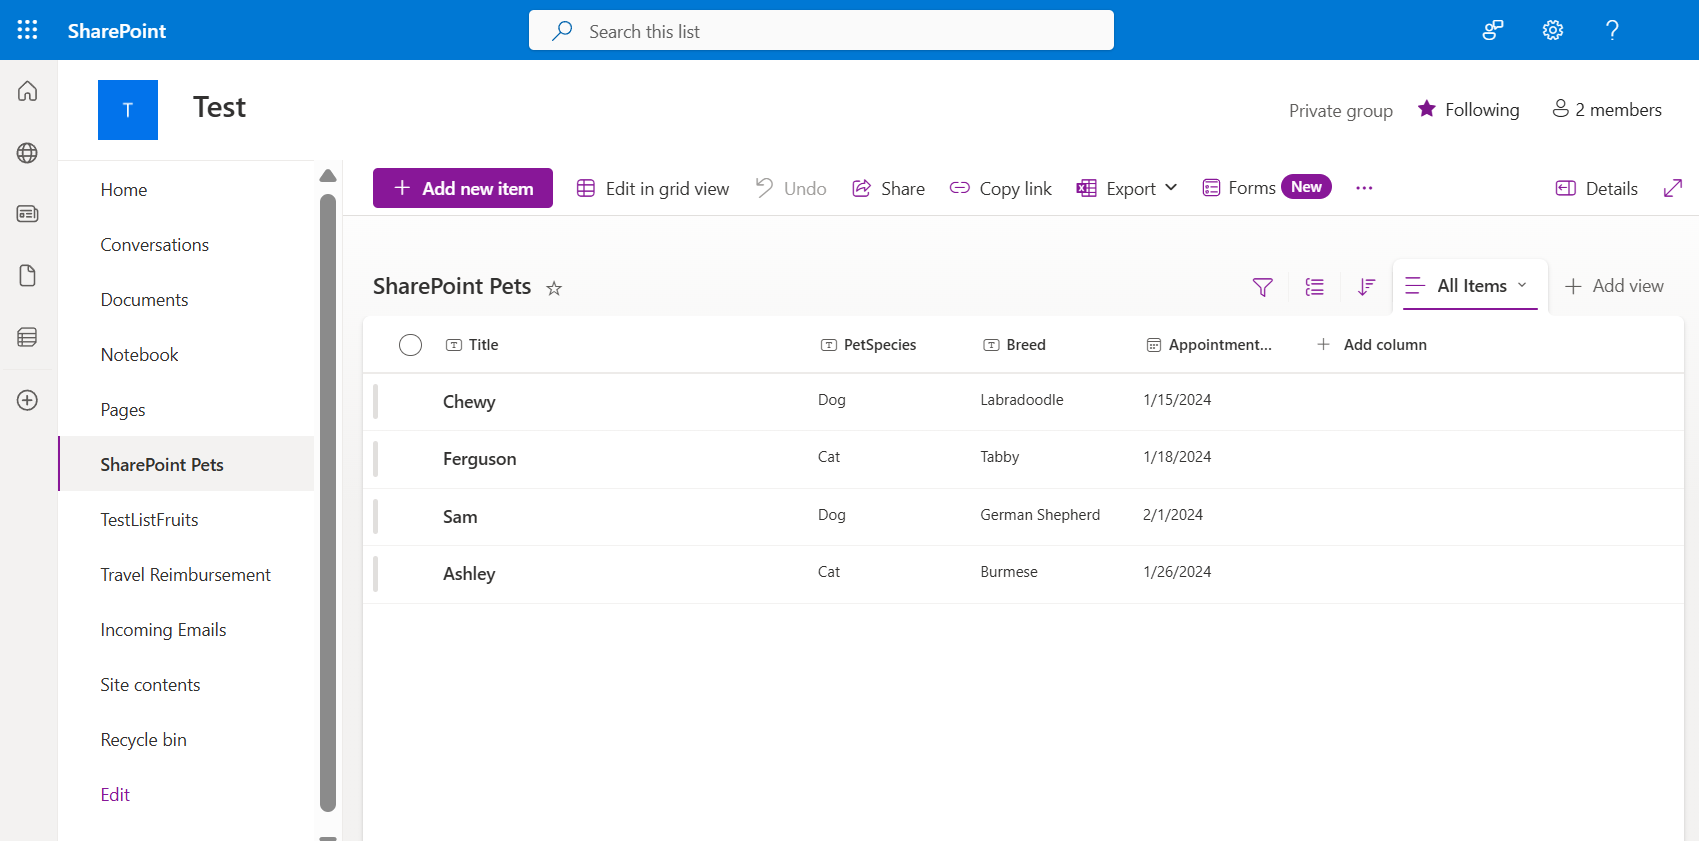
In your new list, create the following columns to match your Pets Dataverse table:
Name Data type PetSpecies Single line of text Breed Single line of text AppointmentDate Date and time Add sample data to your list so it resembles the following screenshot:
Return to your SharePoint site home page and copy the site URL, stopping at the site name.
Important
Do not include any suffixes (such as
/Lists) in the URL. Example:https://yourOrganization.sharepoint.com/sites/yourSharePointsite

Keep your SharePoint browser tab open—you’ll need it shortly.
Import data into your Dataverse table
In a new browser tab, go to the Power Apps home page, and select Tables from the left navigation panel.
Select the Pet table, then choose Import > Import data from the command bar.
In the Power Query data importer, select SharePoint list as the data source. Use the search field if needed.
In the Connect to data source window, enter your SharePoint site URL in the Site URL field. You may need to sign in. Once authenticated, select Next.
In the Choose data step, select the SharePoint Pets list. A data preview will appear.
Select Next to continue.
You'll see the Power Query editor displaying Queries and then the content that showed in the previous preview. The Power Query editor allows you to shape the data before importing it into Dataverse. You can choose the columns you want to import by selecting Choose columns. Conversely, you can remove any of the columns that you don't wish to import, by using the Remove columns button at the top of the window. If you make a mistake, the Applied steps on the right side of the window keeps track of the changes, and you can cancel that step to undo the last action. Don't worry, you're not modifying your data source, you're just filtering what you're going to import.
By default, Power Query chooses all columns, but we don't need to import all of the data here.
Select Choose columns from the "Manage columns" tab in the header.
Select only the columns, Title, PetSpecies, Breed, AppointmentDate, and select OK to continue.
 Notice that the Applied steps adds a step from "Choose columns".
Tip
If you made an error, you can select the "X" just to the left of the step in Applied steps. Then you can correct the step.
Once your query table has the columns of Title, PetSpecies, Breed, and AppointmentDate select the Next button to continue.
At the Map tables step under Load settings, choose Load to existing table. Refer to the image immediately below for the following steps (numbered according to the steps).

From the Destination table dropdown, select your Pet table. It may appear with a prefix (e.g.,
cref2_Pet).In the Column mapping section, select Auto map to match source and destination columns automatically. You may need to manually map Title to PetName and PetSpecies to Species.
After mapping all columns, select Next.
In the Refresh settings step, choose Refresh manually. Then select Publish.
If you receive any warnings, review and adjust the query as needed.
Once published and no warnings appear, the data should load into the Pet table. Refresh the browser if needed to view the data.


This process used SharePoint as a data source, but similar steps apply when importing data from other supported sources.