Exercise - Create table relationships
In this unit, you create a table and then add relationships between tables. You learn how to:
- Create a relationship by using a lookup column.
- Add a one-to-many table relationship.
The simplest way to add a table relationship is to create a lookup column to another table. This action automatically creates a parent-child relationship between tables.
Note
The Pet table referred to in this unit was created in the previous exercise. You need to create the related tables to add relationships.
Create a custom table and add a column
Sign in to the Power Apps maker portal.
In the left navigation pane, select Tables, then select New table, and select Set advanced properties.
In the Properties section of the New table pane, enter the following values:
Display name: Trick
Description: Pet Tricks
Select the Primary column tab and enter the following:
- Display name: Trick Name
At the bottom of the pane, select Save.
On the Trick table, select New, then select Column.
In the New column pane, enter:
Display name: Level
Data type: Choice
Create the choice values:
Select New choice to open the New choice pane.
In the Display name field, enter Level.
Under Choices, in the Label and Value fields, enter Beginner and 1, respectively.
Select New choice and add Proficient with a value of 2.
Select New choice again and add Expert with a value of 3.
Select Save.
Under Sync this choice with, select Level, then select Save.
Create a relationship by using a lookup column
On the Trick table, select New, then select Column.
In the New column pane, enter:
- Display name: Pet
- Data type: Lookup
- Related table: Pet

Select Save.

This action creates a many-to-one relationship between the Trick and Pet tables. The Pet table now has a one-to-many relationship with the Trick table, even though a corresponding column wasn't added manually.
Add a one-to-many relationship
In the Power Apps maker portal, select Tables from the left navigation pane, then select the Account table.
In the Schema pane, select Relationships to view existing relationships.
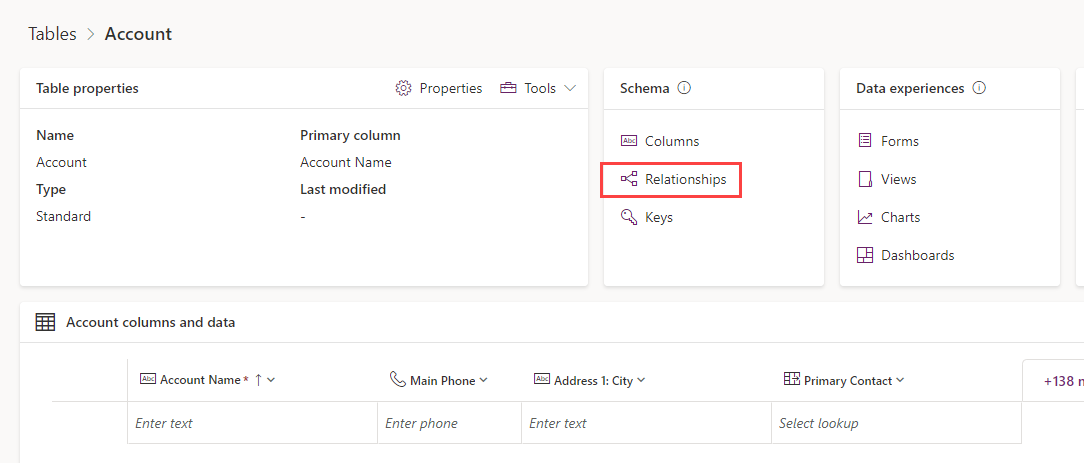
At the top left, select New relationship, then select One-to-many from the dropdown.
In the One-to-many pane on the right, in the Related (Many) list, select Pet.
Select Done.

A new column named Account, of the Lookup data type, is automatically added to the Pet table.

For more information, see Create and edit One-to-many or Many-to-one table relationships using Power Apps portal.