Exercise - Create your first app in Power Apps
In the following exercise, you'll create your first app using an Excel table as the data source. You can use any Excel table, provided the data is formatted as a table and stored in a location accessible by Microsoft Power Apps, such as OneDrive.
This exercise includes two parts:
Generate a three-screen app from an Excel table.
Create a blank canvas app that you'll enhance in future units.
Both apps use the same data. The three-screen app serves as a reference to understand how controls work together to display data.
Get the data
To complete this exercise, you'll need to download the Machine Order Data file. Select the link to download the files. Next, Extract the files from the downloaded zip file. Once you've extracted the files, locate and open the Excel file named Machine-Order-Data.xslx.
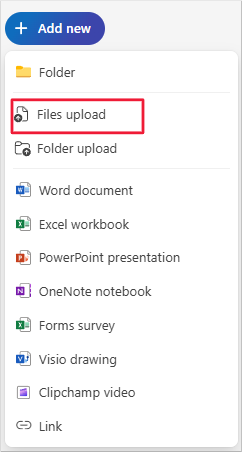
Open OneDrive in a browser. Select + Add new > Files upload.
In the Open dialog box, navigate to your Downloads folder and select Machine-Order-Data.xlsx.
Select Open. Then search for "Machine-Order-Data" in OneDrive to confirm the upload was successful.

Build a three-screen app
Now you'll create a three-screen mobile app.
Note
If you have used the machine-order-data.xlsx file in a previous module, you may want to rename the file before uploading it to OneDrive. This will ensure that you are using a fresh copy of the data. If you receive an error Request failed with status code 400, there is an extra column added by a previous Power Apps use of the file. To fix, delete the last column with the Power Apps IDs.
Go to the Power Apps Maker Portal make.powerapps.com and sign in.
From the left navigation pane, select Apps.
Select Start with an app template.

Under Data-centered mobile apps, select From Excel.
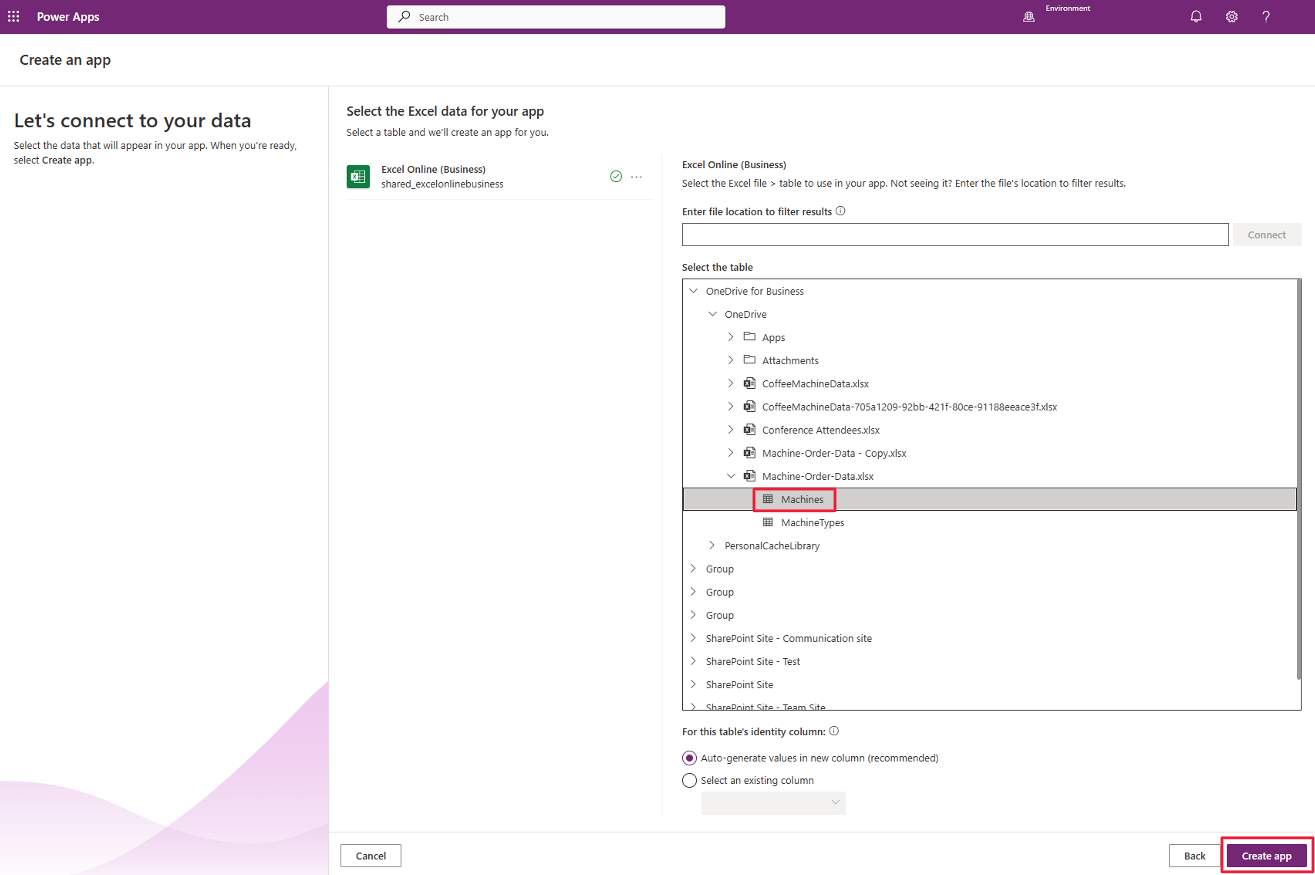
Under Select the table, expand the OneDrive for Business, find the Machine-Order_Data.xlsx file, select the Machines table, and choose Create app.
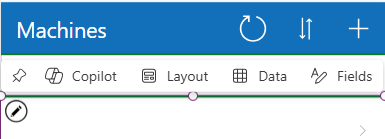
You may experience an error with the formula. To fix this, in the Machines screen, select Data then select Machines to connect to the data source again.


Power Apps generates a working mobile app.

Expand BrowseGallery1 and select Title1. With Title1 selected move your cursor up to the Property drop down (above the Tree view header) and select the property called Text.
In the formula bar, delete the existing value and type
ThisItem.(be sure to enter the period). The autocomplete feature displays a list of all the available fields for the current item in the gallery.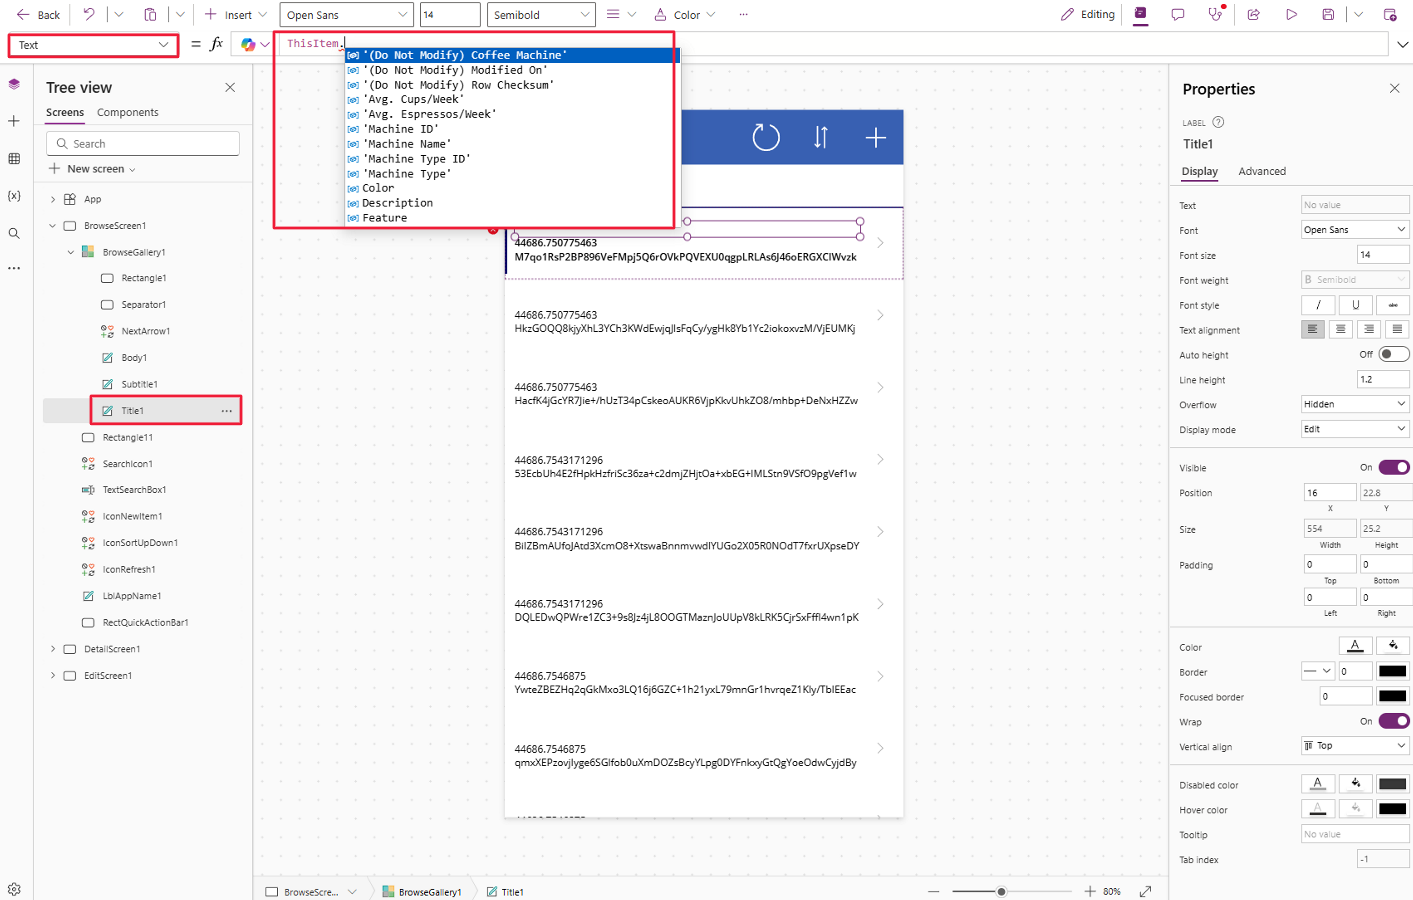
Since you want the machine's name to appear in the title, select 'Machine Name' from the drop-down list. Notice that the formula bar now shows
ThisItem.'Machine Name'. This is a Power Fx formula, which tells Power Apps to display the 'Machine Name' field for each item in the gallery.Notice that each item in the gallery now displays its own machine name. This is the power of using ThisItem in a gallery: it dynamically refers to the current record, so each control inside the gallery shows data specific to that item.
Return to the Tree view panel under BrowseGallery1, now select Subtitle1. With Subtitle1 still selected, select the Text property. This time, type
ThisItem.Pricein the formula bar.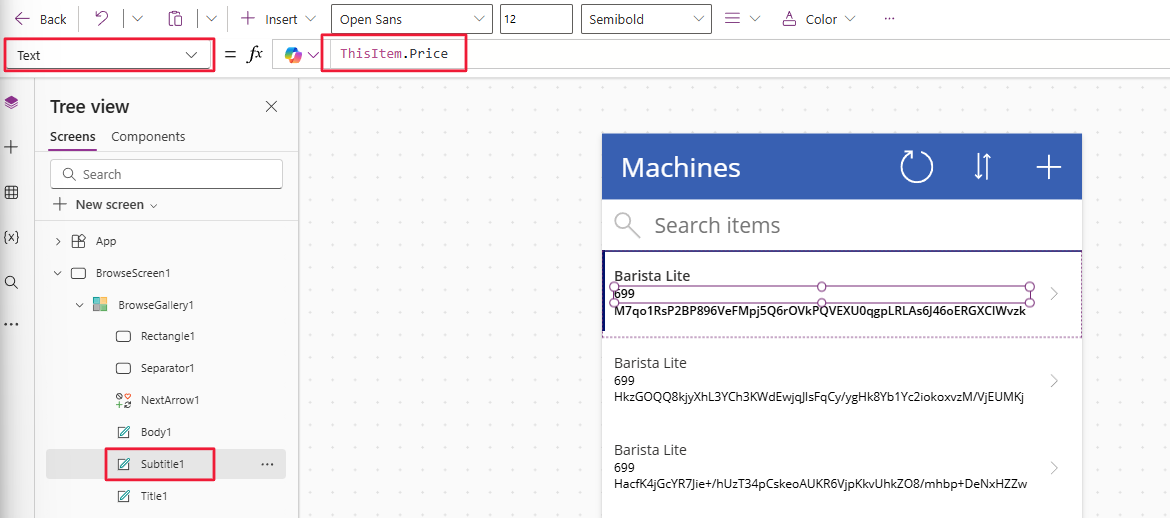
Notice that each item in the gallery now displays the item's price.
Next, you'll add machine color to each item in the gallery. Select Body1 within BrowseGallery1 in the Tree view. With Body1 still selected, select Text in the property drop-down, and then type
ThisItem.Color.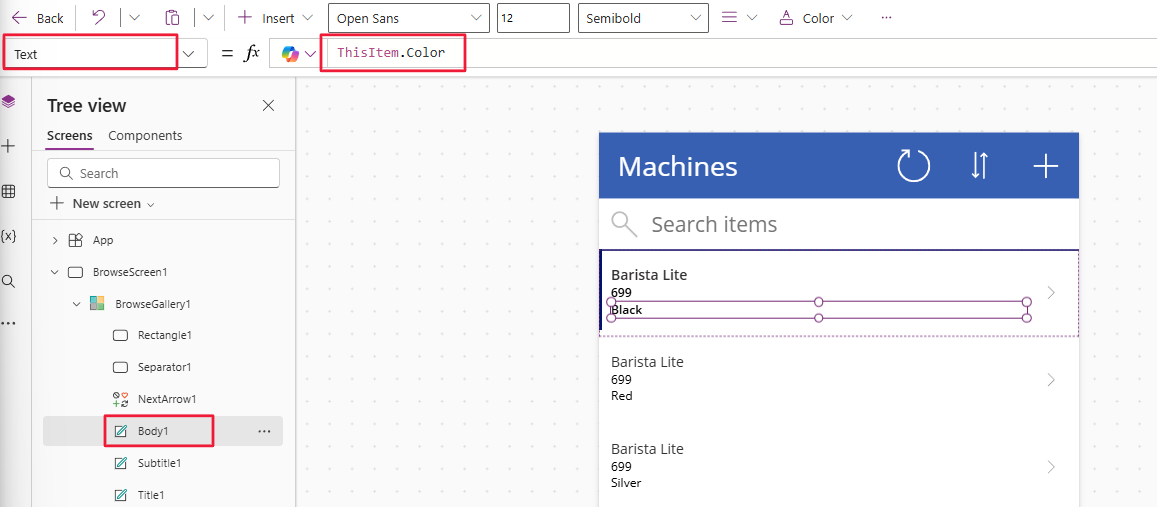
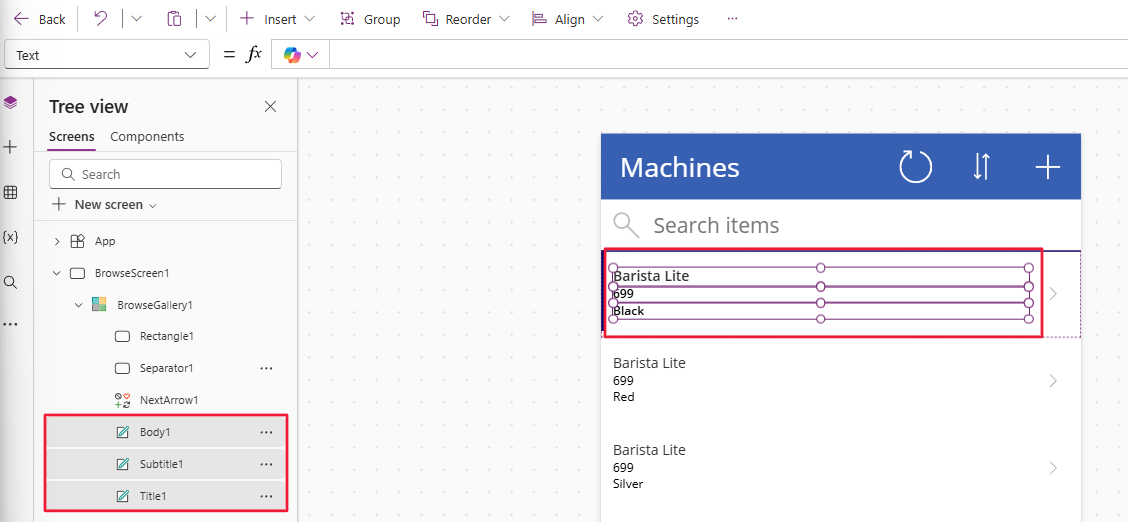
You can also add a picture of the coffee machine to the gallery. You'll first need to move the title, subtitle, and body fields slightly to the right to make room for the image. While holding down the Shift key on your keyboard select the Title1, Subtitle1, and Body1 fields, either from the Tree view panel or on the gallery canvas. Your screen should look like the image below.
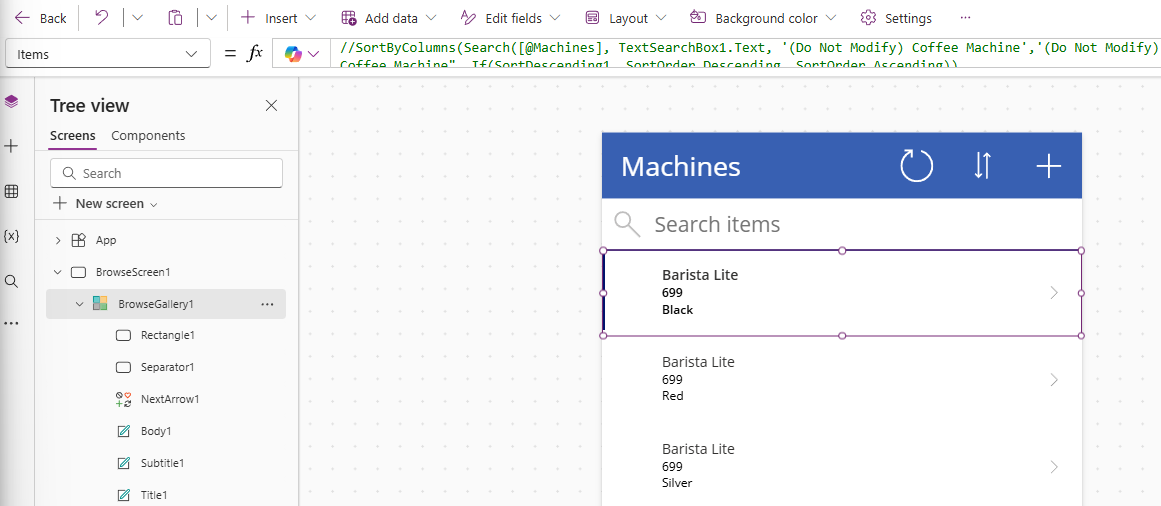
With all three fields still selected, select X from the property drown down. The X value is the fields' horizontal location on the screen. Set the value in the formula bar to 80. (Alternatively, you could drag the fields to the right in the canvas.)
Select in the blank space that you created to the left of the Body1, Subtitle1, and Title1 fields. This deselects the fields, and your screen should look like the image below.
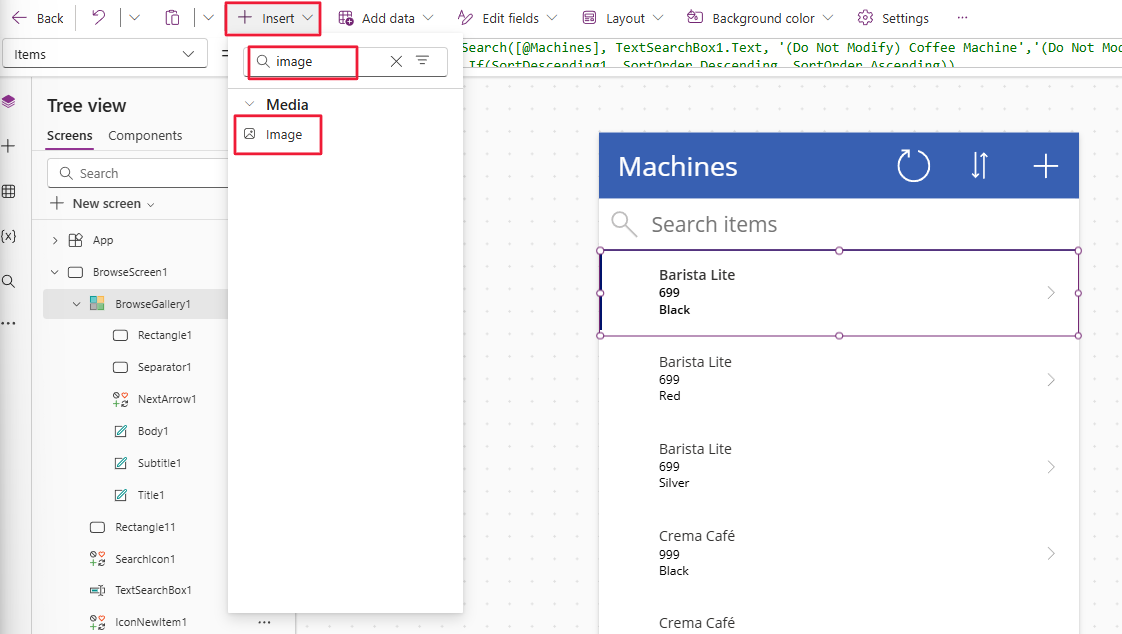
From the command bar, select + Insert, in the search bar type image, and then select the Image control.
Resize and move the image on the top item in the canvas until it's nicely displayed to the left of the title, subtitle, and body fields.
Either in the Tree view pane or on the canvas, select the image, select Image in the property drop-down, and then type
ThisItem.Photo. The coffee machine images are now displayed within your gallery.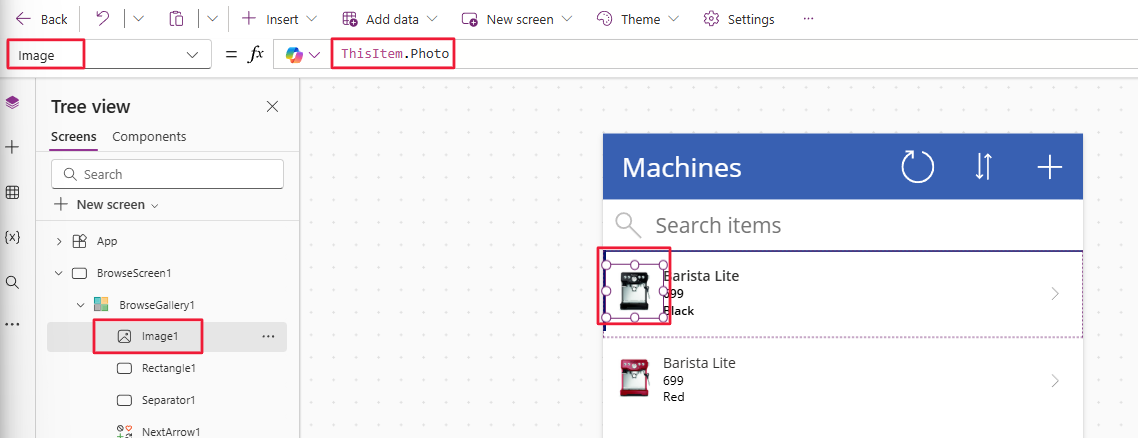
Use the skills you just learned to update the other screens, DetailScreen1 and EditScreen1, of your app to display the fields you'd like to have displayed. You may need to right-click on the data card and select Unlock to make changes to the data cards.
To get an idea of what the app looks like on a mobile device, use the preview button that looks like a "play" button on the upper right (near the "save" icon). Select the "play" button (or press F5) and try out the interface.
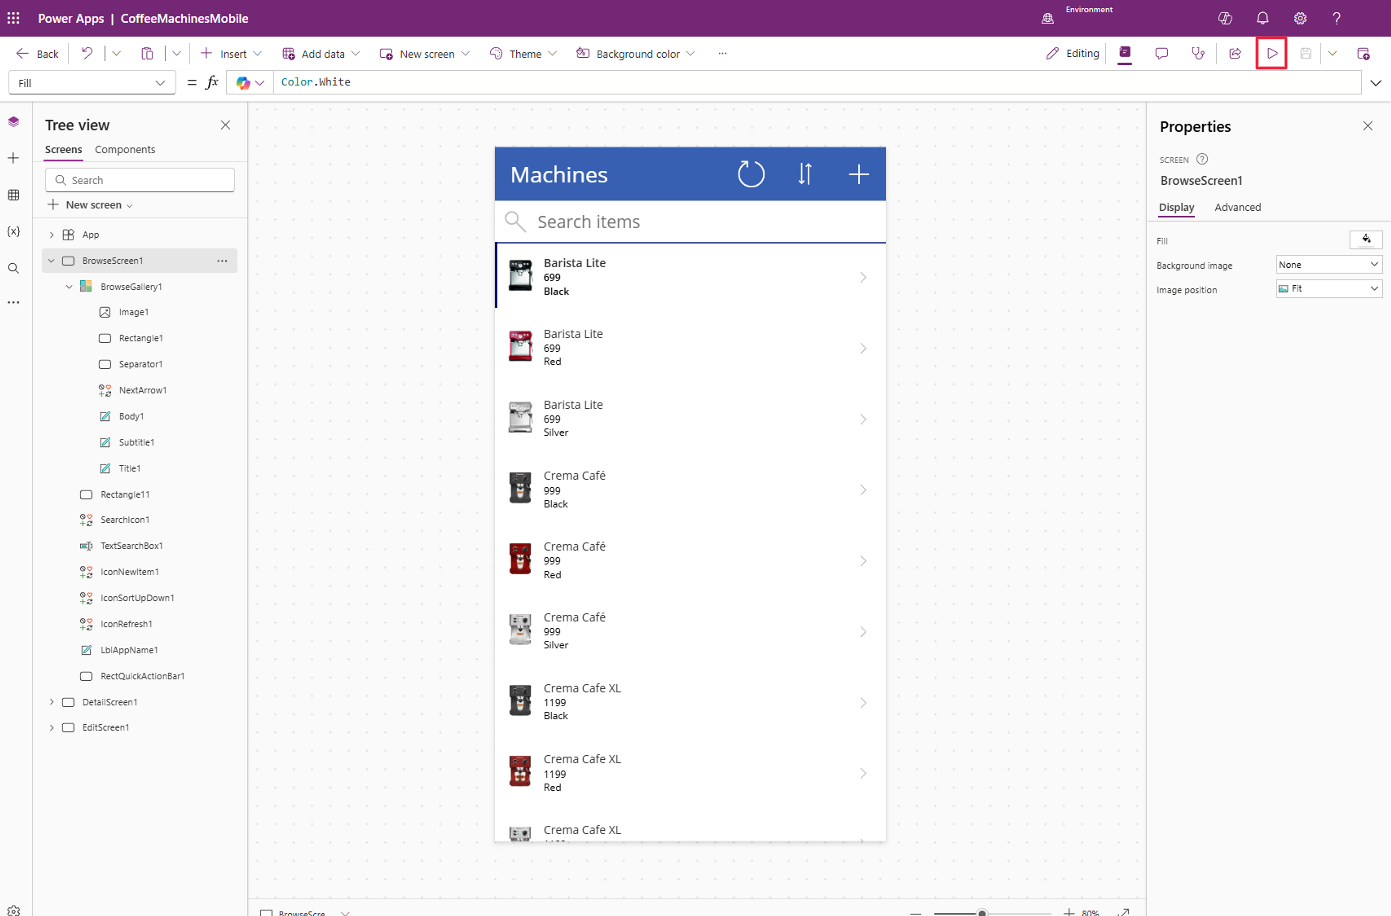
Notice that you can scroll through the list of items, select an item, see some item details, edit item details, and save or cancel your changes. When you build an app with the Excel button, you quickly can have a fully functional app.
Let's exit the preview mode by pressing the X in the upper right corner, and then save this app.
Select the Save button and enter a name for this app in the Save as pane. Then select Save.
Select the Back button from the top left of the command bar, to exit the app.


Now that you've experienced Power Apps making an app for you, you can begin building your own app from scratch.
Note
If you have used the machine-order-data.xlsx file in a previous module, you may want to rename the file before uploading it to OneDrive. This will ensure that you are using a fresh copy of the data. If you receive an error Request failed with status code 400, there is an extra column added by a previous Power Apps use of the file. To fix, delete the last column with the Power Apps IDs.
Create a Canvas app
Starting from the Power Apps Maker Portal (make.powerapps.com), select the Create tab.
In the Create popup window, select Start with a blank canvas app.

In the Start with a blank canvas pop-up window that appears, select Tablet size.
You're navigated to the Power Apps editing canvas. If the Welcome to Power Apps Studio pop up appears, you can select Skip.
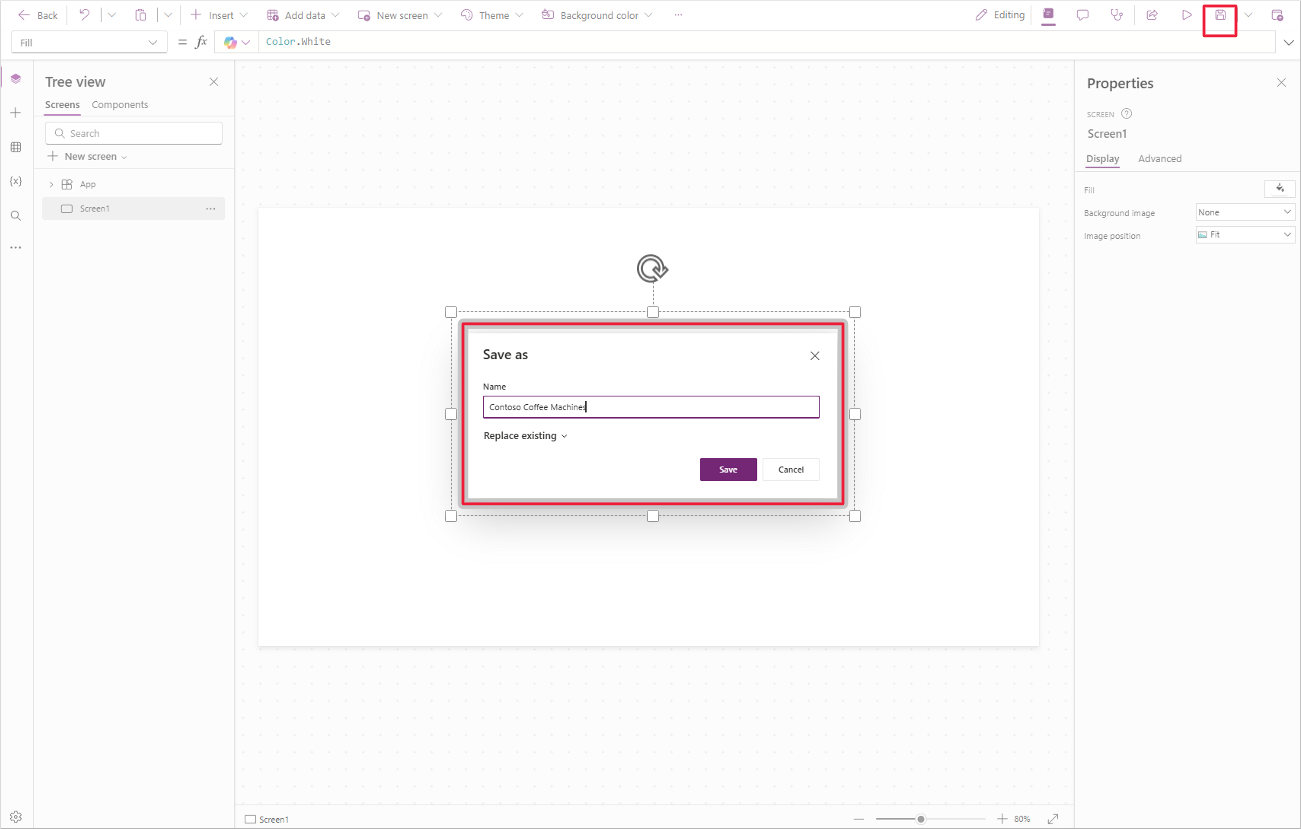
Select Save from the top right of the screen, and in the Save as window name your app Contoso Coffee Machines. Select Save.
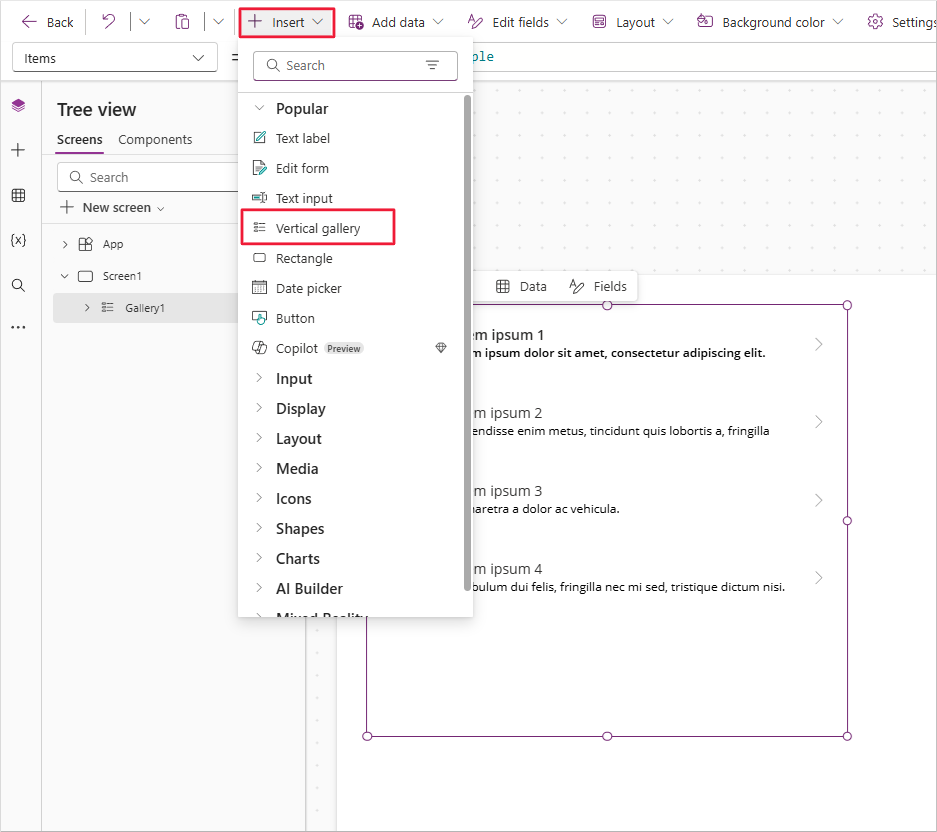
Begin by creating a gallery to view the data records. Select the Insert button from the command bar, and find and select Vertical gallery. This is the same type of gallery that Power Apps automatically created for you in the mobile app.
A control called Gallery1 appears on your screen. It isn't currently connected to data, so Power Apps prompts you to Select a data source. With all the different types of data, you need to tell Power Apps what type of data you want to connect. In this case, you'll connect to the Excel spreadsheet that you saved to OneDrive with the OneDrive for Business connection. This connection allows you to access documents from your business OneDrive account and any SharePoint document library that you have access to.
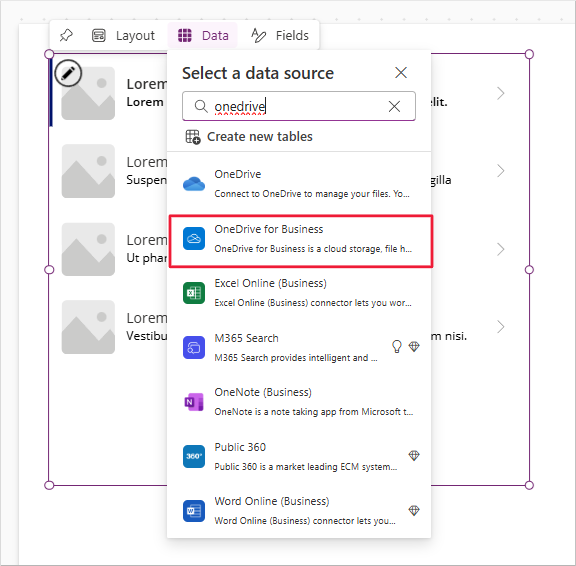
Find and select OneDrive for Business. You can enter OneDrive in the search field to quickly locate it. You might need to then select Add a connection and authenticate your connection to it.
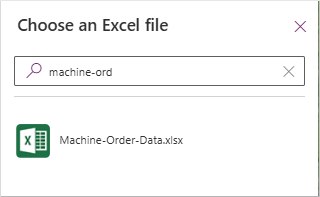
Once you complete the connection to OneDrive for Business, a panel appears on the right side of the screen prompting you to Choose an Excel file. Find and select the Excel document that you copied to your OneDrive called "Machine-Order-Data.xlsx." If you're having trouble finding it, you can enter the file name in the search field to narrow the choices.
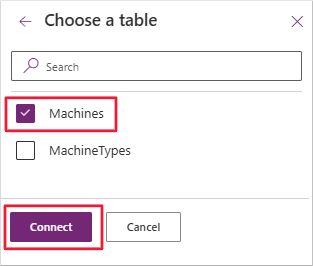
After you select the "Machine-Order-Data.xlsx", the panel prompts you to Choose a table. There should be a two options: "Machines" and "MachineTypes." Select the box next to "Machines" and then select the Connect button from the bottom of the panel.
You'll receive a notice that the data source was added to your app.
Select your gallery once more. On the right side of the screen is a Properties panel for your gallery control. Ensure that the Data source is set to your Machines. If your gallery didn't populate with the picture, title, and price, add those now by following the same instructions that you used with the mobile app, above. (Hint: use ThisItem.'Machine Name', ThisItem.Price, and ThisItem.Photo.)
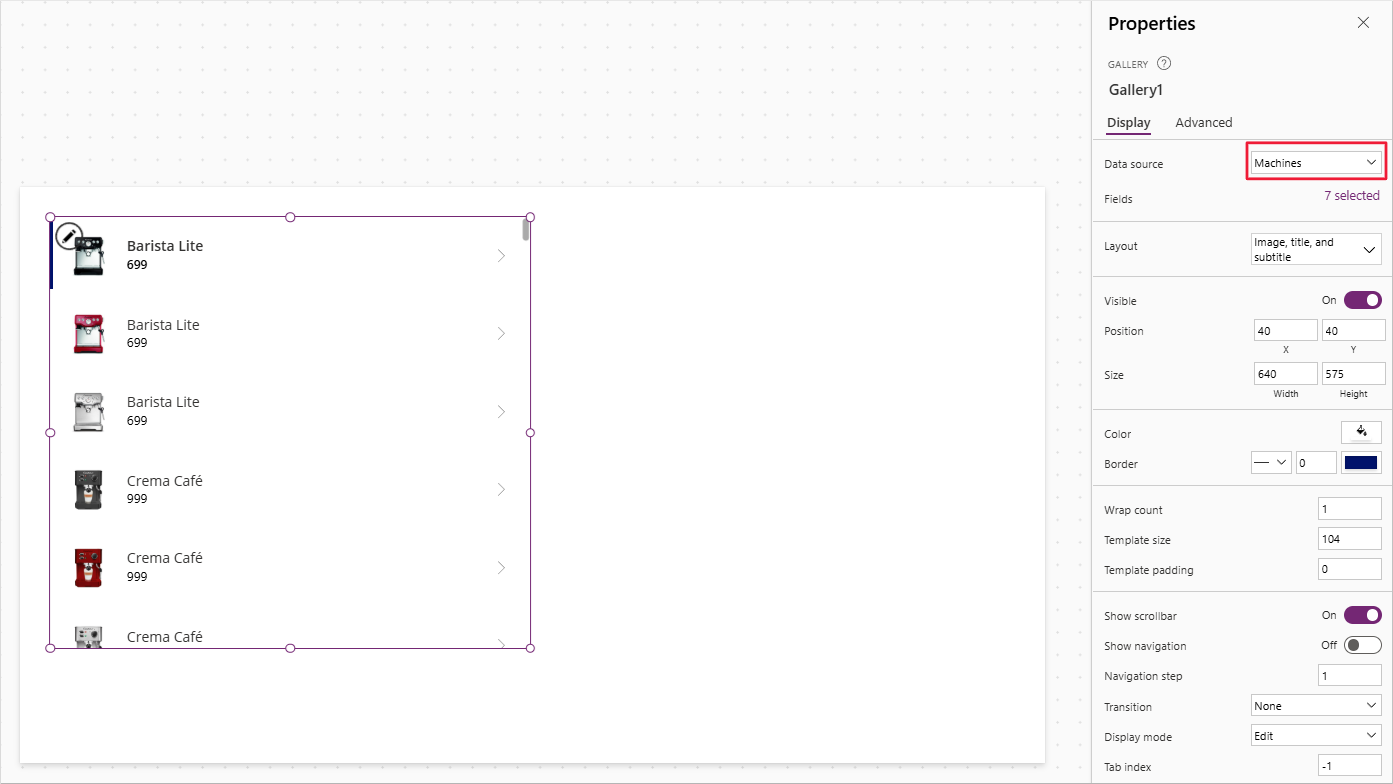
Resize your gallery to stretch to the bottom of the screen and to touch the left side of the screen.
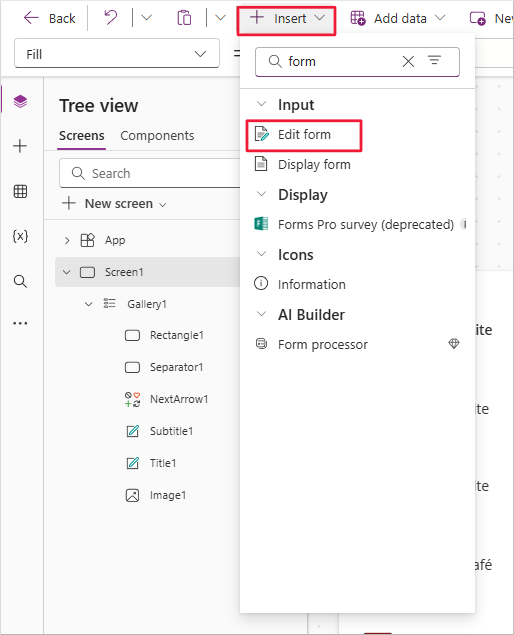
Now you can add a form control to update the data displayed in the gallery. Select on a blank part of the screen to deselect the gallery and then select the Insert button from the header menu. Find and select Edit form.
The control Form1 appears on your screen. Drag it to the right half of your screen and reposition and resize it so that it takes up the right half of your screen.
Notice that the new form prompts you to Connect to data. With the form control selected, look at the Properties panel on the right side of the screen. Directly under Properties, you see Data source and a dropdown saying None. Select the dropdown and select the Machines table.

Now you can add fields to your form, since it's currently blank. In the Properties panel, select the link to Edit fields. It's just below the Data source dropdown.
In the Fields popup panel, select the Add field button.
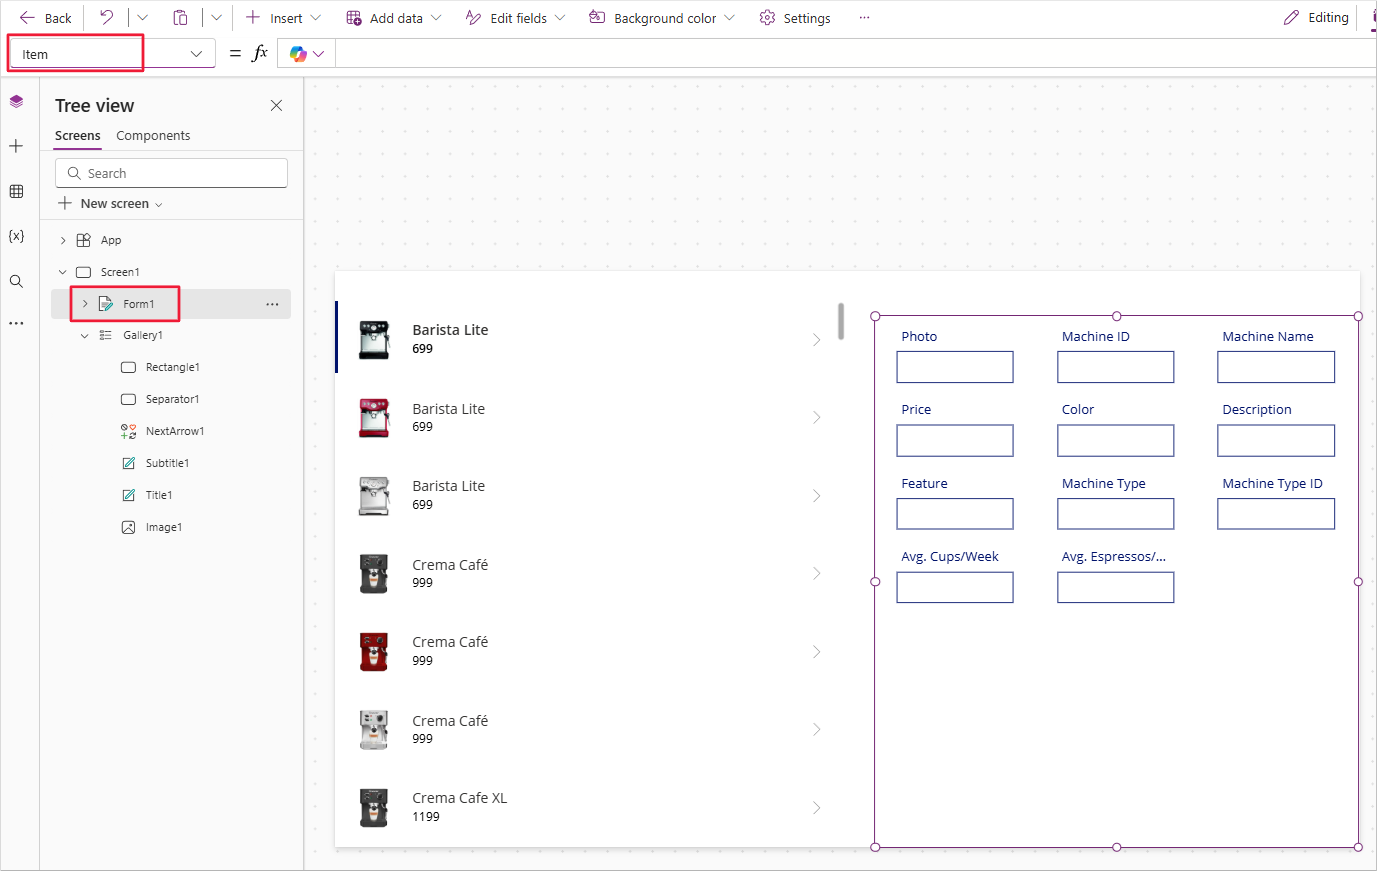
Check the box next to each of the following fields under Choose a field: Photo, Machine ID, Machine Name, Price, Color, Description, Feature, Machine Type, Machine Type ID, Avg. Cups/Week, and Avg. Espressos/Week. Be sure to check them in the order listed. You may need to scroll down to see them all. Then select Add. You can close the Fields panel.

Your form now shows input fields arrayed in a three-column format. Notice that it added the fields in the order in which you selected them. All the fields should be blank.
Next, you can designate which item of our data to display in the form. Look at the Gallery control on the left of your screen. The Gallery shows all the coffee makers, so you want the form to show one of these. With your form selected, go to the formula (fx) bar at the top of the screen. To the left of the formula bar, there's a dropdown to find the properties for the Form control. Select the dropdown and find/select the Item property.
In the Item field in the fx formula input box, enter
Gallery1.Selected. You should immediately see data populating the fields of your form.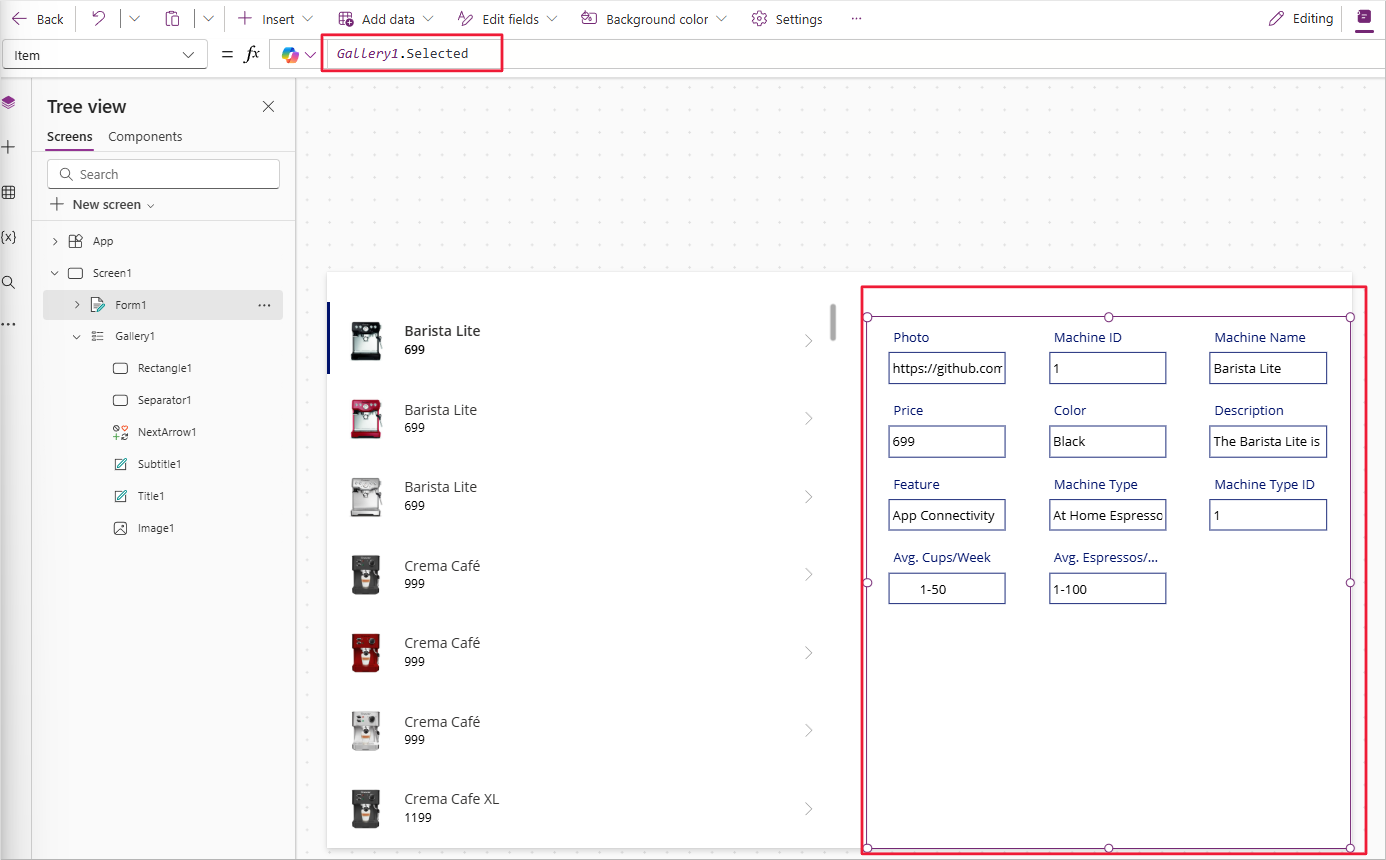
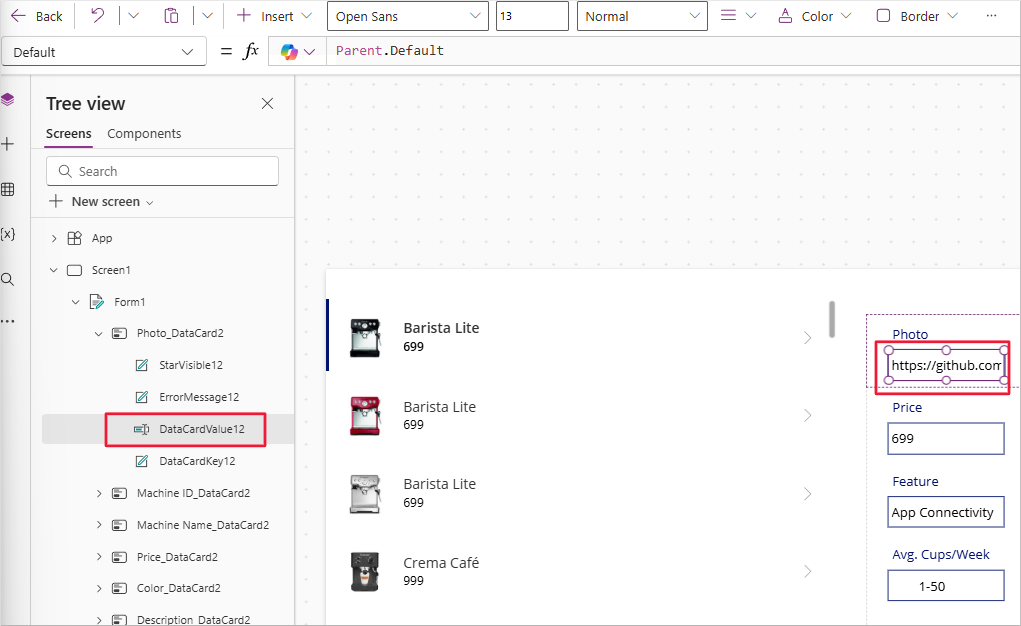
The photo image was added as a text box rather than an image control. That's why you can see the URL for the image rather than the image, itself. You can fix this by selecting the photo datacard (in the example, Photo_DataCard2). Within the photo datacard, select the data card value (in the example, DataCardValue12). Delete the data card value.
When you delete the data card value a couple of red x's will appear on the canvas, indicating that there are formula errors. You can fix those in just a moment. But first, select the photo datacard again, and then select Insert. Search for the word image, and select Image.
You'll receive a pop-up error message that the Data card is locked. You'll need to unlock the data card before you can insert an image control. Select Unlock and add. An image control should now be inserted into the photo data card.
Select your newly inserted Image control and in the formula bar enter
ThisItem.Photo. Your screen should look like the image below.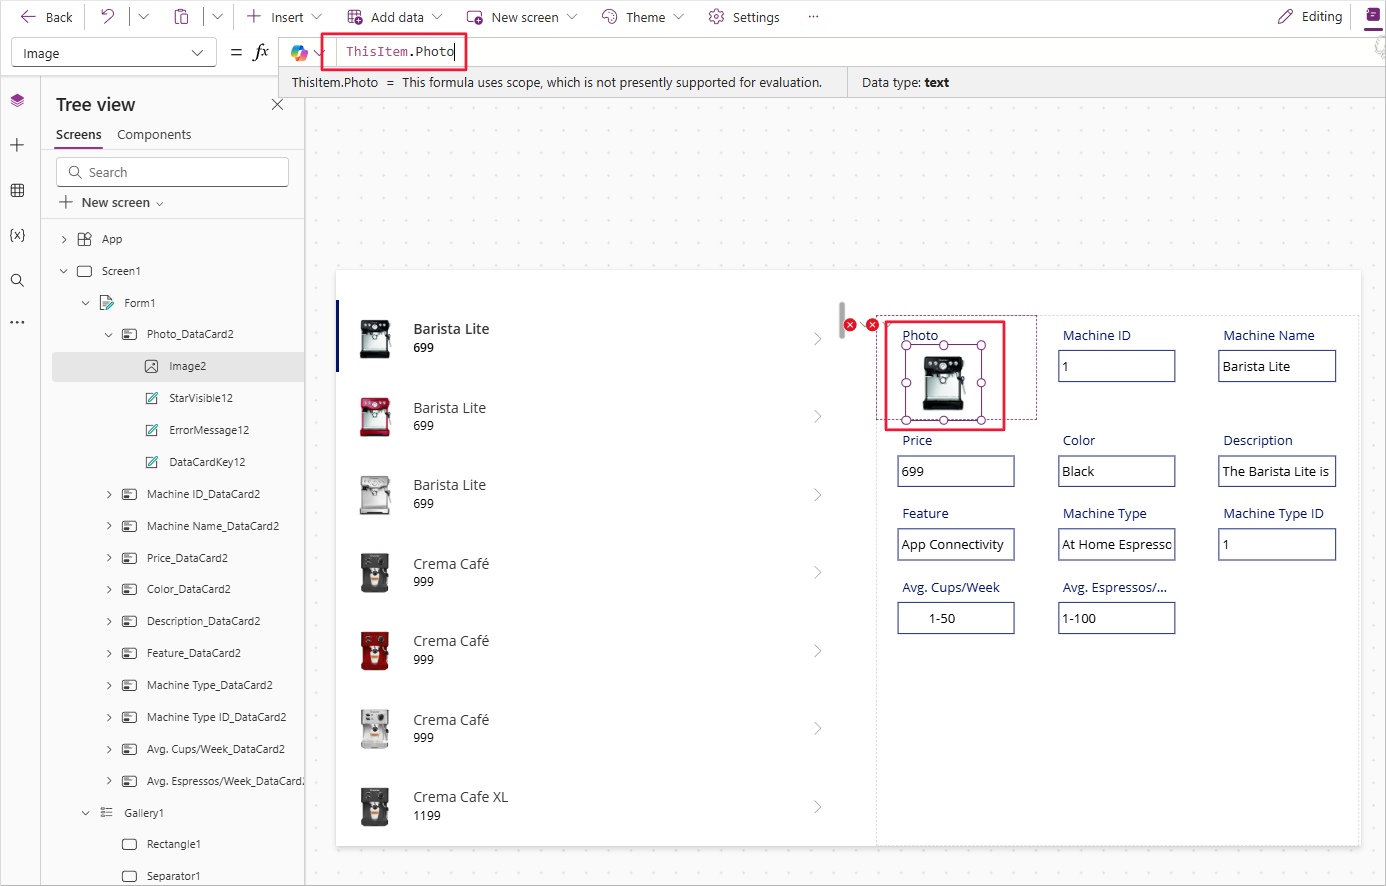
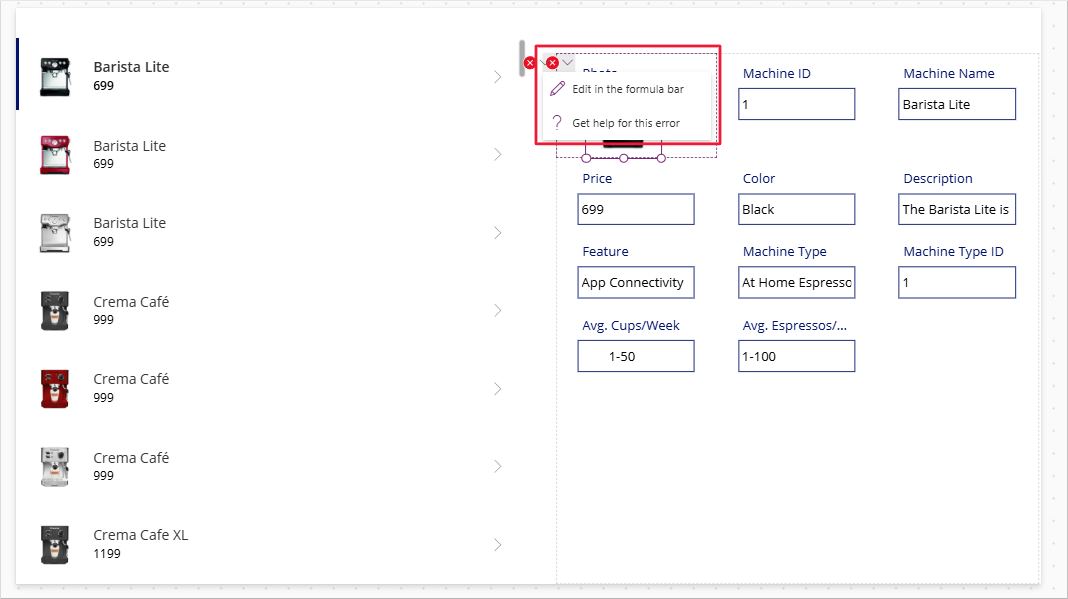
Now, you can fix the formula errors that appeared when you deleted the image text input data card value. Select on the right-most red x and then select Edit in formula bar.
The formula bar is showing
DataCardValue12.Y + DataCardValue12.Height(or the equivalent name of the data card values that you deleted previously). You'll recall that DataCardValue12 is the data card that you deleted. Change the formula to delete reference to the data card value and include the name of your image control. In the example, the image control is Image2, so the updated formula would beImage2.Y + Image2.Height. (Your formula should include your actual image name.) The first error warning disappears.Select the remaining error warning (the red x), and again select Edit in formula bar. The formula bar shows the Update property is set to
DataCardValue12.Text. Delete the data card value in the formula and again replace it with the name of your image control. In the example, the formula would be updated toImage2.Text.The error didn't disappear this time because the image doesn't have a property called text. You'll need to further edit the formula. Change the formula to
Image2.Image. The formula error warning should now disappear.Preview your app by either selecting the "Play" icon from the top right of the command bar, pressing the F5 function key, or selecting and holding the Alt key while clicking on controls. With your app in preview mode, try scrolling through your gallery and selecting a few different coffee makers. Observe how it populates the form with the item you select.
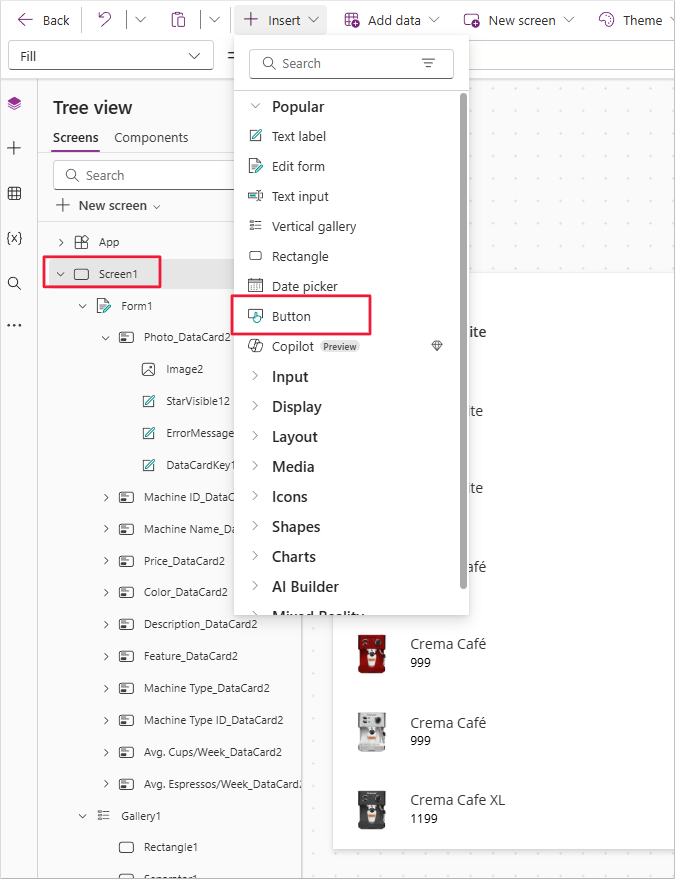
Next, you'll add a button control to save any changes you make to the data. First, select Screen1 from the Tree view pane. Select the Insert button from the command bar and find and select Button.
Adjust the size and location of the button and form so that the button is immediately below the form on the right hand side of the screen.
Change the button's text from "Button" to "Save changes." In the Properties panel on the right, the first item is the Text property. Replace "Button" with "Save Changes" and enter it.
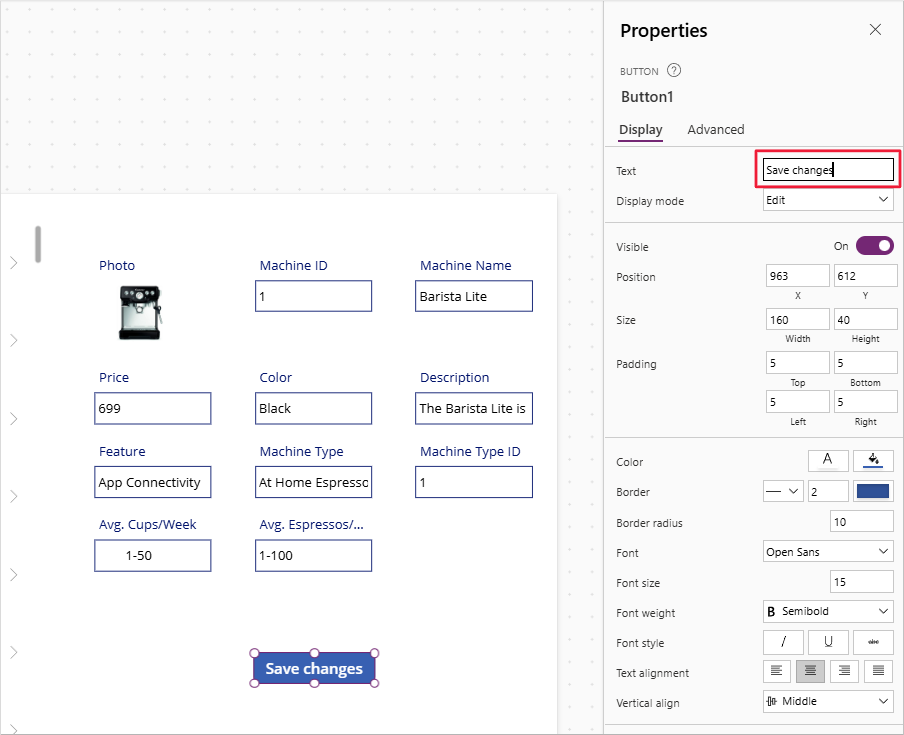
With your button control selected, go up to the fx formula bar. Change the OnSelect property from "false" to read
SubmitForm(Form1). (If your form isn't named Form1, use the actual name of your form.)Now, place your app in Preview mode again. And update one of the fields in your form, such as the Machine Price. Press your Save button to record the changes.
Next you'll add a header for your app. Select Screen1 in the Tree view pane. Select the Insert button again and find and select a Rectangle control.
Place the rectangle control in the top left corner of your screen and stretch it so that it spans all the way from the left to the right side of the screen. In the properties panel for your rectangle, find the Height input field and enter 75.

Tip
Any item in the properties panel has a corresponding value viewable in the formula (fx) bar. If you can't find it in the properties panel, you can select the dropdown just to the left of the formula bar input field. In this case you could find/select the Height property.
Now resize your gallery and form controls so that they fit just under the rectangle.
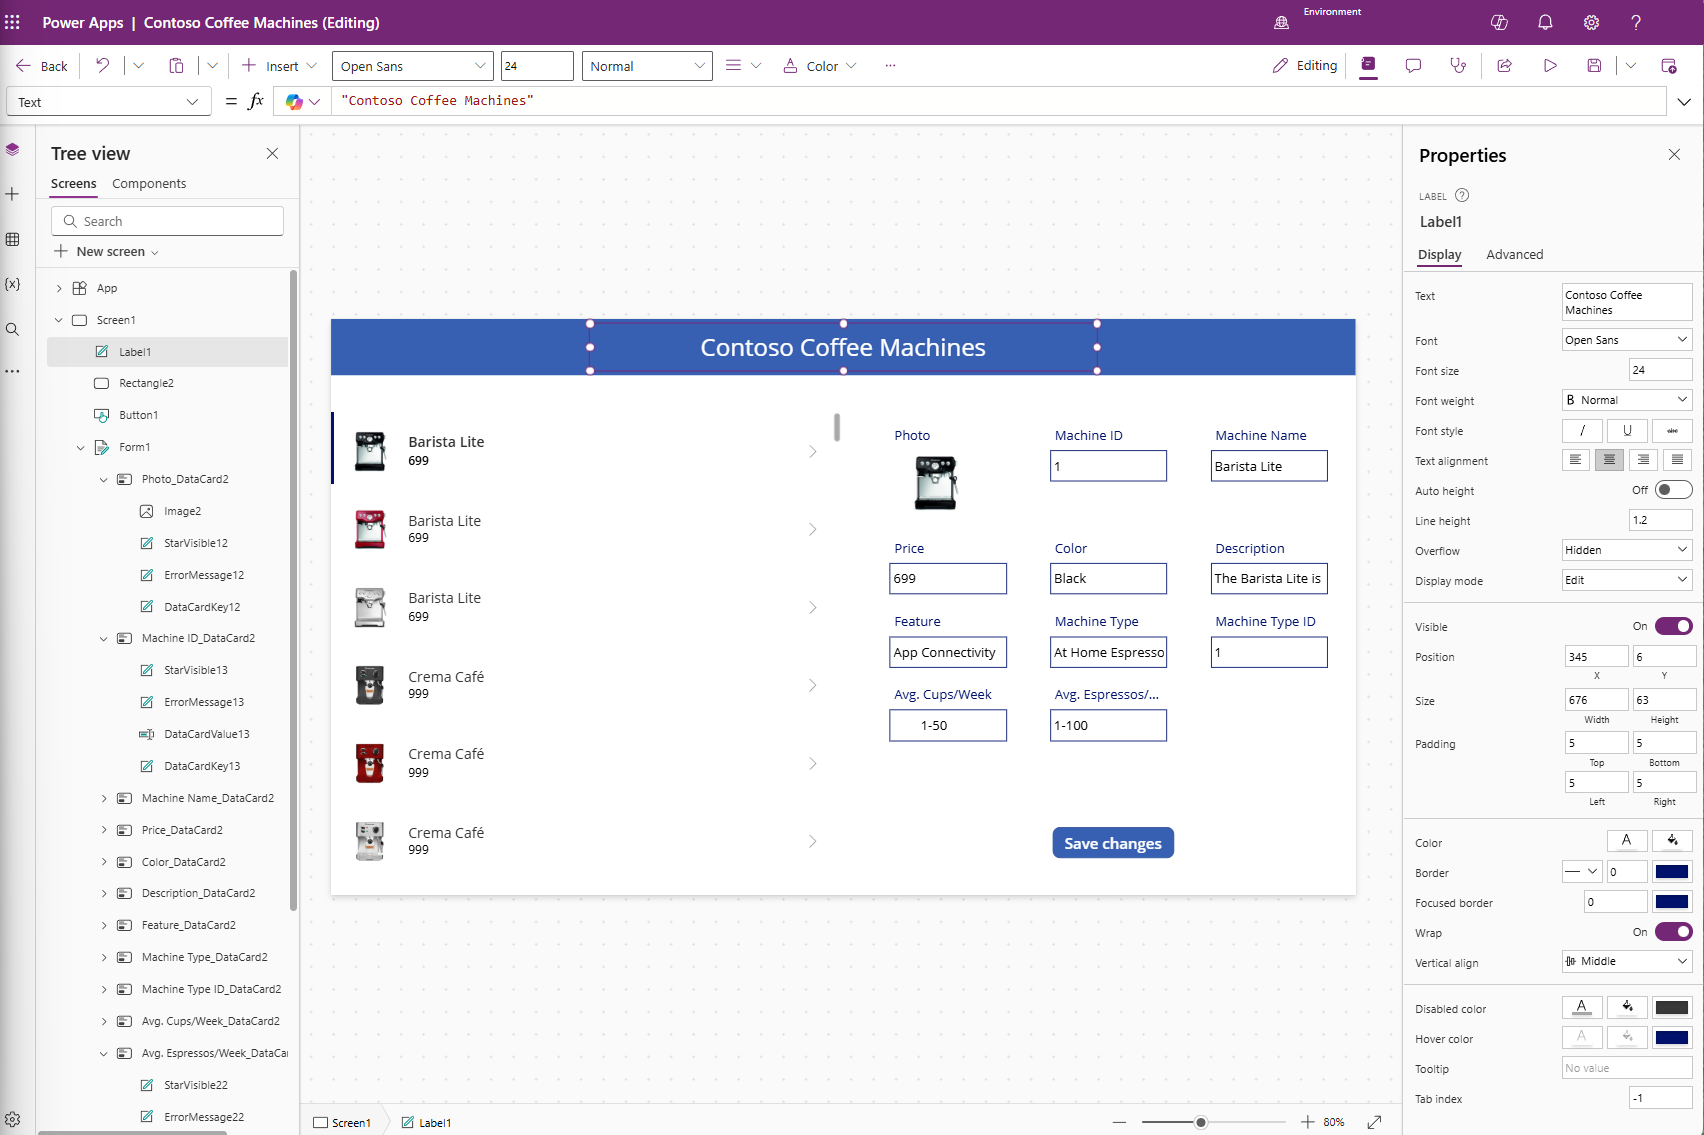
Insert a Text label control. Change the Text property to read "Contoso Coffee Machines."
Next adjust the Size of your label control to be font size 24, and then resize the control so that the title fits on a single line.
Next, change the font color by selecting the Color setting in the command bar. Under Standard colors, select the circle that is white.
With the label still selected, find the Text alignment in the properties pane. Change the alignment to be centered.
Finally, reposition your label control so that it's centered in the middle of the screen in the middle of the rectangle. Notice how dashed lines appear as you approach the center of your screen to help you align the label. Your screen should look like the image below.


You’ve now built a single-screen canvas app from scratch that reads and updates coffee machine data. In the next unit, you'll build on this app to learn additional Power Apps concepts.