Exercise – Create a GitHub account and an initial repository
In this unit, you'll be working with the GitHub site and the web interface. If you already have a GitHub account and know your sign in credentials, you can skip to Create an initial repository.
Create a GitHub account
Creating a GitHub account is free, and creation is quick. While there are many different versioning systems available, for this project you'll be using GitHub.
In a browser, go to https://github.com
Select Sign up.
Enter your email address (you’ll need access to this email in a few steps).
Create a password.
Note
GitHub requires that your password is at least 15 characters OR at least 8 characters including a number and a lowercase letter.
Create a user name.
Decide if you want to receive product updates.
Complete the captcha.
Select Create account.
Check your email and enter your launch code.
Note
In the next step, you can choose to personalize your GitHub experience or skip the personalization. The decision won’t impact your completion of this project.
Enter the personalization questions or select Skip personalization.
Create an initial repository
If you already have a GitHub account with repositories in it, you'll want to create a new repository anyway to avoid trouble with your existing data.
Select Create repository.
Set your GitHub username as the repository owner.
Enter learn-git as the repository name.
Note
If you already have a learn-git repository in your account, you can delete and recreate the learn-git repository, or you'll need to modify the commands later in this module based on the repository name you end up using.
Set the visibility to Private.
Important
Anyone is able to access a public repository. The privacy setting can be changed within the GitHub web interface.
Select Add a README file.
Leave the remaining settings as default.
Select Create repository.
Use the GitHub web interface to edit your README.md
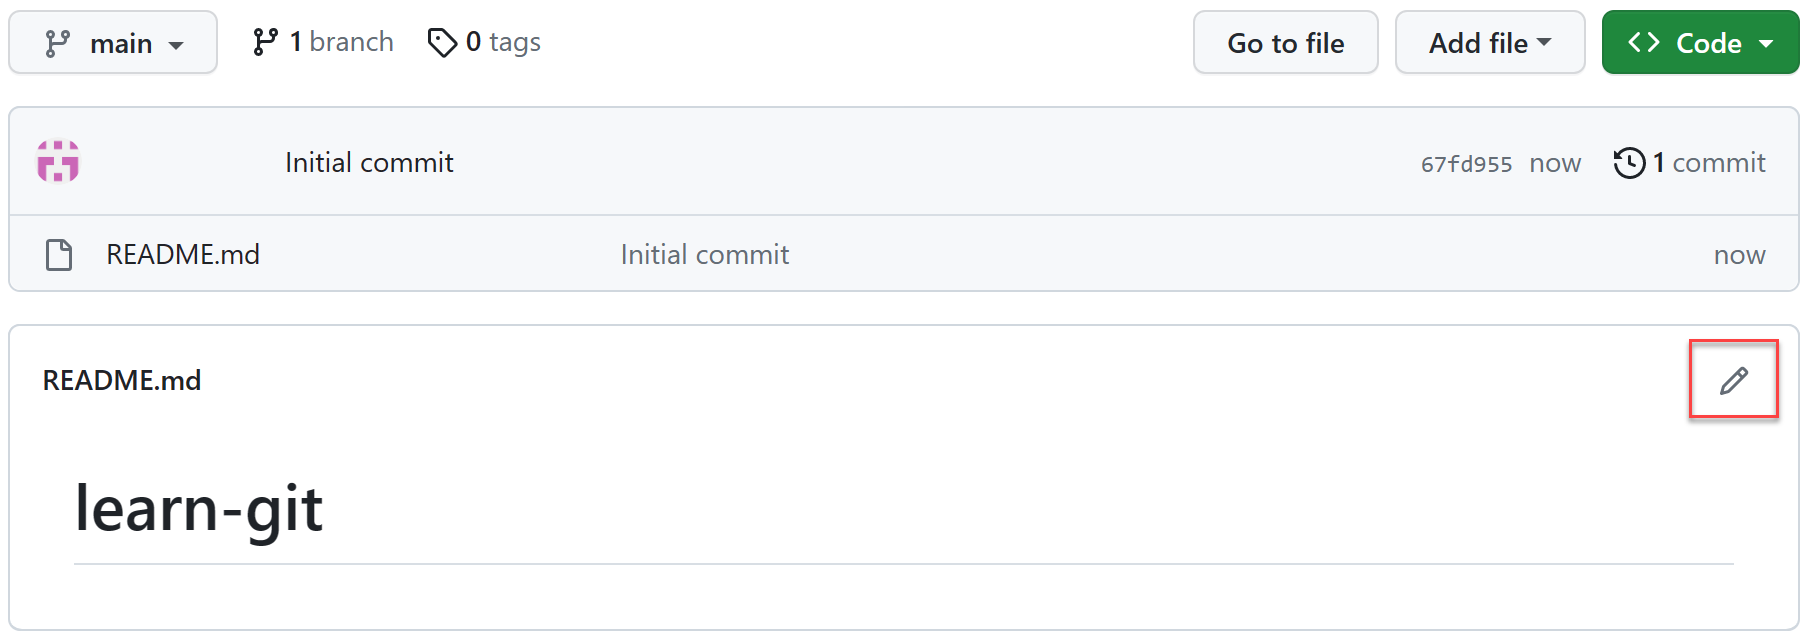
Select the edit icon for the readme file.

Copy the following text into the readme file.
This project is designed to help learn basic Git commands using the GitHub platform. Throughout this project, files and branches will be created and merged. The premise of the project is creating a grade database for a teacher to help organize student grades.Select Commit changes.
Review the commit comment. This is where you'd enter a custom commit message that others would read when checking what changes you had made.
Select Commit changes.
Use the GitHub web interface to create a new file
Select Add file.
Enter grade-template.md as the file name.
Paste the following into the file.
| Student | Grade |
|----------|----------|
| Ronak | grade |
| Nao | grade |
| Quinn | grade |
| Sasa | grade |
| Mingkwan | grade |
Select Commit changes.
Review the commit comment.
Select Commit changes.
Congratulations - you've created a git repository including a README.md file and a project file. You've update the contents of both files and committed them to the main branch of the learn-git repository.