Exercise – Update files locally, and then update the web-based repository
Now that you have the local repository set up on your computer, it’s time to start plugging in the grades for the different projects and students.
One of the benefits of using Git is that you can make your changes in a branch, and then merge that branch back into the main branch if you’re happy with the changes you’ve made. While entering grades may not require that level of safety, when working with application code, the ability to view and test your changes before moving them to the main branch can be critical.
You’re about to get the first set of grades. Before you enter them in, you need to create a new branch (so you don’t overwrite anything on accident) and change branches so you’re working in the new branch.
Based on the teacher's instructions, you should create a new branch titled project1.
If you still have Visual Studio Code open from the previous exercise, you can skip to:
Open Visual Studio Code
- Launch Visual Studio Code.
- On the menu bar, select Terminal > New Terminal or use the hotkey combination CTRL ` (control backtick) to open the terminal in Visual Studio Code.
- Change the terminal type to Git Bash.
- In the terminal window, enter
cd c:/git-repos
Open your local repository in VS Code File Explorer
- In the Visual Studio Code menu, go to File, Open Folder or use the hotkey sequence CTRL O followed by CTRL K.
- Navigate to c:\git-repos and select learn-git.
- Click Select folder.
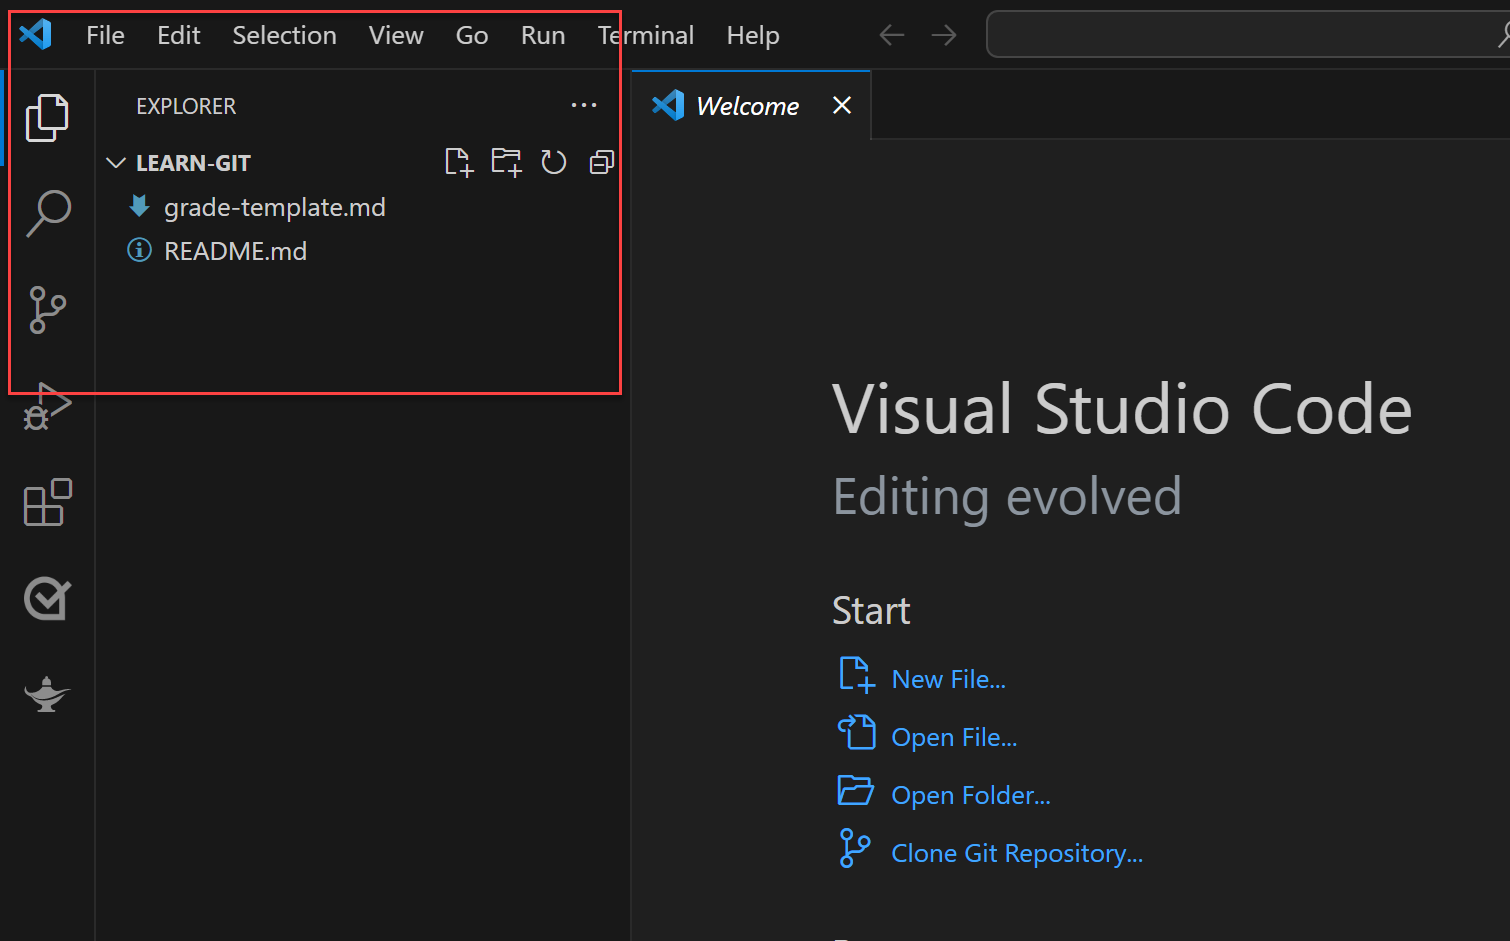
The explorer view should update to show your README.md file and your grade-template.md file. Your terminal window will likely be closed. Re-open the terminal window with the CTRL ` (control backtick) hotkey and change back to Git Bash if that's not your default.
Create a new branch
You’ll use the command line to issue both Git and Bash commands to create a new branch, change to the new branch, and then make a copy of the template file.
| Command | Action |
|---|---|
git branch project1 |
Creates a new branch called project1 in your local repository. |
git checkout project1 |
Changes your working area to the newly created branch. |
cp grade-template.md project1.md |
Makes a copy of the grade-template.md file named project1.md. |
Note
Visual Studio Code shows the letter U next to the file. This indicates the file is untracked, meaning it’s not part of the repository.
| Command | Action |
|---|---|
git add project1.md |
Stages the project1.md file to be added to your local repository with a commit. |
git commit -m “adding the project 1 file” |
Commits the changes to your local repository. |
Good job! The branch (project1) and the new file (project1.md) have been added to the local repository. However, the remote (GitHub) repository doesn’t know about the new branch or file. If anything happens to your computer, any work not pushed to the remote would be lost. Now add the new branch you've just created to the remote repo.
| Command | Action |
|---|---|
git push -u origin project1 |
Pushes the new branch back to the remote server, in this case, GitHub. |
Now, you’ve created a new branch in your local Git repo, you’ve shifted to that branch for your work, and you’ve made a new file called project1.md for the grades.
Select the project1.md file in the Visual Studio Code explorer view and update the grades. You can either manually type them in, or you can copy and paste the following code. If you copy and paste, make sure to erase what's there before pasting in the following code.
| Student | Grade |
|----------|----------|
| Ronak | 15 pts |
| Nao | 18 pts |
| Quinn | 13 pts |
| Sasa | 12 pts |
| Mingkwan | 15 pts |
| Command | Action |
|---|---|
| File, Save (or CTRL S) | Saves the changes to the file to your local computer, but not to your repository. |
Note
The file now has an M indicator in the Visual Studio Code explorer view. The M indicates the file has been modified. The indicator will remain until you commit the changes to your local repository.
| Command | Action |
|---|---|
git add project1.md |
Stages the project1.md file to be updated to the repository during the next commit. |
git commit -m “updating the project1.md file with grades” |
Commits the staged changes to the local repository. |
git push |
Pushes the current branch of your local repository to your remote (GitHub) repository. |
Good job! You've updated your grade file, committed it to your local repository, and even synchronized your local repository with your remote repository.
Now it's time to go through the same process for the second project. This time, you'll just get the commands to use, without images to help you out. You can always review the steps for project1 if you need help.
Important
When you create a new branch, Git copies your current branch to make the new branch. Always check which branch you’re working from before creating a new branch. Git status will tell you, and the branch is also indicated in the Visual Studio Code command line.
Create the second project
| Command | Action |
|---|---|
git checkout main |
Changes back to the main branch, so project2 is based on the main branch. |
git branch project2 |
Creates a new branch called project2 in your local repository. |
git checkout project2 |
Changes your working area to the newly created branch. |
cp grade-template.md project2.md |
Makes a copy of the grade-template.md file named project2.md. |
git add project2.md |
Stages the project2.md file to be added to the repository during the next commit. |
git commit -m “adding grade file for project 2” |
Commits the staged changes to the local repository. |
git push -u origin project2 |
Pushes the current branch of your local repository to your remote (GitHub) repository. |
| Student | Grade |
|----------|----------|
| Ronak | 12 pts |
| Nao | 15 pts |
| Quinn | 18 pts |
| Sasa | 14 pts |
| Mingkwan | 13 pts |
| Command | Action |
|---|---|
| File, Save (or CTRL S) | Saves the changes to the file to your local computer, but not to your repository. |
git add project2.md |
Stages the project2.md file to be updated in the repository during the next commit. |
git commit -m “updating the project2.md file with grades” |
Commits the staged changes to the local repository. |
git push |
Pushes the current branch of your local repository to your remote (GitHub) repository. |
Nice! You've now entered the information for the second project, ensured your local repository is up to date, and then pushed the project2 branch to the remote repo.
Create a branch for the third and fourth projects
Instead of creating individual branches for projects 3 and 4, lets just create one branch and handle both files within the single branch. You're going to use a few shortcuts in this section. First, you'll use a shortcut that lets you create a new branch and immediately switch to it, and then you'll add all of the changed files at once, instead of one at a time.
| Command | Action |
|---|---|
git checkout main |
Changes back to the main branch, so project34 is based on the main branch. |
git checkout -b project34 |
Creates a new branch (project34) and immediately switches to the new branch. |
cp grade-template.md project3.md |
Pushes the current branch of your local repository to your remote (GitHub) repository. |
cp grade-template.md project4.md |
Stages the project2.md file to be added to the repository during the next commit. |
git add . |
Stages all of the files that have been created, modified, or deleted. |
git commit -m “adding files for projects 3 and 4” |
Commits the staged changes to the local repository. |
git push -u origin project34 |
Pushes the current branch of your local repository to your remote (GitHub) repository. |
Update the grades for projects 3 and 4 using the same method as for projects 1 and 2.
Project 3 grades
| Student | Grade |
|----------|----------|
| Ronak | 18 pts |
| Nao | 12 pts |
| Quinn | 9 pts |
| Sasa | 15 pts |
| Mingkwan | 12 pts |
Project 4 grades
| Student | Grade |
|----------|----------|
| Ronak | 12 pts |
| Nao | 12 pts |
| Quinn | 17 pts |
| Sasa | 16 pts |
| Mingkwan | 17 pts |
Now save both of the files. Then, continue with the final commands for this unit.
| Command | Action |
|---|---|
git add . |
Stages all of the files that have been created, modified, or deleted. |
git commit -m “updating grades for projects 3 and 4” |
Commits the staged changes to the local repository. |
Note
You may have noticed you didn't push the final changes to project34 to the remote on GitHub. Don't worry, that was intentional. You'll take care of that soon.
Congratulations – you’ve now created multiple new branches, synchronized those branches back to the remote repository, added files to the branches, and committed local changes to the local repository. You’ve accomplished all of this using the Git command line and Visual Studio Code!