Exercise - Create alias records for Azure DNS
Your new website's deployment was a huge success. Usage volumes are higher than anticipated. The single web server on which the website runs is showing signs of strain. Your organization wants to increase the number of servers and distribute the load using a load balancer.
You now know you can use an Azure alias record to provide a dynamic, automatically refreshing link between the zone apex and the load balancer.
In this unit, you'll:
- Set up a virtual network with two VMs and a load balancer.
- Learn how to configure an Azure alias at the zone apex to direct to the load balancer.
- Verify that the domain name resolves to one or either of the VMs on your virtual network.
Set up a virtual network, load balancer, and VMs in Azure
When you manually create a virtual network, load balancer, and two VMs, it takes some time. To reduce this time, you can use a Bash setup script that's available on GitHub. Follow these instructions to create a test environment for your alias record.
In Azure Cloud Shell, run the following setup script:
git clone https://github.com/MicrosoftDocs/mslearn-host-domain-azure-dns.gitTo run the setup script, run the following commands:
cd mslearn-host-domain-azure-dns
chmod +x setup.sh
./setup.sh
The setup script takes a few minutes to run. The script:
- Creates a network security group.
- Creates two network interface controllers (NICs) and two VMs.
- Creates a virtual network and assigns the VMs.
- Creates a public IP address and updates the configuration of the VMs.
- Creates a load balancer that references the VMs, including rules for the load balancer.
- Links the NICs to the load balancer.
After the script completes, it shows you the public IP address for the load balancer. Copy the IP address to use it later.
Create an alias record in your zone apex
Now that you created a test environment, you're ready to set up the Azure alias record in your zone apex.
In the Azure portal, select Resource groups. The Resource groups pane appears.
Select the resource group:
[sandbox resource group] . The Resource group pane appears.In the list of resources, select the DNS zone you created in the previous exercise, wideworldimportsXXXX.com. The wideworldimportsXXXX.com DNS zone pane appears.
In the menu bar, select + Record set. The Add record set pane appears.
Enter the following values for each setting to create an alias record.
Setting Value Name Leave the name blank. Blank indicates the DNS zone for wideworldimportsXXXX.com. Type A. Even though we're creating an alias, the base record type must still be either A, AAAA, or CNAME. Alias record set Yes Alias type Azure resource Azure resource From the list of resources, select myPublicIP. It can take up to 15 minutes for the deployments to propagate. If this resource isn't listed, wait several minutes, refresh the portal, and try again. 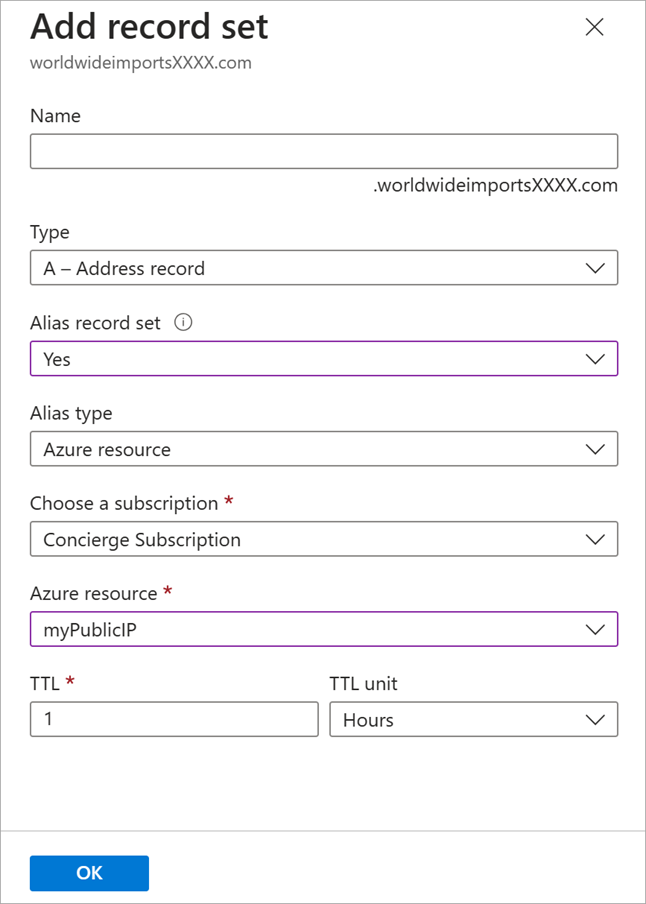
Select OK to add the record to your zone.
When the new alias record is created, it should look something like this:

Verify that the alias resolves to the load balancer
Now, you need to verify that the alias record is set up correctly. In a real-world scenario, you'd have an actual domain, and would complete the domain delegation to Azure DNS. You'd use the registered domain name for this exercise. Because this unit assumes there's no registered domain, you use the public IP address.
In the Azure portal, go to the resource group, select myPublicIP, then select the Copy icon next to the IP address.
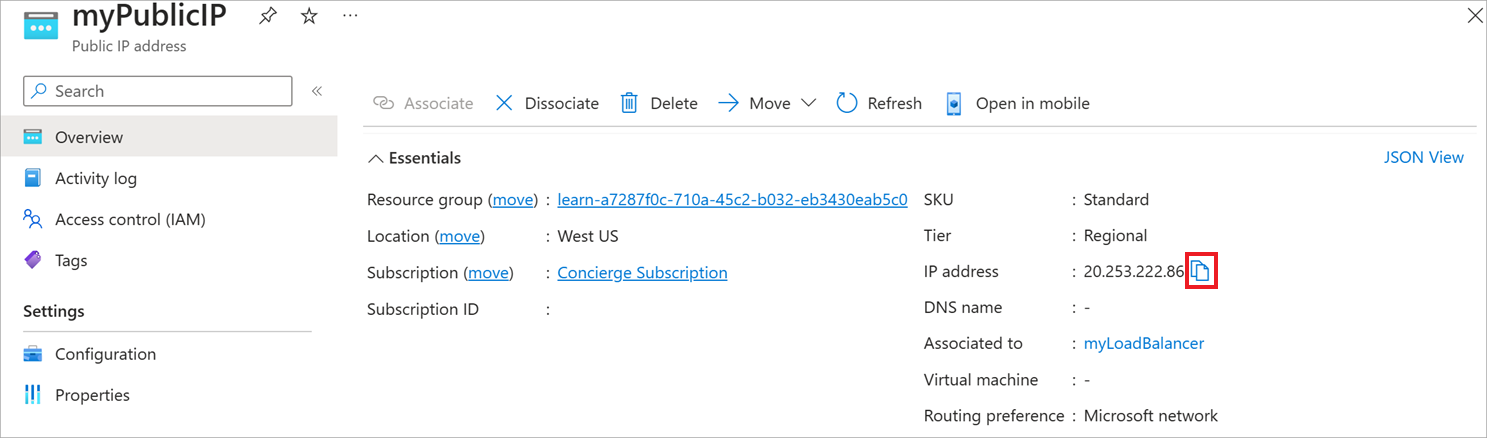
In a web browser, paste the Public IP address as the URL.
You see a basic web page that shows the name of the virtual machine (VM) to which the load balancer sent the request.