Configure custom Azure roles
If the Azure built-in roles don't meet the specific needs of your organization, you can create your own Azure custom roles. Just like built-in roles, you can assign custom roles to users, groups, and service principals at management group (in preview only), subscription and resource group scopes. Custom roles are stored in a Microsoft Entra ID and can be shared across subscriptions. Each directory can have up to 5000 custom roles. Custom roles can be created using the Azure portal, Azure PowerShell, Azure CLI, or the REST API.
Create the custom role from the user interface
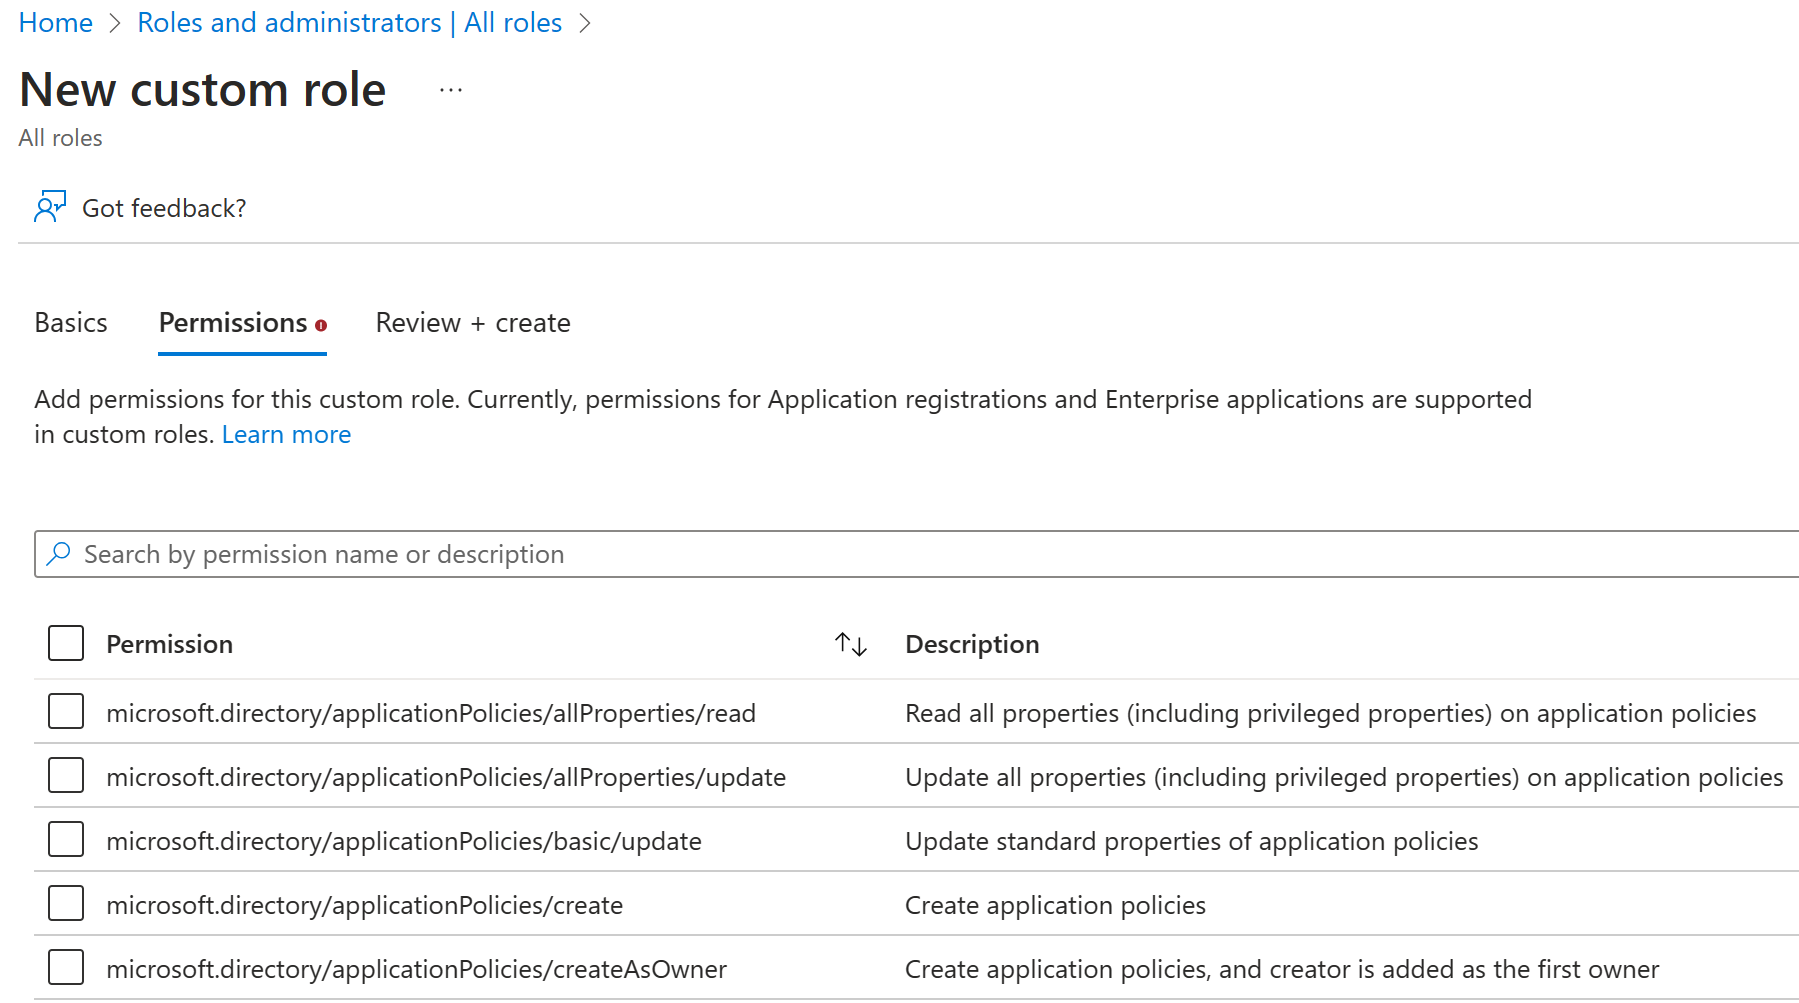
You would assign a custom role to a user, group, or other resource the same as you do for built-in. Your admin gets to control exactly with capabilities the custom role has access to. The principle of least privilege let's you pick just the capabilities you need. To create the custom role:
- Open Microsoft Entra admin center.
- From the Identity menu, Select Roles and administration.
- Select + New custom role.
- Then name and assign the capabilities needed.
Create a custom role from a JSON template
You can use a JSON file to create a custom role. Here's a sample:
{
    "properties": {
        "roleName": "Billing Reader Plus",
        "description": "Read billing data and download invoices",
        "assignableScopes": [
            "/subscriptions/your-subscription-number"
        ],
        "permissions": [
            {
                "actions": [
                    "Microsoft.Authorization/*/read",
                    "Microsoft.Billing/*/read",
                    "Microsoft.Commerce/*/read",
                    "Microsoft.Consumption/*/read",
                    "Microsoft.Management/managementGroups/read",
                    "Microsoft.CostManagement/*/read",
                    "Microsoft.Support/*"
                ],
                "notActions": [],
                "dataActions": [],
                "notDataActions": []
            }
        ]
    }
}
The asterisk (*) is used as a wildcard. If you need to assign all of the read permissions from the Billing resource that use this command Microsoft/Billing/*/read. The wildcard can exist at any level.