Access Azure resources with managed identities
Managed identities for Azure resources are a feature of Microsoft Entra ID. Each Azure service that supports managed-identities are subject to their own timeline. Make sure you review the availability status of managed identities for your resource and known issues before you begin. After you've configured an Azure resource with a managed identity, you can give the managed identity access to another resource.
Add access to other resources
After you've enabled managed identity on an Azure resource, such as an Azure App Service application or Azure virtual machine, you might need to grant access to more resources. Let's say you want add access to a storage account to your managed identity.
Sign in to the Azure portal using an account associated with the Azure subscription under which you've configured the managed identity.
Navigate to the desired resource on which you want to modify access control. In this example, we're giving an Azure virtual machine access to a storage account, so we navigate to the storage account.
Select Access control (IAM).
Select Add > Add role assignment to open the Add role assignment page.
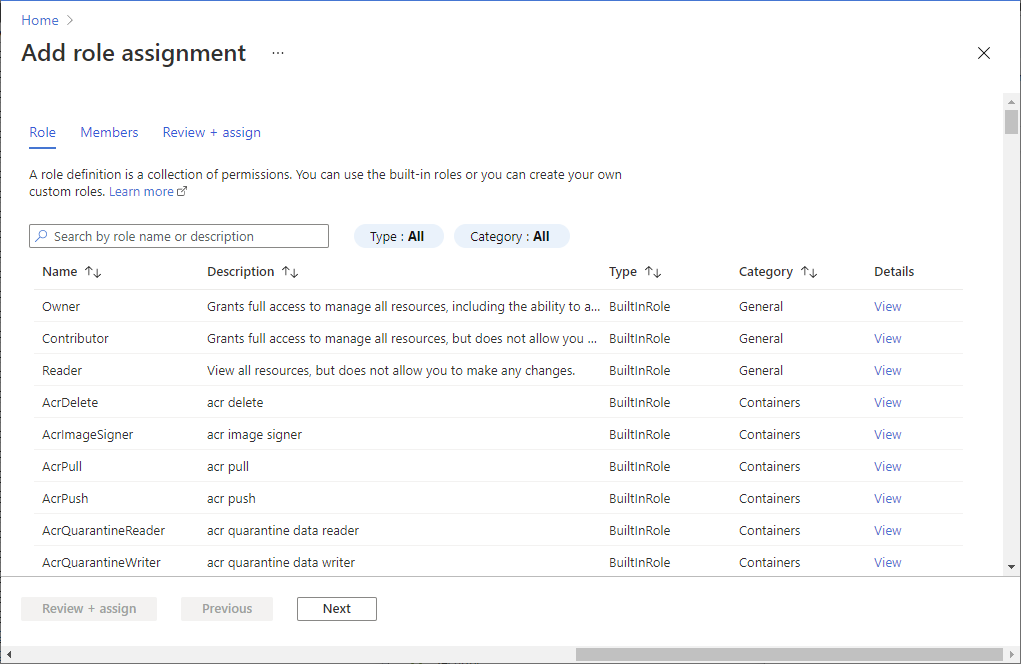
Pick the Owner, Contributor, or Reader based on the least privilege rules for your applications needs.
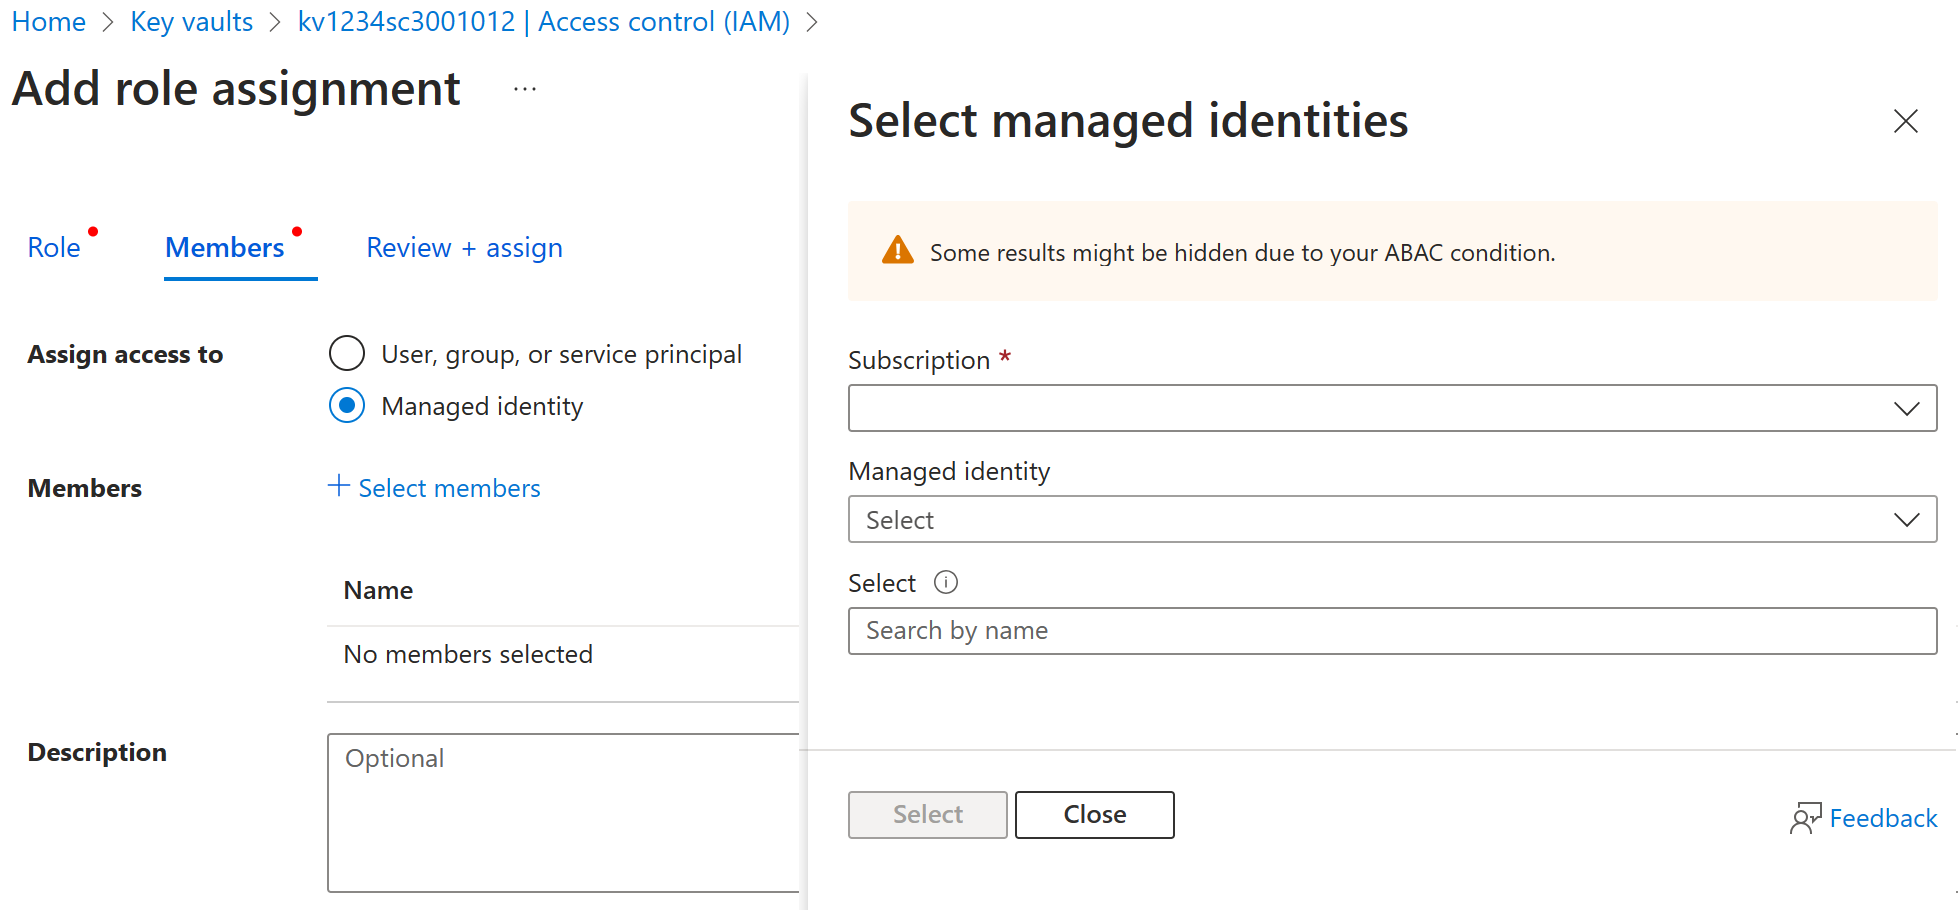
Select the managed identity you want assigned.
Complete the assignment with the Review + assign option.