Install Bicep
To start working with Bicep, install the Bicep CLI or the Visual Studio Code Extension. Having both installed will provide an enhanced authoring experience.
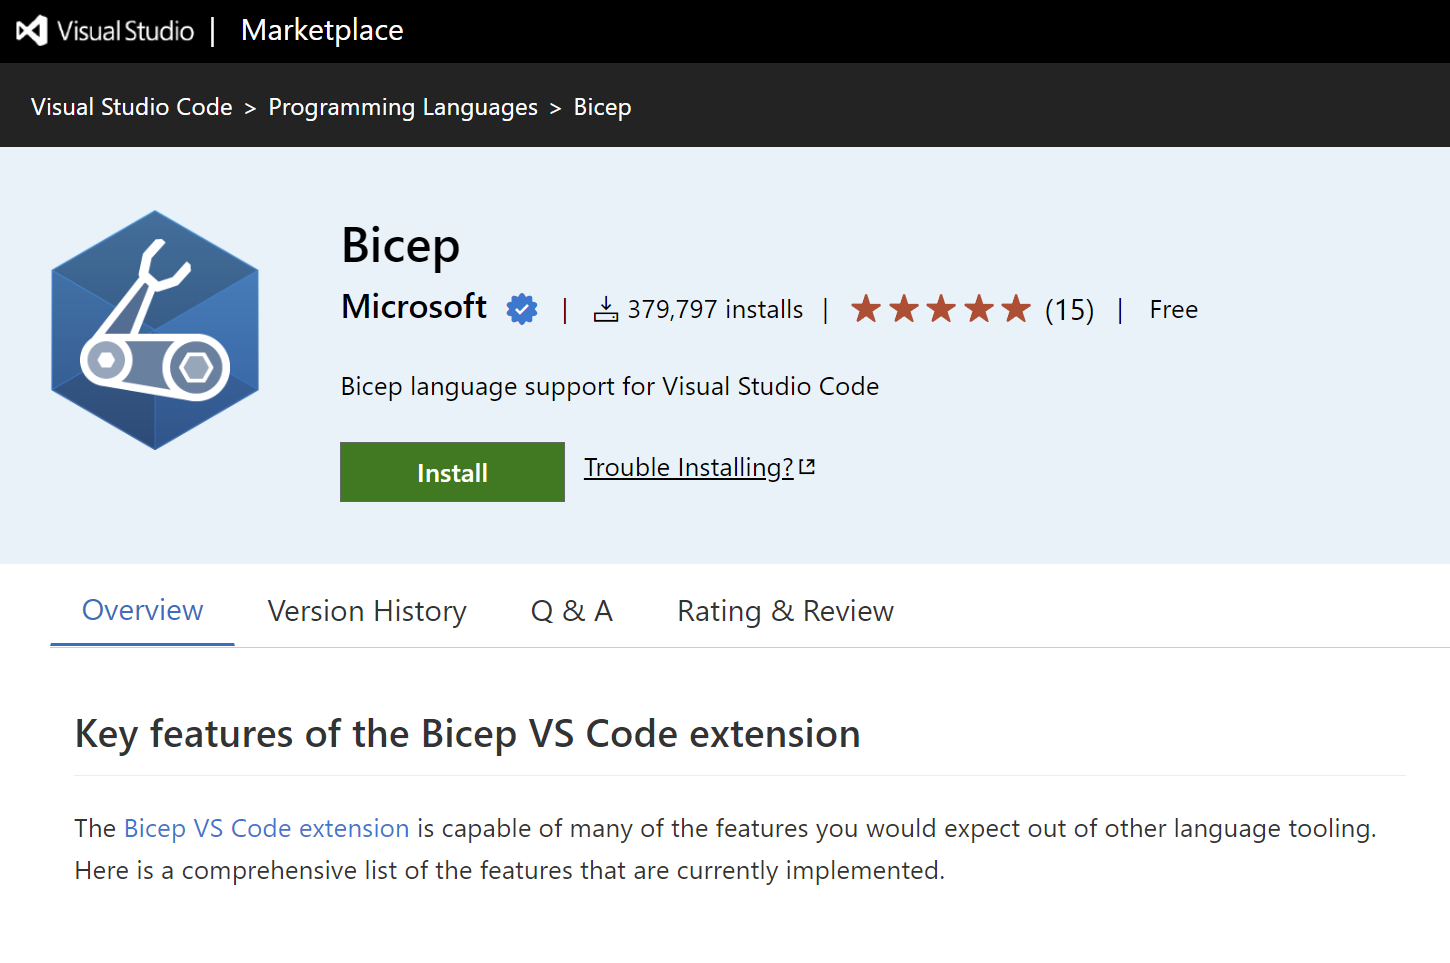
Installing the Visual Studio Code extension
The Bicep extension for Visual Studio Code provides language support, IntelliSense, and linting support.
Extension features:
- Language support: Syntax highlighting for Bicep files.
- IntelliSense: Auto-completion for resource types, properties, and functions.
- Linting: Real-time validation and error detection.
- Snippets: Quick templates for common resources.
- Visualization: Graphical view of resource dependencies.
To verify the extension is installed, create a file with the .bicep extension and watch the language mode change in the lower right corner of VS Code.
Installing Bicep CLI
You need to have Azure CLI version 2.20.0 or later installed to be able to install the Bicep CLI. When you're ready, run the install command:
az bicep install
Verifying and upgrading
You can upgrade the Bicep CLI by running az bicep upgrade, and for validating the installation, use az bicep version.
The Azure CLI is cross-platform, so the installation steps are the same for Windows, macOS, and Linux.
Manual installation
You can manually install Bicep CLI if you don't have Azure CLI installed but still want to use Bicep CLI.
Windows installation
You can use Chocolatey or Winget to install the Bicep CLI:
choco install bicep
winget install -e --id Microsoft.Bicep
bicep --help

Linux installation
To install the Bicep CLI on Linux manually, use the following script:
curl -Lo bicep https://github.com/Azure/bicep/releases/latest/download/bicep-linux-x64
chmod +x ./bicep
sudo mv ./bicep /usr/local/bin/bicep
bicep --help
macOS installation
For macOS, use homebrew or the previous script for Linux:
brew tap azure/bicep
brew install bicep
bicep --version
Troubleshooting the installation
If any errors or issues occur during the installation, visit the troubleshooting guide in the Azure Bicep documentation.
Next steps
In the next unit, you'll create your first Bicep template and deploy it to Azure.