Exercise - Deploy a Bicep file from Azure Pipelines
Now that you know how to validate, compile, and deploy your resources from your local environment, it's time to extend that and see how to bring that into an Azure Pipeline to streamline your deployment process even further.
Prerequisites
You'll need an Azure Subscription, if you don't have one, create a free account before you begin.
You also need an Azure DevOps organization. Similarly, if you don't have one, create one for free.
You'll need to have a configured service connection in your project that is linked to your Azure subscription. Don't worry if you haven't done this before—we'll show you an easy way to do it when you're creating your pipeline.
You also need to have that Bicep file you created earlier pushed into the Azure Repository of your project.
Creating the pipeline
Create a new pipeline
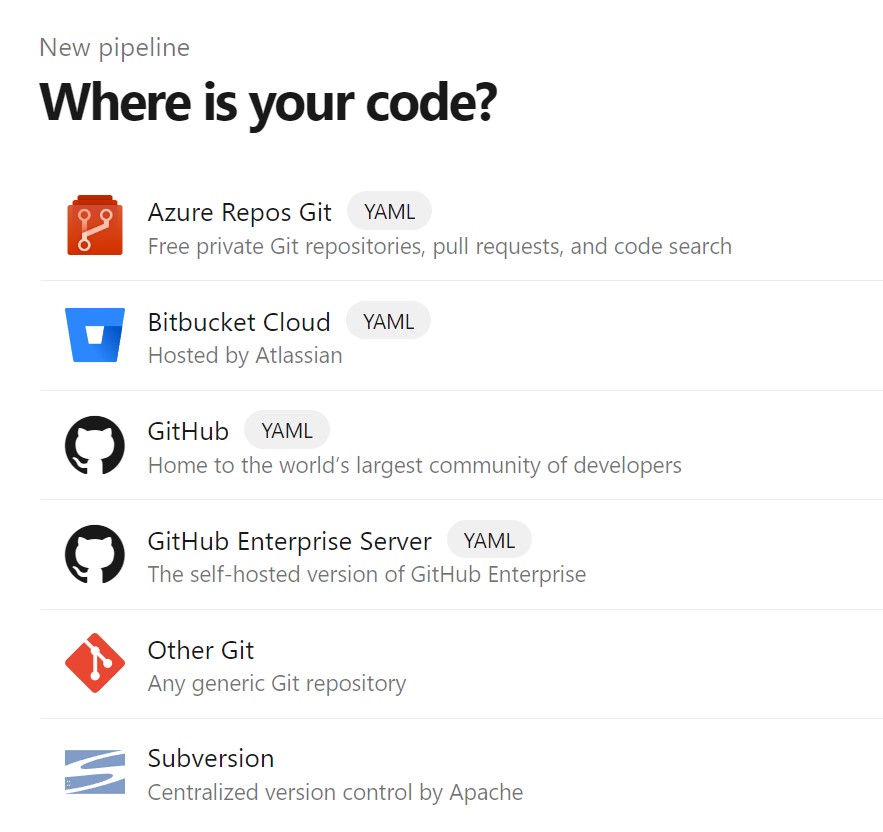
From within your Azure DevOps project, select Pipelines, and New pipeline.
Select Azure Repos Git (YAML) and specify your Azure Repo as a source.
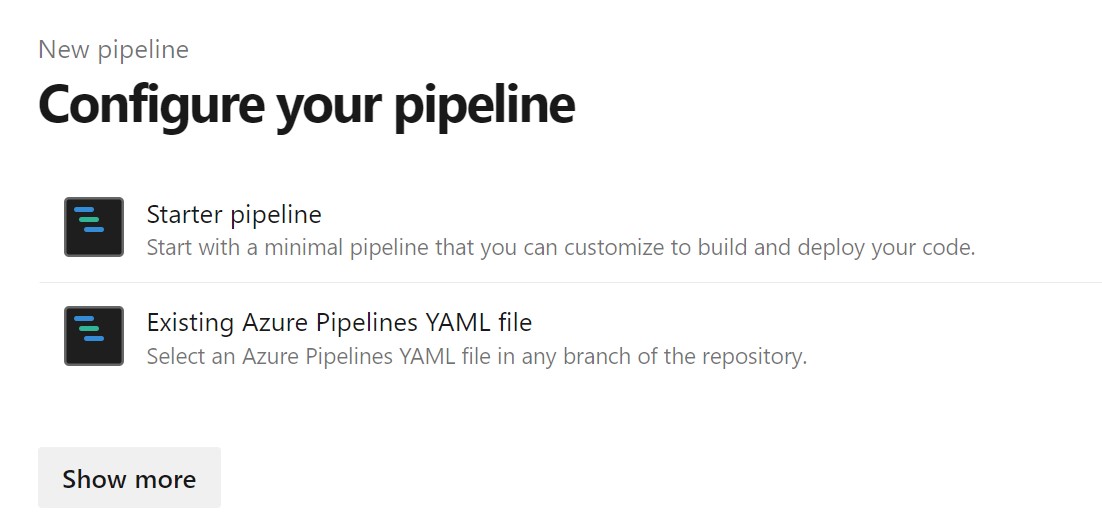
Select the Starter pipeline from the list of templates.
Configure the pipeline YAML
Replace everything in the starter pipeline file with the following snippet:
trigger:
  - main

name: Deploy Bicep files

variables:
  vmImageName: "ubuntu-latest"

  azureServiceConnection: "myServiceConnection"
  resourceGroupName: "Bicep"
  location: "eastus"
  templateFile: "main.bicep"
pool:
  vmImage: $(vmImageName)

steps:
  - task: AzureCLI@2
    inputs:
      azureSubscription: $(azureServiceConnection)
      scriptType: bash
      scriptLocation: inlineScript
      inlineScript: |
        az --version
        az group create --name $(resourceGroupName) --location $(location)
        az deployment group create --resource-group $(resourceGroupName) --template-file $(templateFile)
Understanding the pipeline
This YAML pipeline performs the following:
Trigger: Automatically runs when code is pushed to the
mainbranch.Variables: Defines reusable values for the pipeline:
vmImageName: Specifies the build agent image (Ubuntu).azureServiceConnection: Name of your Azure service connection.resourceGroupName: Target resource group for deployment.location: Azure region for resources.templateFile: Path to the Bicep file.
Pool: Uses the specified Ubuntu virtual machine image.
AzureCLI task: Executes Azure CLI commands:
az --version: Verifies Azure CLI version.az group create: Creates the resource group.az deployment group create: Deploys the Bicep template.
Note
Don't forget to replace the
azureServiceConnectionvalue with your service connection name.
Save and run
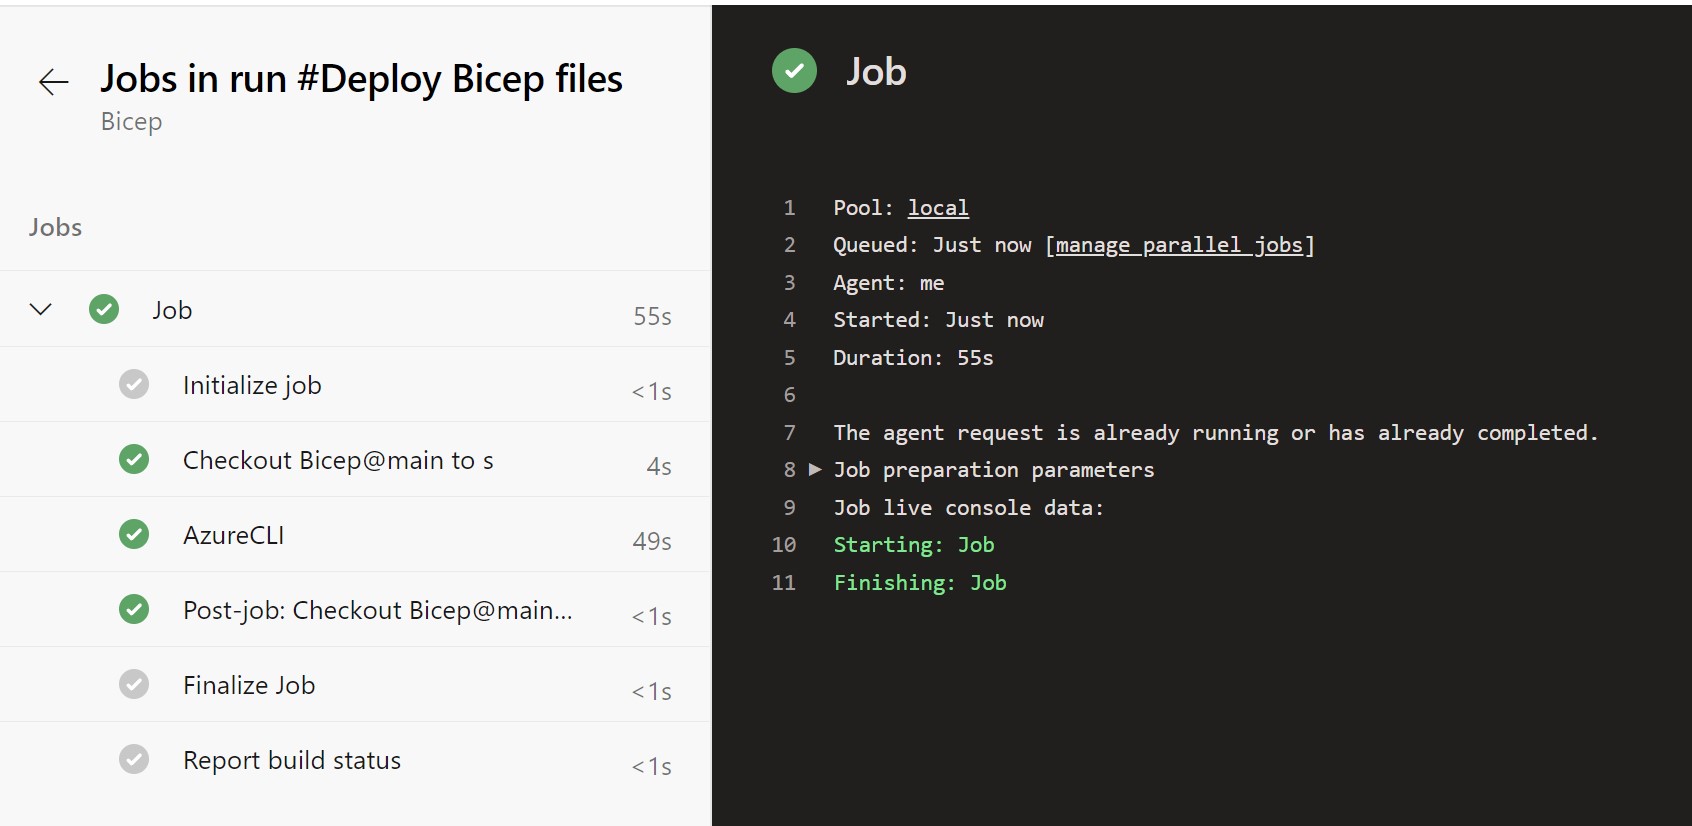
Select Save and run to create a new commit in your repository containing the pipeline YAML file and then run the pipeline. Wait for the pipeline to finish running and check the status.
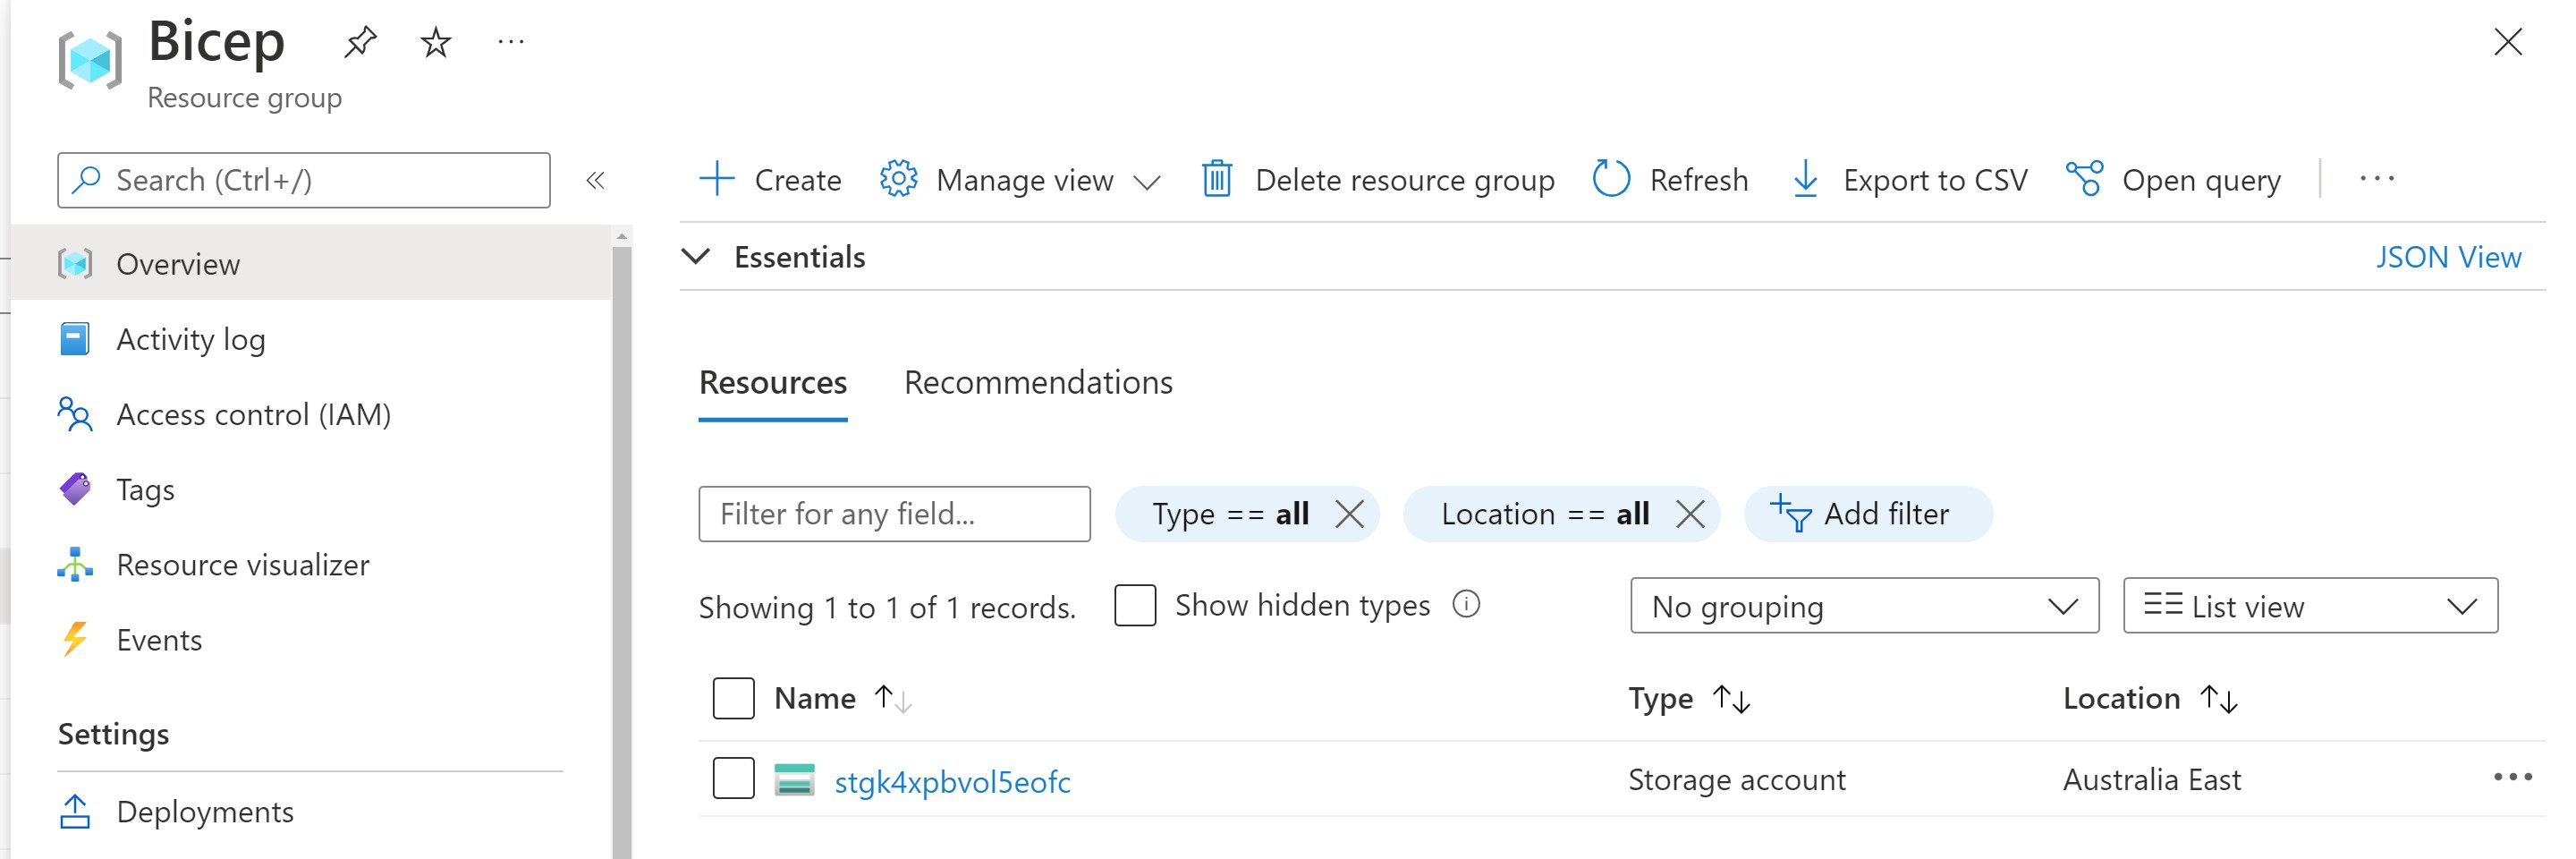
Verify deployment
Once the pipeline runs successfully, you should be able to see the resource group and the storage account in the Azure portal.