Vision accessibility features
A screen can become hard to use when text blends into the background, colors are hard to distinguish, or details are too small. Windows 11 includes built‑in tools that make content easier to see and easier to navigate. On Surface that supports long days of reading, editing, and presenting with less strain. Let's explore some of these features:
Contrast themes
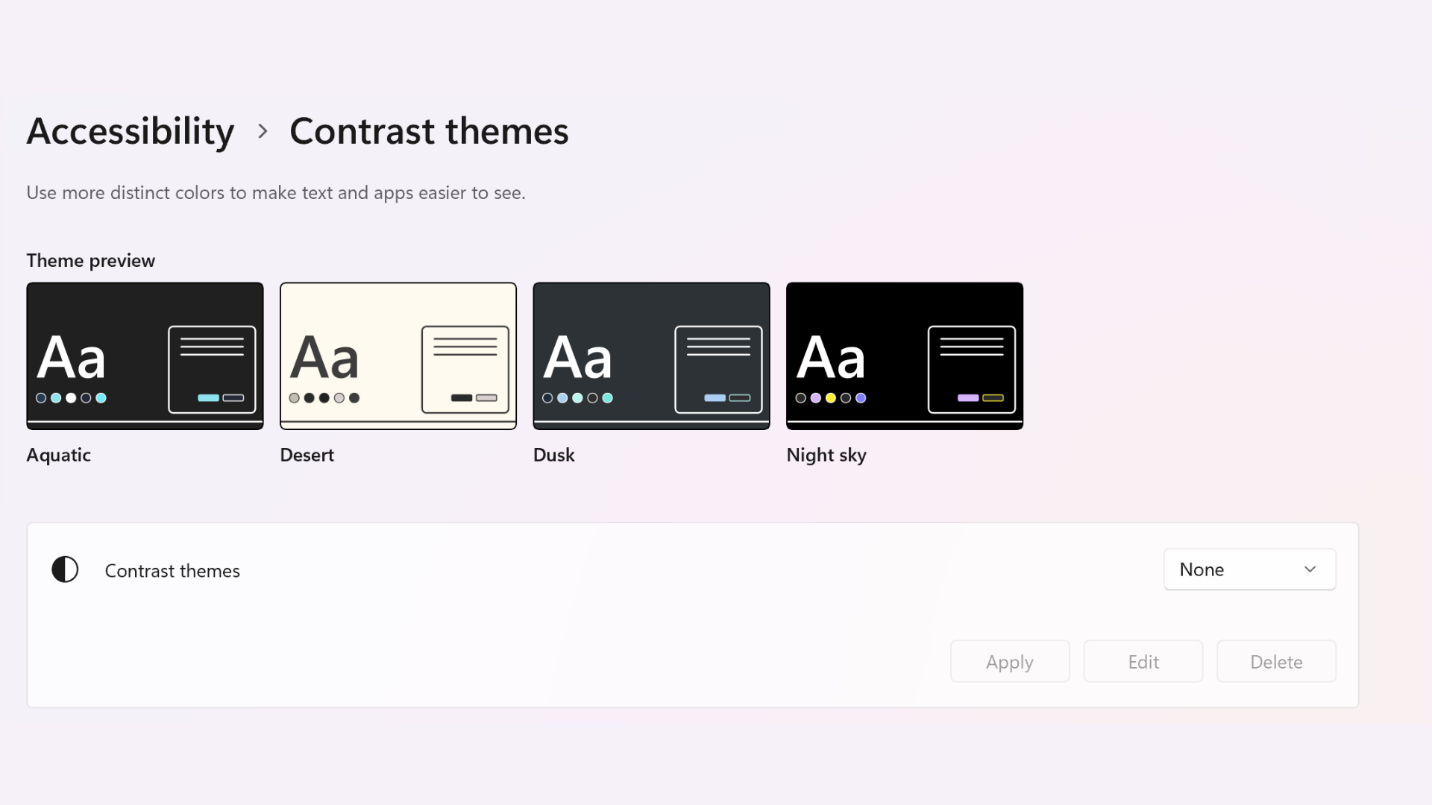
A screen can become difficult to use when text blends into the background or visual elements don't have enough contrast. In real work, that barrier can slow down reading, editing, and reviewing content. Contrast themes help address this barrier by changing system colors to make text, controls, and backgrounds easier to distinguish. The workplace outcome is sustained readability, so users can spend more time focused on the work itself and less time adjusting their position, zoom level, or display environment.
To turn on contrast themes do the following:
- Select the Start button, and then select Settings > Accessibility > Contrast themes.
- To turn on contrast themes, select the theme you want from the Contrast themes drop-down menu, and then select the Apply button. Windows may display a "Please wait" screen for a few seconds, after which the colors on the screen change.
- To turn off contrast themes, select the None option from the Contrast themes drop-down menu, and then select the Apply button. Windows may again display a "Please wait" screen for a few seconds, after which the colors on the screen change back to default.
Tip
Press the left Alt key + left Shift key + Print screen to quickly turn high contrast mode on or off.
Why this matters: Contrast themes help learners connect a visual accessibility setting to a practical business outcome: reducing reading friction so users can review documents, dashboards, and apps with greater confidence during the workday.
Use case scenario: A finance analyst reviewing a spreadsheet with dense tables turns on a contrast theme to make rows, labels, and interface controls easier to distinguish during a long review session.
Color filters

Some users have difficulty distinguishing information that relies on color alone. In real work, this can affect reading charts, reviewing status indicators, or interpreting interface elements. Color filters help address this barrier by changing the color palette on the screen so differences are easier to identify. Let's explore how to access this feature:
- Start by going to the Accessibility settings on your Surface. Press the Windows key + U or select Start > Settings > Accessibility.
- Select Color filters.
- Turn the Color filters switch on.
- Select a color filter from the list. Try each filter to see which one suits your needs best.
Why this matters: Color filters help make visual information easier to interpret when color differences carry meaning, such as status indicators, charts, maps, or interface alerts.
Use case scenario: A project manager reviewing a dashboard uses a color filter to better distinguish red, yellow, and green status indicators before prioritizing follow-up tasks with the team.
Magnifier
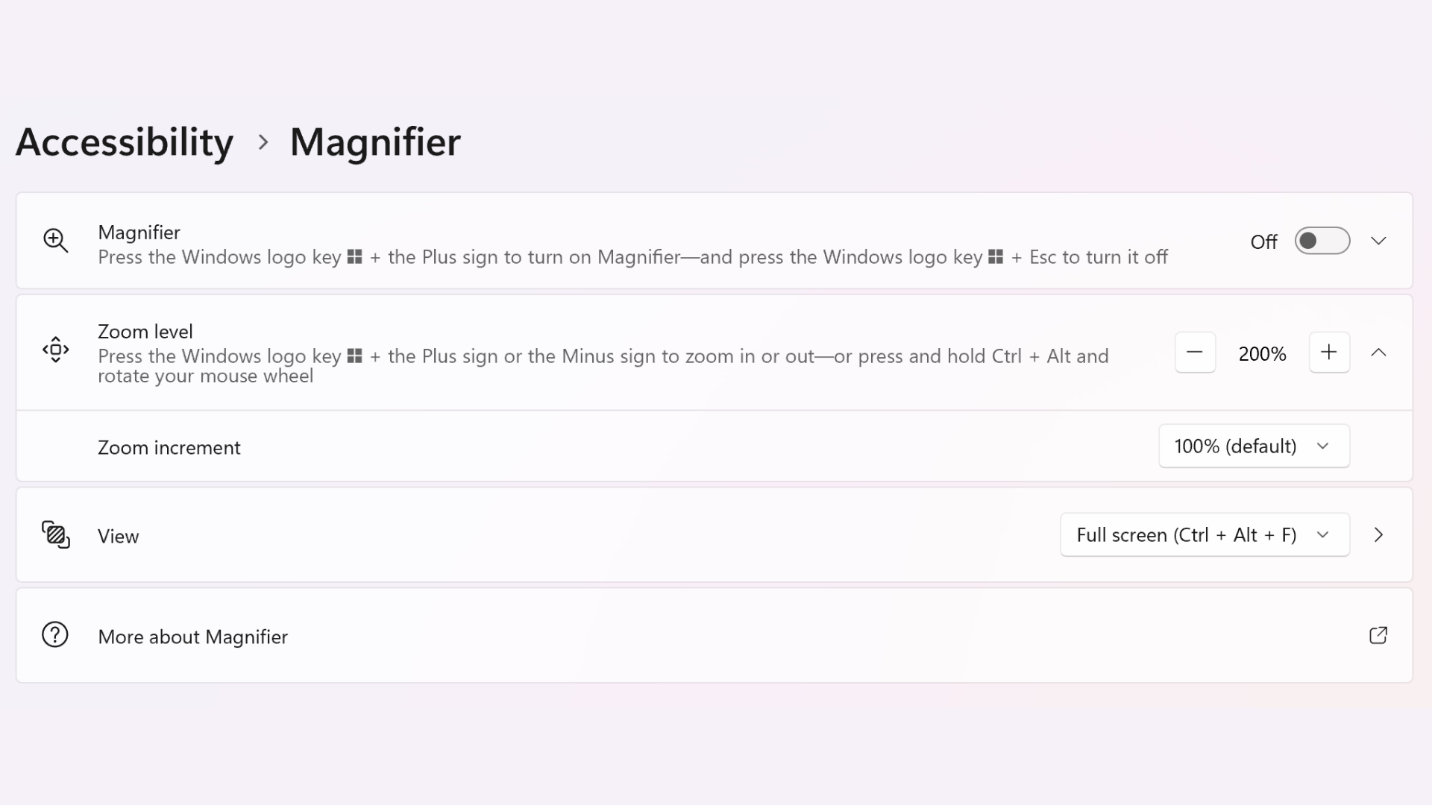
Small text, dense layouts, or detailed visuals can become barriers when users need to review information quickly and accurately. Magnifier helps address this by enlarging part or all of the screen so users can stay in the same app and continue working. The workplace outcome is focus and continuity because users can inspect details, read smaller text, and continue working without switching devices or changing the original document layout.
On Surface devices, Magnifier supports touch-optimized interaction such as pinch-to-zoom, drag to pan, and border-based scrolling gestures, which enable direct navigation. Windows also provides clear visual touch indicators that can be made larger and high contrast to help users see where they're interacting on the screen.
To quickly turn on Magnifier, press the Windows key + Plus sign (+). To turn off Magnifier, press the Windows key + Esc. Alternatively, if you prefer using a mouse, you can turn on magnifier by:
- Selecting Start, then Settings, and choose Accessibility.
- Select Magnifier, and then turn on the Magnifier switch.
You can also customize the Magnifier zoom level for more control.
To do this with a mouse:
- Go to Start, select Settings, and choose Accessibility.
- Select Magnifier and use the Zoom level buttons to choose how much Magnifier enlarges the screen when you turn it on.
If you're using Narrator and a keyboard:
- Press the Windows key + Ctrl + M to open the Magnifier settings view.
- Press the Tab key until you hear "Zoom out, button" or "Zoom in, button," and press Spacebar to adjust the zoom level accordingly. Narrator then announces the new value.
- Press Shift + Tab or the Tab key to move between the buttons and adjust the value to your liking.
Tip
You can use the following shortcuts to change between Magnifier views: To use full screen view, press Ctrl + Alt + F. To use docked view, press Ctrl + Alt + D. To use the lens view, press Ctrl + Alt + L. To switch between the set magnification level and 1x magnification, press Ctrl + Alt + Minus sign (-).
Why this matters: Magnifier enables users to inspect detailed content without changing the original file, app layout, or display settings for everyone else.
Use case scenario: A support specialist uses Magnifier to inspect small error text in an application window while staying in the same workflow and continuing to troubleshoot with a customer.
Narrator
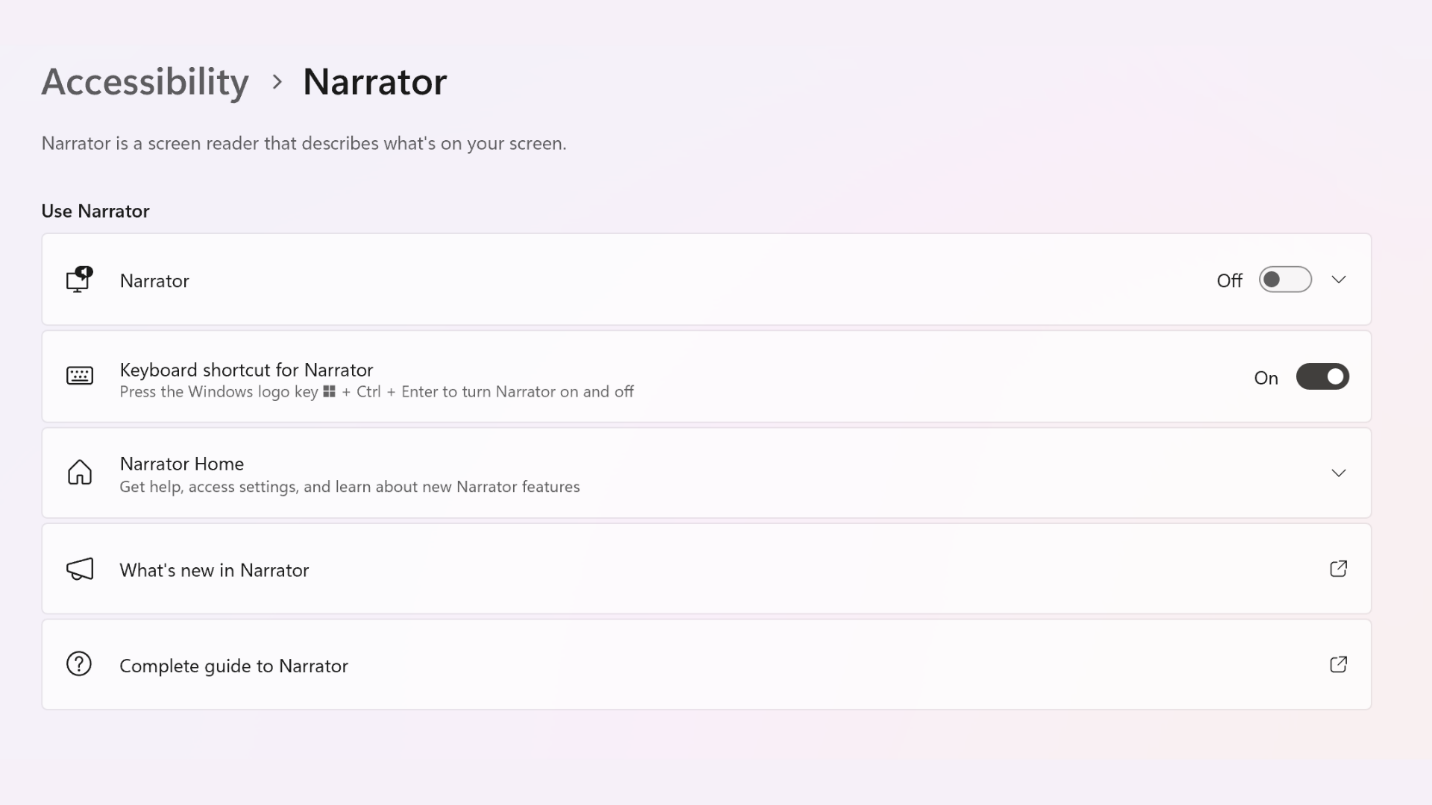
When a user can't rely on vision alone to navigate a PC, visual interfaces can become a barrier to productivity. Narrator helps address this barrier as the built-in Windows screen reader. It reads apps, web content, system UI, notifications, and controls aloud so users can navigate Windows using audio feedback. The workplace outcome is access to core workflows, including reviewing information, managing settings, navigating apps, and completing everyday tasks when visual interaction isn't the primary or preferred method.
Narrator supports multi-modal interactions that work with keyboard, touch, and braille displays—allowing users to choose the input and output methods that work best for them, and navigate through Windows, apps, and the web using predictable commands or gestures without a mouse.
To turn on Narrator:
- Press Windows key + Ctrl + Enter to start or stop Narrator.
- Alternatively, press Windows key + Ctrl + N to open Narrator settings, then toggle Use Narrator on.
You can choose what modifier key you want to use in Narrator commands. Both the Caps Lock and Insert keys serve as your Narrator key by default. You can use either of these keys in any command that uses the Narrator key. Let's explore some common Narrator commands and how to use them:
| Press | Action |
|---|---|
| Narrator + Ctrl + Plus sign (+) | Increase volume |
| Narrator + Ctrl + Minus sign (-) | Decrease volume |
| Narrator + Plus sign (+) or Minus sign (-) | Change the rate that Narrator speaks |
| Narrator + Alt + Plus sign (+) | Switch to the next Narrator voice |
| Narrator + Alt + Minus sign (-) | Switch to the previous Narrator voice |
| Narrator + F12 | Find out the time, day of the week, and date |
| Narrator + Shift + B | Find out battery and network status of your Surface |
Why this matters: Narrator helps ensure users can complete essential tasks even when visual navigation isn't the best or preferred option.
Use case scenario: An employee who relies on audio feedback uses Narrator to move through settings, review notifications, and navigate a web-based tool without needing to visually track every item on the screen.