Exercise - Integrate OpenAPI enabled web API with Azure API Management
In this exercise, you integrate your web API application running on Azure App Service with Azure API Management through Visual Studio.
Note
In the previous exercise, you already have the ASP.NET Core Web API app with the OpenAPI feature enabled. You'll use the app for this exercise.
Integrate Web API Application with Azure API Management through Visual Studio
The web API application is ready to publish. In order to deploy the web API application, run the following steps.
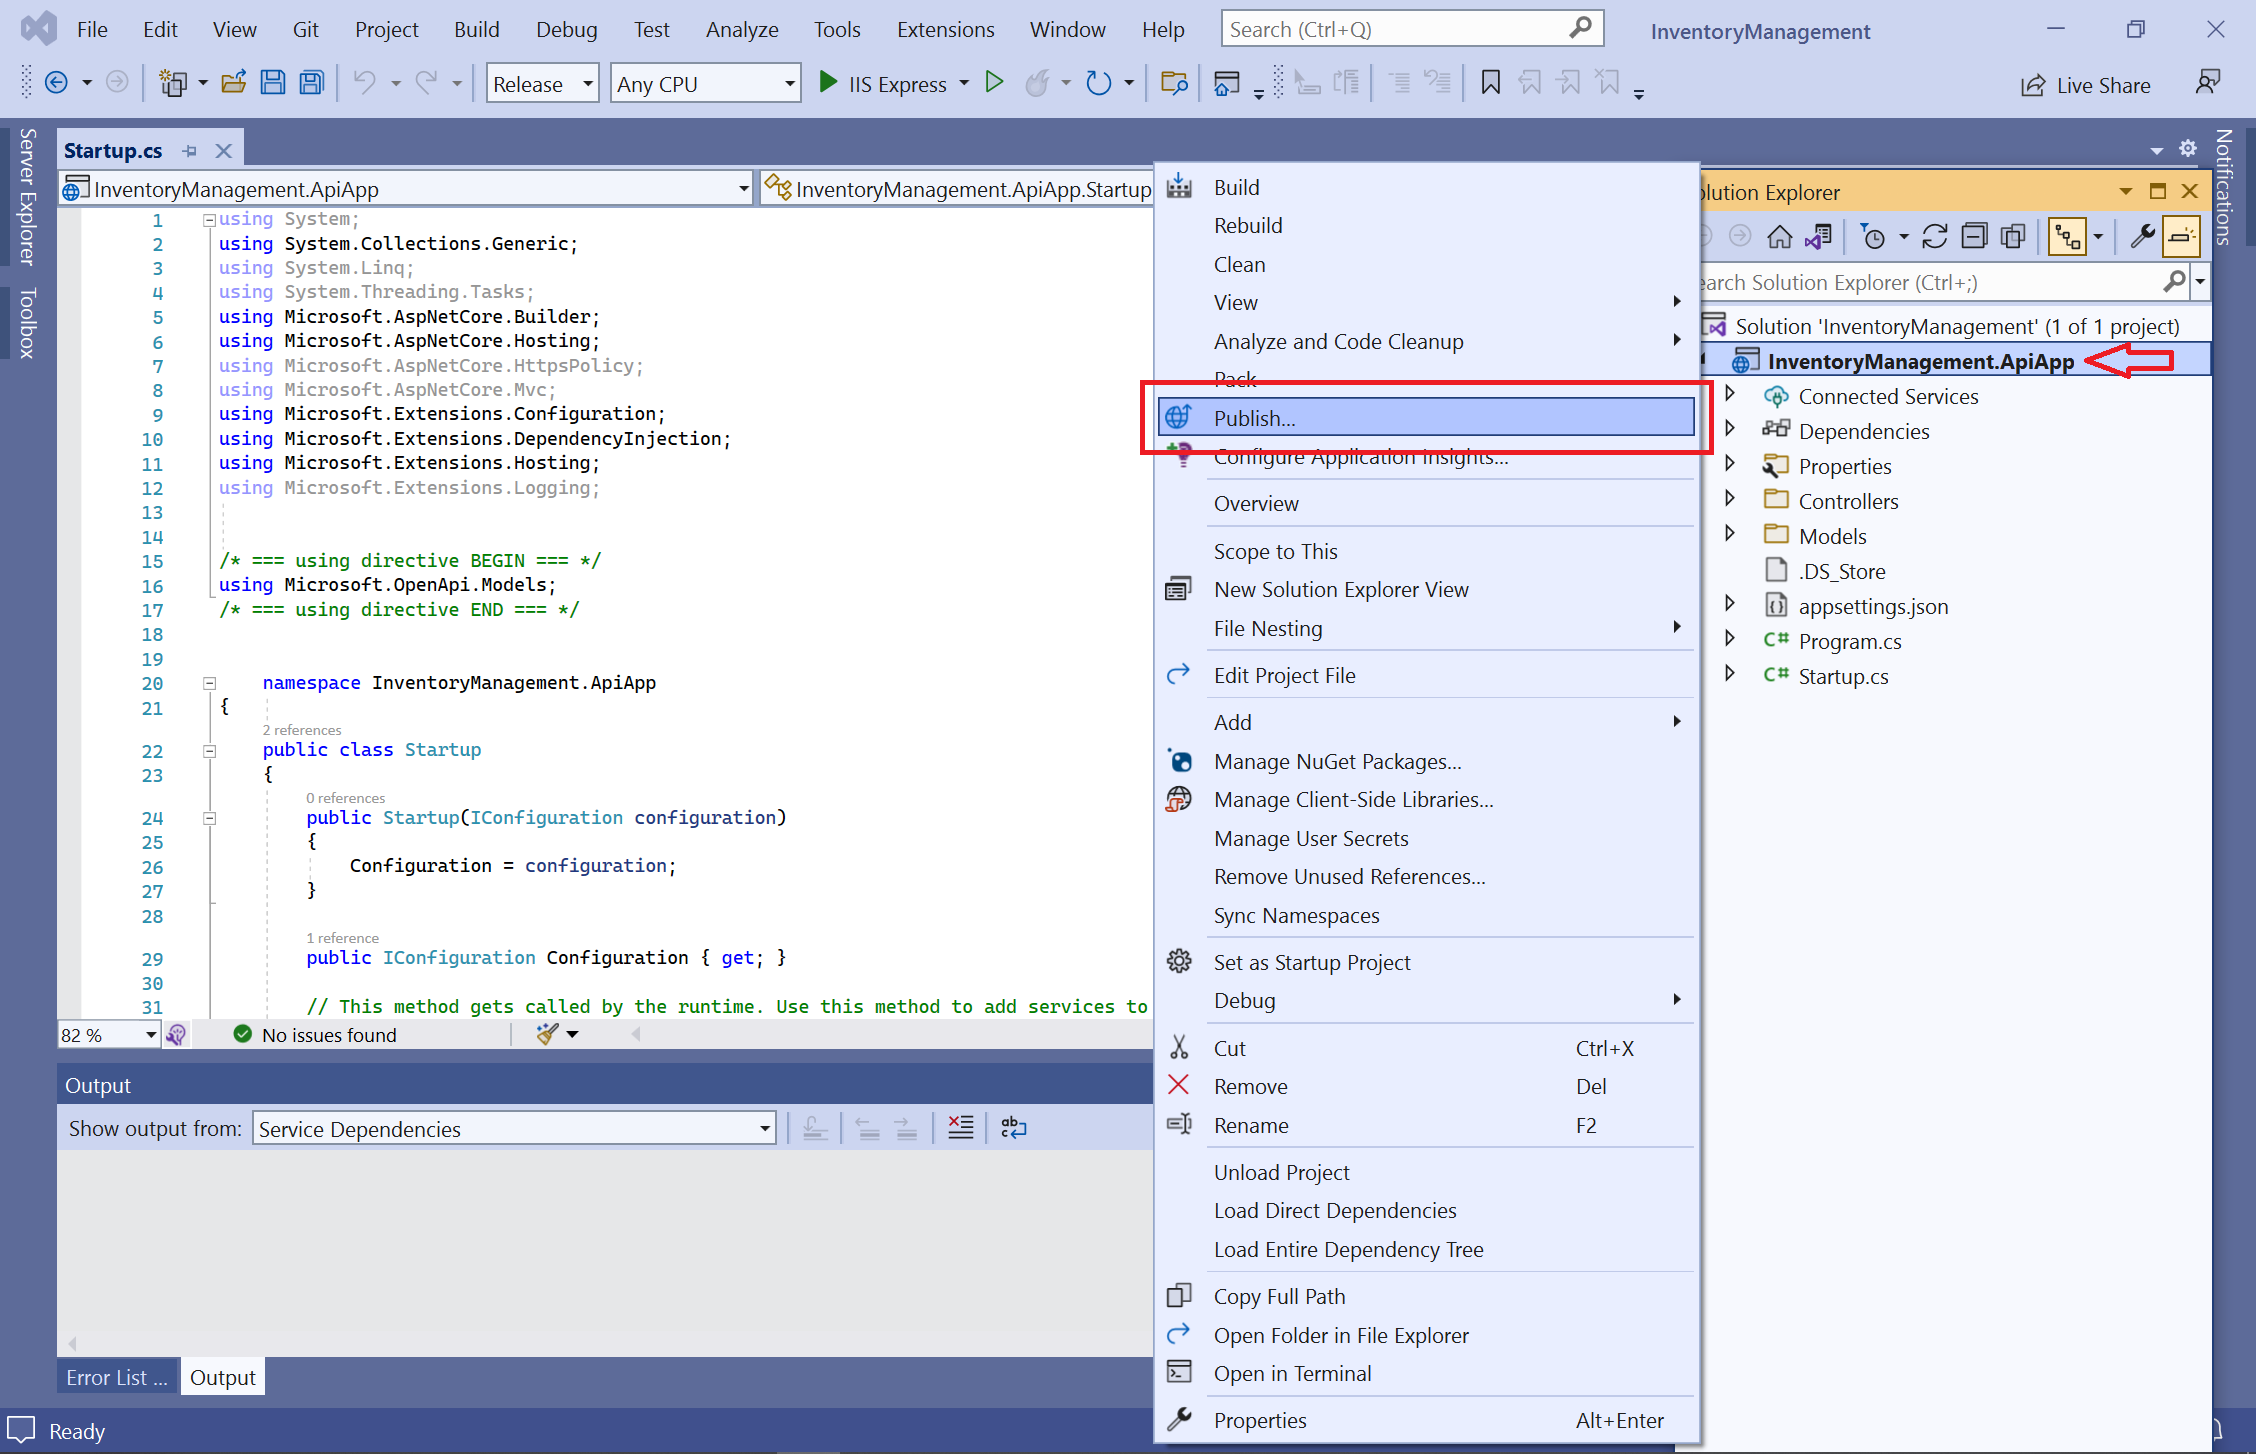
In Solution Explorer, right-click the project and select the Publish menu. Select +New profile if the following menu doesn't appear.

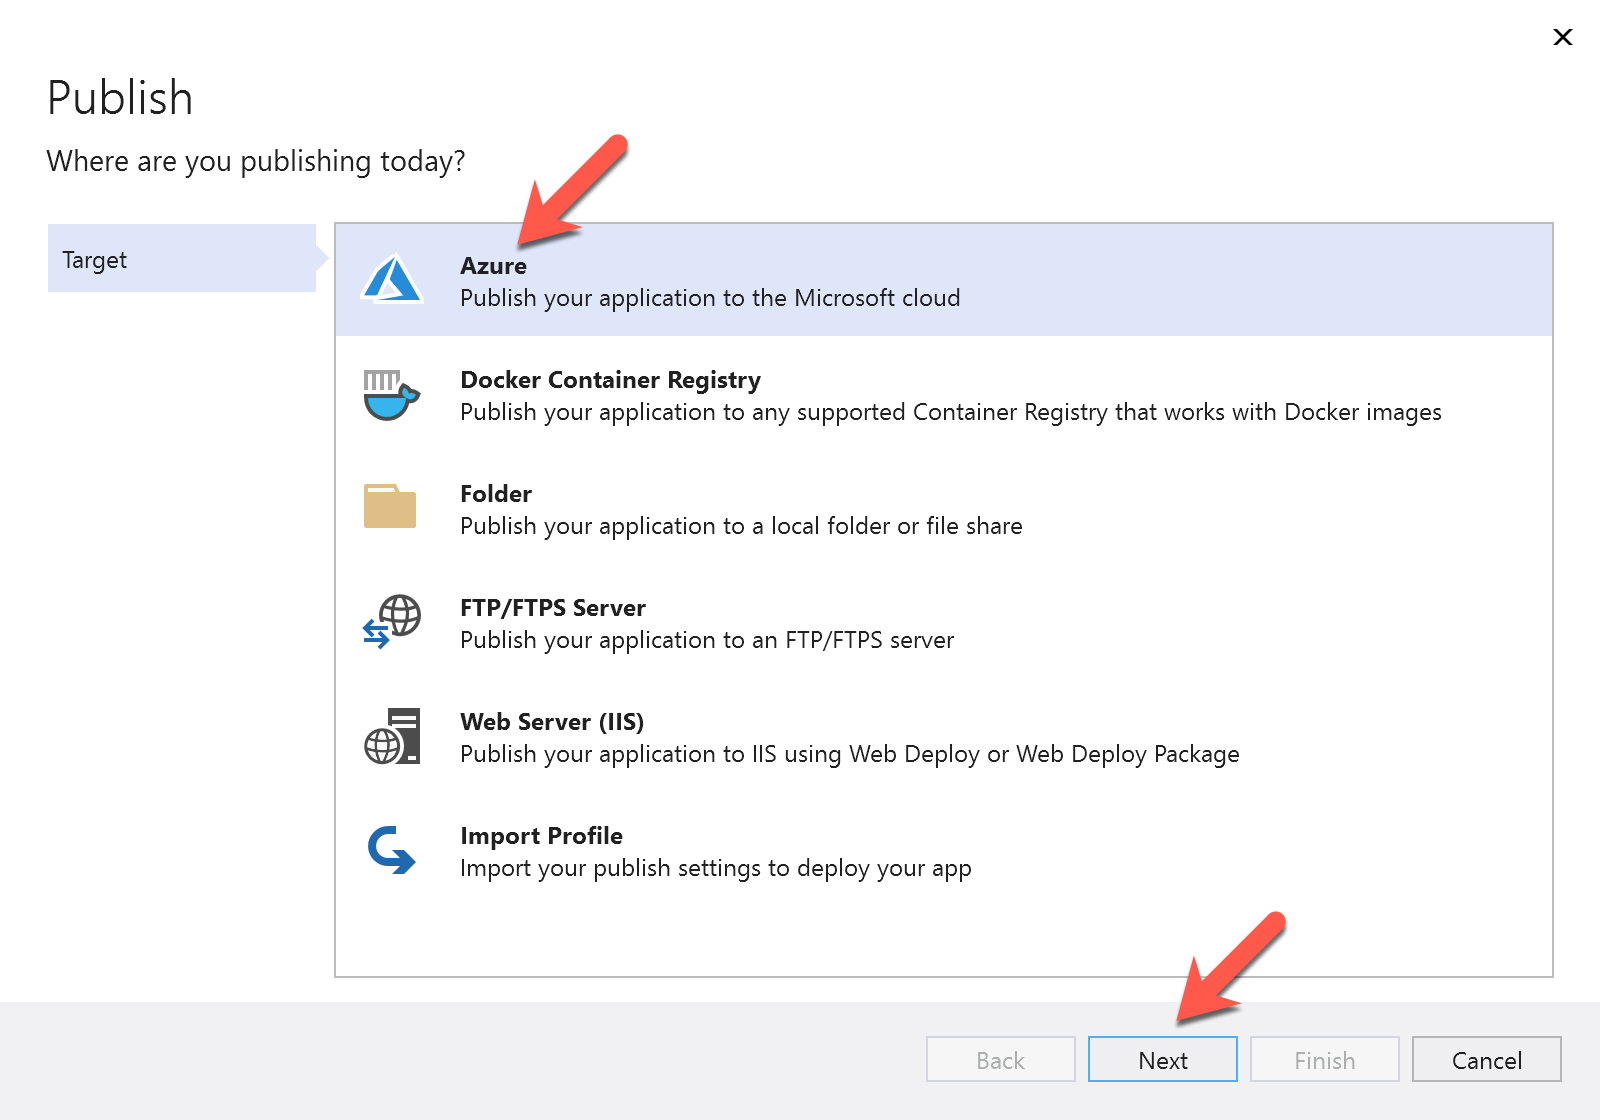
In the Publish dialogue modal, select Azure and select the Next button.

Select Azure App Service (Windows) and select the Next button.

As you have already published your web API app to an Azure App Service instance in the previous unit, you can see it in the dialogue modal. Select the App Service instance and select the Next button.

While you can use an existing Azure API Management instance if you like, let's create a new one through Visual Studio. Select the
➕button of the dialogue modal to create a new Azure API Management instance.
When a new API in API Management dialogue modal pops up, most mandatory field values have been automatically populated. You can use the prepopulated ones or change them. Fill in all the field values. However, there's no API Management instance yet. Select the New... button of the dialogue modal.

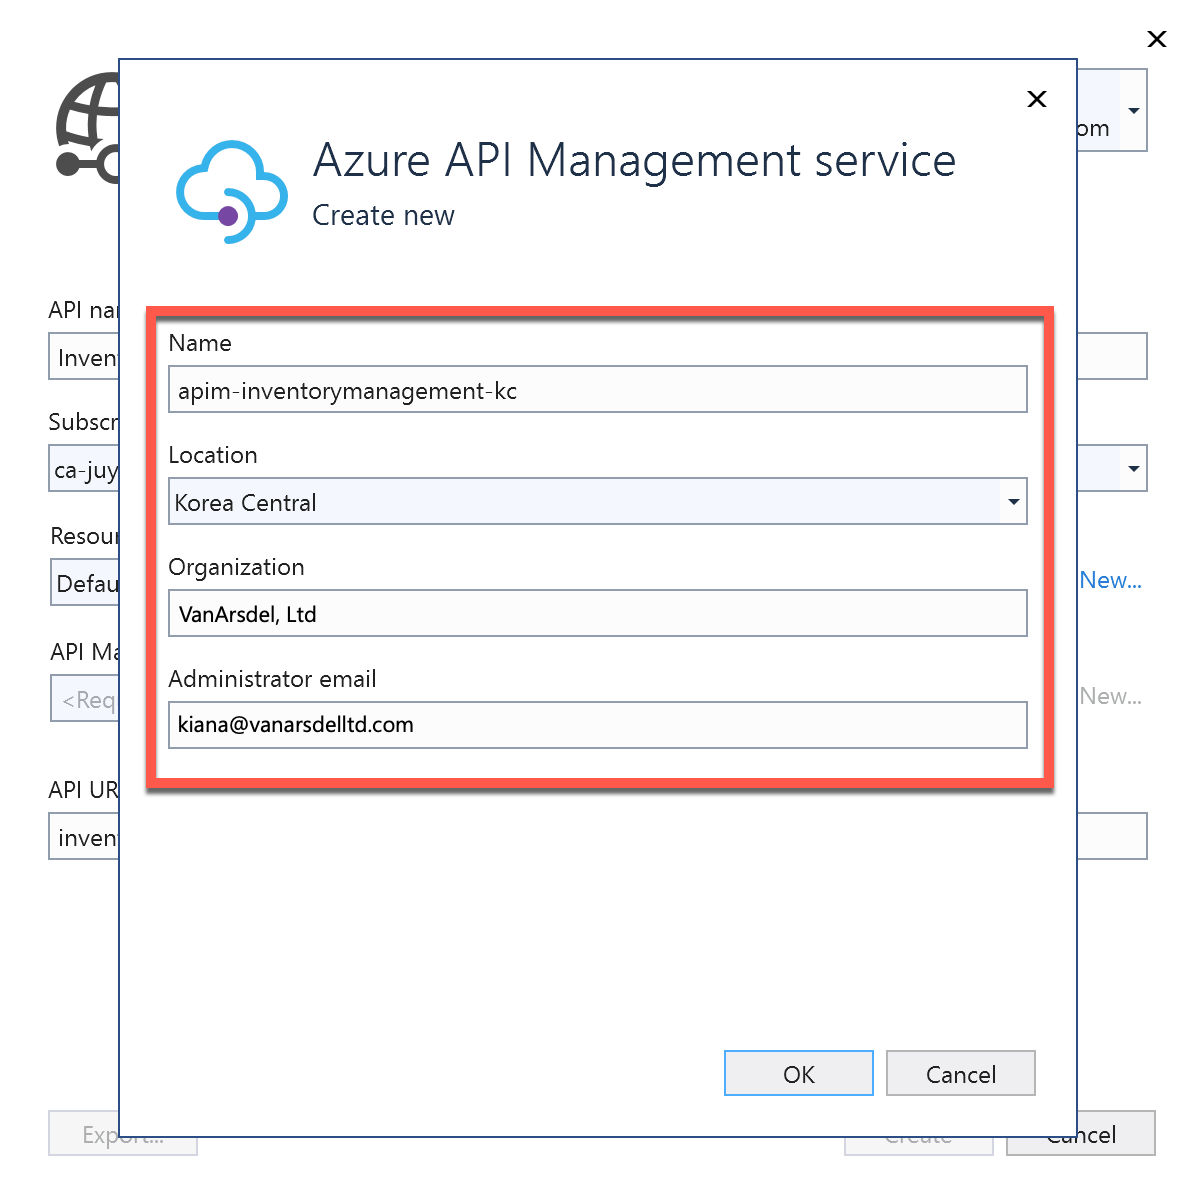
Another pop-up dialogue modal appears to create a new Azure API Management instance. All field values have already been populated. You can use or change them. Then select the OK button.

Once the Azure API Management dialogue modal closes, the API in API Management modal shows the API Management instance name. Select the Create button.

The Azure API Management instance is ready to integrate the web API app on the Azure App Service instance. Select the Finish button.

Your web API app is ready to deploy. Check the Service Dependencies message at the bottom of Visual Studio window, and confirm that the Azure API Management instance is also configured for integration. Select the Publish button in Visual Studio.

Once the web API app is published, Visual Studio notifies you through a banner.

As you also created the Azure API Management instance and integrated the web API app with it, you should be able to verify it on Azure portal.
Verify Web API Integration on Azure API Management
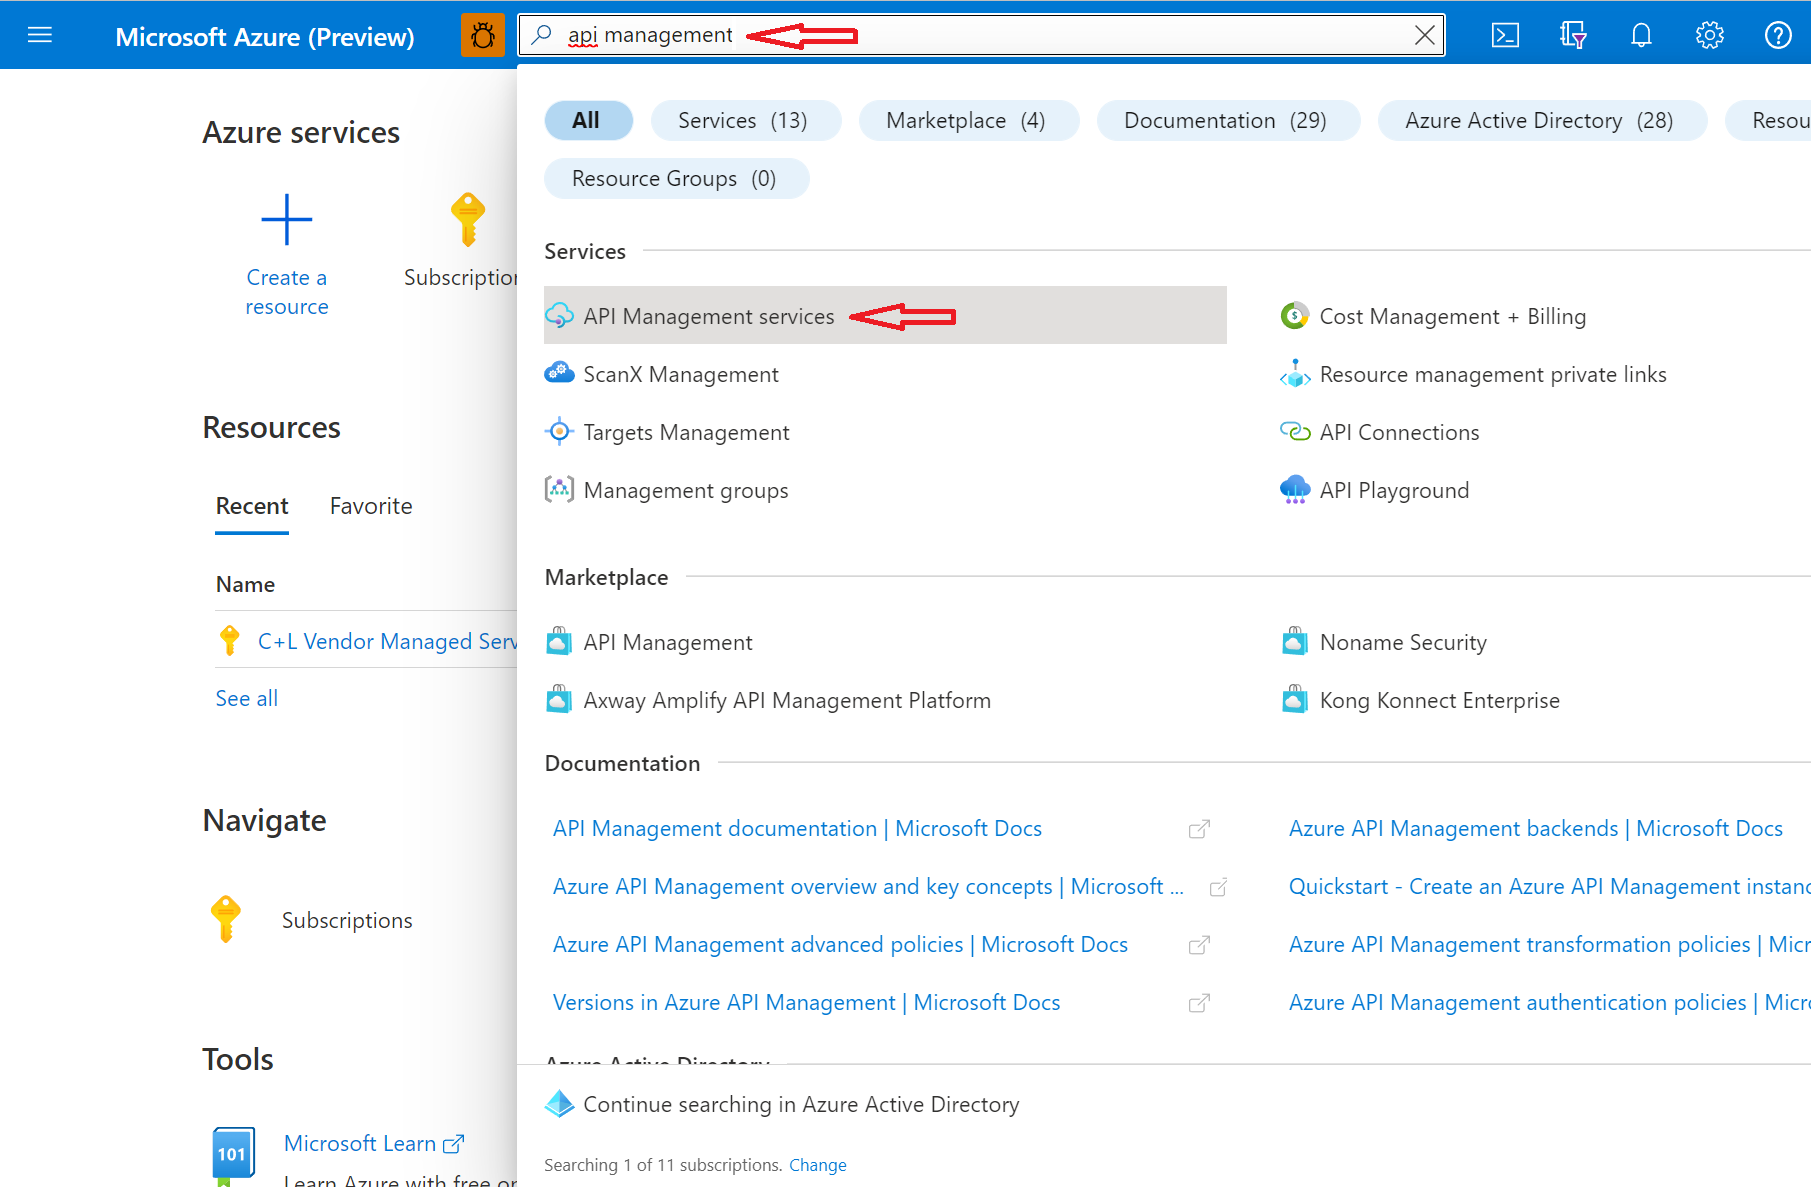
To verify whether your web API has been integrated with Azure API Management, open a web browser and sign in to Azure portal. Enter the keyword API management in the search bar at the top of the Azure portal. When the API Management services appears, select it.

Select your Azure API Management instance.

On the left menu under APIs, select the Inventory Management API. Choose the /api/WarehouseLocations - GET operation and select the Test tab in the middle of the page.

Select the Send button to send a test request to the web API.

The response from the API request is shown.

Congratulations! You've now integrated your web API app with Azure API Management through Visual Studio!