Exercise - Use Microsoft Teams to get approvals
In this exercise, you'll Use Microsoft Teams to get approvals.
Open a new web browser and go to Power Automate. Sign in if needed.
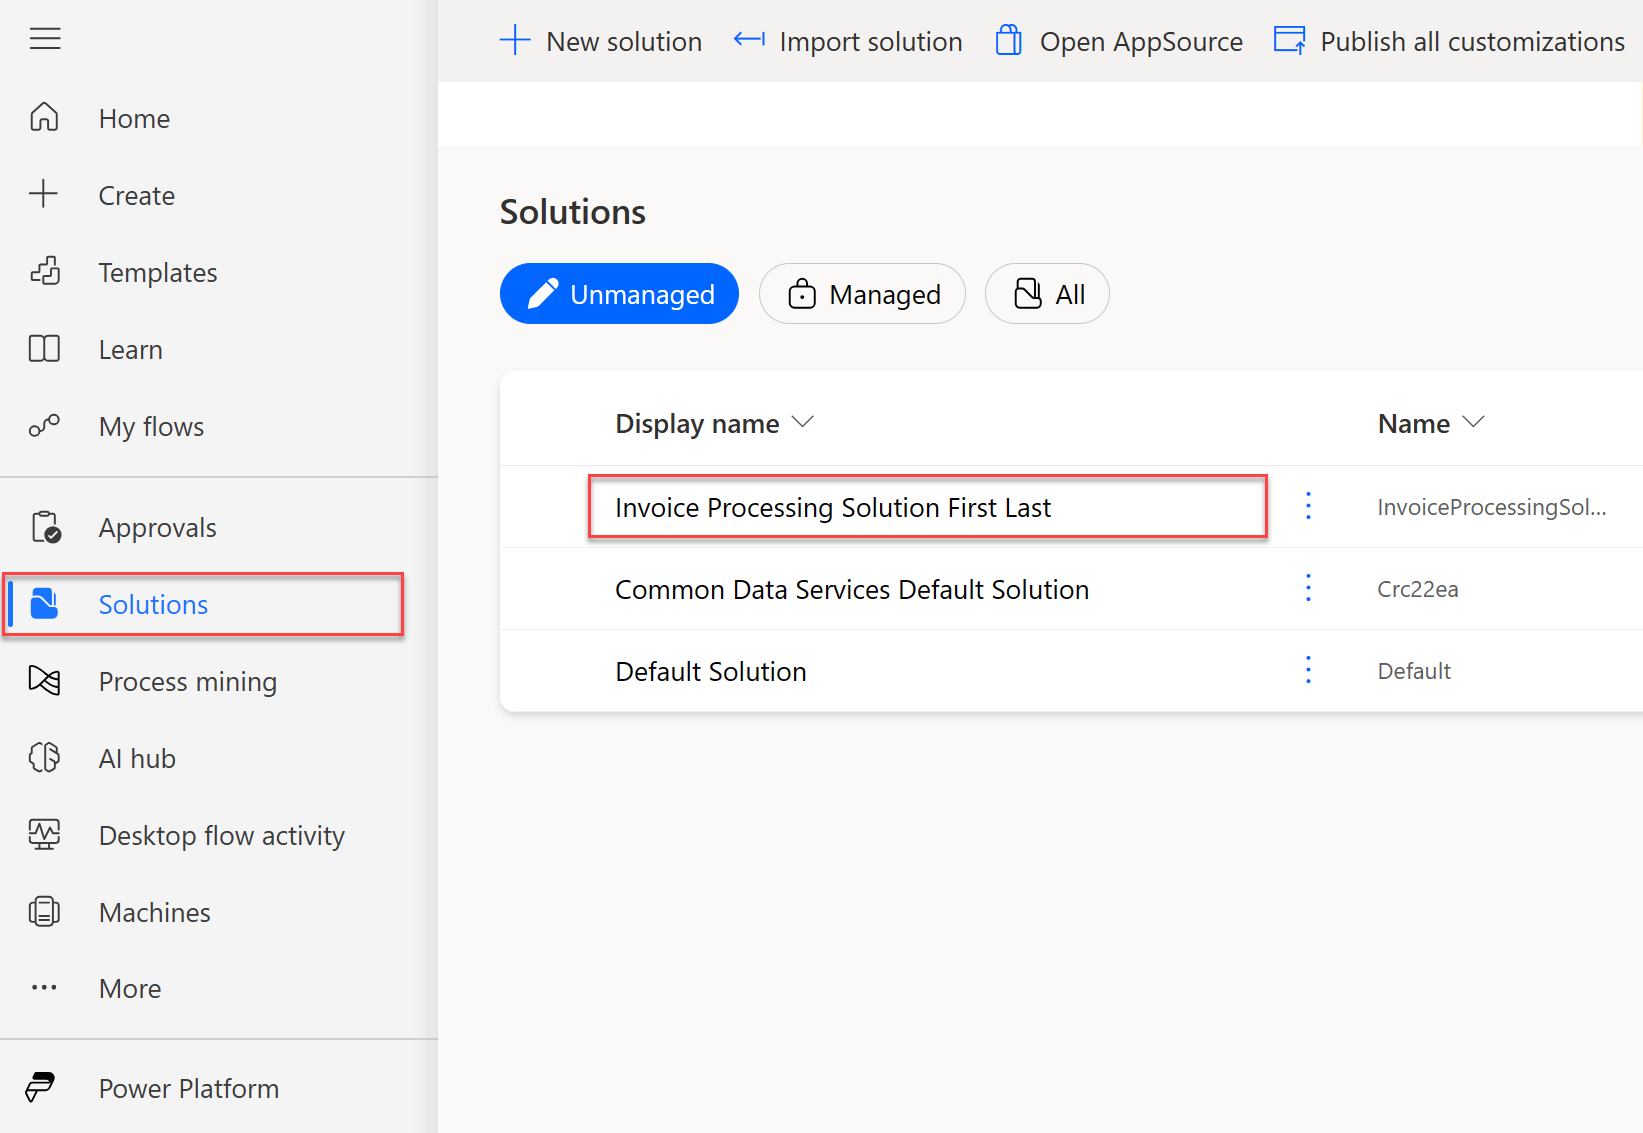
Select Solutions from the left menu and then open the Invoice processing solution First Last.
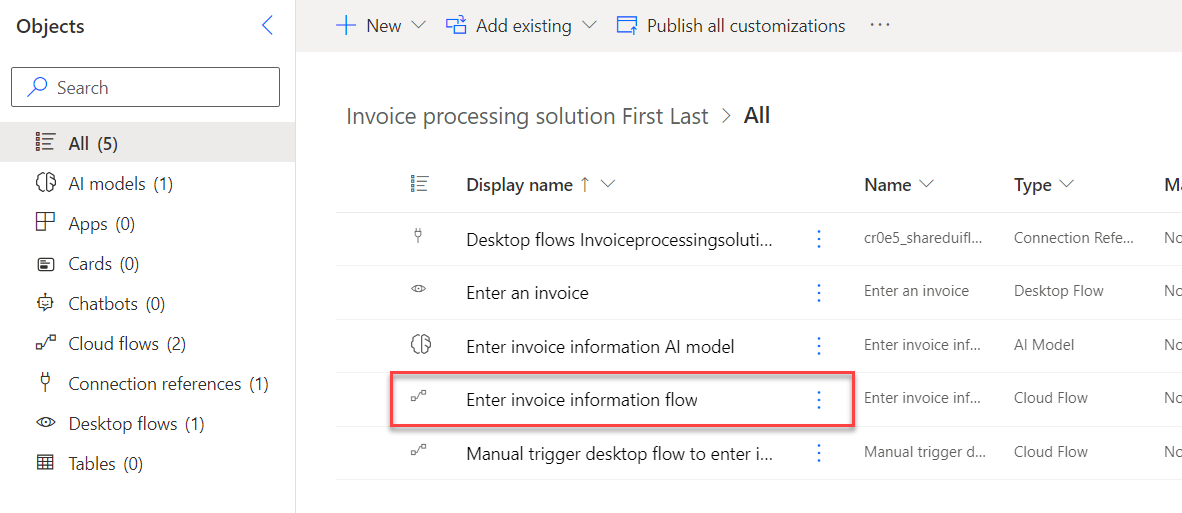
Open the Enter invoice information flow that you created.
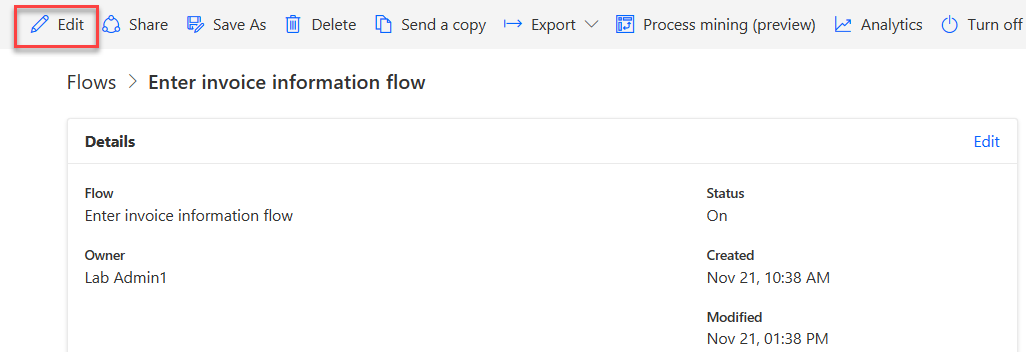
From the toolbar, select the Edit button.
Expand the For each box. Select the Send an email (V2) action, and after the parameters box pops up, select the ellipsis (...) and select Delete from the options menu.
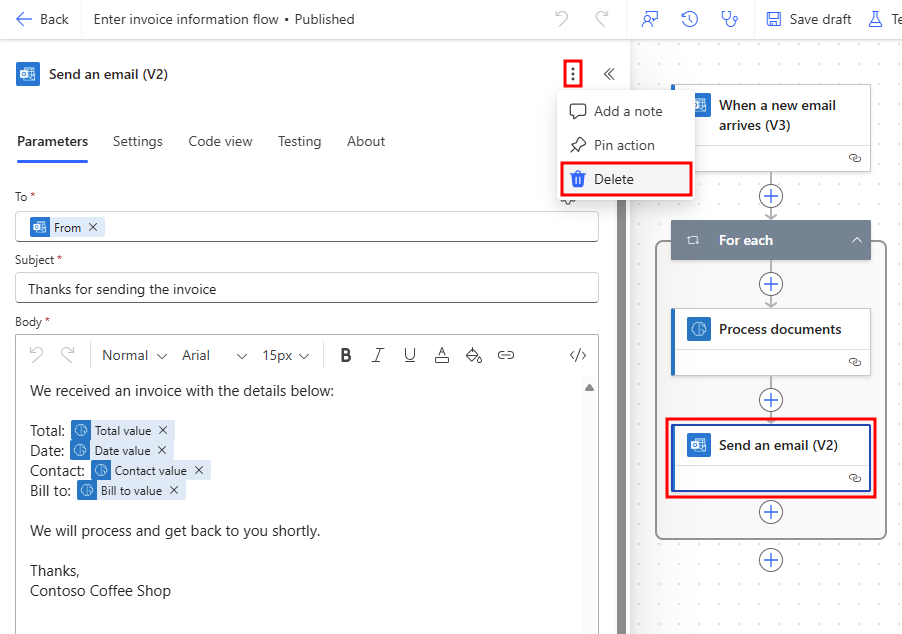
In the Delete Step dialog, select OK.
Below the Process documents action the + symbol to add an action.
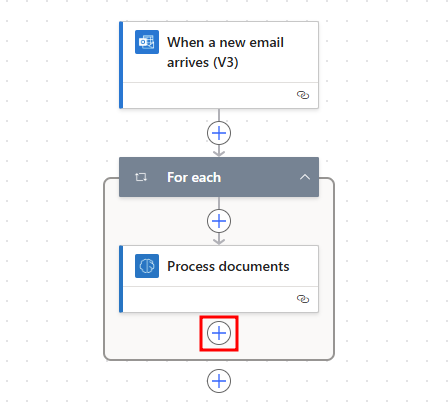
In the search bar for the new action, search for
Teams post a choice. From the search bar above the Actions list, then select Post a choice of options as the Flow bot to a user under the first Microsoft Teams set of actions.
Important
You can take the next actions after following one of two approaches. In one approach, you can use a simple method that requires the Post a choice of options as the Flow bot to a user action. A richer, more innovative approach requires the Post an Adaptive Card and wait for a response action that uses the Adaptive Cards technology from Microsoft.
Note
If you want to learn about the more advanced Adaptive Cards approach instead of using the basic approach, see the Exercise - Advanced Power Automate Desktop features unit near the end of the next module in this learning path. Otherwise, continue with the following steps.
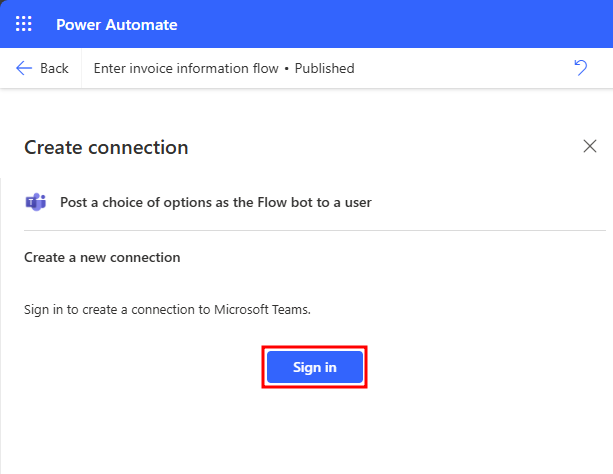
A Create connection box pops up only giving the option to sign-in. Select sign-in and use the same account as you've been previously using in the lab.
In the Options Item - 1 box, enter
Yes.Select Add new item. In the Options Item - 2 box, enter
No. Then select Show all to see all of the parameters.Use the following values to fill in the information for the Recipient, Message, and Headline boxes. Find the values for the Message field by searching for them within the Dynamic content pane (the blue lightning bolt button):
Recipient - Your username
Message -
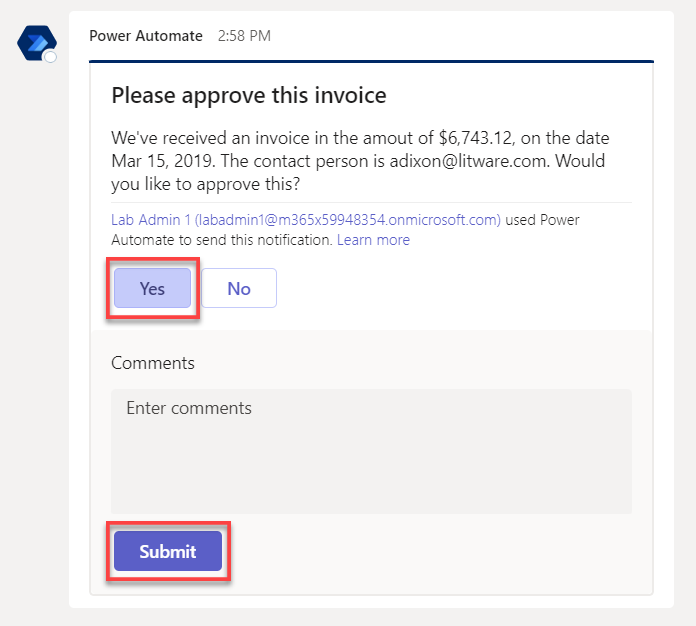
We've received an invoice in the amount ofTotal value (from dynamic content under the AI Builder action), on the dateDate value (from dynamic content under the AI Builder action). The contact person isContact value (from dynamic content under the AI Builder action). Would you like to approve this?Headline -
Please approve this invoice.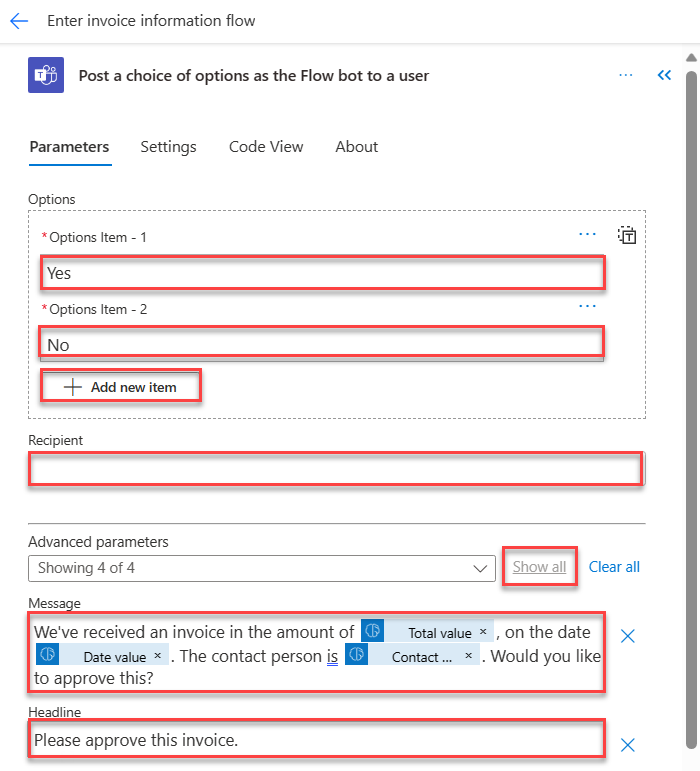
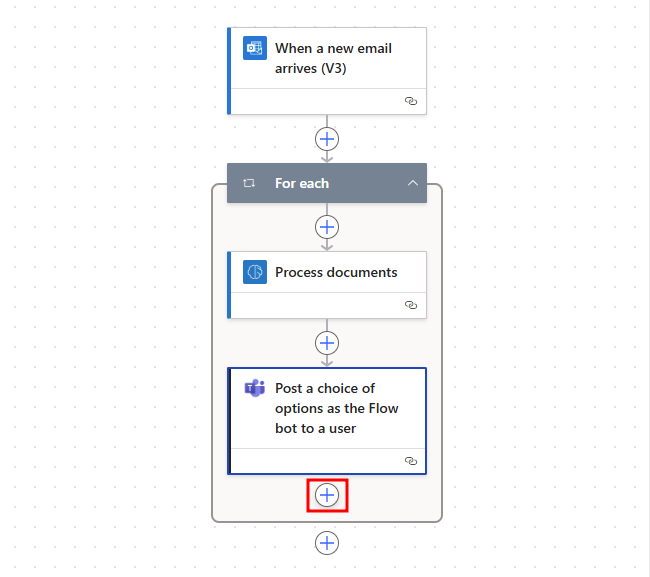
Add a condition into your flow so that the automation performs different action paths based on different approval return results. Select the + symbol below the Post a choice... action to add another action.
In the search bar, search for
condition. From the Actions tab, select Condition.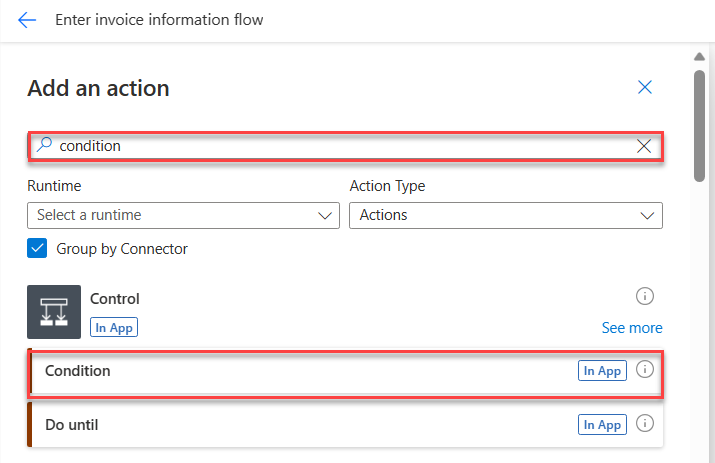
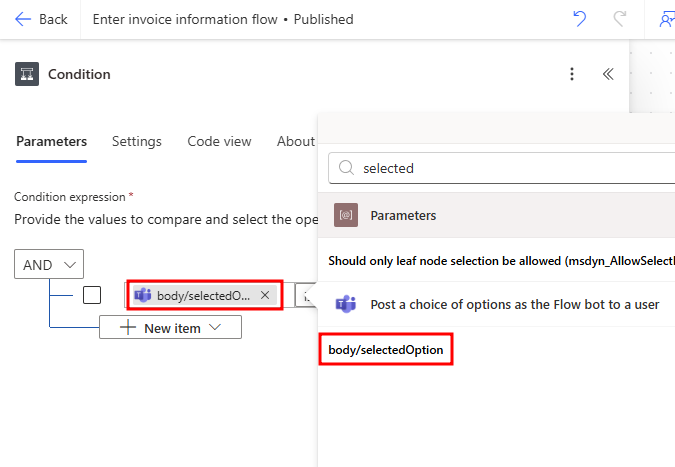
In the Choose a value field, select body/selectedOption (from dynamic content, under the previous action of Post a choice of options as the Flow bot to a user).
In the Choose a value field, enter the value of
Yes.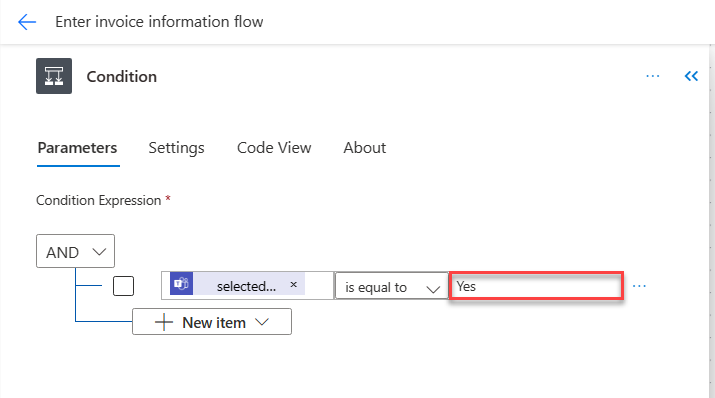
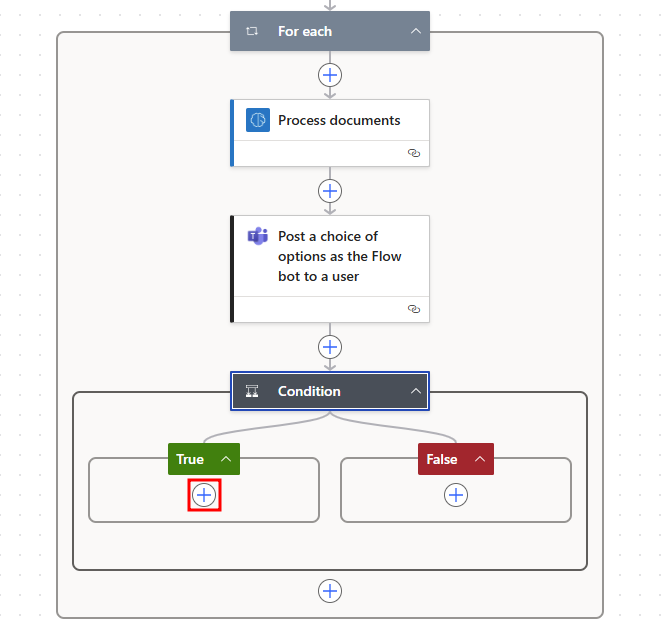
Navigate back to the flow model and select the + sign under True to add an action.
In the Add an action dialogue pane, select the search bar and type in
run a flow. Then select the Run a flow built with Power Automate for desktop action located under Desktop flows.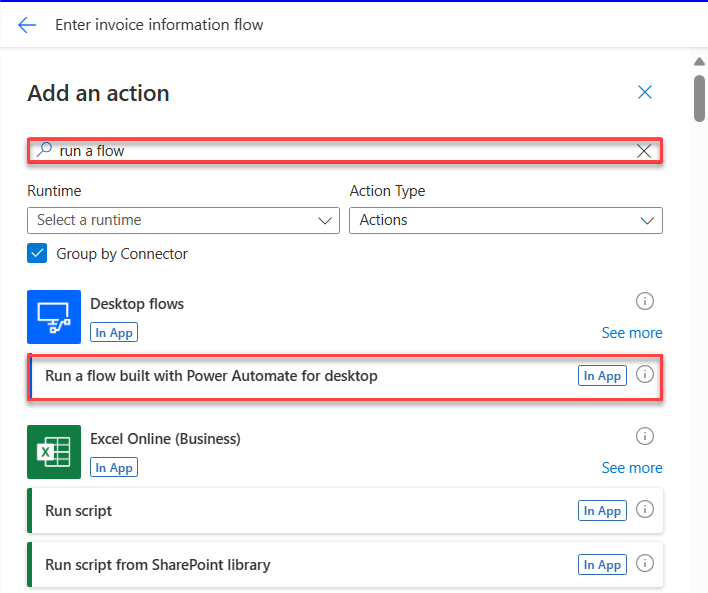
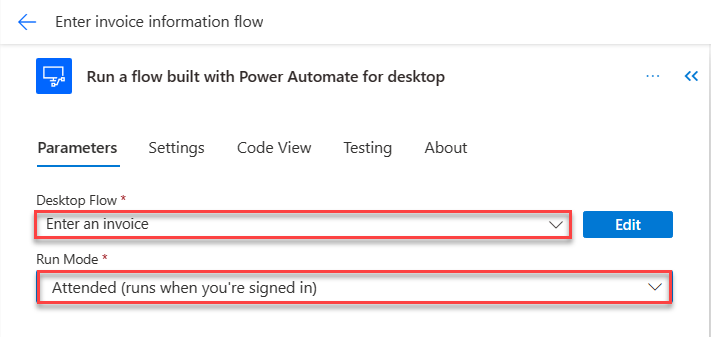
Select Enter an invoice from the drop-down menu in the Desktop Flow field. Next, select Attended (runs when you're signed in) from the drop-down menu in the Run Mode field.
Using the dynamic content from your AI model, fill out the Amount field with
Total value, Contact withContact value, and Account name withBill to value.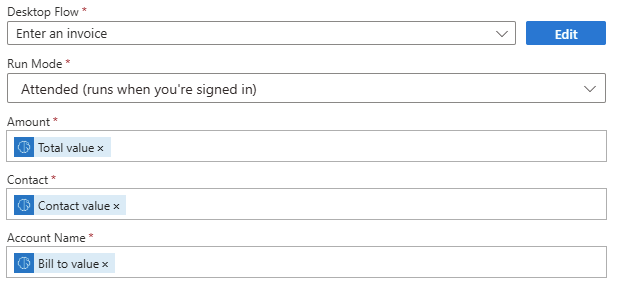
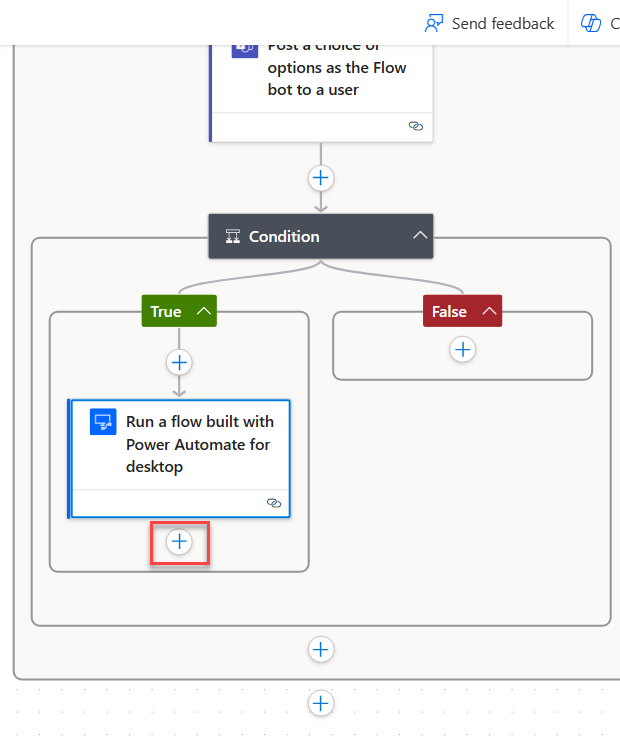
The Run a flow step should be added. Select the + sign at the bottom of the True path to add another action to the flow.
Within the search bar, search for
reply to email. Then, select the Reply to email (V3) action under the Office 365 Outlook group on the list.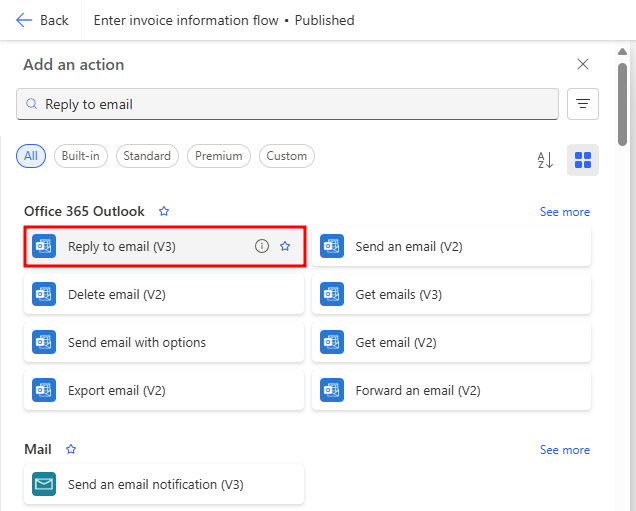
Use the following information and value to fill in the fields within the new action.
- Message ID - Message ID (from dynamic content for the When a new email arrives (V3) action)
Select Show all under Advanced parameters.
To - From (from dynamic content under the When a new email arrives (V3) action)
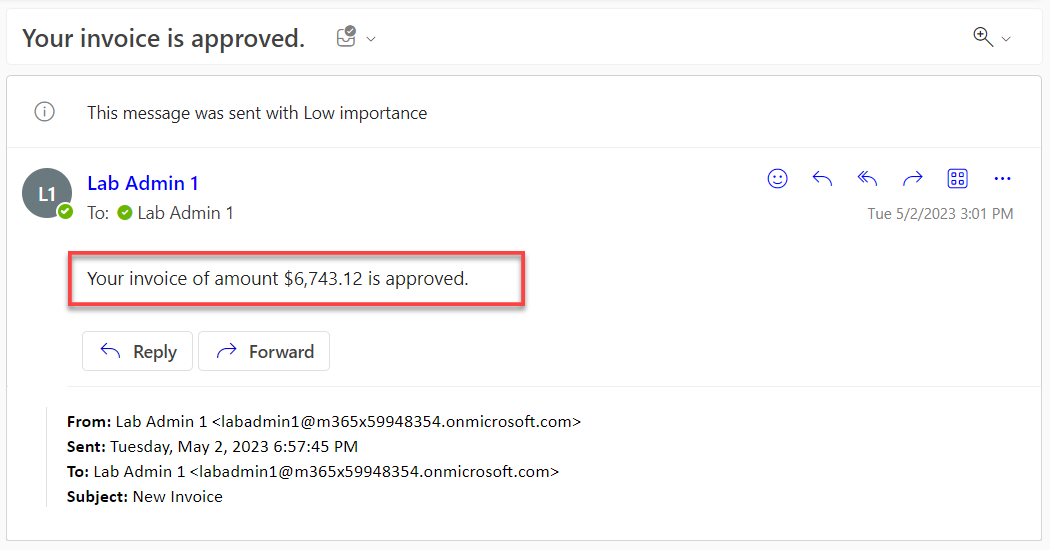
Body -
Your invoice of amountTotal value (from dynamic content under the AI Builder action)is approved.
In the Subject field, enter
Your invoice is approved.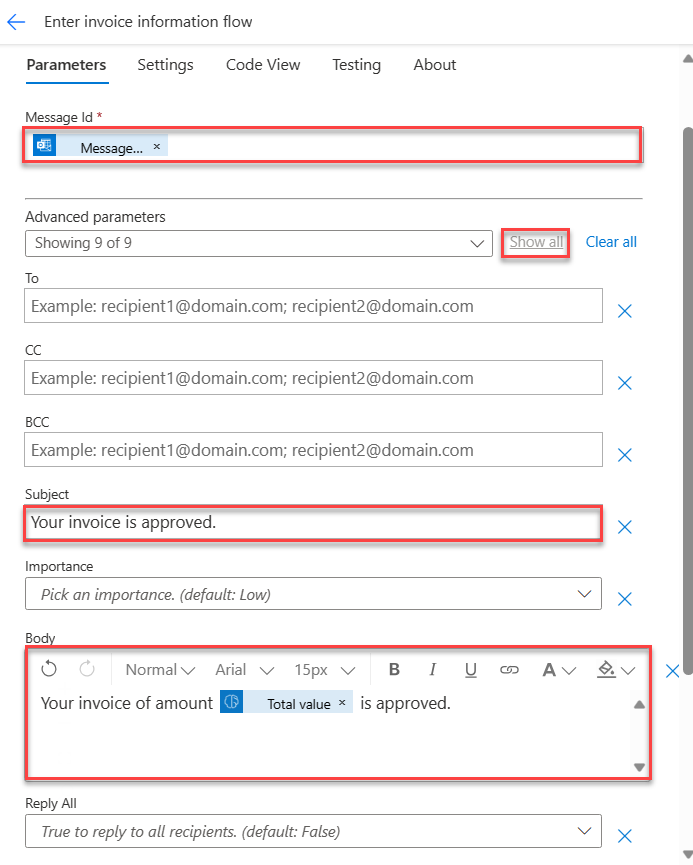
Collapse the actions in the True branch by selecting the titles of the actions.
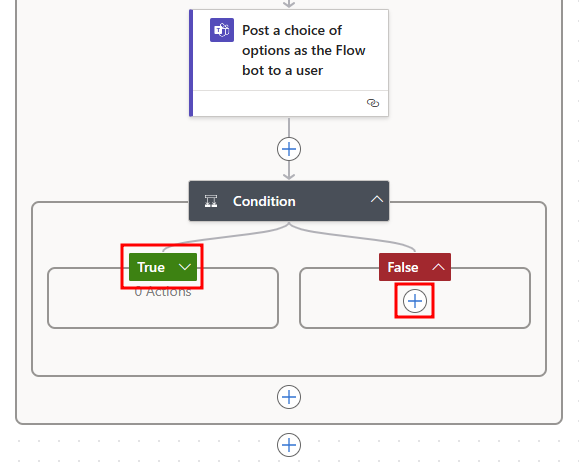
Next, create the steps for the case if the approval result was No.
Select + to add an action under the False branch.
Within the search bar, search for
reply to email. Then, select the Reply to email (V3) action under the Office 365 Outlook group on the list.Use the following values and information to fill in the fields in the newly added action. Use the Dynamic content pane to search for specific values that are needed for some fields.
- Message ID - Message ID (from dynamic content for the When a new email arrives (V3) action)
Select Show all under Advanced parameters.
To - From (from dynamic content under the When a new email arrives (V3) action)
Body -
Your invoice of amountTotal value (from dynamic content from the AI Builder action)was rejected.
In the Subject field, enter
Your invoice is rejected.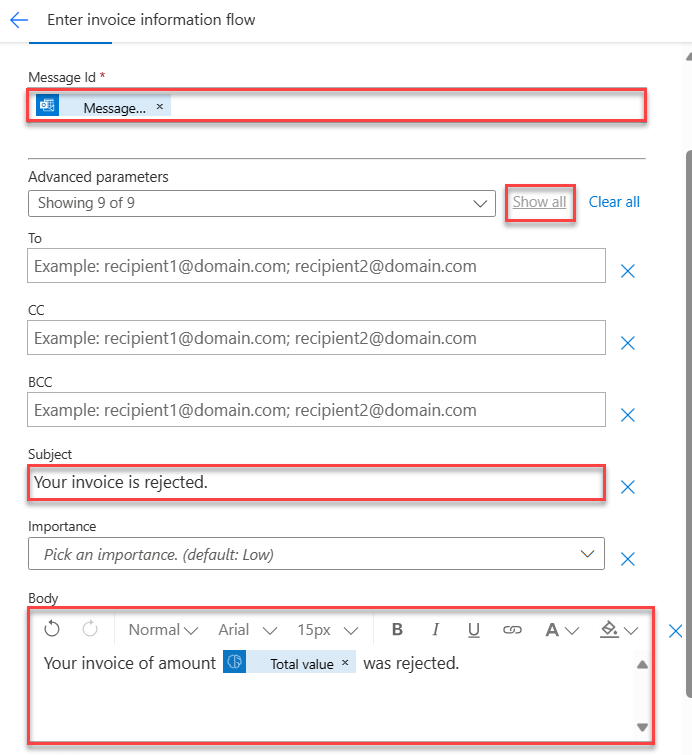
From the toolbar, in the upper-right corner, select Publish. Then, select Test.
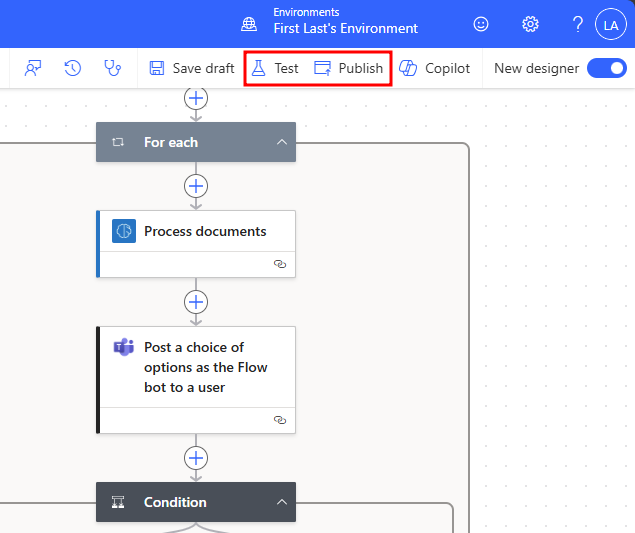
On the Test Flow pane, select Manually > Test. If Power Automate requires you to Publish the flow, select Save draft then Publish the flow.
In a separate web browser tab, open the Microsoft Teams app (browser version, not desktop) and then sign in by using the same test account. You can find the web version of Microsoft Teams by going to https://teams.microsoft.com.
In another separate web browser tab, open the Office 365 Outlook app. You can find the web version of Microsoft Outlook by going to https://outlook.office.com/mail.
In Outlook, compose a new email with the following settings:
To - (email address of the user identity that you're using in this module)
Subject -
New invoiceAttachments - new-invoice.jpg (from the module resource files)
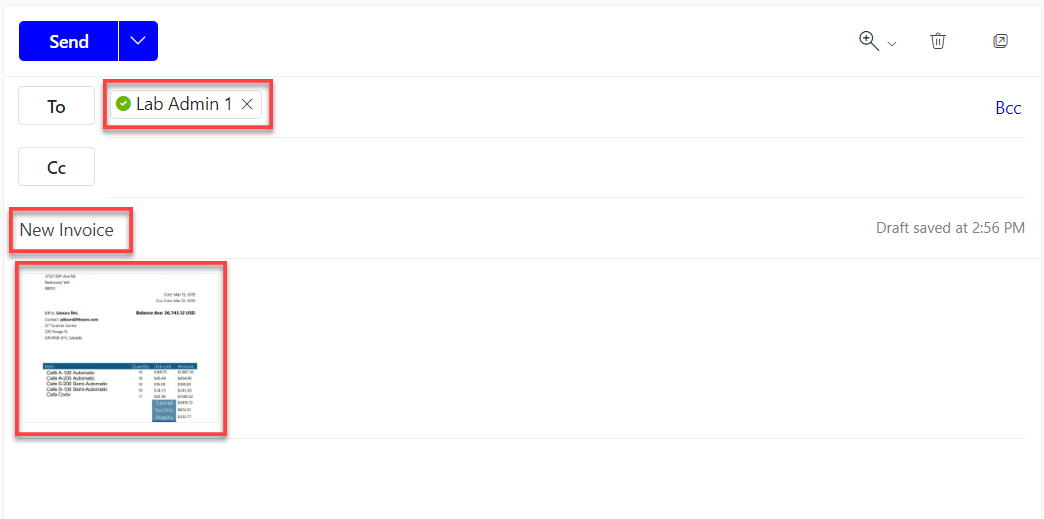
Send the email and then wait for the flow to run.
Wait for an approval request Adaptive Card to appear in the Teams tab. Select Yes or No, and then select Submit to approve or reject the invoice as desired.
On the Outlook tab, check for a confirmation email that matches the option that you selected.
Note
If you receive a BadRequest error from your Reply to email (V3) action, add the From address in the To field. Typically, the Reply to email (V3) action retrieves the To address automatically, but in some cases a To address needs to be provided.
Repeat the test by using the other test case (accept or reject).
Similar to previous modules, you can monitor the run status from the flow details page and run details page. Return to the Enter invoice information flow. Your flow should run successfully.


