Exercise - Create a user interface with Blazor components
In this exercise, you start to create a new Blazing Pizza app for the pizza delivery company. The company provides you with the current CSS, imagery, and HTML from its old site to work with.
Note
This module uses the .NET CLI and Visual Studio Code for local development. After you finish this module, you can apply the concepts by using Visual Studio for Windows and Visual Studio for Mac for macOS. For continued development, you can use Visual Studio Code for Windows, Linux, and macOS.
This module uses the .NET 9.0 SDK. Ensure that you have .NET 9.0 installed by running the following command in your preferred command terminal:
dotnet --list-sdks
Output similar to the following example appears:
8.0.100 [C:\Program Files\dotnet\sdk]
9.0.100 [C:\Program Files\dotnet\sdk]
Ensure that a version that starts with 9 is listed. If none is listed or the command isn't found, install the most recent .NET 9.0 SDK.
If you're creating your first Blazor app, follow the setup instructions for Blazor to install the correct version of .NET and check that your machine is set up correctly. Stop at the Create your app step.
Create a new Blazor app
.NET lets you create new projects with any version of Visual Studio or terminal commands. The following exercises show you the steps by using the terminal and Visual Studio Code.
Open Visual Studio Code.
Open the integrated terminal from Visual Studio Code by selecting View. Then on the main menu, select Terminal.
In the terminal, go where you want to create the project.
Run the dotnet terminal command:
dotnet new blazor -o BlazingPizzaThis command creates a new Blazor server project in a folder named BlazingPizza.
Select File > Open folder.
In the Open dialog, go to the BlazingPizza folder and choose Select Folder.
These files enable you to run and debug your Blazor app with Visual Studio Code's debugging tools.
Test your setup
You can choose to use the terminal or Visual Studio Code to run your app.
In the terminal window, start the Blazor app with:
dotnet watchThis command builds and then starts the app. The watch command tells dotnet to watch all your project files. Any changes you make to project files automatically trigger a rebuild and then restart your app.
Your computer's default browser should open a new page at
http://localhost:5000.To stop the app, select Ctrl + C in the terminal window.
You can also run and debug your project with Visual Studio Code.
In Visual Studio Code, select F5. Or on the Run menu, select Start Debugging.
The app should build and open a new browser page.
Visual Studio Code also switches to the Run and Debug window that allows you to restart or stop your app.
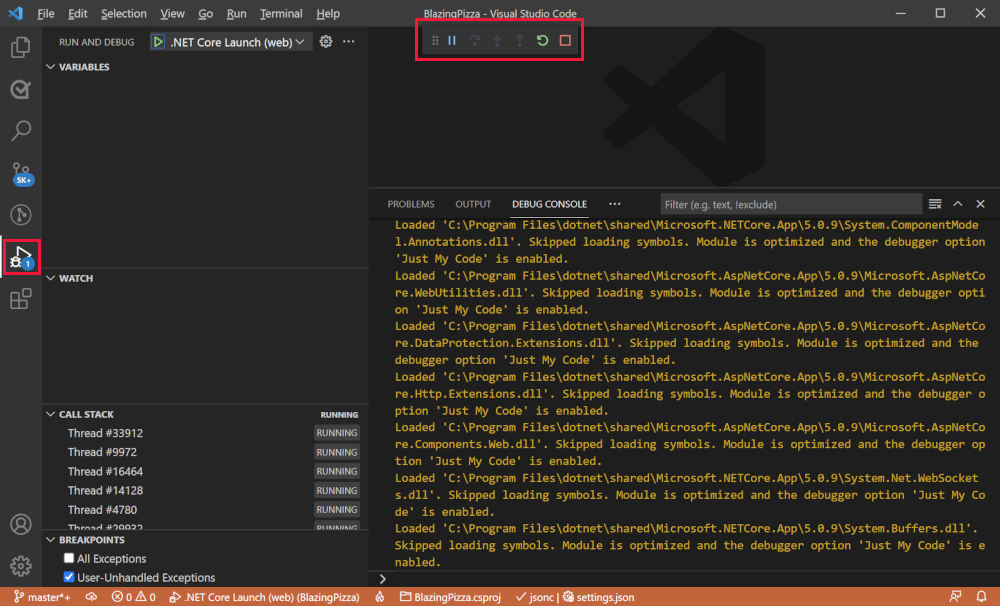
To stop the app, select Shift + F5.
Download the Blazing Pizza assets and starter files
Clone your teams' existing Blazor app project files from the GitHub repository.
Delete your BlazingPizza folder by using the file explorer or in Visual Studio Code.
In the terminal, clone the current working files into a new BlazingPizza folder.
git clone https://github.com/MicrosoftDocs/mslearn-interact-with-data-blazor-web-apps.git BlazingPizzaRun the current version of the app. Select F5.
Make some pizzas
The Pages/Index.razor component lets customers select and configure the pizzas they want to order. The component responds to the root URL of the app.
The team also created classes to represent the models in the app. Review the current PizzaSpecial model.
In Visual Studio Code's file explorer, expand the Model folder. Then select PizzaSpecial.
namespace BlazingPizza;

/// <summary>
/// Represents a pre-configured template for a pizza a user can order
/// </summary>
public class PizzaSpecial
{
    public int Id { get; set; }

    public string Name { get; set; }

    public decimal BasePrice { get; set; }

    public string Description { get; set; }

    public string ImageUrl { get; set; }

    public string GetFormattedBasePrice() => BasePrice.ToString("0.00");
}
Notice that a pizza order has a
Name,BasePrice,Description, andImageUrl.In the file explorer, expand Pages and then select Index.razor.
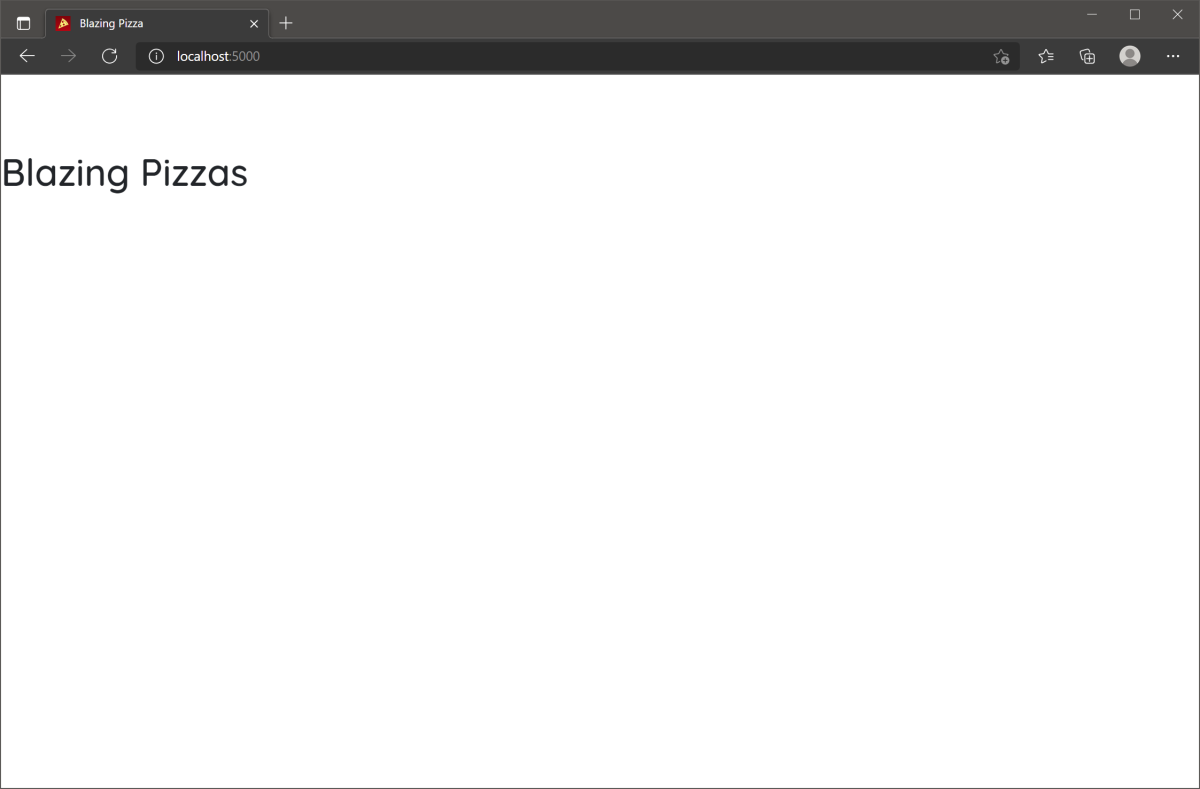
@page "/"

<h1>Blazing Pizzas</h1>
At the moment, there's only a single H1 tag for the title. You're going to add code to create pizza specials.
Under the
<h1>tag, add this C# code:@code { List<PizzaSpecial> specials = new(); protected override void OnInitialized() { specials.AddRange(new List<PizzaSpecial> { new PizzaSpecial { Name = "The Baconatorizor", BasePrice = 11.99M, Description = "It has EVERY kind of bacon", ImageUrl="img/pizzas/bacon.jpg"}, new PizzaSpecial { Name = "Buffalo chicken", BasePrice = 12.75M, Description = "Spicy chicken, hot sauce, and blue cheese, guaranteed to warm you up", ImageUrl="img/pizzas/meaty.jpg"}, new PizzaSpecial { Name = "Veggie Delight", BasePrice = 11.5M, Description = "It's like salad, but on a pizza", ImageUrl="img/pizzas/salad.jpg"}, new PizzaSpecial { Name = "Margherita", BasePrice = 9.99M, Description = "Traditional Italian pizza with tomatoes and basil", ImageUrl="img/pizzas/margherita.jpg"}, new PizzaSpecial { Name = "Basic Cheese Pizza", BasePrice = 11.99M, Description = "It's cheesy and delicious. Why wouldn't you want one?", ImageUrl="img/pizzas/cheese.jpg"}, new PizzaSpecial { Name = "Classic pepperoni", BasePrice = 10.5M, Description = "It's the pizza you grew up with, but Blazing hot!", ImageUrl="img/pizzas/pepperoni.jpg" } }); } }The
@codeblock creates an array to hold the pizza specials. When the page is initialized, it adds six pizzas to the array.Select F5 or select Run. Then select Start Debugging.
When the app compiles and runs, you see that nothing. The code isn't being used by anything in the client-side HTML. Let's fix that.
Select Shift + F5 or select Stop Debugging.
In Index.razor, replace
<h1>Blazing Pizzas</h1>with this code:<div class="main"> <h1>Blazing Pizzas</h1> <ul class="pizza-cards"> @if (specials != null) { @foreach (var special in specials) { <li style="background-image: url('@special.ImageUrl')"> <div class="pizza-info"> <span class="title">@special.Name</span> @special.Description <span class="price">@special.GetFormattedBasePrice()</span> </div> </li> } } </ul> </div>This code combines plain HTML alongside looping and member access directives. The
@foreachloop creates an<li>tag for each pizza in thespecialsarray.Inside the loop, each special pizza displays its name, description, price, and image with member directives.
Select F5 or select Run. Then select Start Debugging.
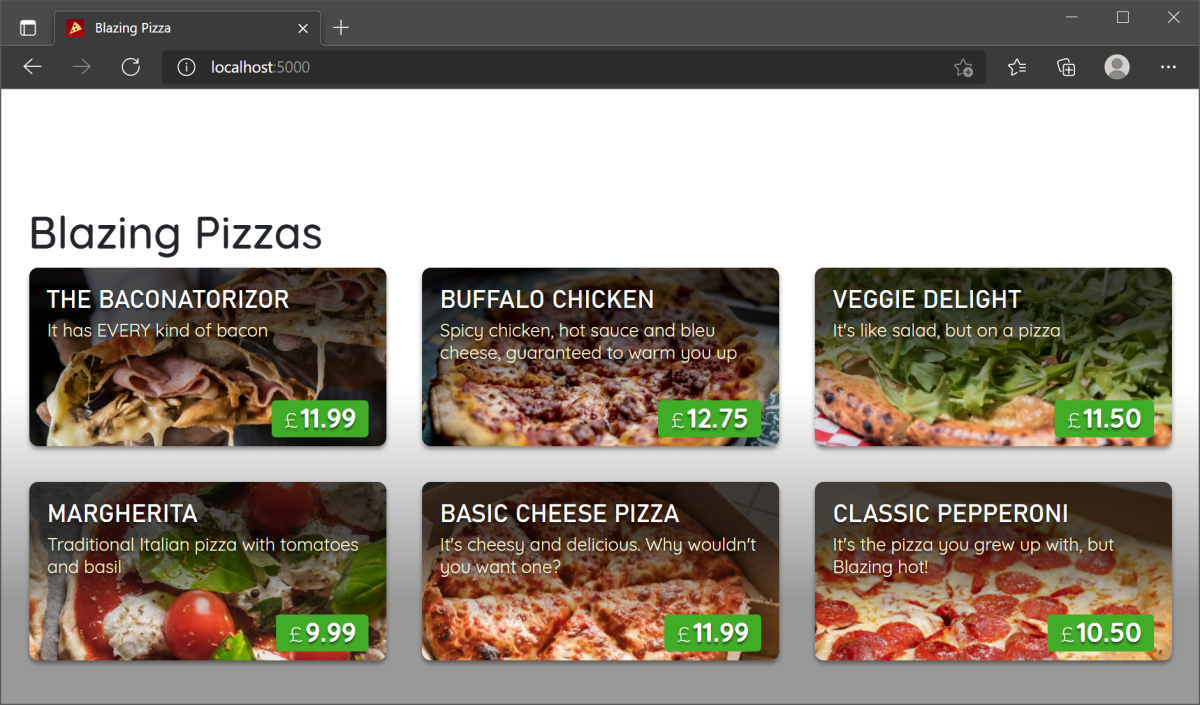
You now have a pizza base component to allow customers to order a pizza. In following exercises, you improve on this component.