Exercise - Customize a Docker image to run your own web app
A Dockerfile contains the steps for building a custom Docker image.
You decide to deploy one of your organization's web apps using Docker. You select a simple web app that implements a web API for a hotel reservations website. The web API exposes HTTP POST and GET operations that create and retrieve customers' bookings.
Note
In this version of the web app, the bookings aren't actually persisted, and queries return dummy data.
In this exercise, you'll create a Dockerfile for an app that doesn't have one. Then, you'll build the image and run it locally.
Create a Dockerfile for the web app
If it's not already running, start Docker on your computer.
In a command prompt window on your local computer, run the following command to download the source code for the web app.
git clone https://github.com/MicrosoftDocs/mslearn-hotel-reservation-system.gitEnter the following command to open the
srcdirectory.cd mslearn-hotel-reservation-system/srcIn the
srcdirectory, enter the following commands to create a new file namedDockerfileand open it in Notepad:copy NUL Dockerfile notepad DockerfileNote
By default the notepad command opens a text file. Make sure that you save it as file type All Files with no file extension. To verify, open the src folder in File Explorer, select View > Show> File name extensions. If necessary, rename the file and remove
.txtfrom the file name.Add the following code to the Dockerfile:
FROM mcr.microsoft.com/dotnet/core/sdk:2.2
WORKDIR /src
COPY ["/HotelReservationSystem/HotelReservationSystem.csproj", "HotelReservationSystem/"]
COPY ["/HotelReservationSystemTypes/HotelReservationSystemTypes.csproj", "HotelReservationSystemTypes/"]
RUN dotnet restore "HotelReservationSystem/HotelReservationSystem.csproj"
This code has commands to fetch an image containing the .NET Core Framework SDK. The project files for the web app (
HotelReservationSystem.csproj) and the library project (HotelReservationSystemTypes.csproj) are copied to the/srcfolder in the container. Thedotnet restorecommand downloads the dependencies required by these projects from NuGet.Append the following code to the bottom of the Dockerfile:
COPY . .
WORKDIR "/src/HotelReservationSystem"
RUN dotnet build "HotelReservationSystem.csproj" -c Release -o /app
These commands copy the source code for the web app to the container, then run the dotnet build command to build the app. The resulting DLLs are written to the
/appfolder in the container.Append the following command at the bottom of the Dockerfile.
RUN dotnet publish "HotelReservationSystem.csproj" -c Release -o /appThe
dotnet publishcommand copies the executables for the website to a new folder and removes any interim files. The files in this folder can then be deployed to a website.Append the following commands to the bottom of the Dockerfile.
EXPOSE 80
WORKDIR /app
ENTRYPOINT ["dotnet", "HotelReservationSystem.dll"]
The first command opens port 80 in the container. The second command moves to the
/appfolder containing the published version of the web app. The final command specifies that when the container runs it should execute the commanddotnet HotelReservationSystem.dll. This library contains the compiled code for the web app.Save the file and close your text editor. Make sure that you save it as file type All Files with no file extension.
Build and deploy the image using the Dockerfile
At the command prompt, run the following command to build the image for the sample app using the Dockerfile. Don't forget the
.at the end of the command. This command builds the image and stores it locally. The image is given the namereservationsystem. Verify that the image is built successfully. A warning about file and directory permissions might be displayed when the process completes. You can ignore this warning for the purposes of this exercise. The image might take a moment to build.docker build -t reservationsystem .Run the following command to verify that the image has been created and stored in the local registry:
docker image listThe image will have the name
reservationsystem. You'll also have an image named microsoft/dotnet:REPOSITORY TAG IMAGE ID CREATED SIZE reservationsystem latest d2501f0f2ced About a minute ago 1.76GB
Test the web app
Enter the following code to run a container using the
reservationsystemimage. Docker will return a lengthy string of hex digits. The container runs in the background without any UI. Port 80 in the container is mapped to port 8080 on the host machine. The container is namedreservations.docker run -p 8080:80 -d --name reservations reservationsystemStart a web browser and navigate to
http://localhost:8080/api/reservations/1. You should get a JSON object containing the data for reservation number 1 similar to the following output: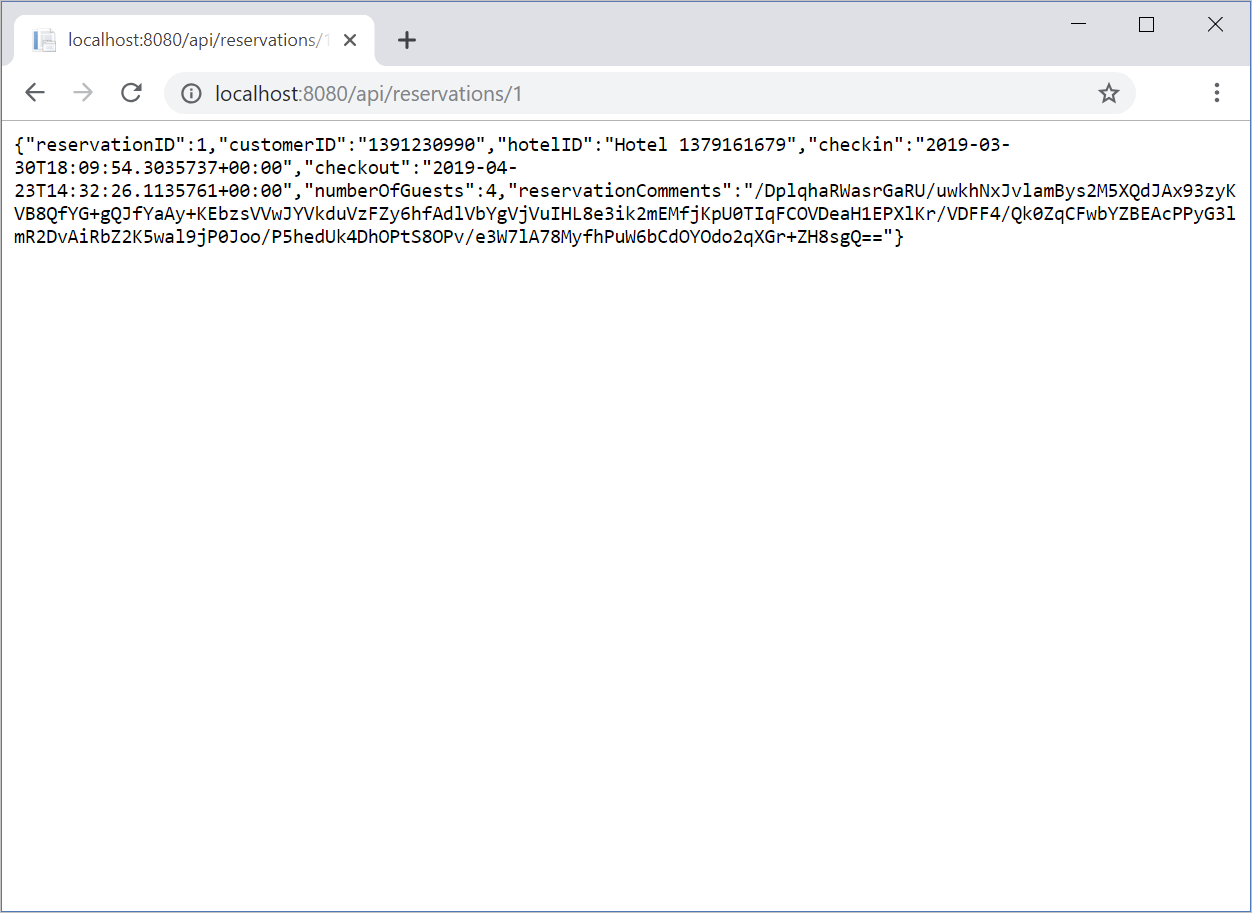
Replace the "1" at the end of the localhost URL with a different reservation number, like 2 or 20, to view the corresponding reservation details.
Run the following command to view the container's status:
docker ps -aThe output lists the following for all available containers:
- CONTAINER ID
- IMAGE
- COMMAND
- CREATED time
- STATUS
- PORTS
- NAMES
Verify that the container's
STATUSis Up.CONTAINER ID IMAGE COMMAND CREATED STATUS PORTS NAMES 07b0d1de4db7 reservationsystem "dotnet HotelReserva…" 5 minutes ago Up 5 minutes 0.0.0.0:8080->80/tcp reservationsEnter the following command to stop the reservations container:
docker container stop reservationsDelete the reservations container from the local registry.
docker rm reservationsLeave the reservationsystem in the local registry. You'll use this image in the next exercise.
Congratulations! You've created an image for your web app, and you've run it using a Docker container.