Exercise - Manage application volume groups for SAP HANA in Azure NetApp Files
In this exercise, you deploy the first SAP HANA host, add hosts to a multiple-host SAP HANA system, and manage volumes in an application volume group for SAP HANA.
Task 1 - Deploy the first application volume group
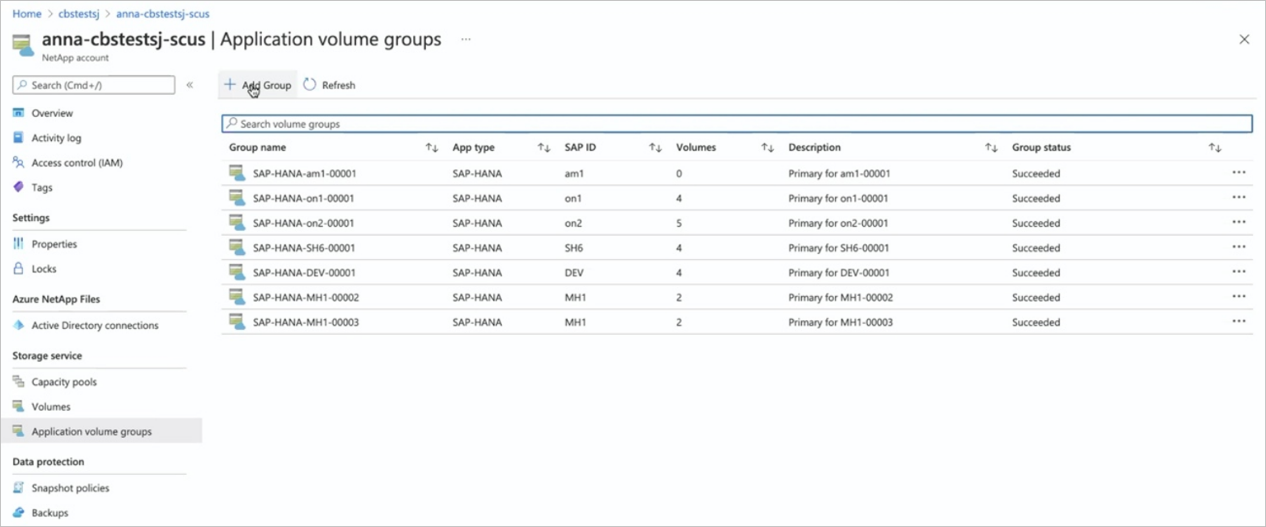
From your NetApp account, select Application volume groups, then +Add Group.
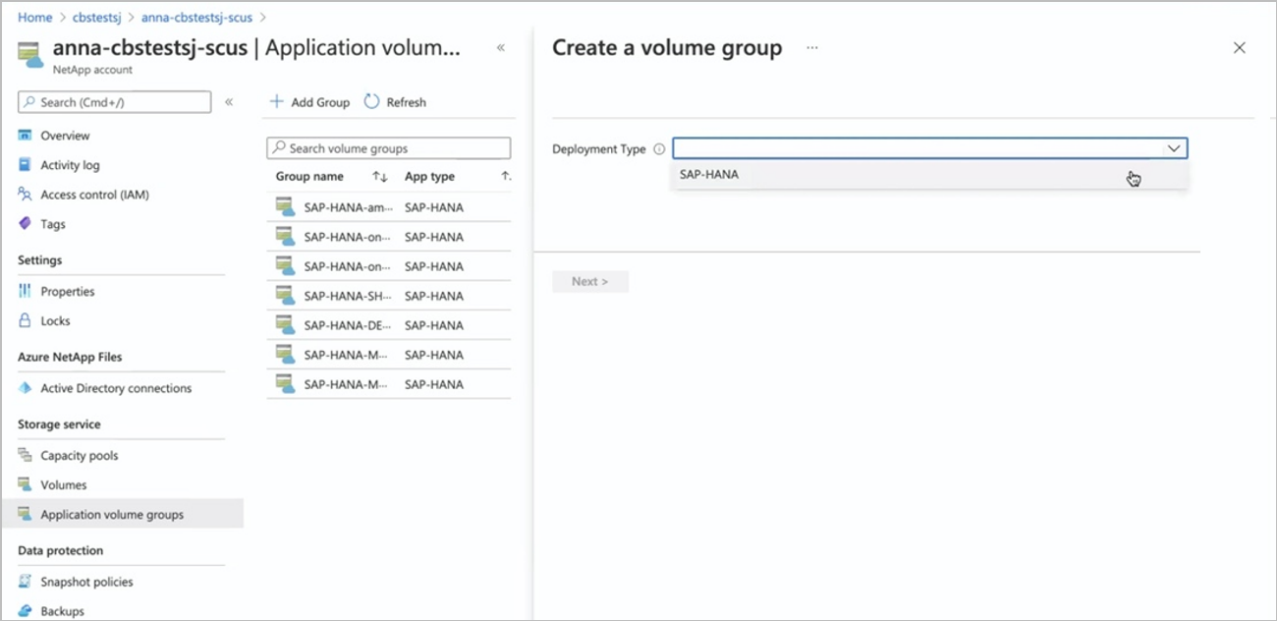
In Deployment Type, select SAP HANA then Next.
In the SAP HANA tab, provide HANA-specific information:
- SAP ID (SID)
- Group name
- SAP node memory
- Capacity overhead (%)
- Single-host or Multiple host
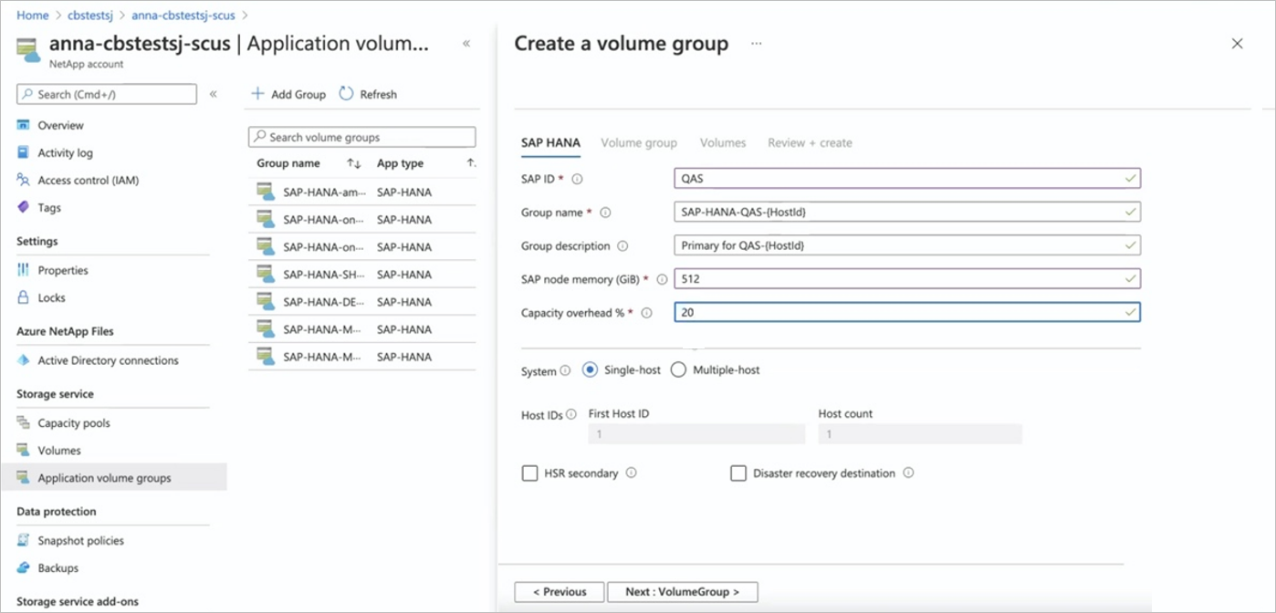
Select Next: Volume Group.
In the Volume group tab, provide information for creating the volume group:
- Proximity placement group (PPG)
- Capacity pool
- Virtual network
- Subnet
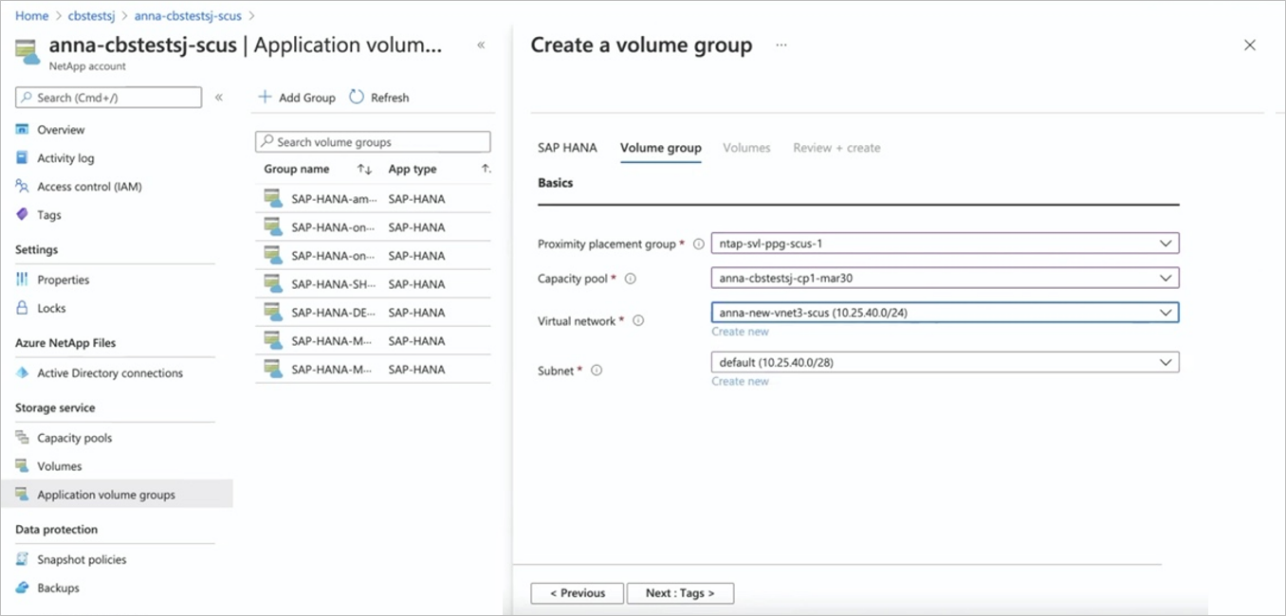
Select Next: Tags.
In the Tags section of the Volume Group tab, you can add tags as needed for the volumes.
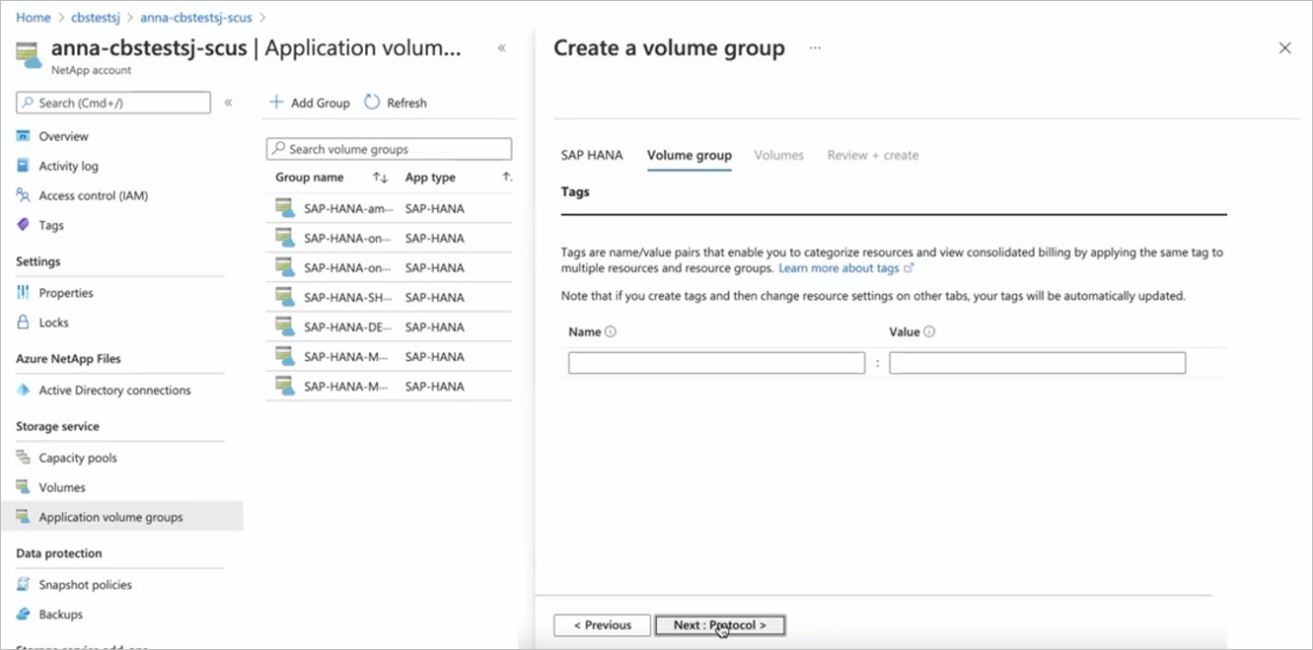
Select Next: Protocol.
In the Protocol section of the Volume Group tab, you can modify the Export Policy, which should be common to all volumes. You cannot change the protocol (NFS v4.1) for the volumes in this view; you can change this later in the workflow.
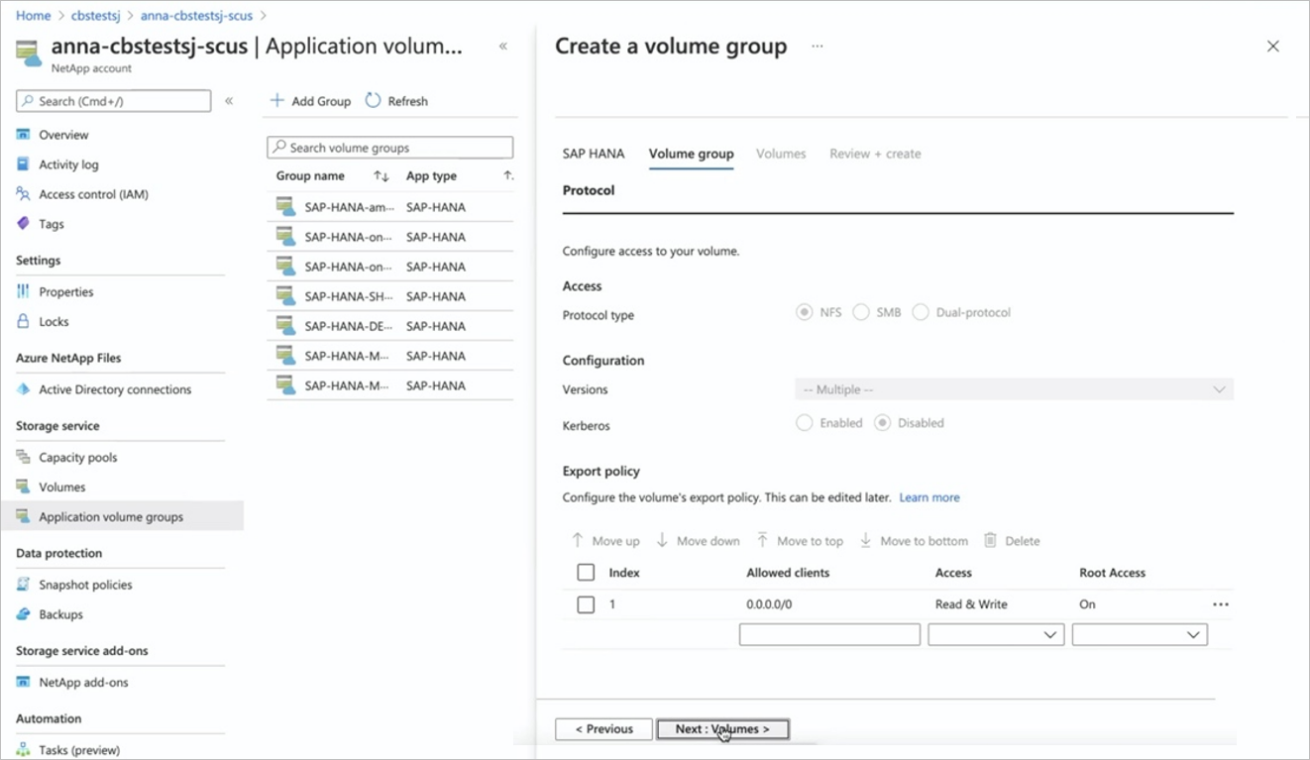
Select Next: Volumes.
The Volumes tab summarizes the volumes that are being created with proposed volume name, quota, and throughput.
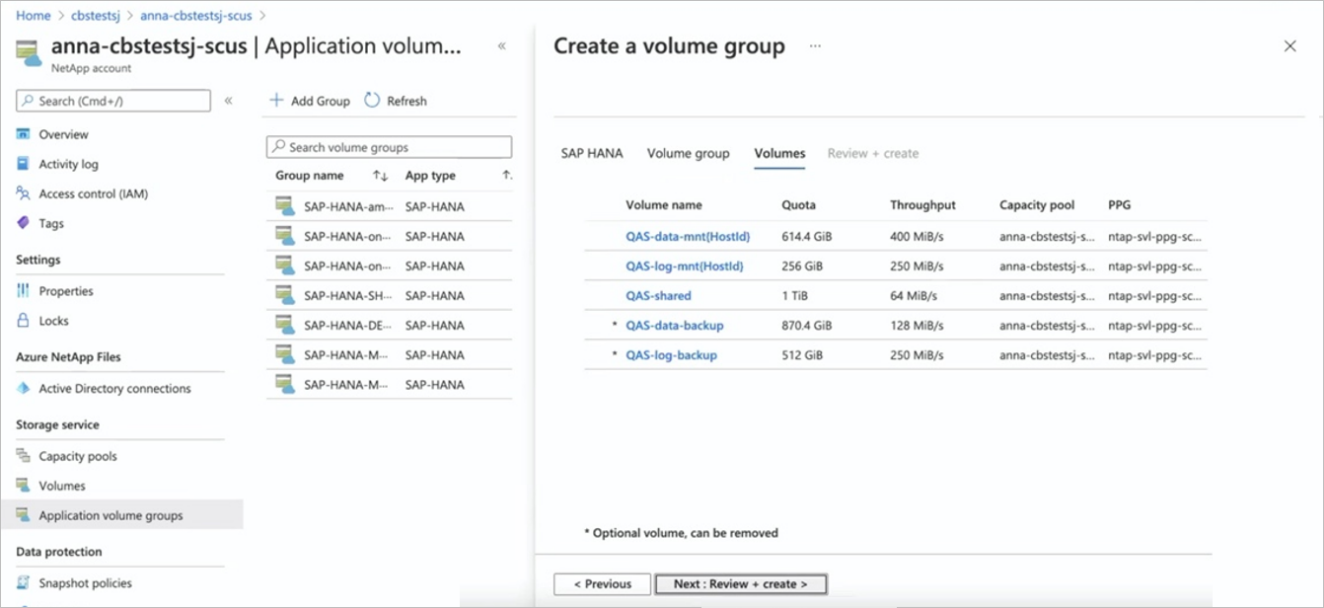
In the Volumes tab, you can select each volume to view or change the volume details.
When you select a volume, you can change the following values in the Basics tab:
- Volume Name
- Quota
- Throughput
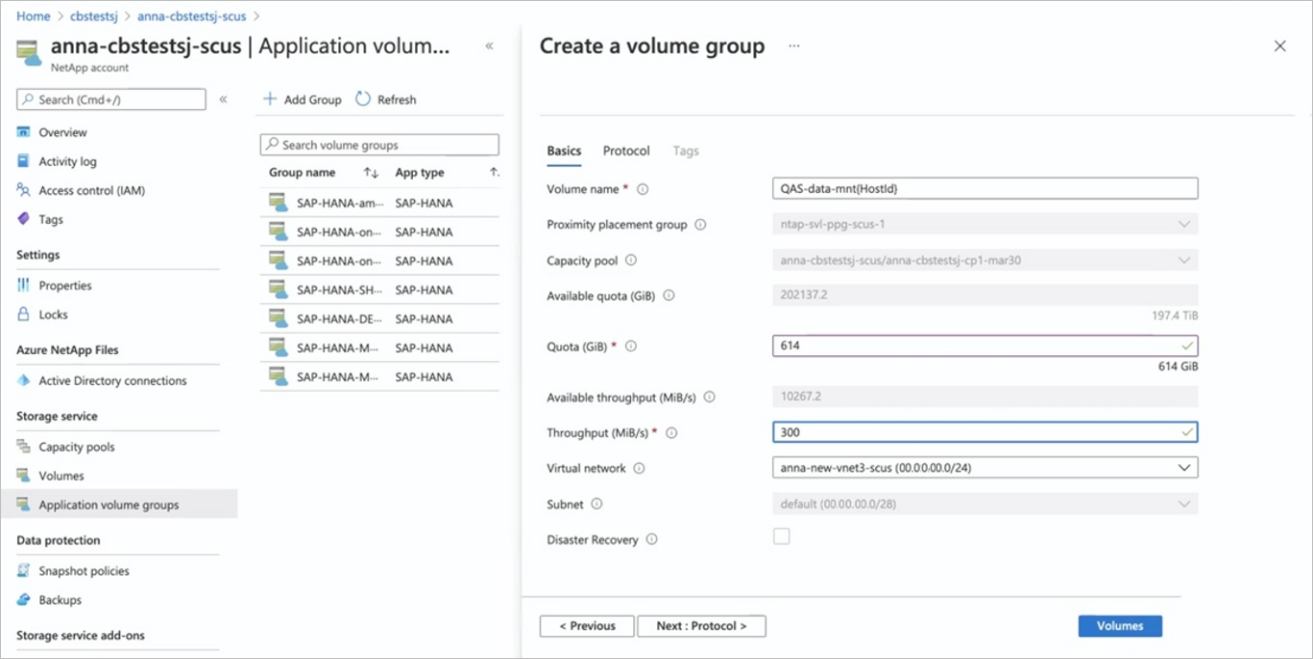
Select Next: Protocols to review the protocol settings.
In the Protocols tab of a volume, you can modify File path (the export name where the volume can be mounted) and Export policy as needed.
You cannot change the protocol for the data and log volumes.
Select the Tags tab if you want to specify tags for a volume. Or select Volumes to return to the Volumes overview page.
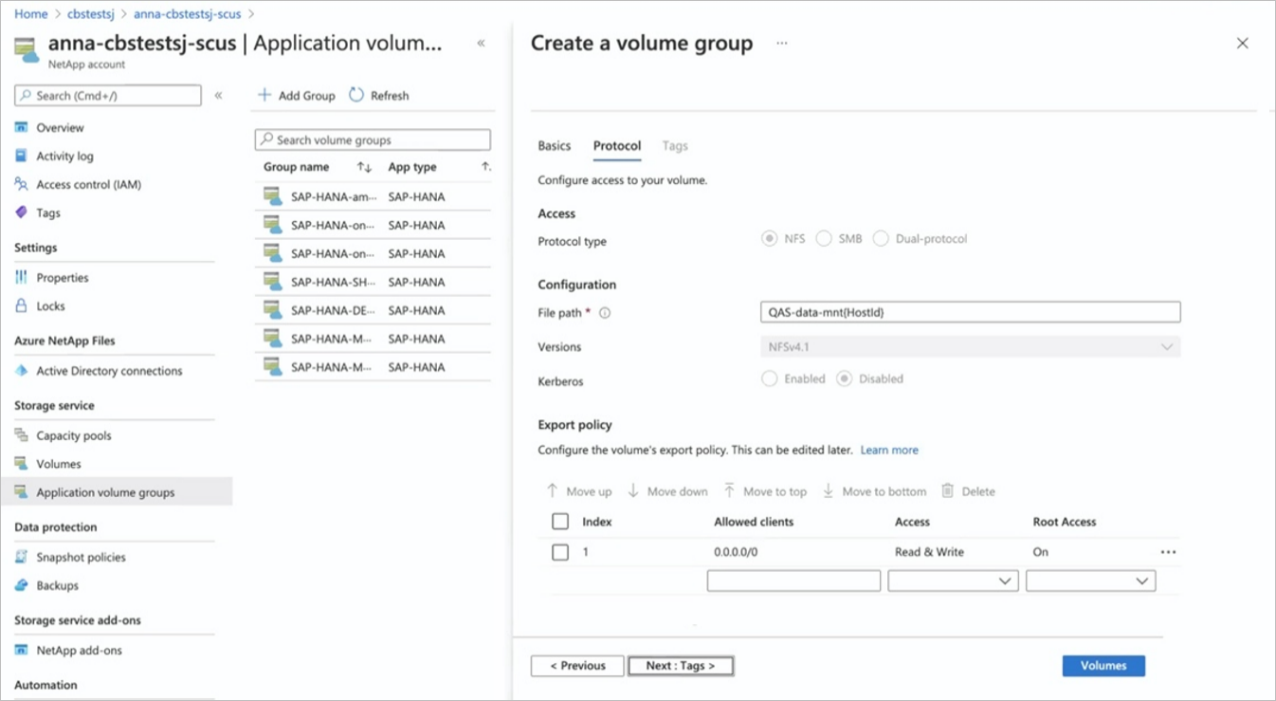
The Volumes page displays volume details.
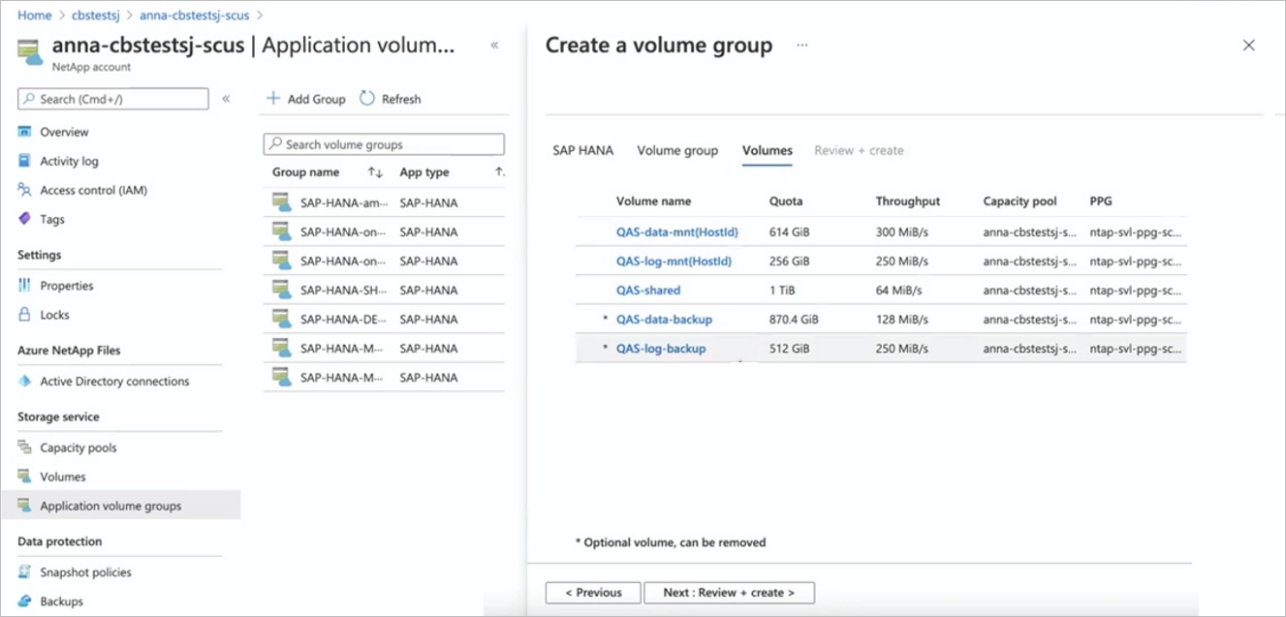
Select Volumes to return to the Volume overview page. Select Next: Review + create.
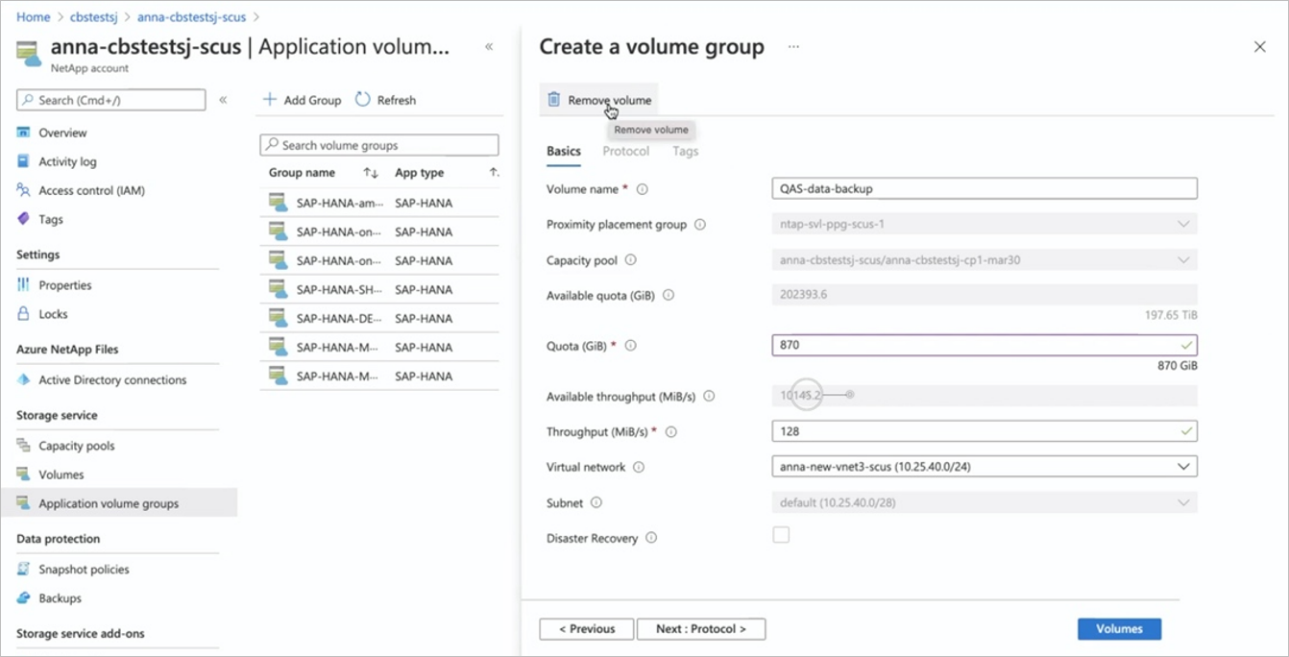
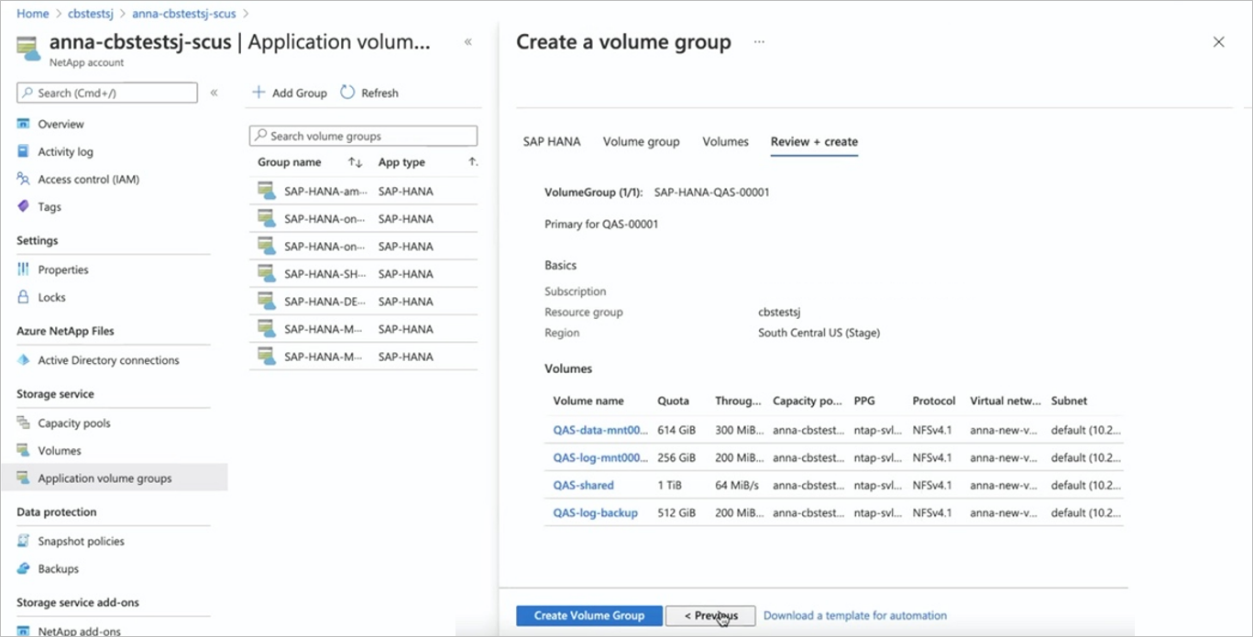
The Review + Create tab lists all the volumes and their creation method. Select Create Volume Group to start the volume group creation.
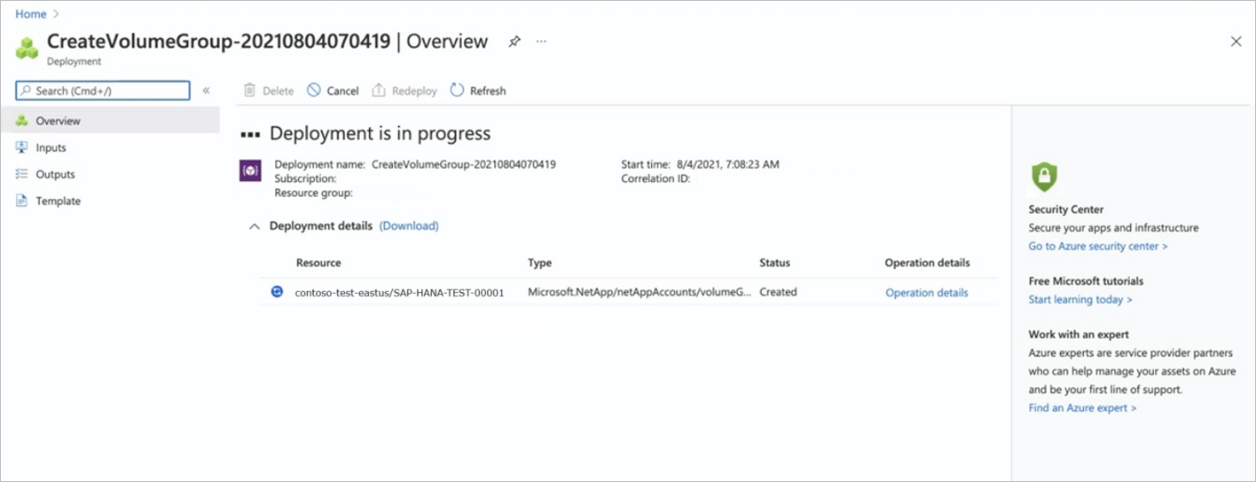
The Volume Groups deployment workflow starts. You can monitor the progress. This process can take a few minutes to complete.
Task 2 - Add application volume group for a SAP HANA system
In this task, you add hosts to an existing multiple-host SAP HANA system using application volume group for SAP HANA.
From your NetApp account, select Application volume groups, and select +Add Group. In Deployment Type, select SAP HANA then Next.
In the SAP HANA tab for adding a volume group, specify the following information:
- SAP ID (SID)
- Group name
- SAP node memory
- Capacity overhead (%)
- Multiple-host
- First host ID
- Host count
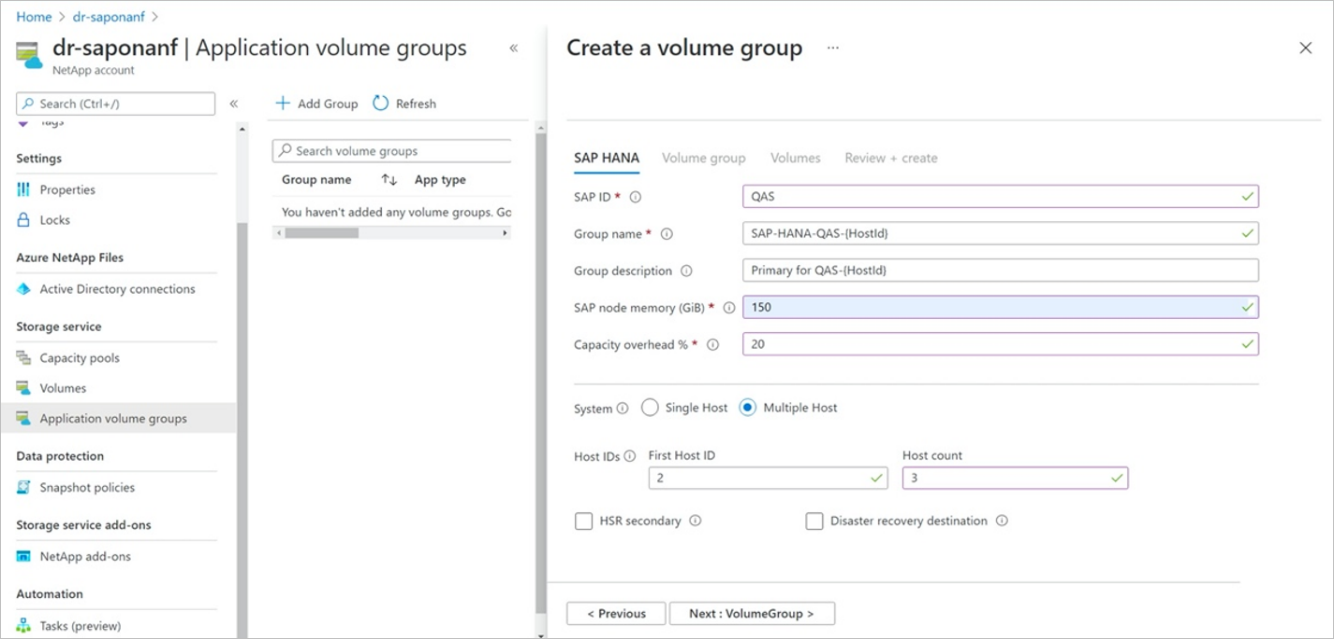
Select Next: Volume Group.
In the Volume group tab, provide identical input as you did when you created the first HANA host.
Select Next and continue through the Protocol and Tags sections, providing the same input as the first HANA host in the previous task.
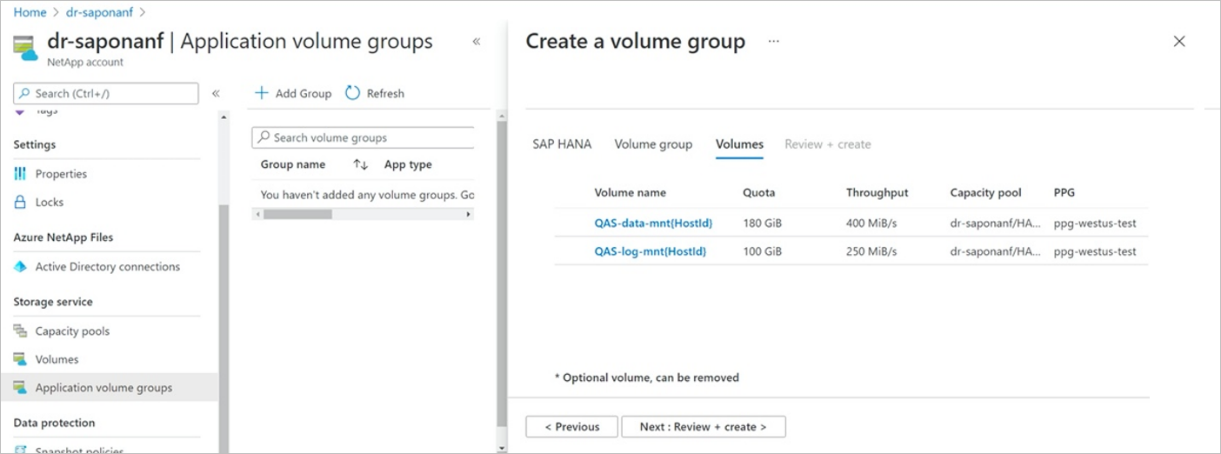
Select Next: Review + Create.
In the Review + Create tab, the {HostId} placeholder is replaced with the individual numbers for each of the volume groups that will be created.
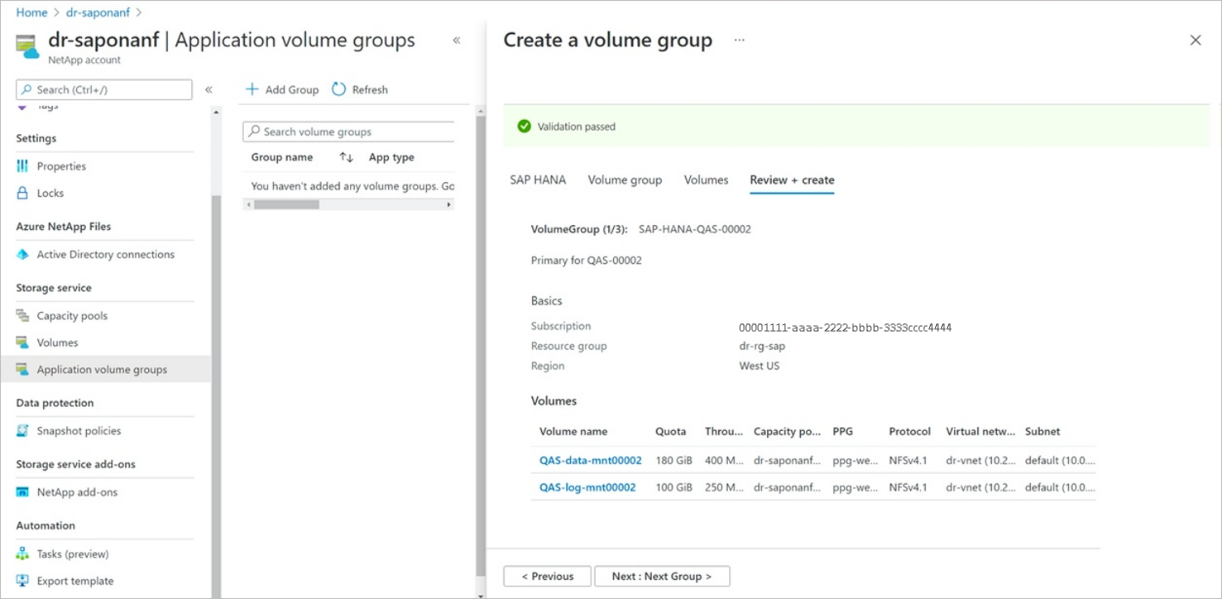
After you navigate through the volume groups, select Create All Groups to create all the volumes for the HANA hosts you're adding.
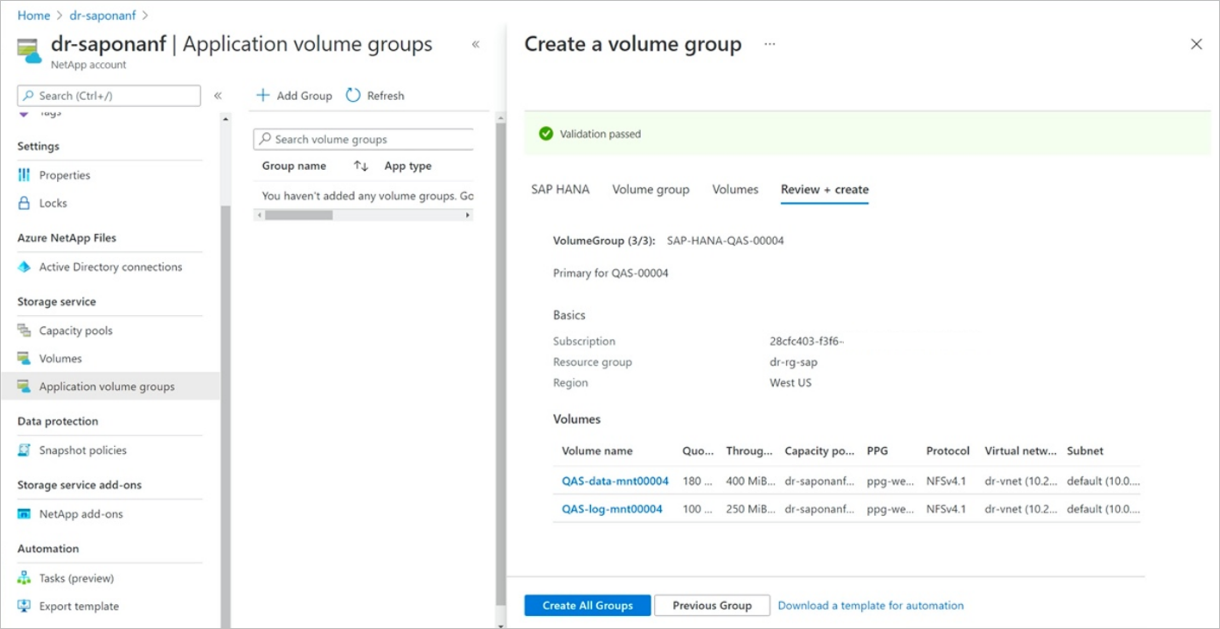
The Create Volume Group page shows the added volume groups with the "Creating" status.
Task 3 - Manage volumes in an application volume group for SAP HANA
In this task, you manage a volume from its volume group. You can resize, delete, or change throughput for the volume.
From your NetApp account, select Application volume groups. Click a volume group to display the volumes in the group.
Select the volume you want to resize, delete, or change throughput. The volume overview is displayed.
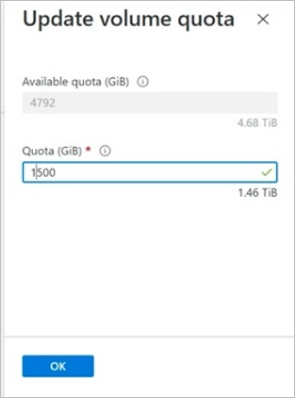
To resize the volume, select Resize and specify the quota in GiB.
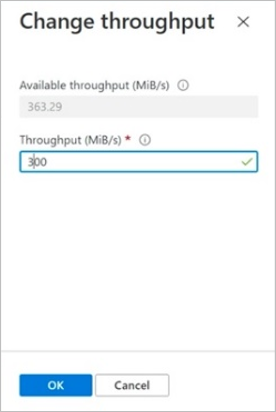
To change the throughput for the volume, select Change throughput and specify the intended throughput in MiB/s.
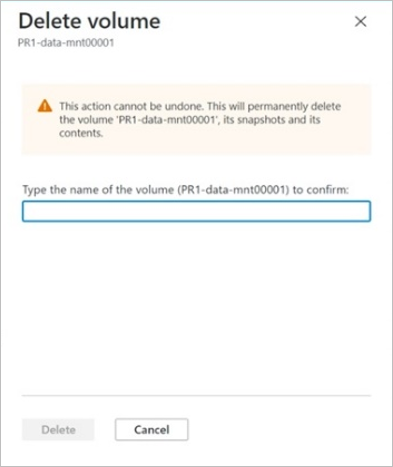
To delete the volume in the volume group, select Delete. If you are prompted, type the volume name to confirm the deletion.