Configure Windows 365
The primary setup process for Windows 365 takes place within the Microsoft Intune admin center. Here's a general overview of the fundamental steps required to configure your system for provisioning on-demand Cloud PCs to your users.
Assign licenses to users
In order for a user to utilize a Cloud PC, it's necessary to allocate a Windows 365 license to that particular user. You can allocate licenses to either individual users or groups by utilizing administrative portals or PowerShell. To assign licenses using the Microsoft Entra admin center, follow these steps.
- Sign in to the Microsoft Entra admin center with a license administrator account.
- Select Licenses to open a page where you can see and manage all licensable products in the organization.
- Select a user or group, and then use the Select button at the bottom of the page to confirm your selection.
- Under All products, select Windows 365 Select Assign at the top of the page.
- On the Assign license page, select Users and groups to open a list of users and groups.
- Select Assign at the bottom of the page.
Create an Azure network connection
To enable Cloud PCs to join the organization's domain and access on-premises resources, it's essential to establish an Azure network connection (ANC). This involves connecting to a virtual network in Azure that has been configured to facilitate connectivity with the on-premises domain controller and network. To identify and set up this connectivity, collaborate with your organization's Azure administrator.
To create an Azure network connection:
Sign in to the Microsoft Endpoint Manager admin center with an account that is an Intune Administrator in Microsoft Entra ID and has owner permissions to the virtual network in the Azure subscription.
Select Devices > Windows 365 (under Provisioning) > Azure network connection > Create connection.
On the Network details page, enter a Name for the new connection. The connection name must be unique within the customer tenant.
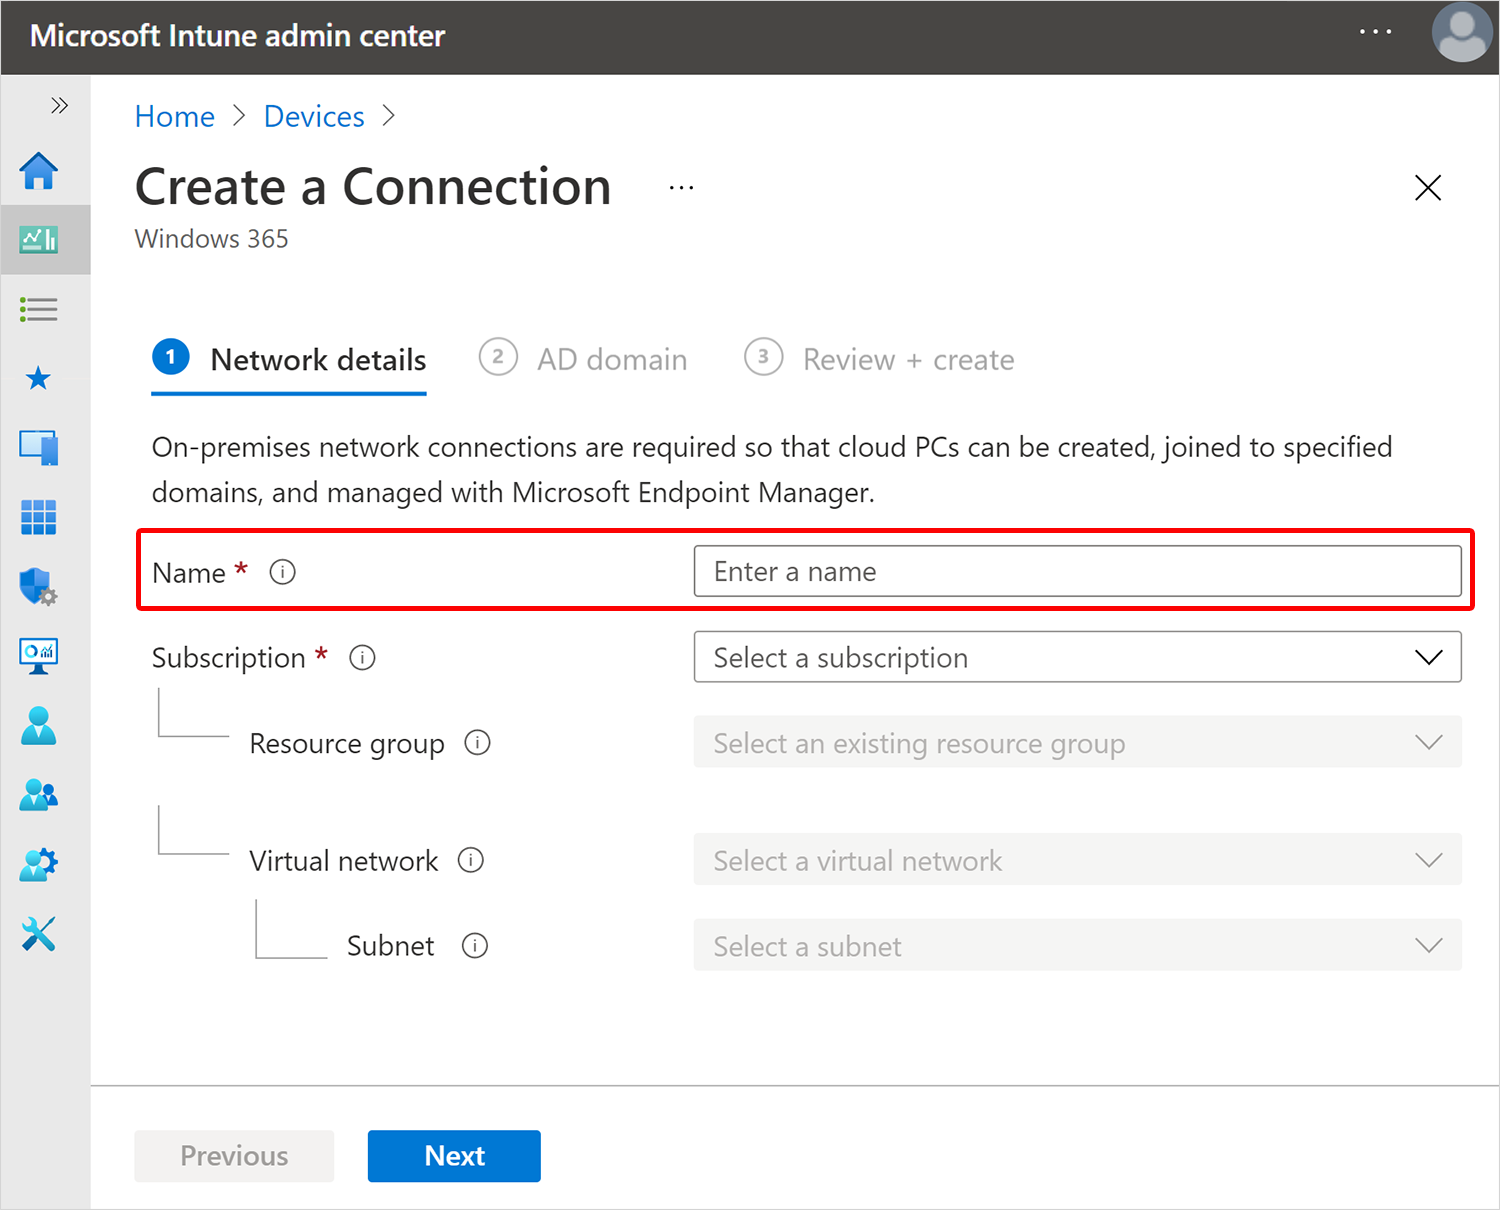
Select a Subscription and Resource group for the new connection. Create a new resource group or select an existing one that contains your Cloud PC resources.
Select a Virtual network and Subnet and select Next.
On the AD domain page, provide the AD domain name, Organizational unit (optional) and an AD domain username and password for the service account used for connecting the Cloud PCs to your Active Directory domain.
Select Next.
On the Review + Create page, select Create.
Learn More
Configure a custom device image (optional)
Windows 365 provides a built-in gallery of Windows Enterprise images accessible through the provisioning policy creation flow. These images are updated monthly with the latest security updates so that end users have a secure and seamless experience.
- Images with preinstalled Microsoft 365 Apps: Microsoft 365 Apps and Teams optimizations are already installed.
- Images with OS optimizations: Windows Enterprise images that have been optimized for enhanced performance on virtualized environments and lower-end hardware configurations.
As most device configurations are applied through configuration policies, these base images should be sufficient for many organizations. However, if a custom image is needed, you can create and upload up to 20 custom generalized images. The custom image must be added to your Azure subscription before it can be used with Windows 365. Once that's done, sign in to the Microsoft Endpoint Manager admin center, select Devices > Windows 365 > Device images > Add. Select an image from the available list, and select Add.
Learn More
Create provisioning policies
Cloud PCs are created and assigned to users based on provisioning policies. After provisioning policies are created and assigned to the Microsoft Entra user security groups or Microsoft 365 Groups, the Windows 365 service checks for appropriate licensing for each user and configures the Cloud PCs accordingly.
Creating a provisioning policy requires the following steps:
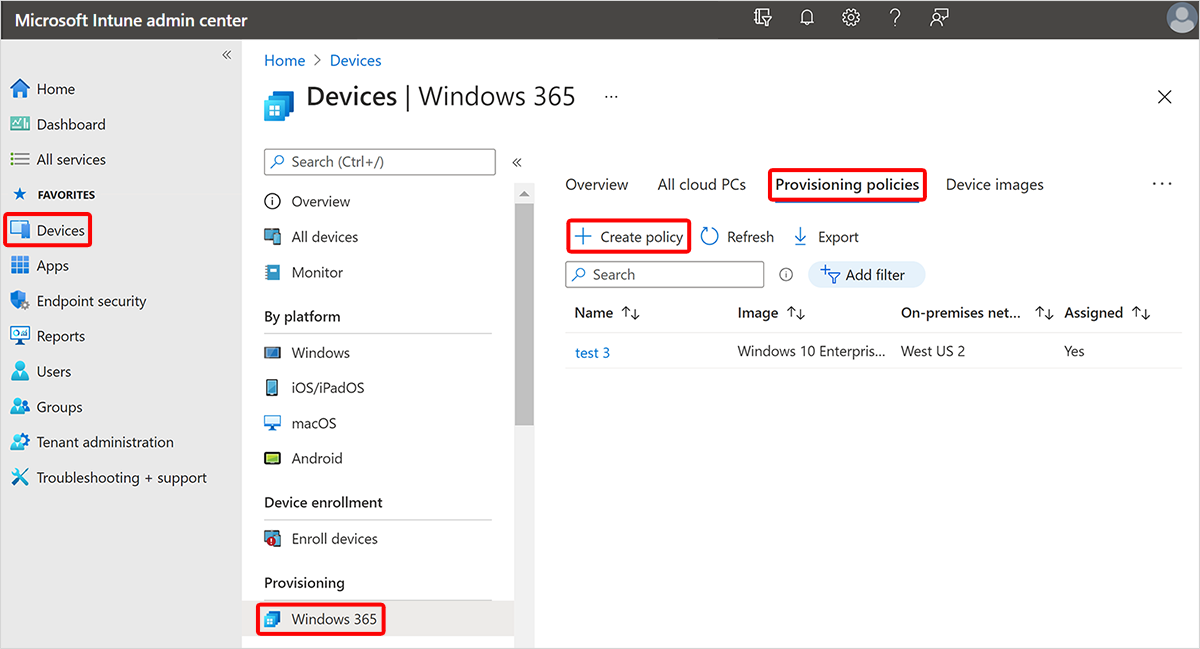
Sign in to the Microsoft Endpoint Manager admin center, select Devices > Windows 365 > Provisioning policies > Create policy.
On the General page, enter a Name for the new policy.
For On-premises network connection, select the connection to use for this policy > Next.
On the Image page, for Image type, select one of the following options:
- Gallery image: Choose Select > select an image from the gallery > Select.
- Custom image: Choose Select > select an image from the list > Select.
Select Next.
On the Assignments page, choose Select groups > choose the groups you want this policy assigned to, choose Select and then Next.
On the Review + create page, select Create.
Learn More
Note
It can take up to 60 minutes for the policy creation process to complete, depending on when the Microsoft Entra Connect Sync last happened.
Configure and apply device and app configuration profiles
Once the initial setup is complete, Cloud PCs are configured just like a physical device. You create configuration profiles (or use existing ones if applicable) and assign apps to users, devices, and groups just like any other device.