How to create a project
GitHub Projects is a powerful planning and tracking tool that gives your team flexible views—like tables, boards, and timelines—to organize your work and see the bigger picture.
Imagine you want to manage your team’s feature backlog in one place. This built-in tool makes it easy to organize, prioritize, and track everything in a single view.
In this unit, you learn how to:
- Create a Project.
- Set the name, description, and README of your Project.
- Add issues and pull requests to your Project.
Creating an organization-owned Project
First, you want to lay the foundation by creating a new Project. Creating is relatively quick and simple.
In the top right corner of GitHub.com, select your profile photo, then select Your organizations.
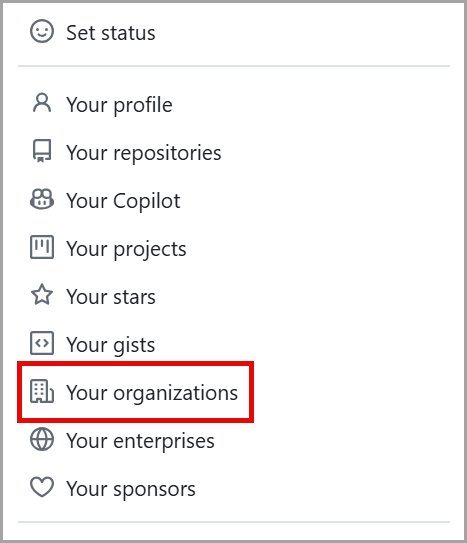
Screenshot of the Profile Dropdown Menu that includes Your profile, Your repositories, Your Codespaces, Your organizations, and Your enterprises with Your Organization option highlighted.
Scroll down to select the organization for your new Project.
Navigate from the Overview tab to the Projects tab.
Select the green button labeled New Project.
A pop-up prompts you to select either a template or start from scratch. Let's choose the Start from scratch option and select Table.
Select the green Create project button.
You just created a Project!
Tip
You can also create a personal Project by selecting your profile photo and navigating to Your projects, then clicking New project.
Additionally, Projects can be created directly from a repository—this links the repository to the Project automatically, though the Project itself is still created at the organization level and can be linked to other repositories or projects in the future.
Set your Project's name, description, and README
Let's define your Project in a couple of different ways so that your team can easily understand what you're tracking.
Navigate to your newly created Project to edit your Project's name, description, and README.
At the top right of the page, select the three dots to open the menu and select Settings.
Project Name is where you edit the name of the Project.
Short description allows you to add a few words about the Project.
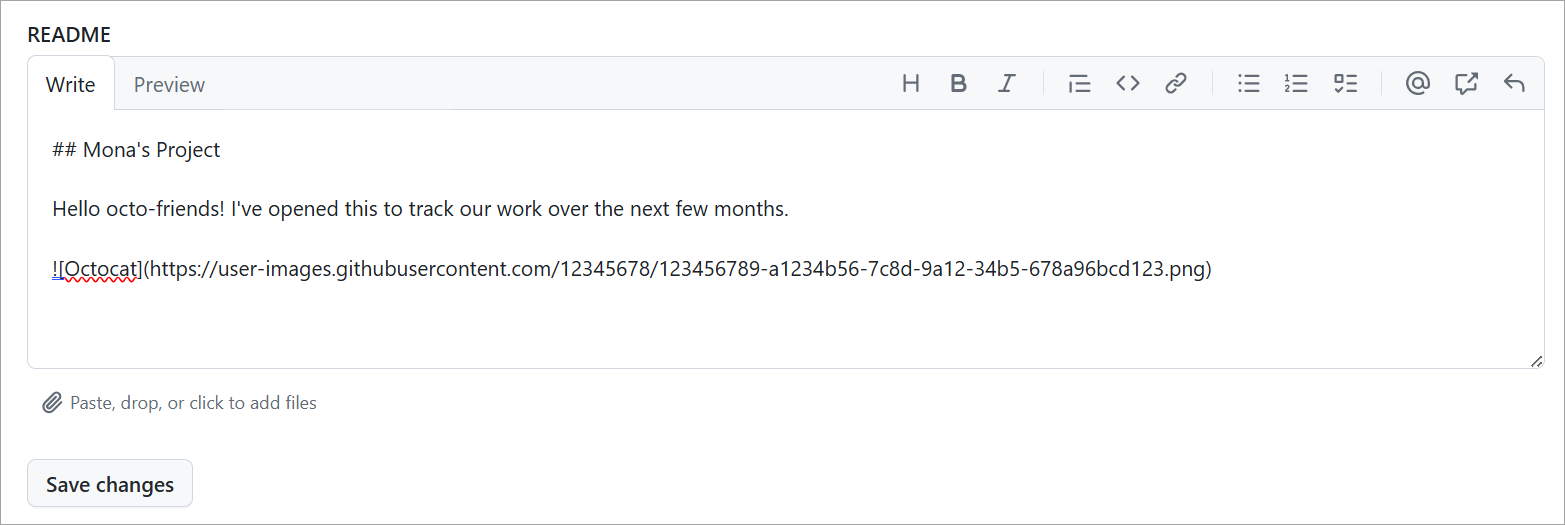
README lets you add information for your team to understand why you created this Project and what you hope to accomplish with it. Once finished, select Save changes.
Add issues and pull requests to your Project
Adding issues and pull requests to your Project is what makes the tool so powerful. Projects enable you to know the status of tasks your team is working on to coordinate and complete your goals.
Let's go through the different ways to add issues and pull requests to your Project.
Add an existing issue and pull request
Copy the url of an existing issue or pull request.
Place your cursor in the bottom row of the Project next to the + and paste the URL of your issue or pull request.
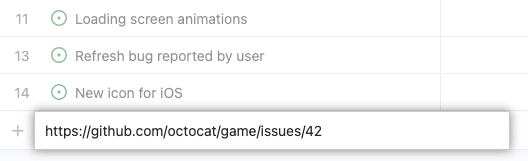
Press Enter and your issue or pull request appears as a task in your Project.
Search for an existing issue and pull request
You can search for existing issues or pull requests by adding a new item.
Enter # to search repositories. You can type part of the repository name to narrow down your options.
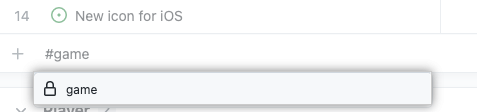
Select the repository where the pull request or issue is located, which prompts to search issues and pull requests.
Start typing the title of the issue or pull request to find the one you want.
Select the issue or pull request.
Bulk add issues and pull requests
You can bulk add issues and pull requests to an existing repository to save time. It allows you to start organizing your team faster.
Select + in the bottom row of the Project.
Select Add item from repository.
To change the repository, select the dropdown and choose a repository. The issues and pull requests then populate.
You can either select all or select those issues or pull requests you want to include.
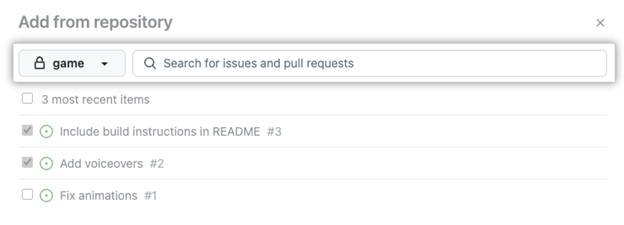
Once you're ready to add the issues and pull requests to your Project, select the green button titled Add selected items in the bottom right corner.
Project workflows
To help streamline work, GitHub Projects supports default workflows. These allow items like issues and pull requests to be automatically added to a Project and marked with an initial status, like "Todo".
To enable a workflow:
- Open your Project.
- Select the three-dot menu in the top-right and choose Workflows.
- Choose a trigger like “Item added to project”.
- Set values, such as Status: Todo.
- Select Save and turn on workflow.
Convert checklist items into sub-issues
As of February 2025, GitHub Projects supports converting checklist items into sub-issues. This feature makes it easier to break down tasks into smaller, trackable work items—directly from an issue.
To convert a checklist item:
- Create or open an issue that contains a checklist.
- Hover over the checklist item.
- Click the ... menu next to the item.
- Select Convert to sub-issue.
This creates a linked issue that appears in your Projects view with its own status, metadata, and tracking. Sub-issues provide better visibility into related work and replace the older tasklist block feature, which was deprecated on April 30, 2025.
In the next unit, you'll learn how to organize and prioritize your Project in order to keep your tasks on track.