Exercise - Migrate your web app with the Azure App Service Migration Assistant
The last step is to perform the migration. In this unit, you sign in to your Azure account and associate your Migration Assistant session. Fill out the details for migration, and then watch as the Migration Assistant goes to work. Finally, you can observe the web app running in Azure App Service and view the settings of your new Azure App Service account.
Important
This module assumes you've successfully completed the steps in the previous units. If you haven't, go back and complete the previous units before continuing.
Exercise steps
Here you continue the exercise from the point where you left off in a previous unit, on the assessment report for the Default Web Site option.
Select Next to display the Login to Azure step. Here, use a special code to associate this assessment on your server to your Azure account.
In the next few steps, use the device code and sign in to your Azure account using your Azure credentials. Do this on your local computer. Copy the URL and the device code from your VM session and paste the URL and device code into a web browser on your local computer.
In the Migration Assistant, the Login to Azure page appears with a device code and a button. Copy the device code to the clipboard.

Go to the device login service. The Enter code webpage appears on your local computer.

On your local computer, select Next. Sign in using the same account that you used to sign in to Learn and activate the sandbox. This step might require you to use two-factor authentication.
After you sign in, you should see a confirmation message that you've successfully signed in to the Azure App Service Migration Assistant application on your device.
Back in the Migration Assistant running in the remote VM, the step Azure Options is displayed. Here, enter details about the target App Service instance to which you want to move your app.
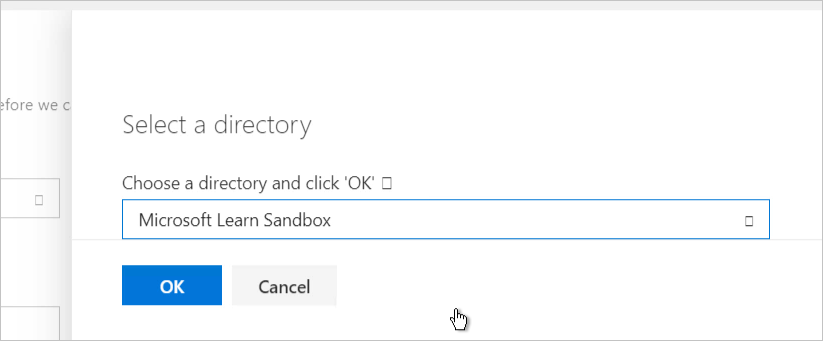
Select the link at the end of the text Switch user directory. Ensure that the Microsoft Learn Sandbox directory is selected.

Use the following table to make your selections:
Field Your entry Subscription Select Concierge Subscription. Resource Group Select the Use Existing option. This should automatically select an existing resource group prefixed with the word "learn." Destination Site Name Enter a valid name for the destination site. App Service Plan Select the Use exiting option. This automatically selects Learn-Exercise-Plan, which was created for you at the beginning of the exercise. Azure Migrate Project Leave this field empty. Note
In this exercise, you deploy to a free-tier App Service plan that was created for you as part of the exercise. This plan does not support the hybrid connection functionality that's needed to enable the database connectivity option for the Migration Assistant. When you use the Migration Assistant in your own environment, you can choose to deploy to an existing App Service plan or create a new one. After the Migration Assistant migrates your web app, you might want to change the service tier to adjust the pricing as desired.
Select Migrate. The Migration in Progress screen displays the current status of the migration.

After the migration is complete, continue to the Migration Results step.
Open the Azure portal on a new tab on your local computer. Select App Service from the home page. From the list of deployed services, select the one that matches the name that you created earlier. This displays the settings for your new App Service account.
From here, you can explore the features of your new App Service account. You can experiment by changing settings and viewing the logs and other diagnostic information.
Select the Browse button at the top of the overview page to browse to your migrated site running in Azure.
Congratulations! You've successfully migrated a web app running on IIS to Azure App Service by using the Azure App Service Migration Assistant.