MongoDB to Cosmos DB data migration
Having reviewed your migration plan you'll perform the steps needed to create a Cosmos DB database. You've also decided to use the Azure Data Migration Service to complete the online data migration.
In this unit, you'll complete the steps needed to create both a Cosmos DB database and a Data Migration project.
Create an Azure Cosmos DB account
Here are the steps to create a Cosmos DB account for a MongoDB migration:
- In the Azure portal, click Create a resource.
- In Search the marketplace, type Cosmos DB, click Azure CosmosDB, and click Create.
- In Create Azure Cosmos DB Account, specify a Subscription, Resource Group, and Account Name for your database.
- In API, select Azure Cosmos DB for Mongo DB API.
- In Location, select a location most appropriate to users of the database.
- Enable or disable Geo-Redundancy and Multi-Region Writes as appropriate, and click Next: Network.
- Select or create a Virtual Network and select a Subnet.
- Select Allow access from Azure portal and, optionally, Allow access from my IP.
- Click Review and create and click Create.
Register the Microsoft.DataMigration resource provider
Here are the steps to register the Microsoft.DataMigration resource provider:
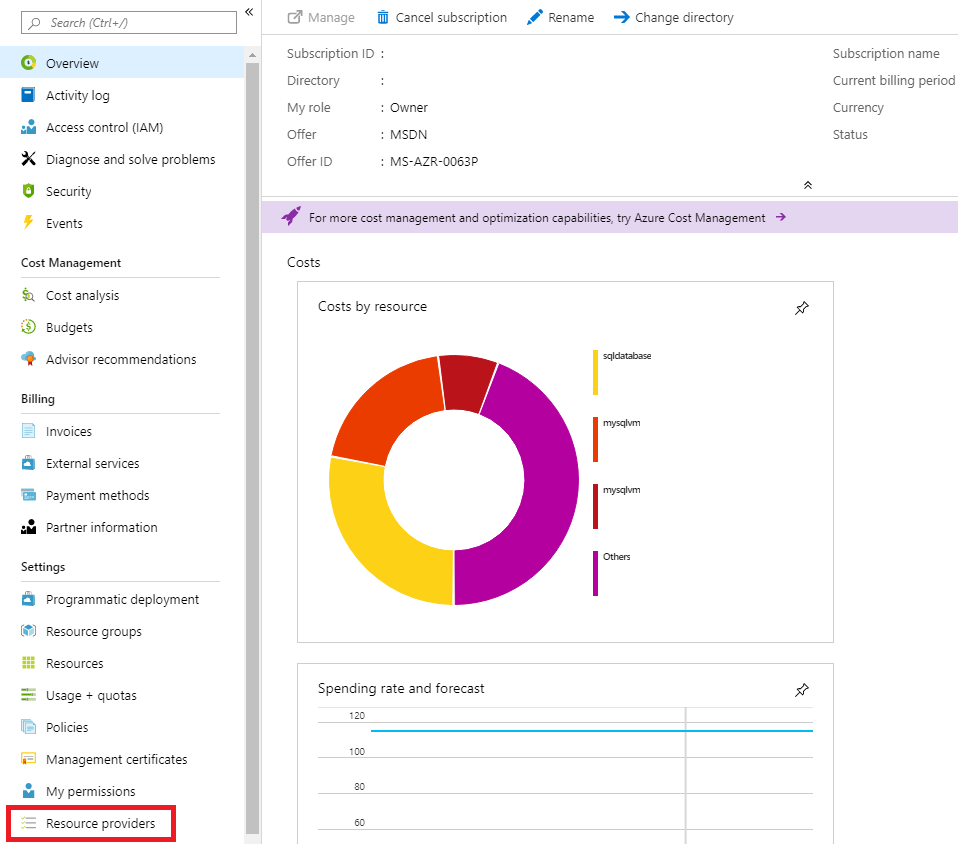
In the Azure portal, select All services and click Subscriptions.

Select your subscription and then click Resource providers
In Filter by name, type DataMigration, and click Microsoft.DataMigration.
Click Register.
Wait until the status is Registered.
Migrate a MongoDB database to Cosmos DB
Here are the steps to migrate the database:
Create Azure Database Migration Service
In the Azure portal, click Create a resource.
In Search the marketplace, type Database Migration Service, and click Azure Database Migration Service.
Click Create.
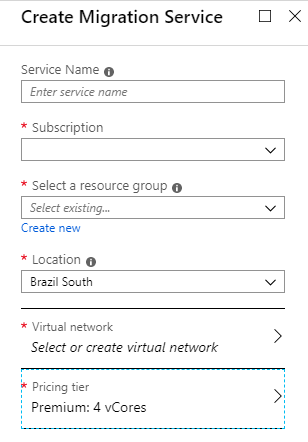
In Create Migration Service, specify a Service Name, Subscription, resource group, Location, the Virtual Network of the Cosmos DB account, and Pricing tier and click Create. To reduce the time taken for the migration, it is recommended that you select a Premium pricing tier.
Wait until the deployment has completed.
Create migration project
- In the Azure portal, click All resources, and click the Azure Database Migration Service.
- Click + New Migration Project.
- Enter an appropriate value for Project name.
- In Source server type, select MongoDB.
- In Target server type, select Cosmos DB (MongoDB API).
- In choose type of activity, select Offline data migration, or Online data migration as appropriate, and click Create and run activity.
Specify the source database
- In Source details, select Standard mode, to use an IP address or server name, Connection String mode, to specify a connection string, or Data from Azure Storage, to specify a backup file in Azure Storage.
- Specify the remaining connection details based on the Mode that you selected.
- Click Save.
Specify the target database and run migration
- On the Migration target details blade, select your Subscription and Cosmos DB name and click Save.
- On the Map to target databases blade, select the source database and target database and click Save.
- On the Collection setting blade, verify the collections that will be migrated and adjust the RU setting for each collection, if necessary, and click Save.
- Click Run migration.
If you are performing an offline migration, the migration is now complete. If you are performing an online migration, you will need to complete the migration when you want to switch to the Cosmos DB instance of the database and stop replication from the source to the target.
Complete the migration for online migration
- On the activity screen of the migration the status should be Replaying.
- Verify that the target database has the latest changes from the source database.
- Right-click the migration activity and click Finish to complete the migration.