Explore Data Migration Assistant to migrate to Azure SQL Database
You use the Data Migration Assistant to help migrate your SQL Server database to a single or a pooled Azure SQL database, if your organization can tolerate downtime.
There are three migration types you can benefit from when using Data Migration Assistant to migrate to Azure SQL Database.
| Migration Option | Description |
|---|---|
| Schema and data | The schema includes the structure of your database, such as tables, views, stored procedures, and functions. The data includes the actual data stored in your database. |
| Schema only | Allows you to migrate only the schema from your source database to Azure SQL Database. No data is migrated. |
| Data only | Allows you to migrate only the data from your source database to Azure SQL Database. The schema must already exist in the target Azure SQL Database. |
Note
While the Database Migration Assistant is a useful tool available, we recommend that you use the Azure Database Migration Service for large migrations and enhanced overall experience.
Assess a SQL Server database
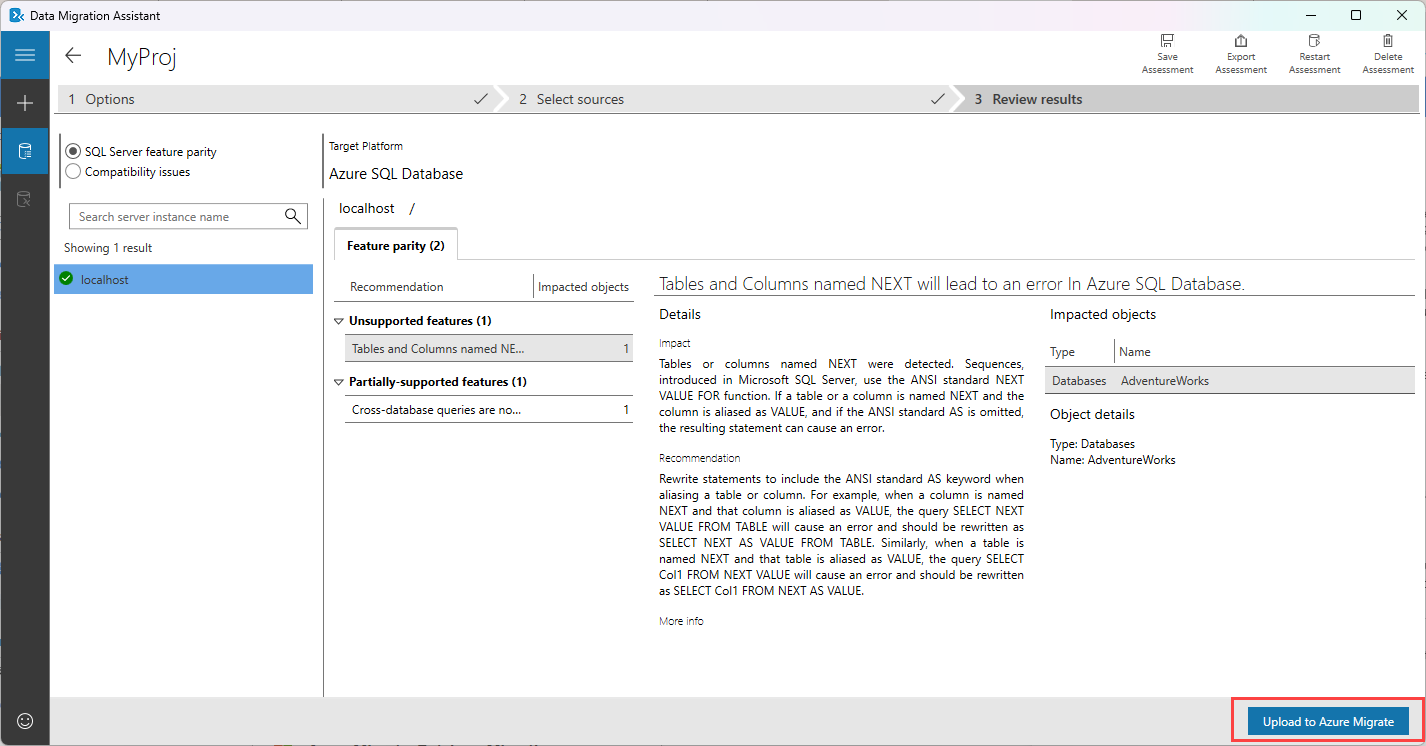
Use the Data Migration Assistant to assess the database for compatibility issues.
You can review the compatibility report and apply the necessary fixes using a Transact-SQL script. Alternatively, you can upload the results to Azure Migrate.
Migrate a SQL Server database
The following steps explain how to migrate your database to Azure SQL Database.
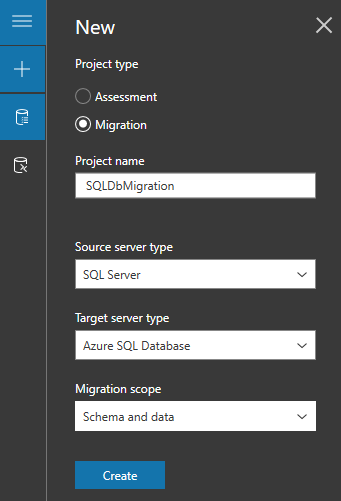
Create a new migration project, and set the source type to SQL Server and the target server type to Azure SQL Database. Select Create.
On the Select source tab, enter the name of the source SQL Server instance, and select the Authentication type supported by the source SQL Server instance. Select Connect.
Select a database to migrate to Azure SQL Database, and then select Next.
On the Select target tab, enter the name of the source SQL Server instance, and select the Authentication type supported by the source SQL Server instance. Select Connect.
Select a target database, and then select Next.
On the Select objects tab, select the schema objects from the source database that you want to migrate to Azure SQL Database.
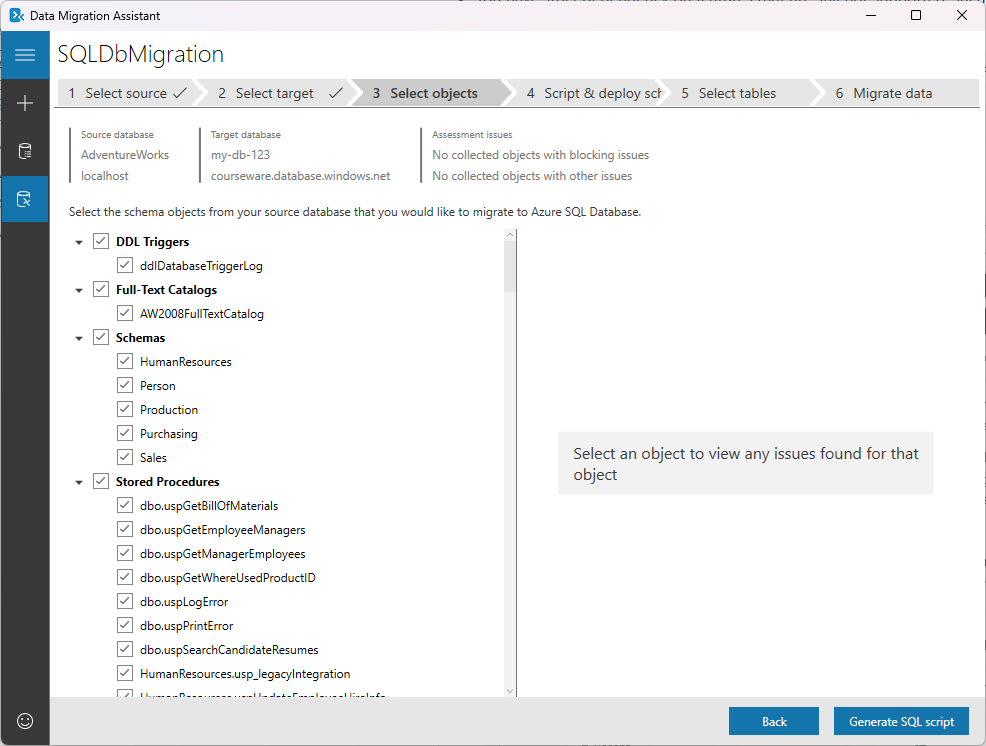
Review and apply any suggested fixes for objects that can't be converted as-is.
Select Generate SQL script.
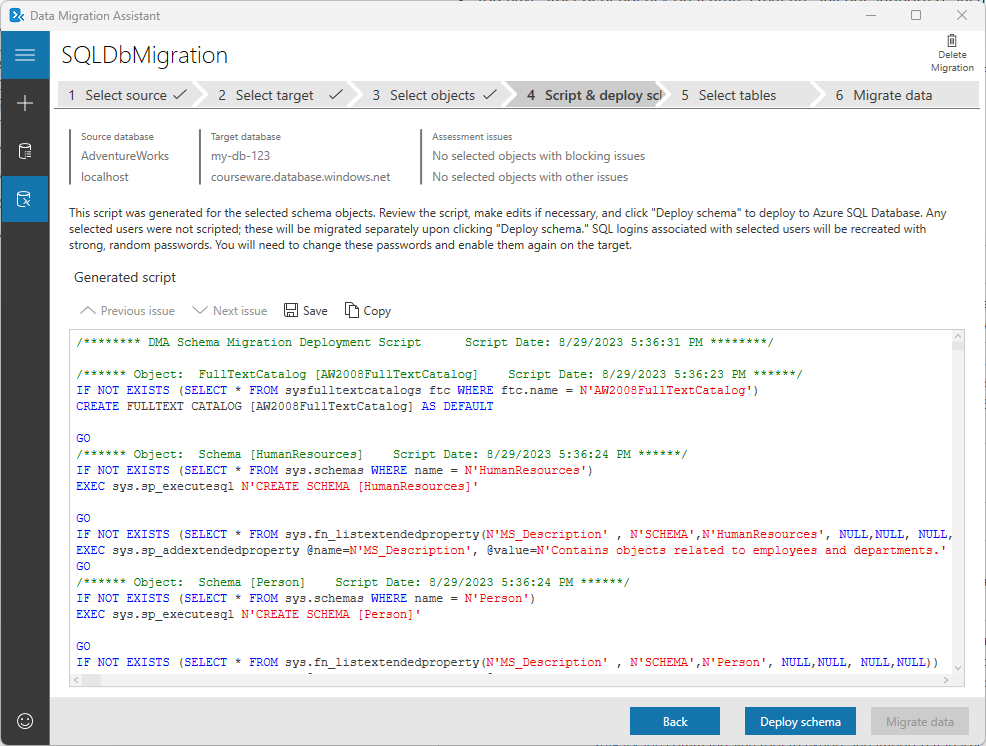
Review the generated script and select Deploy schema.
Review the results of the schema deployment and select Migrate data to initiate the data migration process.
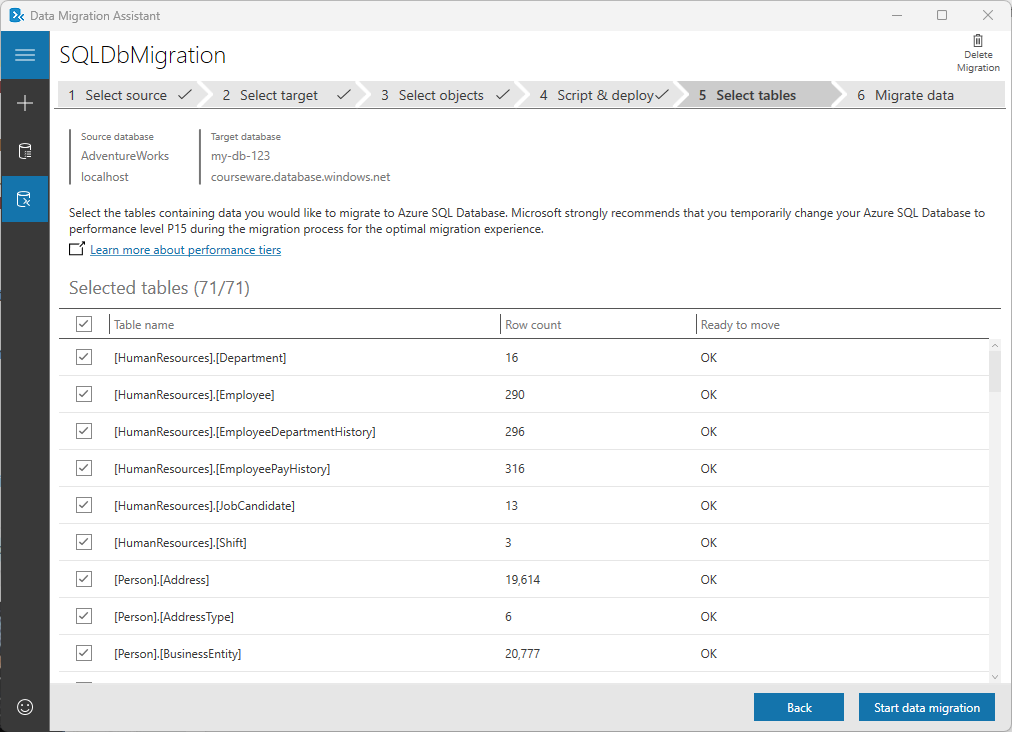
On the Select tables tab, select the tables containing data you'd like to migrate, and then select Start data migration.
Note
We strongly recommend that you temporarily change your Azure SQL Database to performance level P15 before initiating the migration process for the optimal migration experience.
Monitor migration
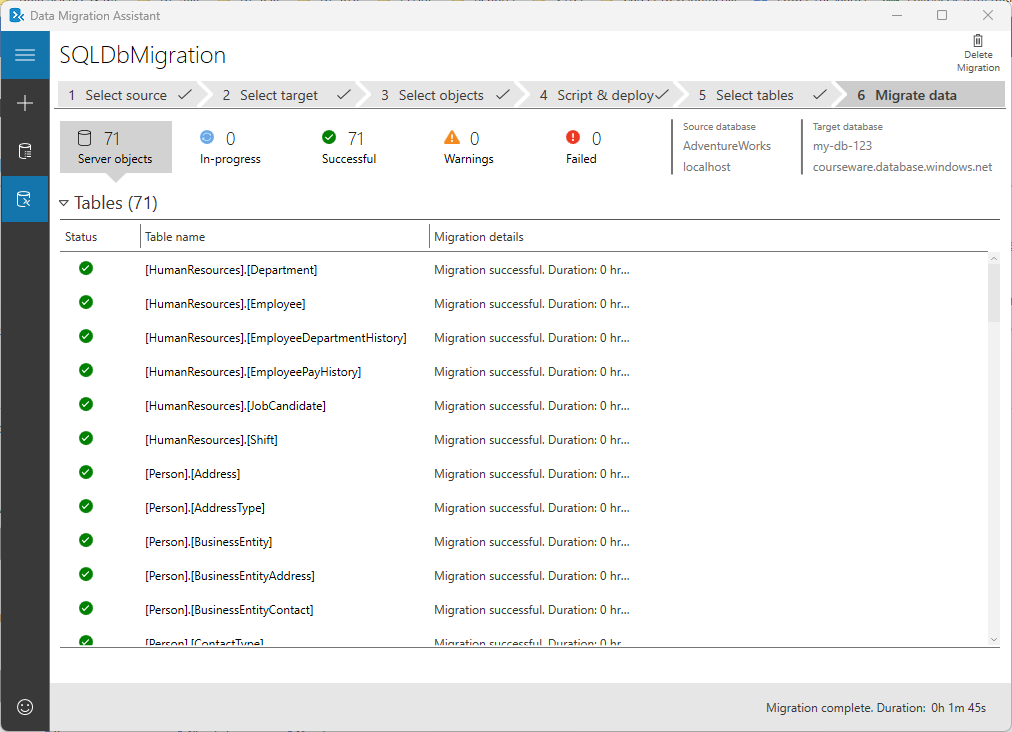
The final step shows you the overall status of the migration. Also, you can filter the results by selecting different migration statuses at the top of the screen
Fine-tune settings
You can fine-tune the behavior of the Data Migration Assistant by changing configuration values in the dma.exe.config file. Changing these parameters can improve your overall migration performance.
For example, if you want to adjust the number of parallel database migrations, you can change the parallelDatabases configuration value in the dma.exe.config file. This can help prevent timeout failures when handling a large number of databases. Similarly, if you want to adjust the SQL connection timeout for both source and target instances, you can change the ConnectionTimeout configuration value in the dma.exe.config file. This can help ensure that your connections don't time out during an assessment or migration.
For more settings, see Configure settings for Data Migration Assistant.
Best practices
When migrating a SQL Server database to Azure SQL Database using the Data Migration Assistant, it’s important to follow some best practices to ensure a smooth and successful migration.
- Avoid installing and running the Data Migration Assistant directly on the SQL Server host machine.
- Provide a single share location accessible by both the source and target servers to avoid a copy operation.
- Ensure that the correct permissions are provided to the shared folder to avoid migration failures.
- Enable encrypted connections when connecting to the source and target servers for increased security.
- Check for untrusted constraints on both the source and target databases before migrating data and fix them as needed. Fix untrusted constraints as needed. Leaving the constraints untrusted can result in poor execution plans, and it can affect performance.