Exercise - Import and configure resources
Install the Mixed Reality Feature Tool
To import the Mixed Reality Toolkit into your project, you'll use the Mixed Reality Feature Tool. The tool allows developers to discover, update, and import feature packages. You can search packages by name or category, see their dependencies, and view proposed changes to your project's manifest file before importing.
Download the latest version of the Mixed Reality Feature Tool from the Microsoft Download Center.
After the download finishes, open the executable file
MixedRealityFeatureTool.exeand use it to launch the Mixed Reality Feature Tool.Note
Before you can run the Mixed Reality Feature Tool, you might need to install the .NET 6.0 runtime.
Import the MRTK Unity foundation package
In the Mixed Reality Feature Tool, select Start.
Select the Browse button (it's the ... button in the following image), navigate to your project, and open it.
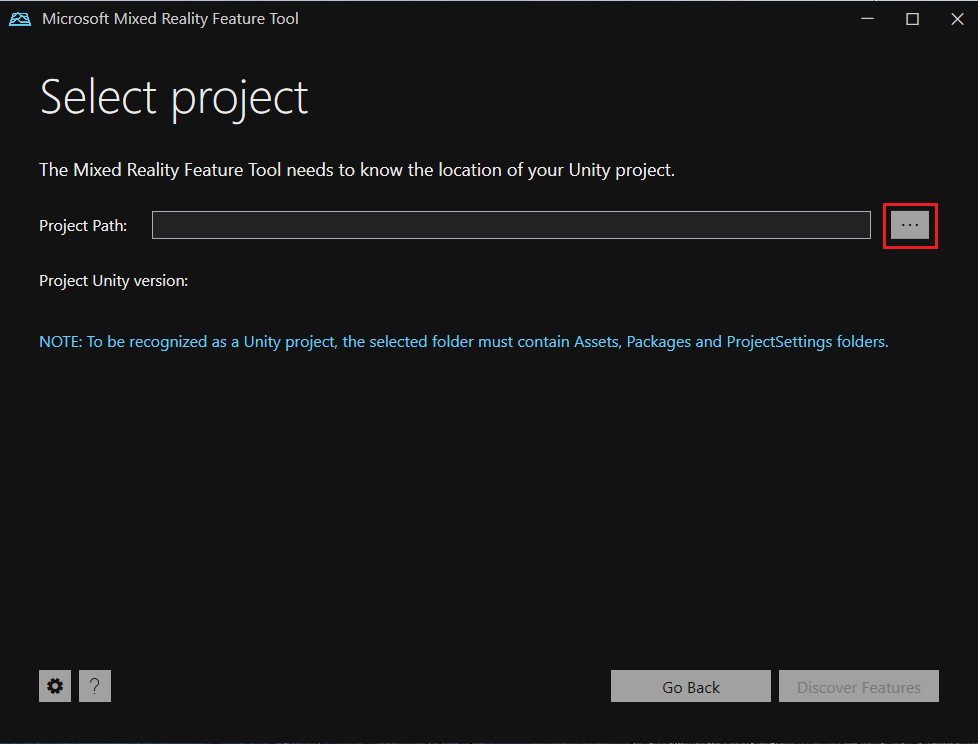
After you select a folder, the tool checks to ensure that it's a valid Unity project folder.
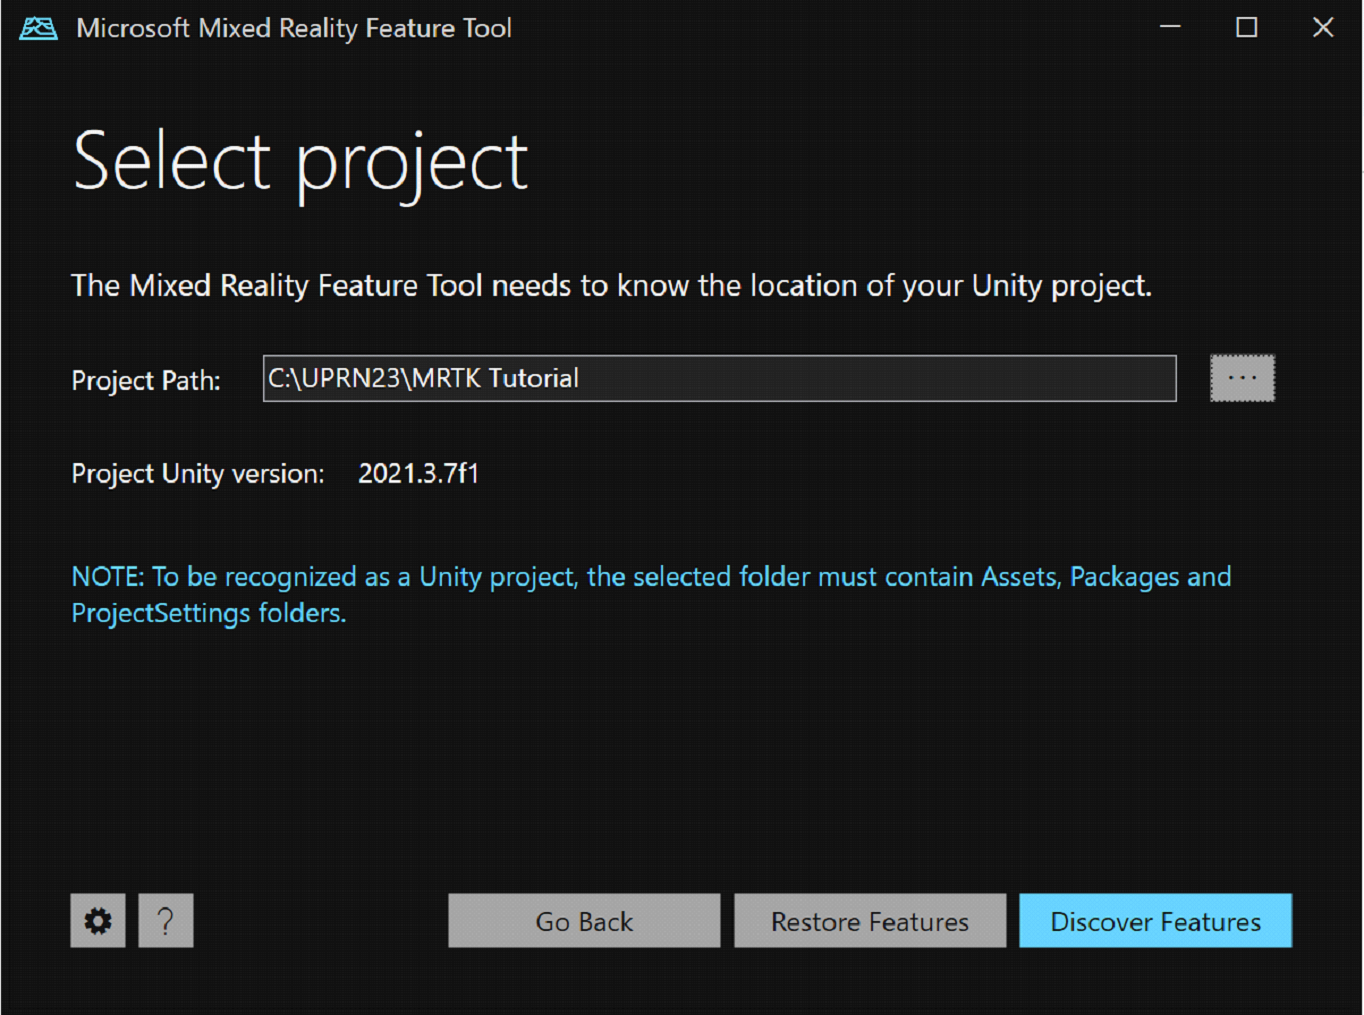
Select Discover Features.
Note: You might need to wait a few seconds while the Tool refreshes the packages from the feeds.
On the Discover Features page, note that there's a list of available package groups.
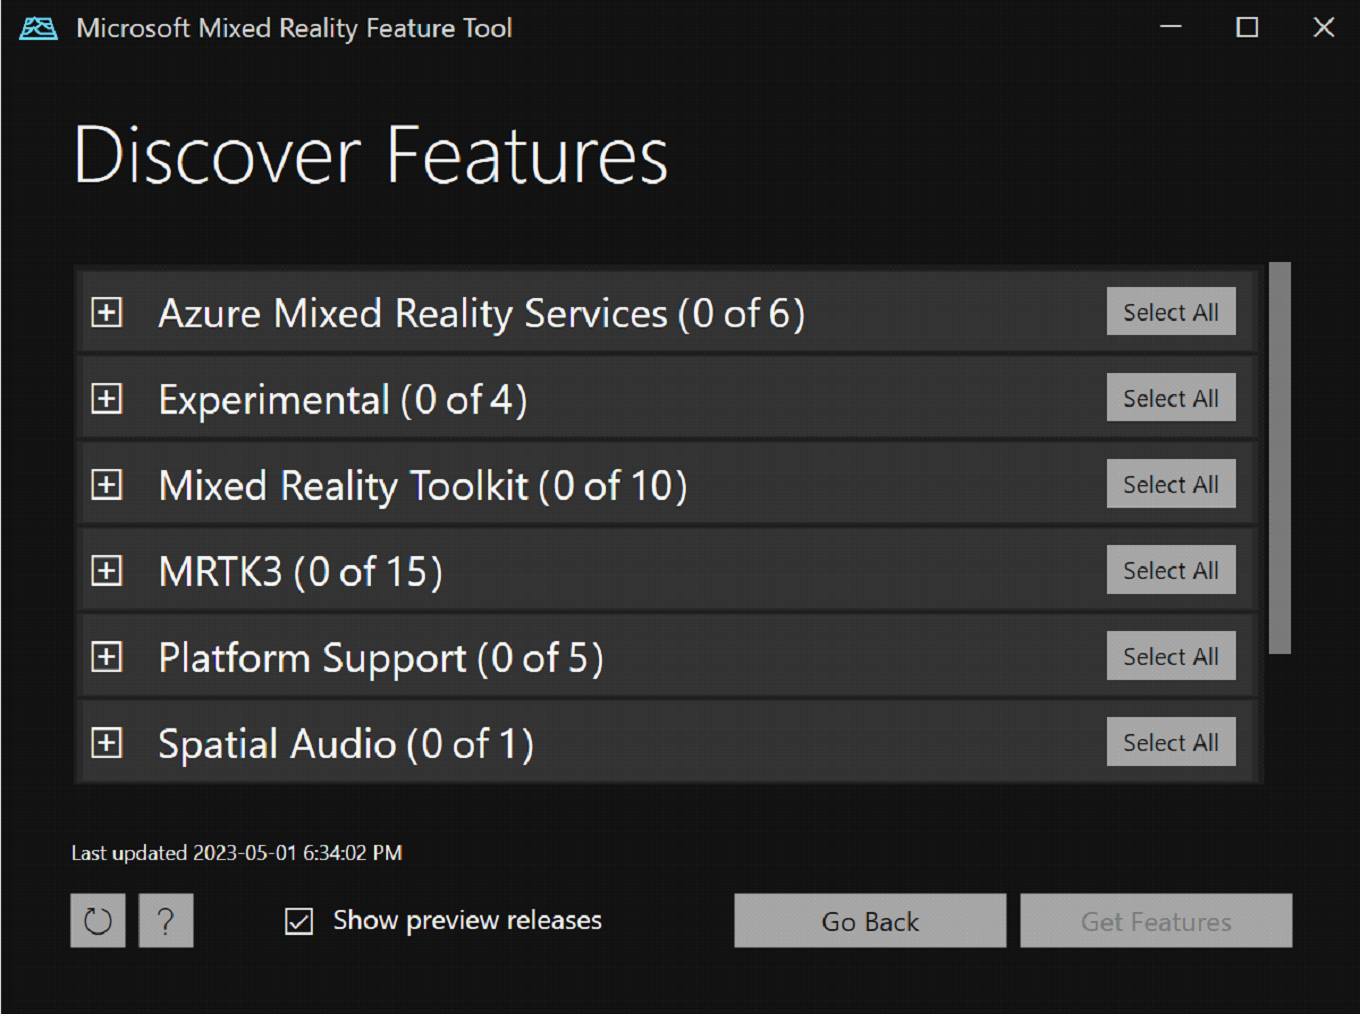
Select the + button to the left of Platform Support (0 of 5) and then select the latest version of Mixed Reality OpenXR Plugin.
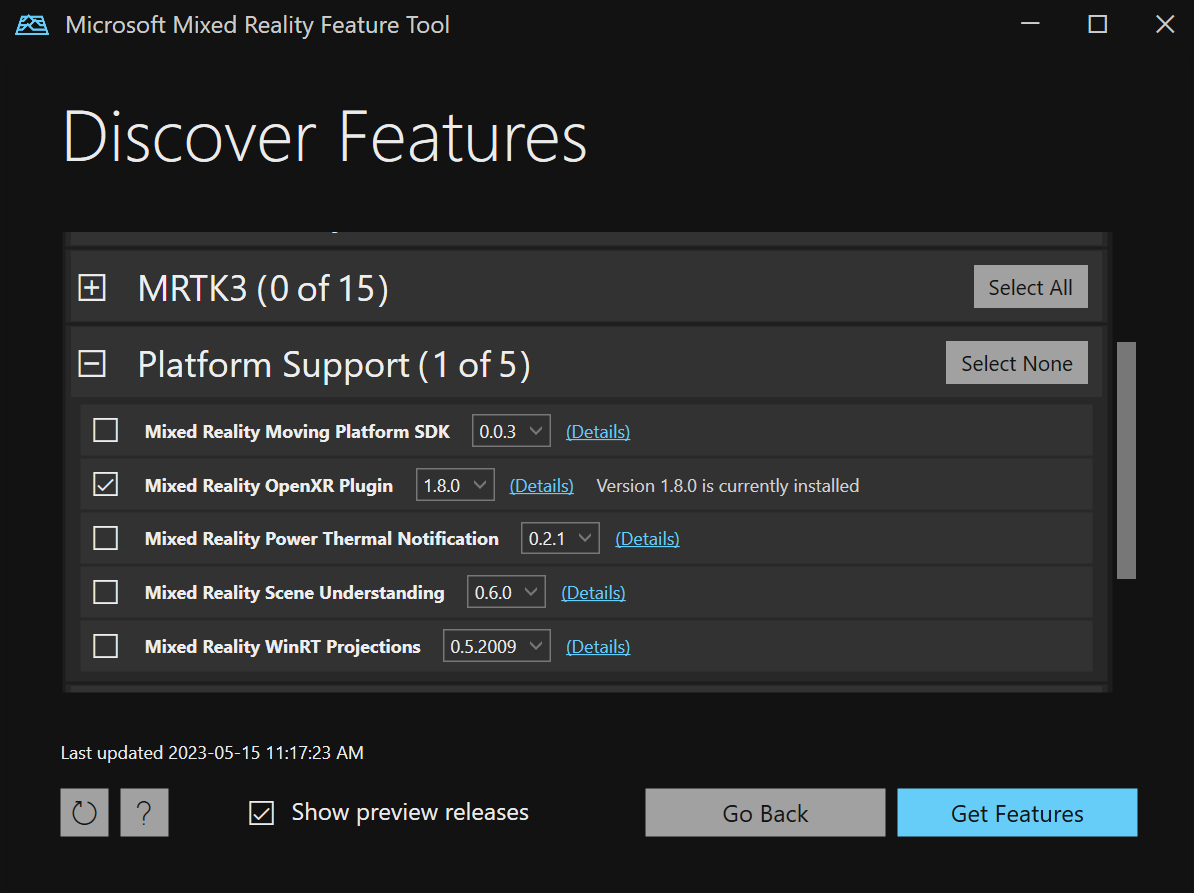
Select the Select All button to the right of MRTK3 so that all features are selected.

Note
If you see any packages that are marked as deprecated, you should remove them and make sure that Settings > Feature > Show deprecated packages is deselected.
After you've made your selection(s), select Get Features.
Select Validate to validate the packages you selected. You should see a dialog that says No validation issues were detected. When you do, select OK.
On the Import Features page, the left-side column, Features, displays the packages you selected. The right-side column, Required dependencies, displays any dependencies. You can select the Details link for any of these items to learn more about them.
When you're ready to move on, select Import. On the Review and Approve page, you can review information about the packages.
Select Approve, then select Exit.
Return to the Unity Editor and select a blank area in the UI. You'll see a progress bar showing you that your packages are being imported.
Configure the Unity project
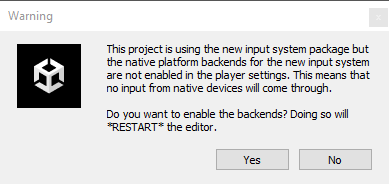
After Unity has imported the packages, a warning appears asking if you want to enable the backends by restarting the editor. Select Yes.
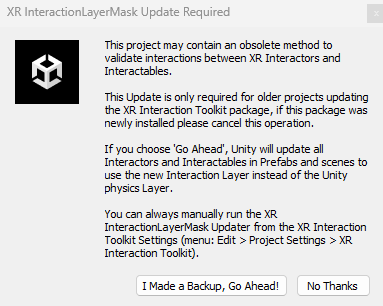
Unity might ask you about updating methods in the XR InteractionLayerMask. Select the I Made a Backup, Go Ahead! button and wait for Unity to restart.
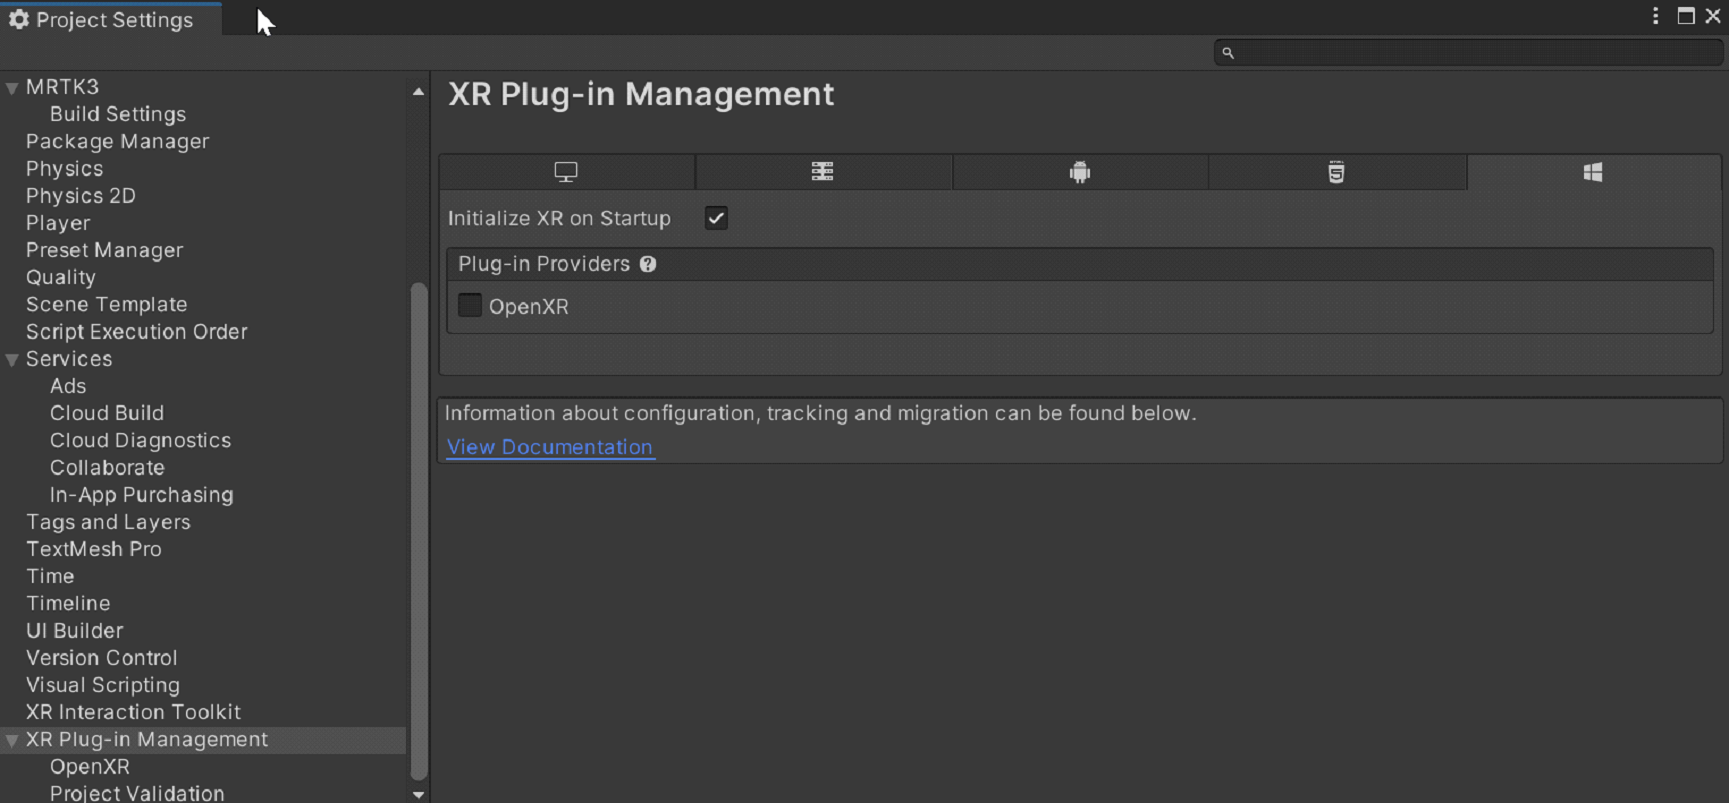
On the menu bar, select Edit > Project Settings. Select XR Plugin-in Management. Ensure that Initialize XR on Startup is selected, and then select the checkbox for Open XR under Plug-in Providers.
The OpenXR Plugin loads, and two items appear under OpenXR. Check the box for the first one, Microsoft HoloLens feature group. Select the yellow exclamation mark.
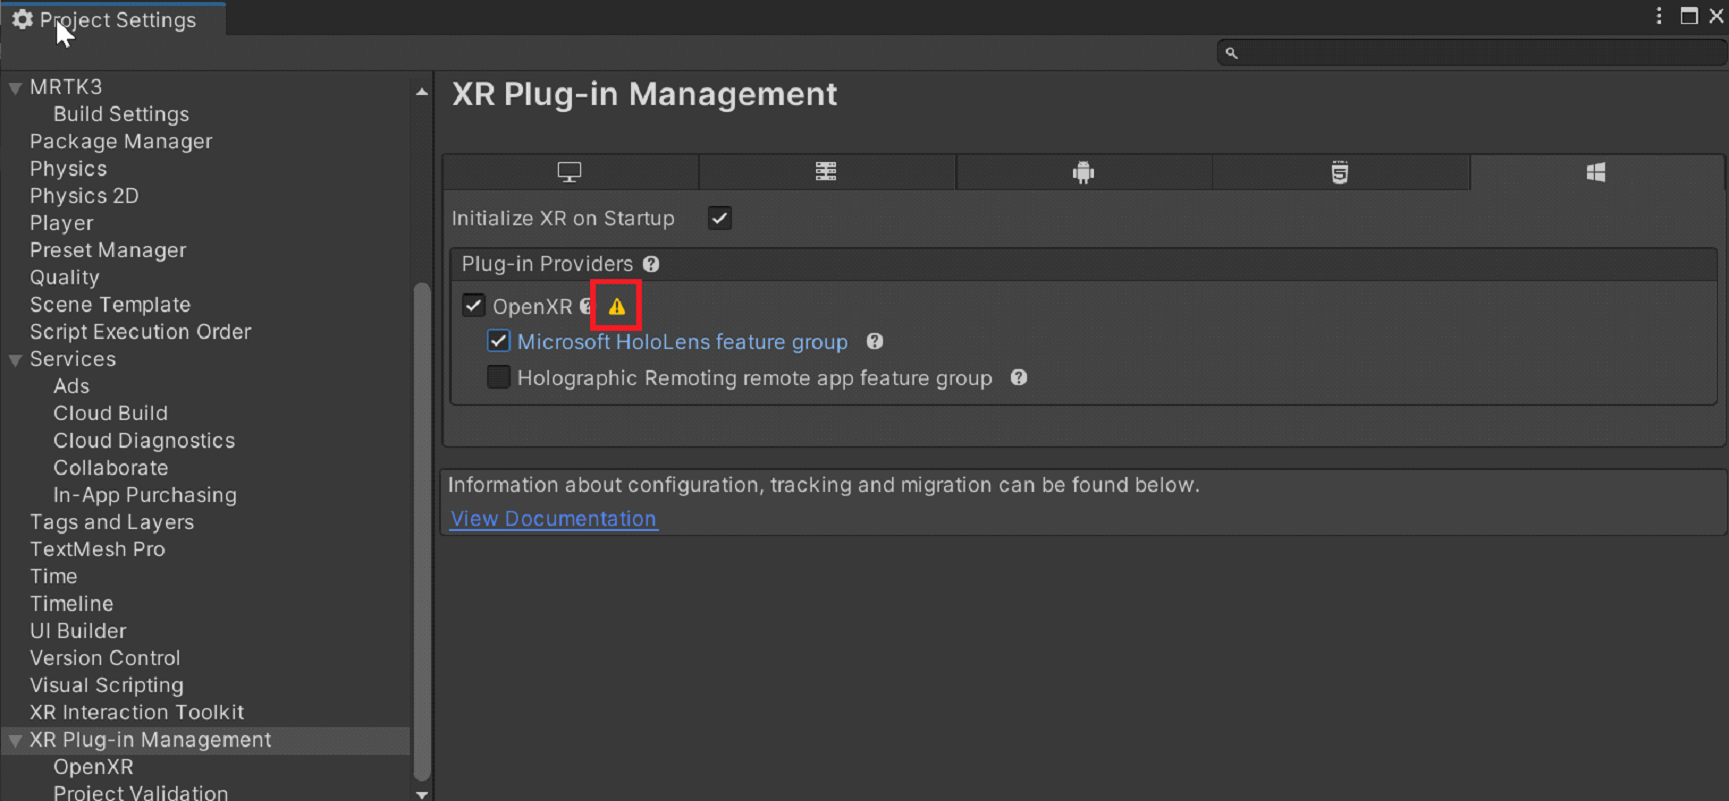
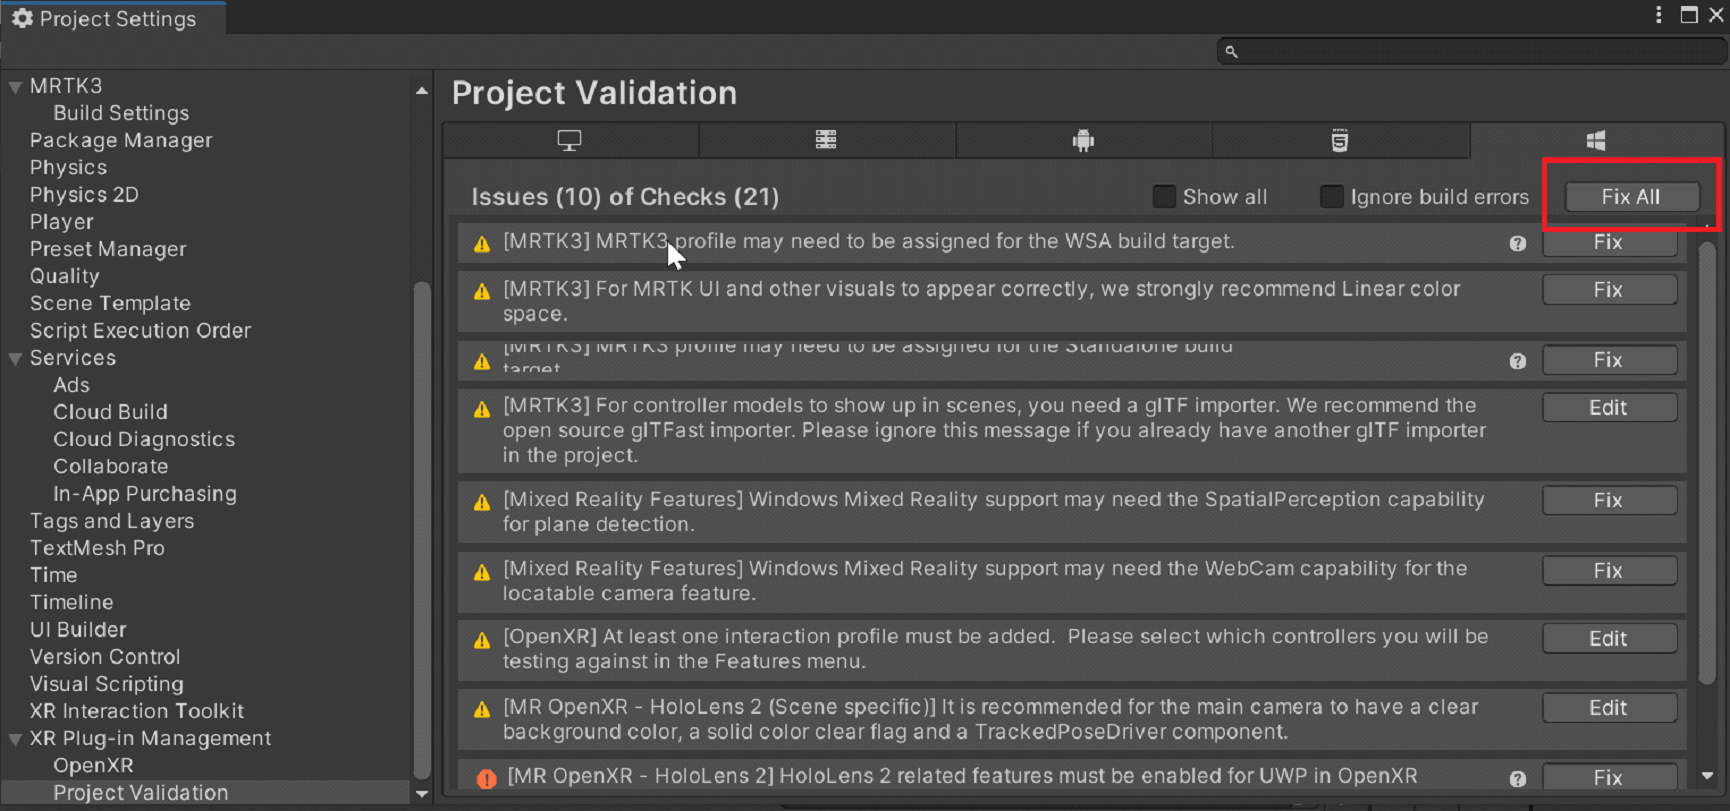
Select Fix All.
Some warnings might remain. Ignore them for now.
Select OpenXR under XR Plug-in Management.
Under Interaction Profiles, select +, then add Microsoft Hand Interaction Profile and Eye Gaze Interaction Profile if they're not already added.
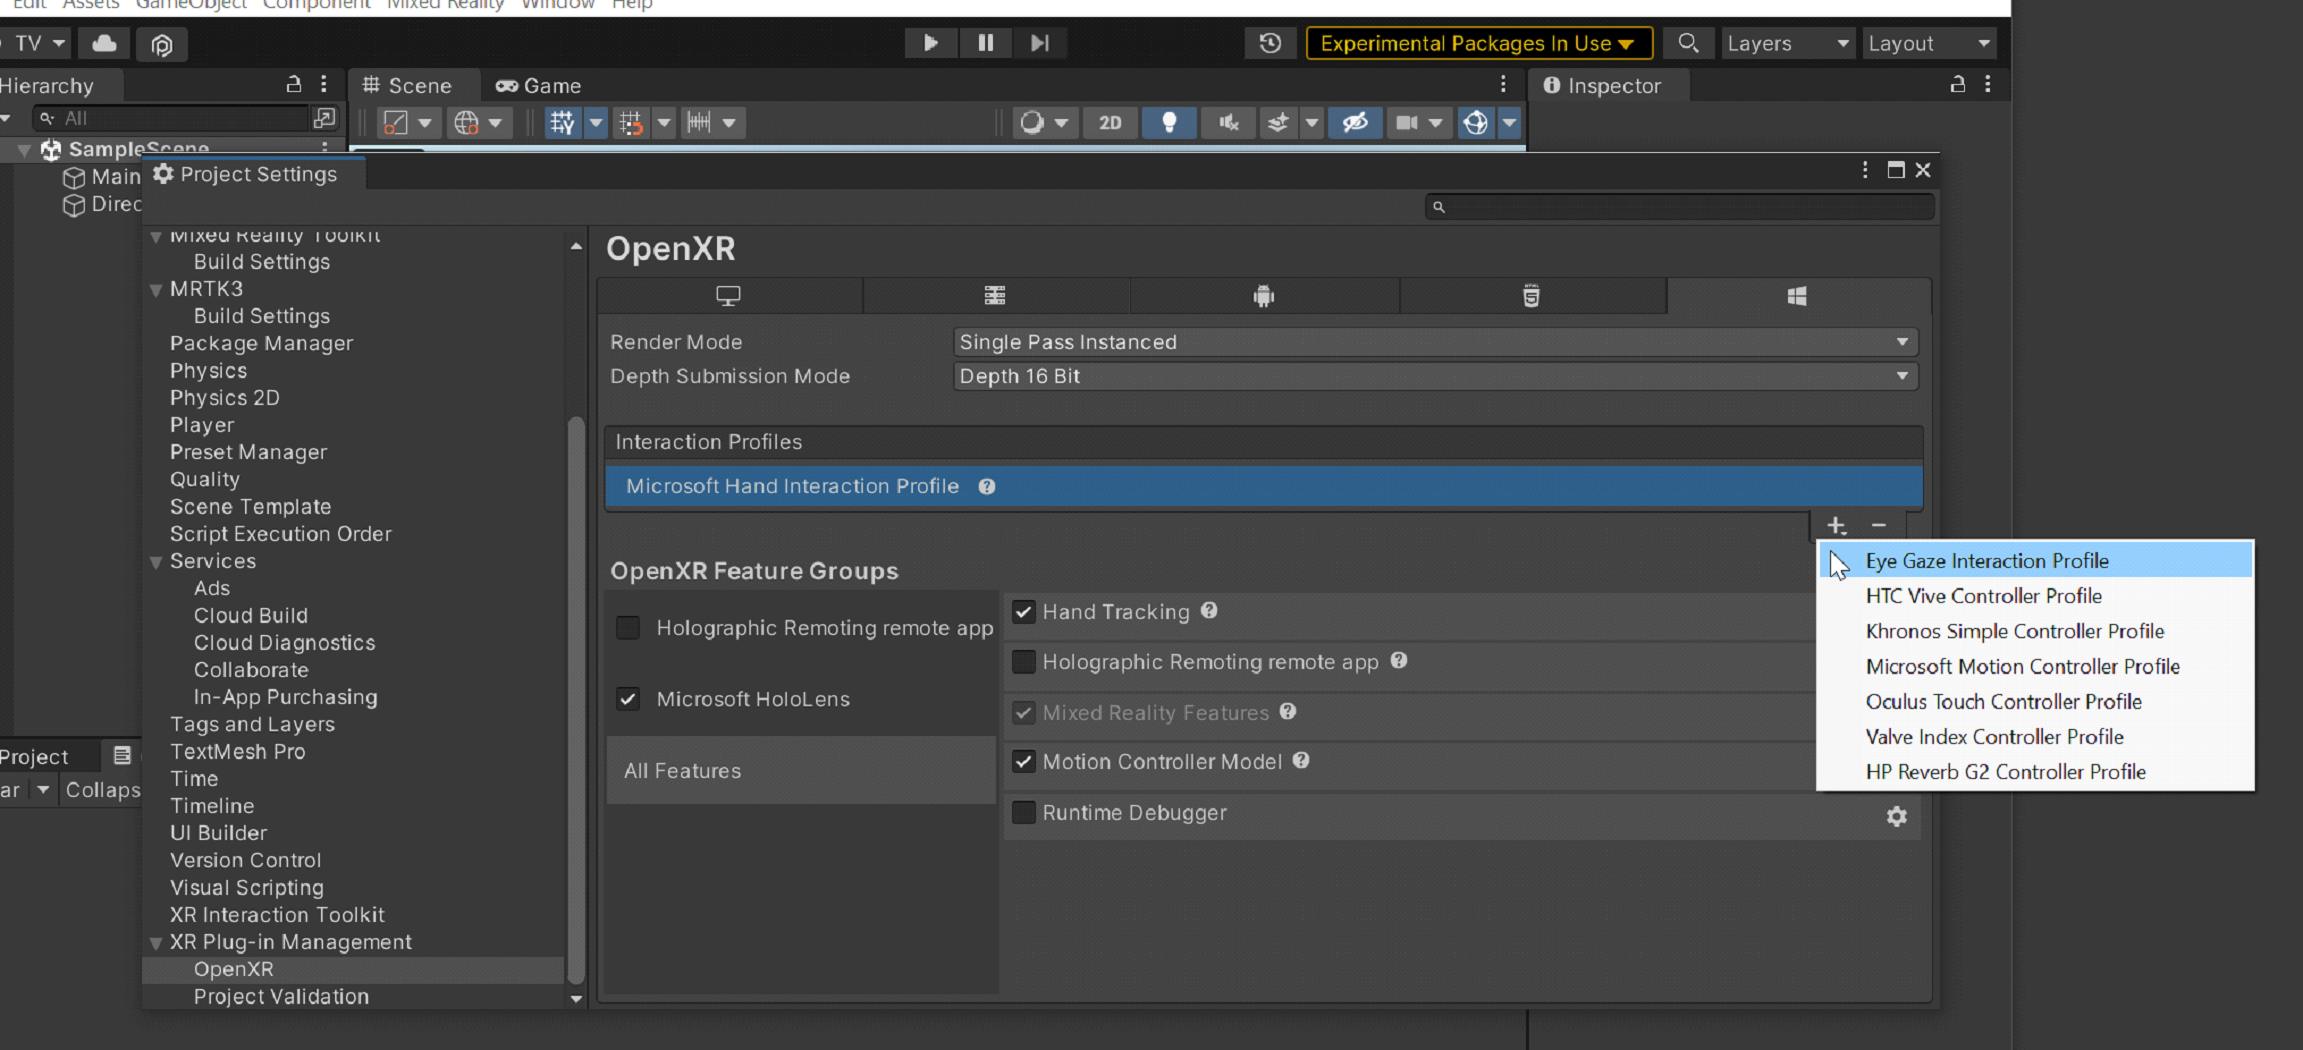
Make sure Microsoft Hololens on the left is selected and Hand Tracking, Mixed Reality Features and Motion Controller Model on the right are selected.
Select the yellow exclamation mark next to Eye Gaze Interaction Profile to bring back the Project Validation window. Make sure you're on the UWP platform tab (the tab displays the Windows logo), and then select Fix All to resolve the validation issues. Note that some issues might remain. In that case, select Fix All again, ignore any issues that are marked Scene specific, and then read the recommendations for the remaining issues (if any) and make any changes you want.
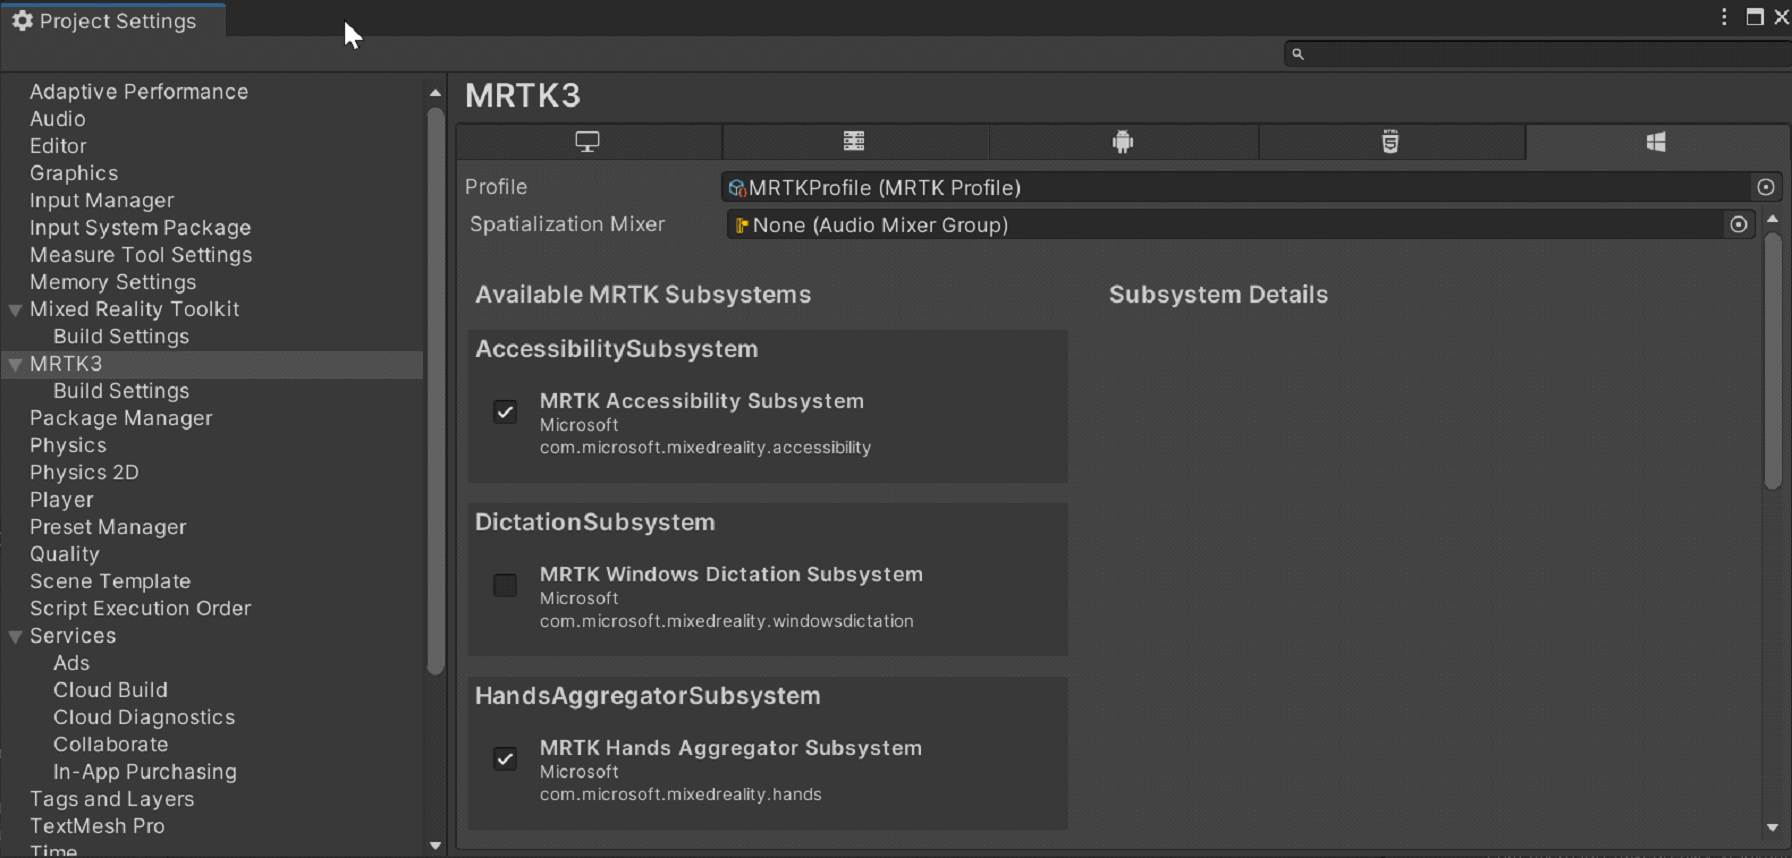
In the Project Settings window, Select MRTK3 and check if there's a valid Profile. If there's not, search for MRTKProfile in the project's Packages (Packages/org.mixedrealitytoolkit.core/Configuration/Default Profiles/MRTKProfile.asset) and assign it to the Profile.

Configure project settings
In the menu bar, select Edit > Project Settings.
In the Project Settings window, select Player.
Note that in the Player window, the Product Name is MRTK Tutorial. This is taken from your project name and will be the name displayed in the HoloLens Start menu.
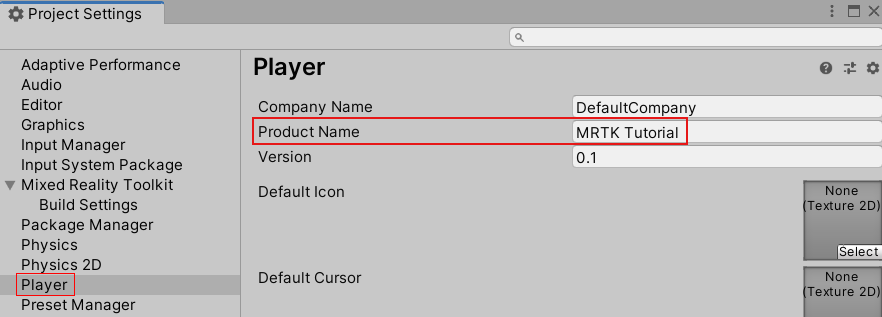
Tip
To make the app easier to locate during development, add an underscore in front of the name to sort it to the top of any list.
Select the Publishing Settings drop-down, then in the Package name field, enter a suitable name; for example, MRTK-Tutorials-Getting-Started:
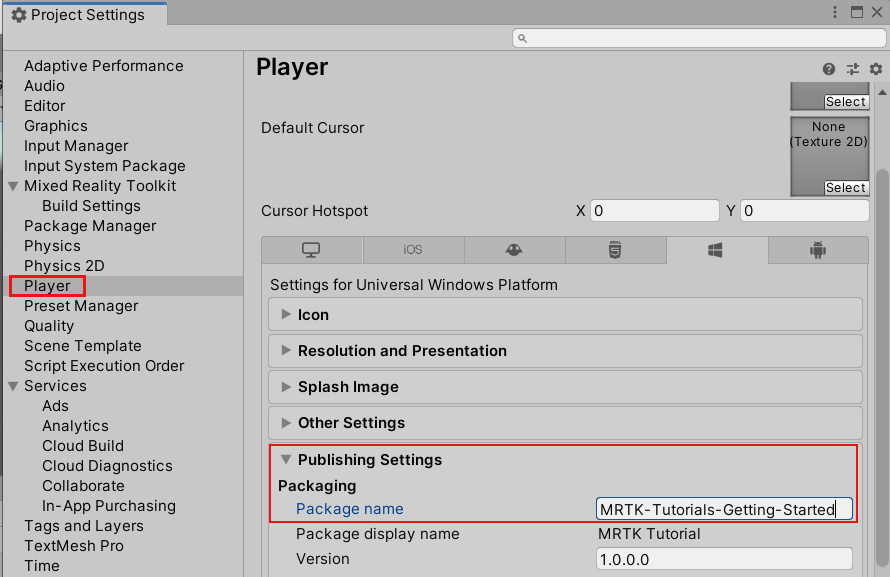
Note
The package name is the unique identifier for the app. If you want to avoid overwriting previously installed versions of the app with the same name, you should change this identifier before deploying the app.
Close the Project Settings window.
Create the scene and configure MRTK
In the menu bar, select File > New Scene. Select the Basic (Built-in) option, then select Create.
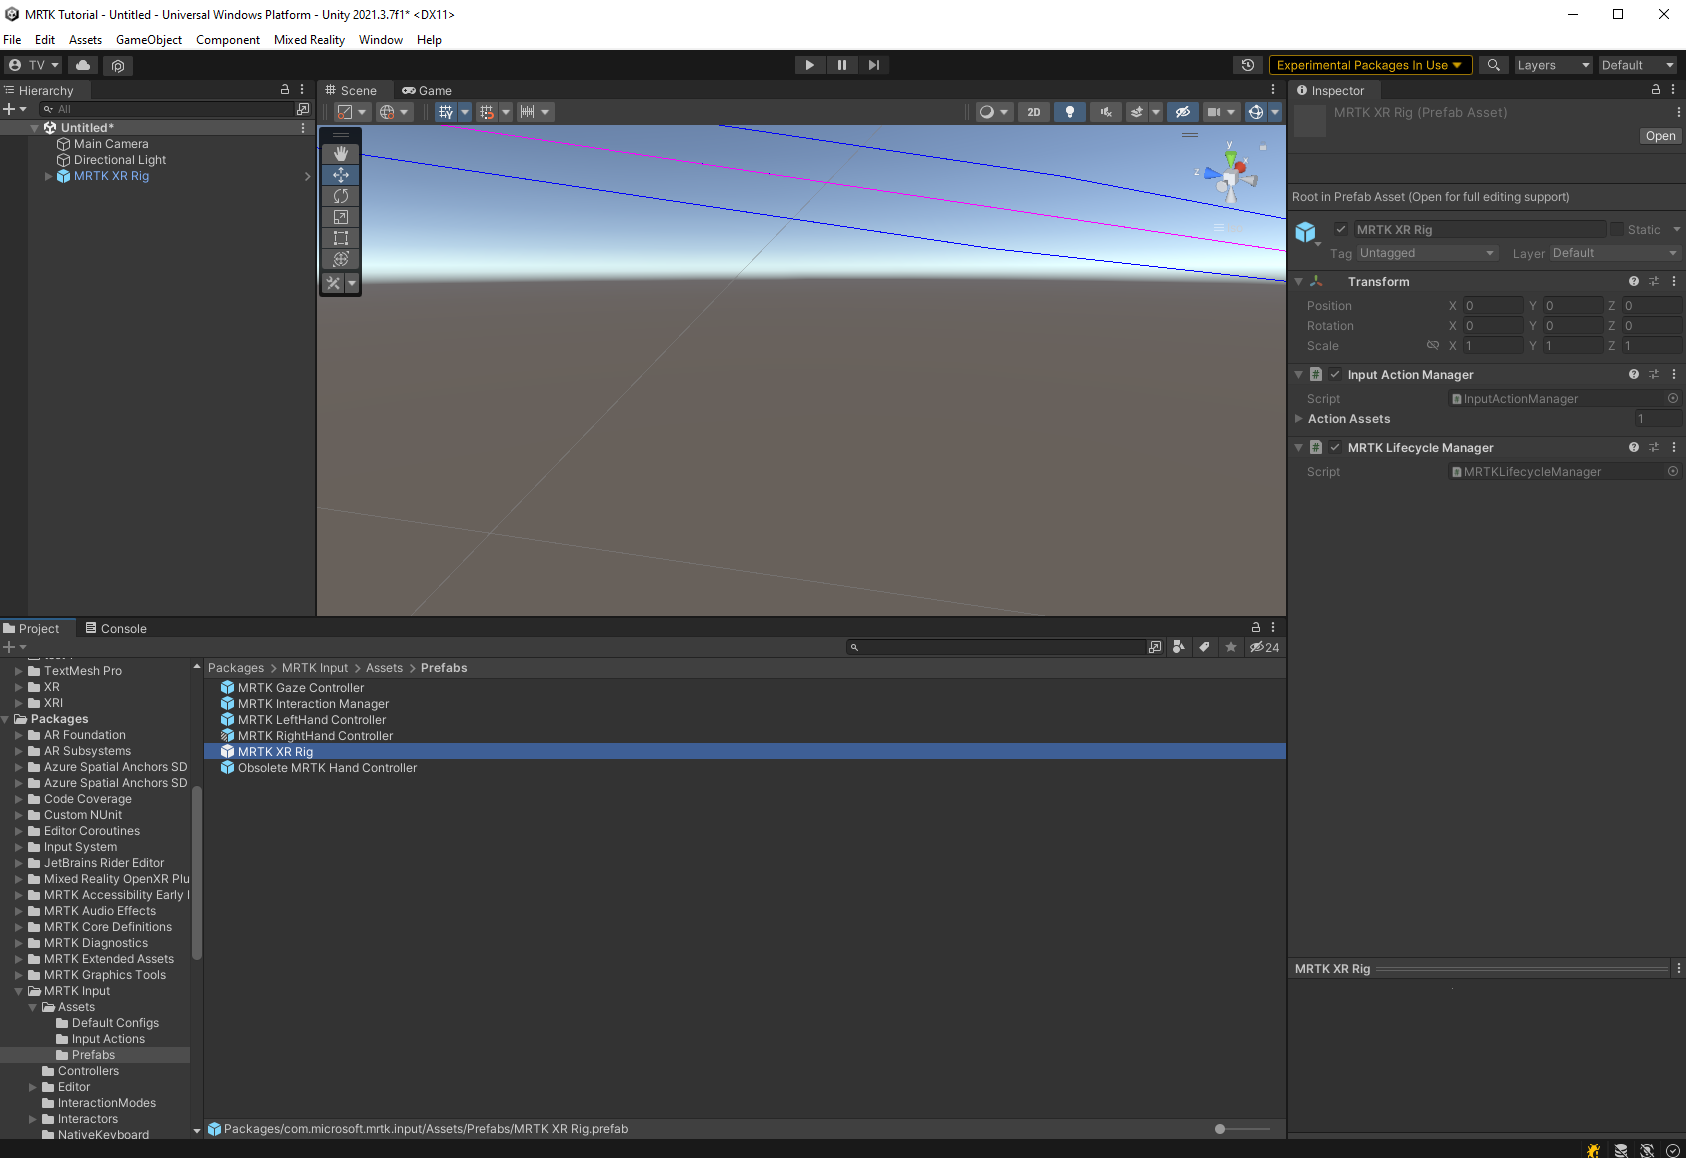
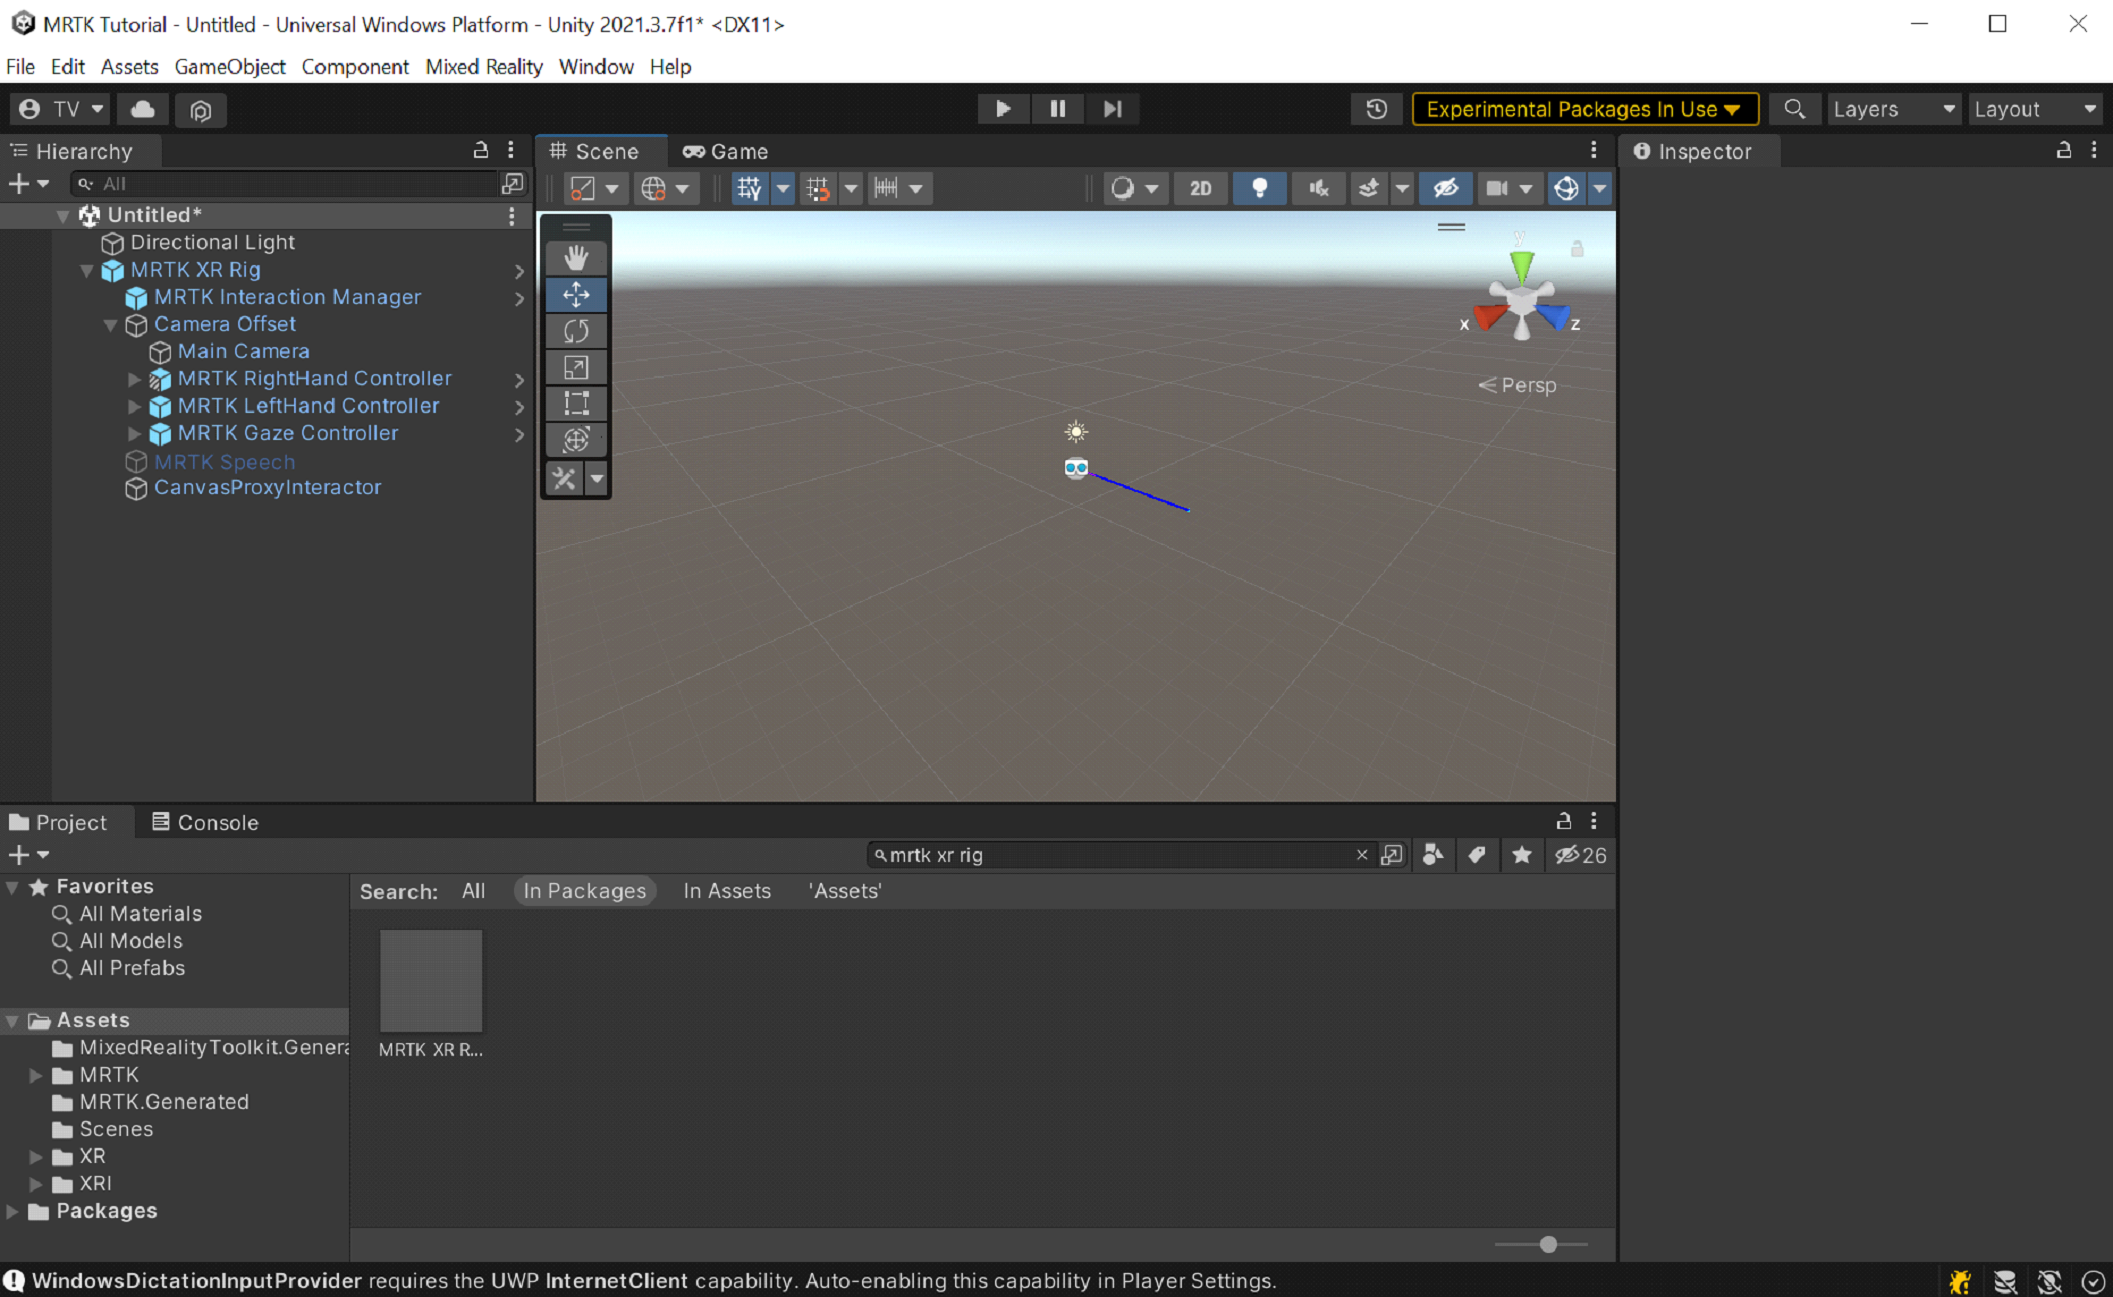
In the Project window, navigate to the Packages > MRTK Input > Assets > Prefabs folder. Drag the prefab MRTK XR Rig into the scene Hierarchy.
Remove the Main Camera game object, because the MRTK XR Rig game object already contains a camera.
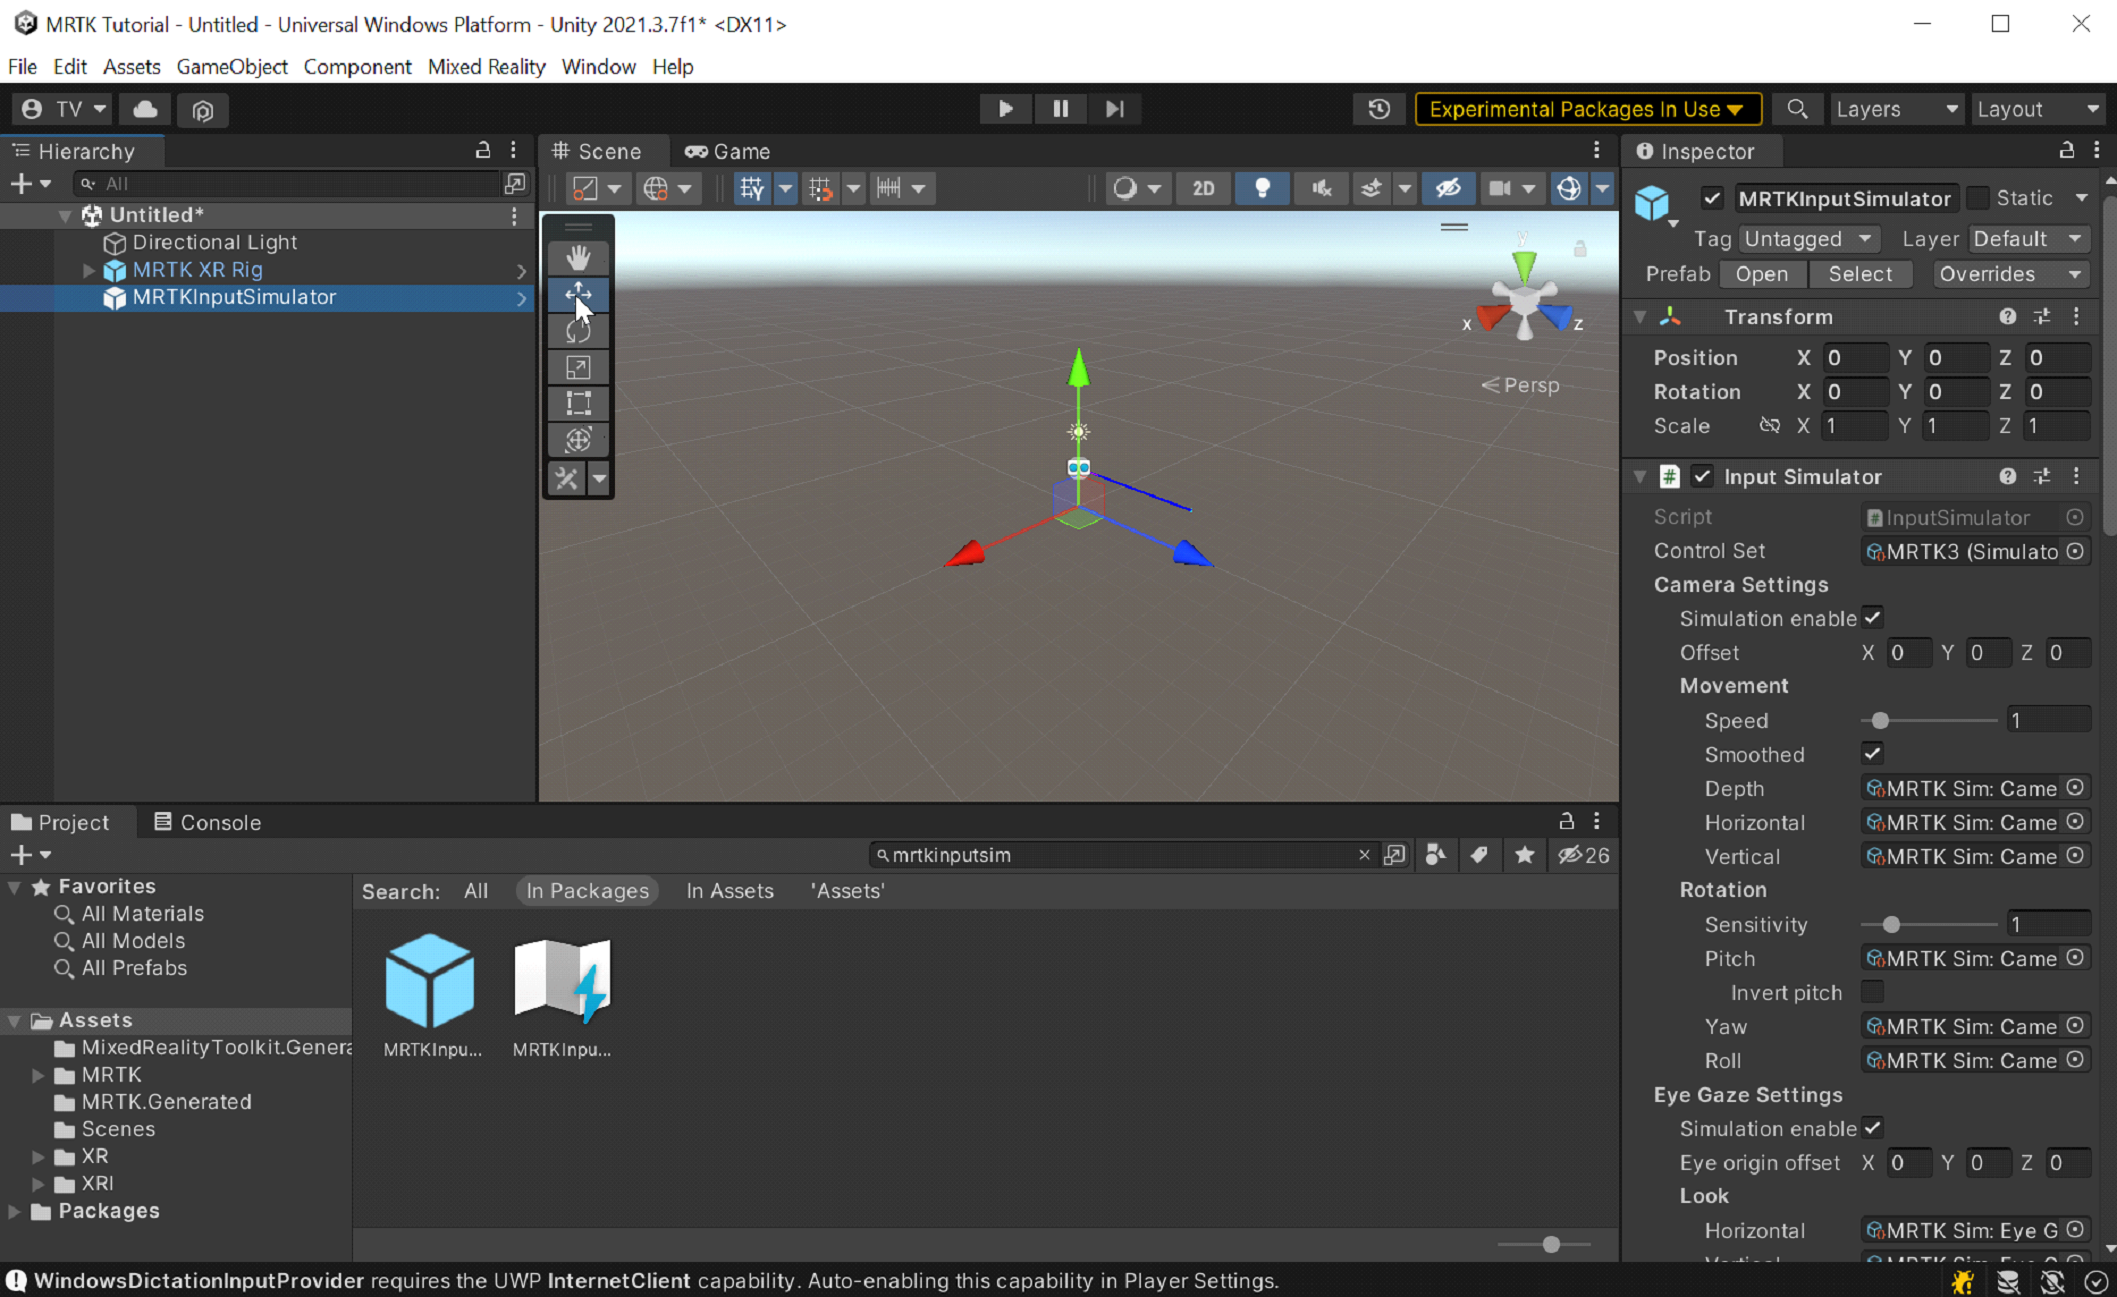
Add the MRTK Input Simulator (Packages > MRTK Input > Simulation > Prefabs) prefab to your scene.
Note
This step is optional, but required by in-editor simulations.
In the menu bar, select File > Save As.
Navigate to the Assets > Scenes folder, then name and save your project.