Exercise - Identify incorrectly assigned resources
Your organization uses different resources for production and development environments. Some resources that were created for development work were put into the same resource group as production resources. You need to be able to identify which resources belong to a development resource group.
In this unit, you create both development and production resources, and put them in a production resource group. You tag your resources appropriately, and then filter the resources to identify all your development resources from a single location.
You need an Azure subscription to complete the exercises. If you don't have an Azure subscription, create a free account and add a subscription before you begin. If you're a student, you can take advantage of the Azure for students offer.
Create a resource group
Create a resource group to act as the production resource group.
Sign in to the Azure portal.
On the home page, select Create a resource. Search for and select Resource group from the Marketplace pane. The Resource group pane appears.
Select Create. The Create a resource group pane appears.
On the Basics tab, enter the following values for each setting.
Setting Value Project details Subscription From the dropdown list, select your account's subscription. Resource group Enter production-learn-rg Resource details Region From the dropdown list, select a location close to you. Select Review + create. After validation passes, select Create.
Create a resource
Create a storage account resource for production.
Return to the Azure portal home page, and under Azure services, select Create a resource. The Create a resource pane appears.
In the search box, search for and select Storage account, and select Create. The Create a storage account pane appears.
On the Basics tab, enter the following values for each setting.
Setting Value Project details Subscription From the dropdown list, select your account's subscription Resource group From the dropdown list, select production-learn-rg Instance details Storage account name Enter a unique storage account name that starts with the prefix prod Accept the remaining default values.
Select Review + create. After validation passes, select Create. Wait for deployment to complete.
You now have a production resource group with a production storage account resource.
Create more resources
Now, create some more resources that you can eventually move to a development resource group.
Return to the Azure portal home page, and under Azure services, select Create a resource. The Create a resource pane appears.
In the search box, search for and select Storage account, and select Create. The Create a storage account pane appears.
On the Basics tab, enter the following values for each setting.
Setting Value Project details Subscription From the dropdown list, select your account's subscription Resource group From the dropdown list, select production-learn-rg Instance details Storage account name Enter a unique storage account name that starts with the prefix dev Accept the remaining default values.
Select Review + create. After validation passes, select Create. Wait for deployment to complete.
Create another storage account with a unique name by repeating the storage account creation steps again. Wait for deployment to complete.
You now have a production resource group with two extra storage accounts that you can move to a development resource group.
Apply tags to your resources
Now, use the Azure portal to apply tags to resources so you can identify and locate them later.
In the Azure portal, on the Home page, under Azure services, select Resource groups. The Resource groups pane appears.
Select the production-learn-rg resource group. The production-learn-rg resource group pane appears.
Select the check box next to the Name field for both of the dev storage accounts you created.

In the top menu bar, select Assign tags. The Assign tags pane appears.
Enter the following values for each setting:
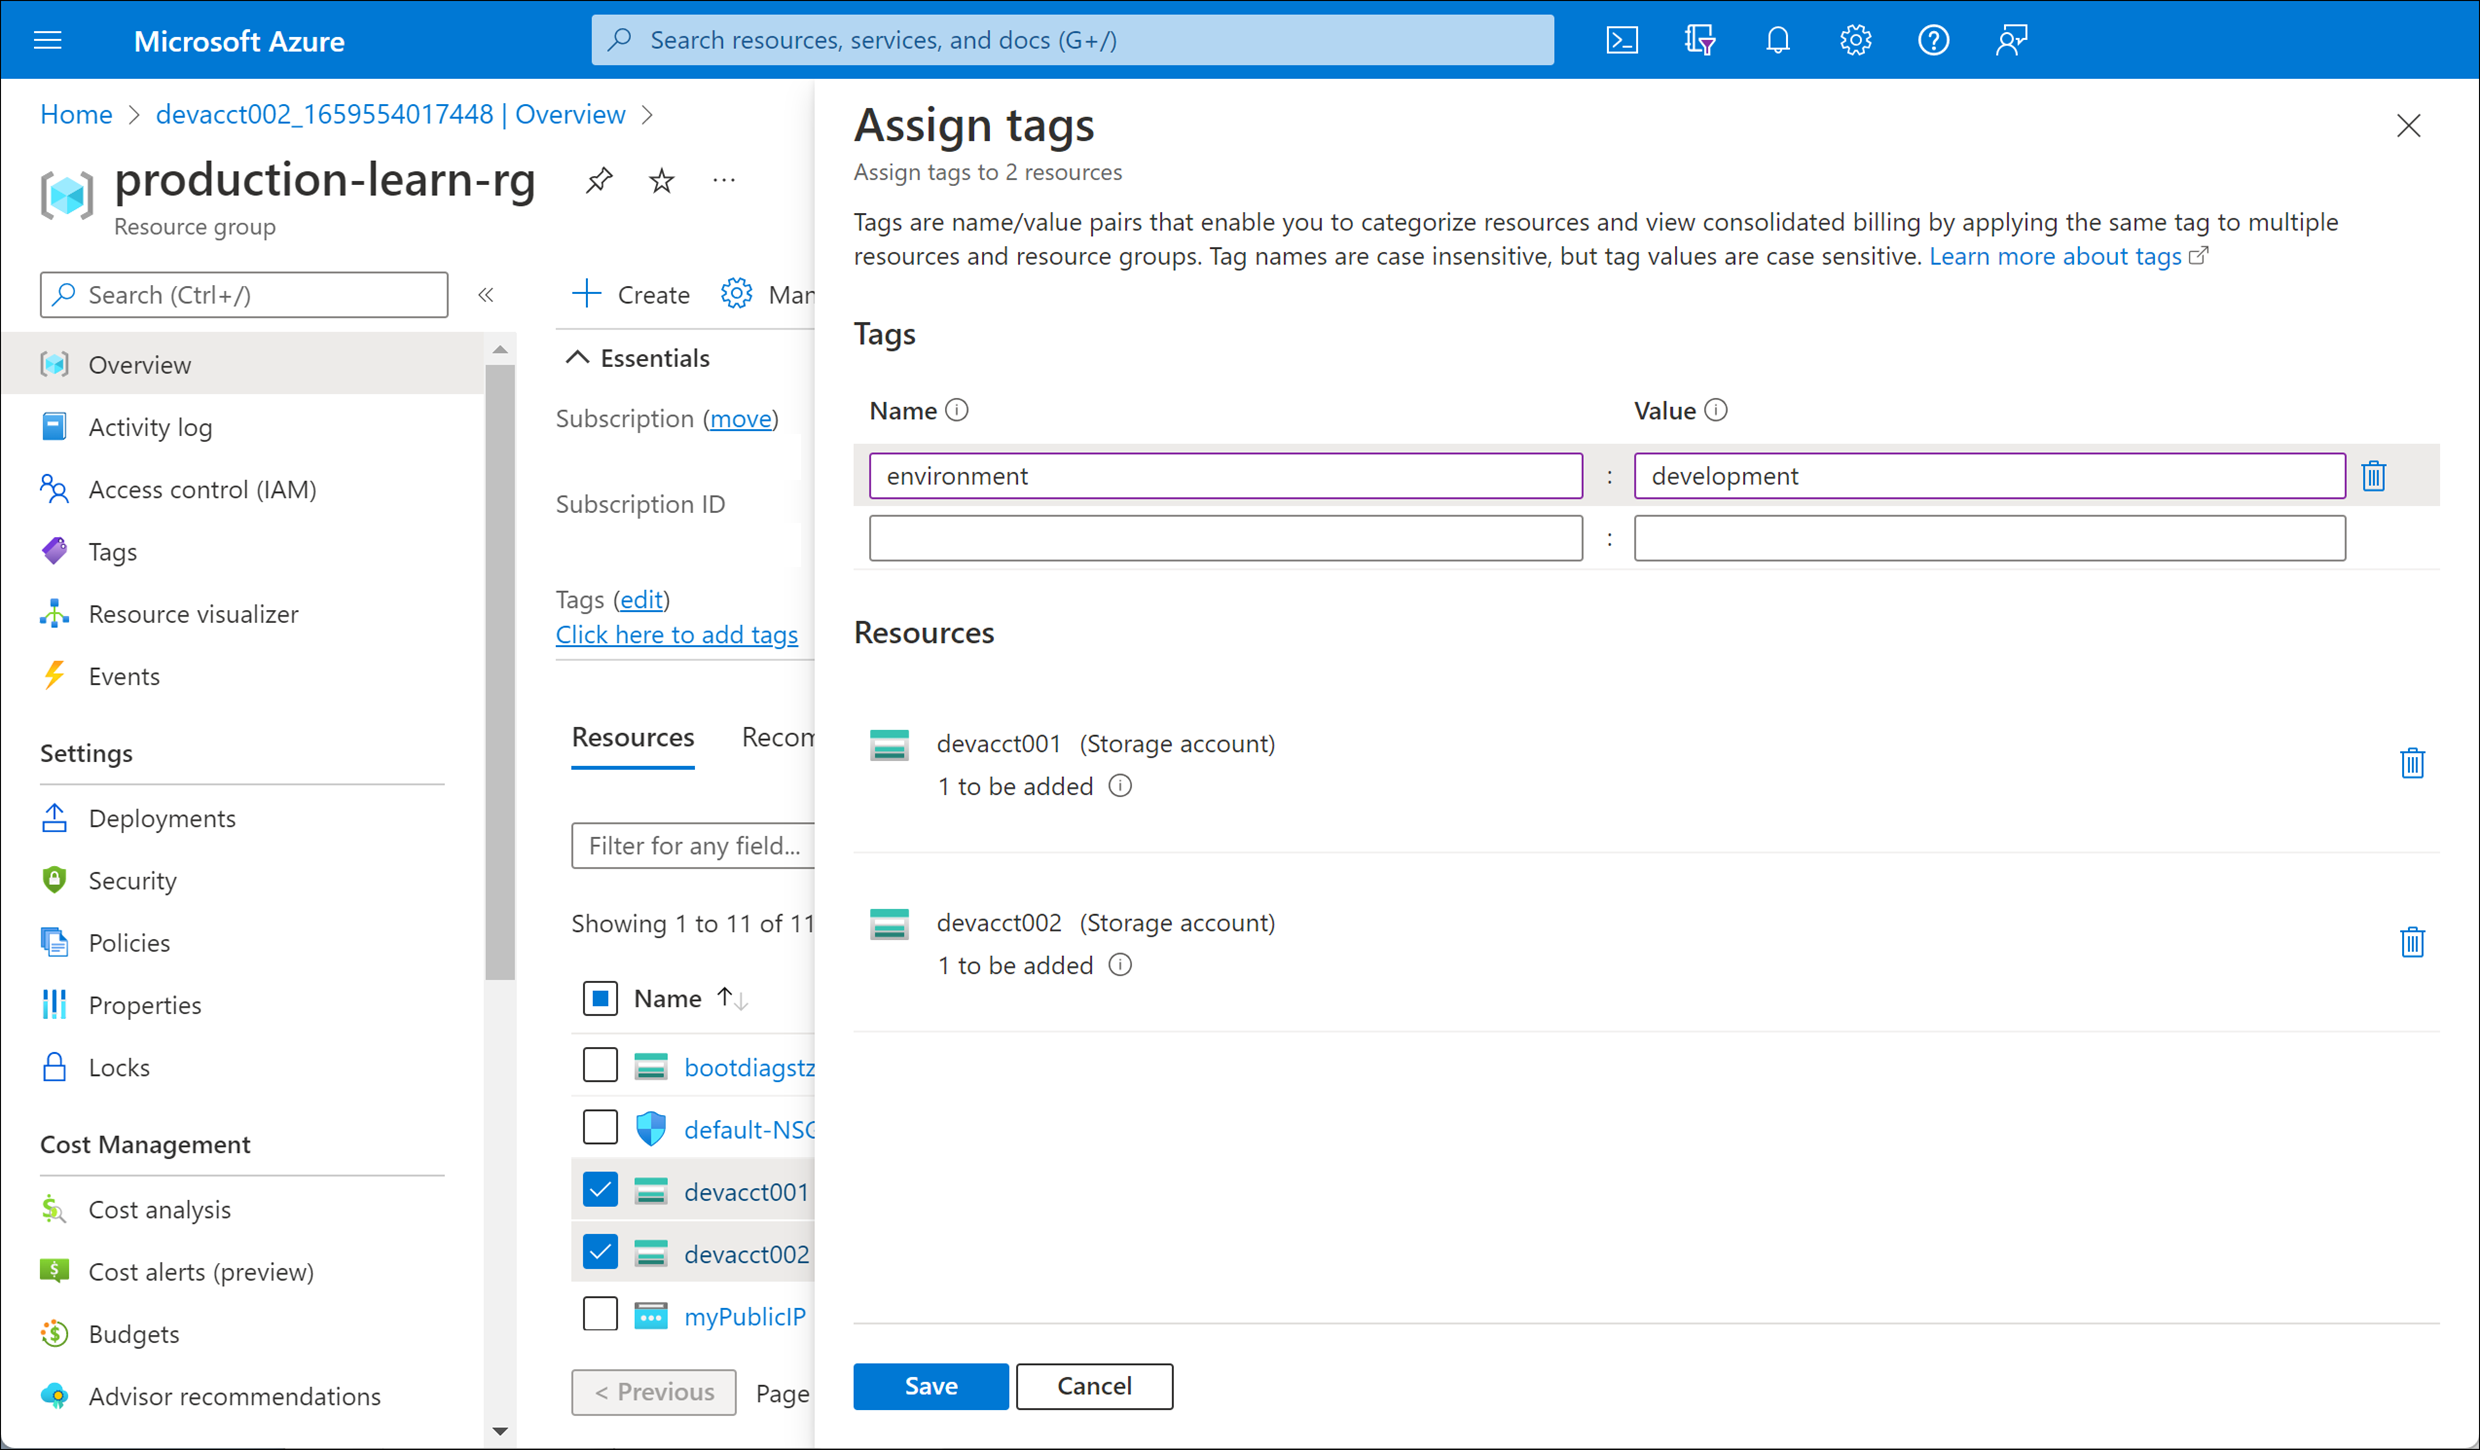
Setting Value Name environment Value development Select Save. Your resources are now tagged with development.
Repeat these steps to assign the following tag to the remaining prod resource.
Setting Value Name environment Value production
Filter and identify your development resources
Now filter your resources and find your development tagged resources.
At the top of the Azure portal, search for and select Tags.
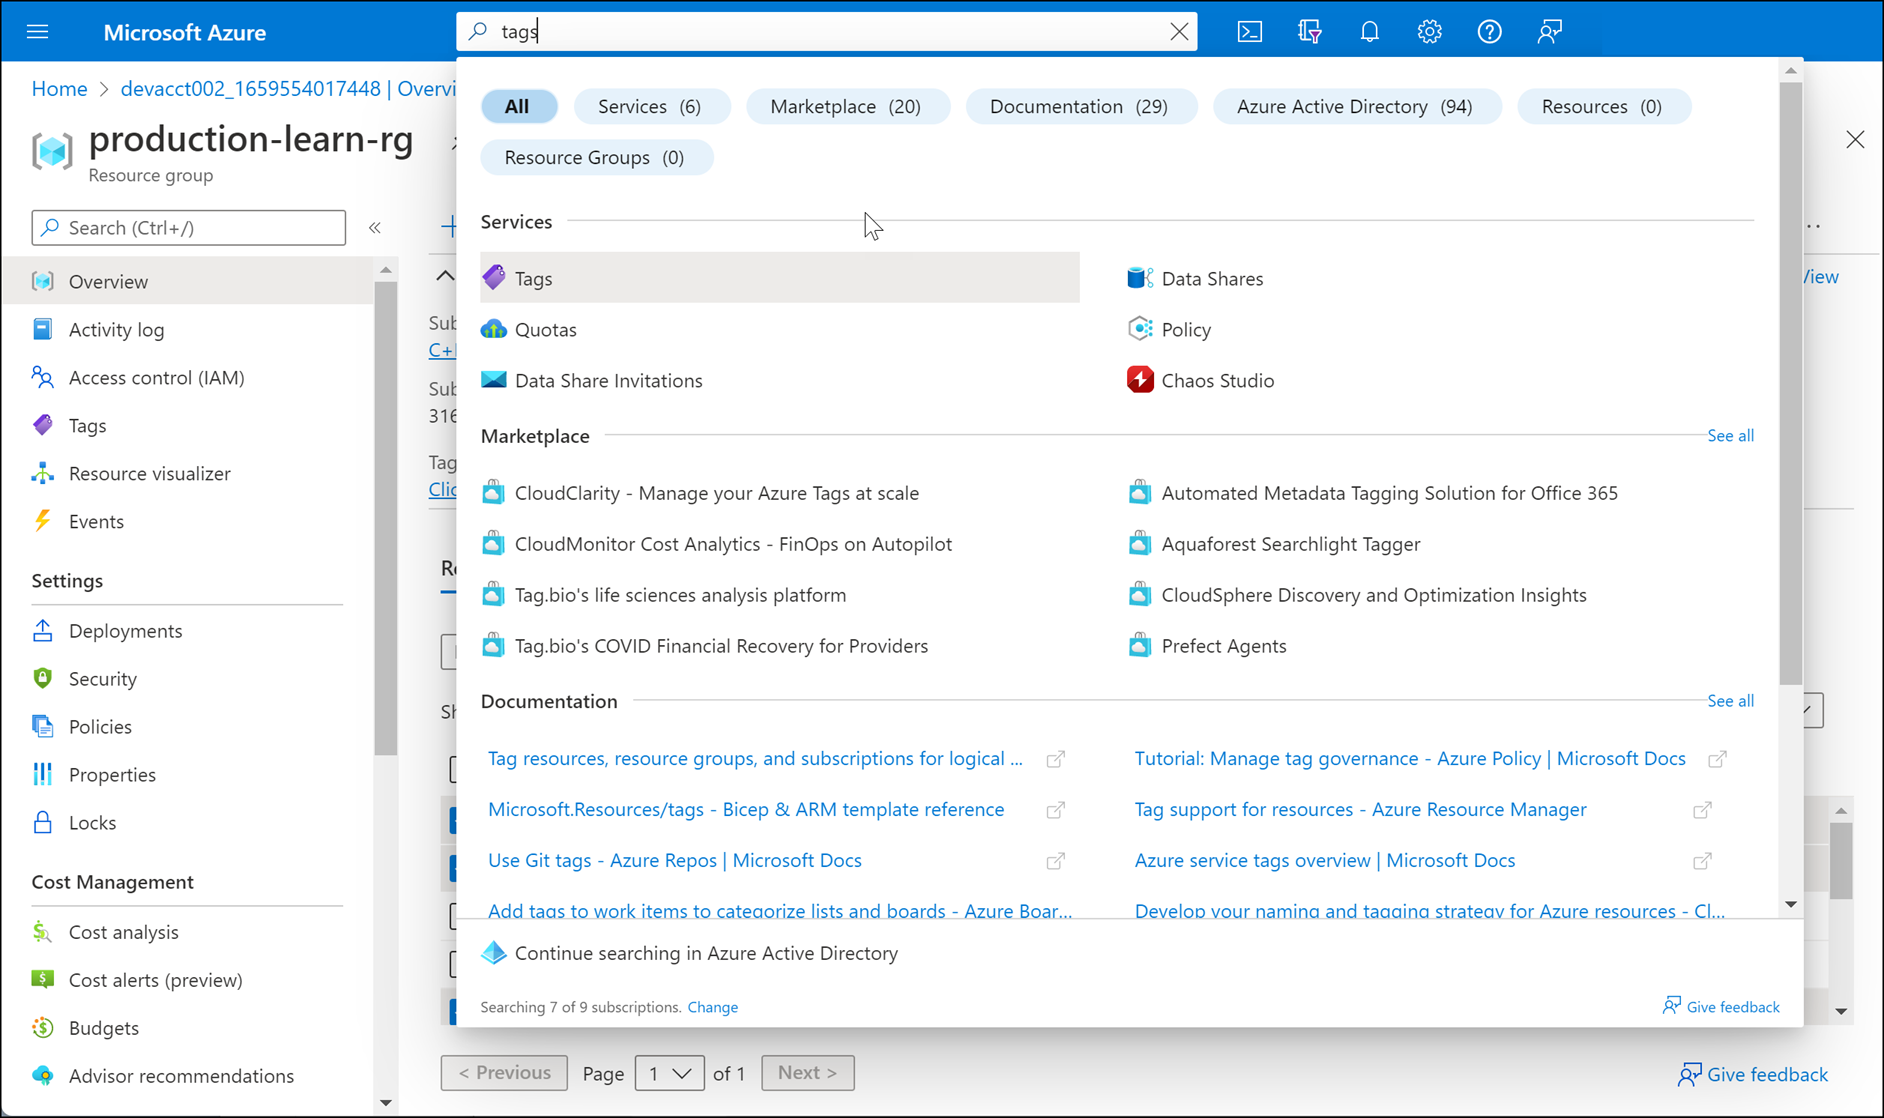
The Tags pane appears.
Select the environment:development tag.
All your tagged development resources are listed in one place.
Keep your portal instance open to use later.