Console overview
When you launch the Power Automate desktop app, the Home screen appears first. This screen provides a quick overview of all the new features available.
When you select My flows, you see the console. The console is the main component of the platform from which you can manage your existing flows and launch the flow designer to edit them or create new ones.

When you select an existing flow, you get a new command bar with bulk actions you can perform.

Like all products in Microsoft Power Automate, the Power Automate desktop app console enables you to select a development environment, handle all the flows in it, and create new ones.
Note
Environments are spaces to store, manage, and share your organization's business data, apps, chatbots, and flows. They also serve as containers to separate apps that might have different roles, security requirements, or target audiences.
To handle an existing flow, right-click on it and choose between starting, editing, renaming, and deleting it. If the flow is currently running, you can stop it.

To run, stop, or edit a flow more efficiently, use the icons next to its name.
In Examples, you see several categories you can use as templates.

Each category shows how many examples it contains. For example, Excel Automation has 5.
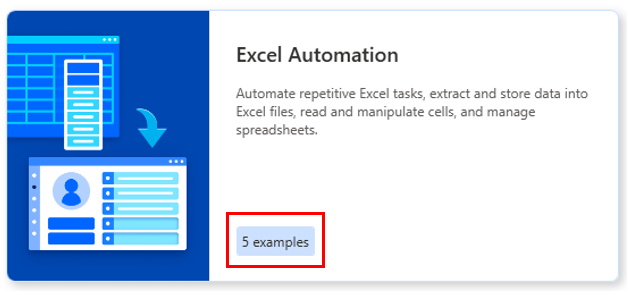
Select Excel Automation to see all of the examples that you can use.
