Configure preintegrated gallery SaaS apps
As you know, Microsoft Entra ID has a gallery that contains thousands of pre-integrated applications. Many of the applications your organization uses are probably already in the gallery. If an app is added to your Microsoft Entra tenant, you can configure properties for the app, manage user access to the app, and configure SSO so users can sign in to the app with their Microsoft Entra credentials. This unit will show you how to configure properties for the app.
Configure application (app) properties
To edit the app properties:
In the Microsoft Entra admin center Identity menu, select Enterprise applications. Then find and select the application you want to configure.
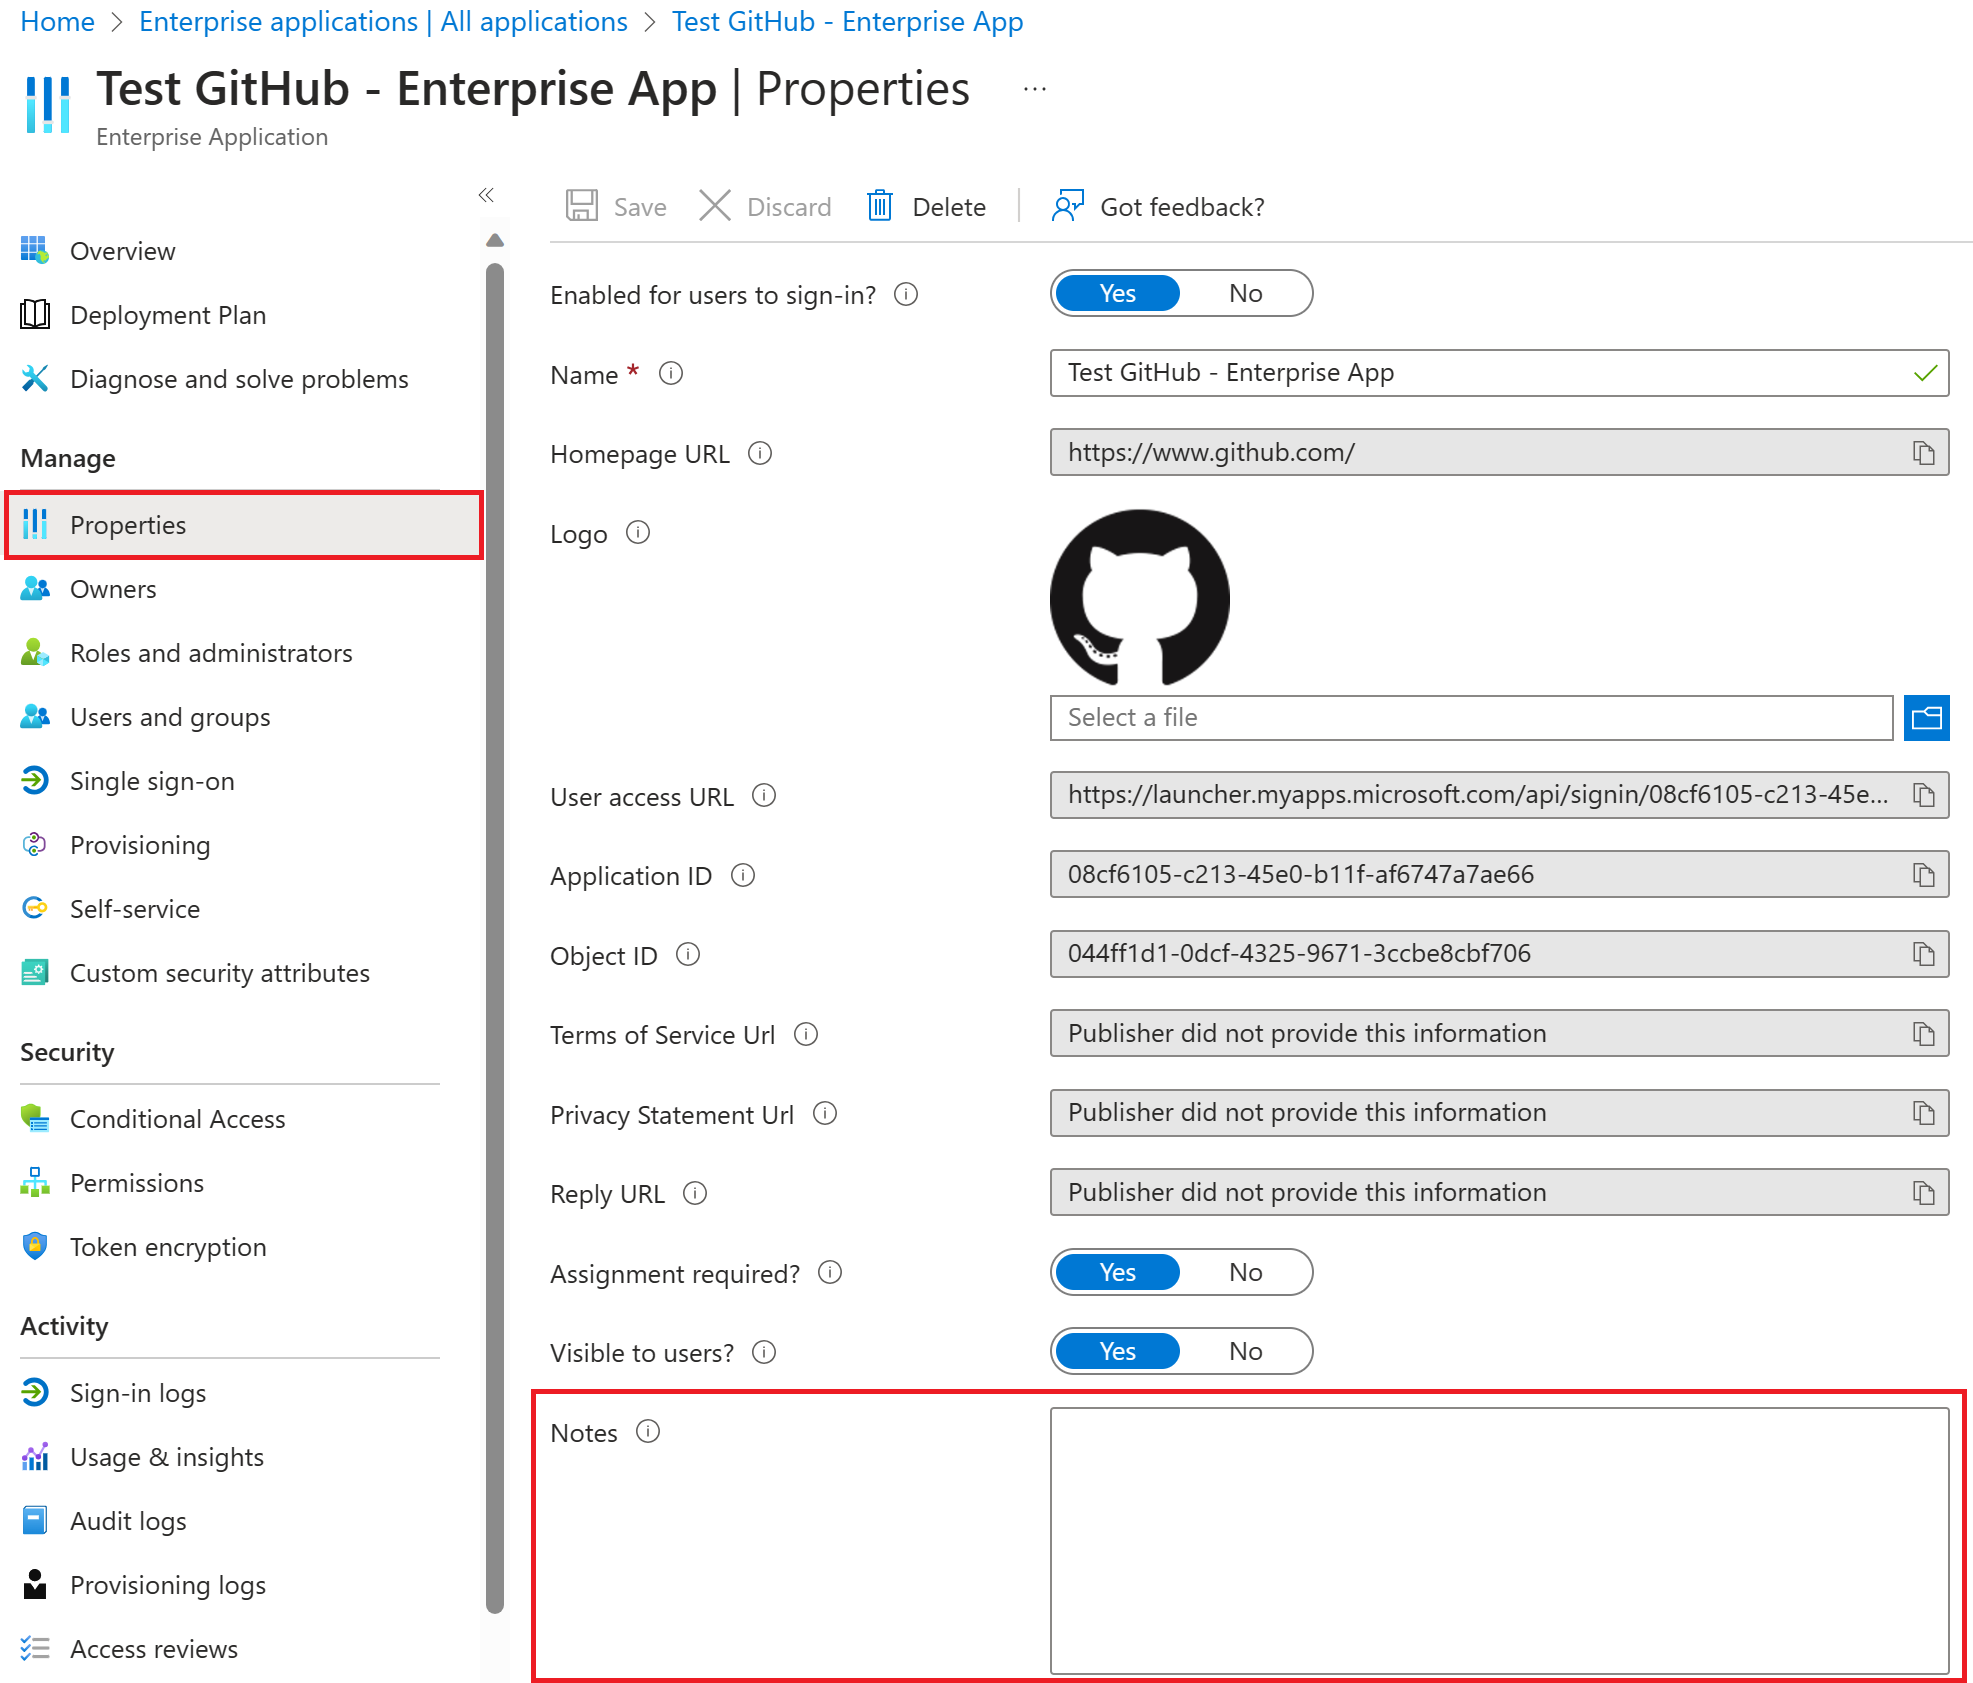
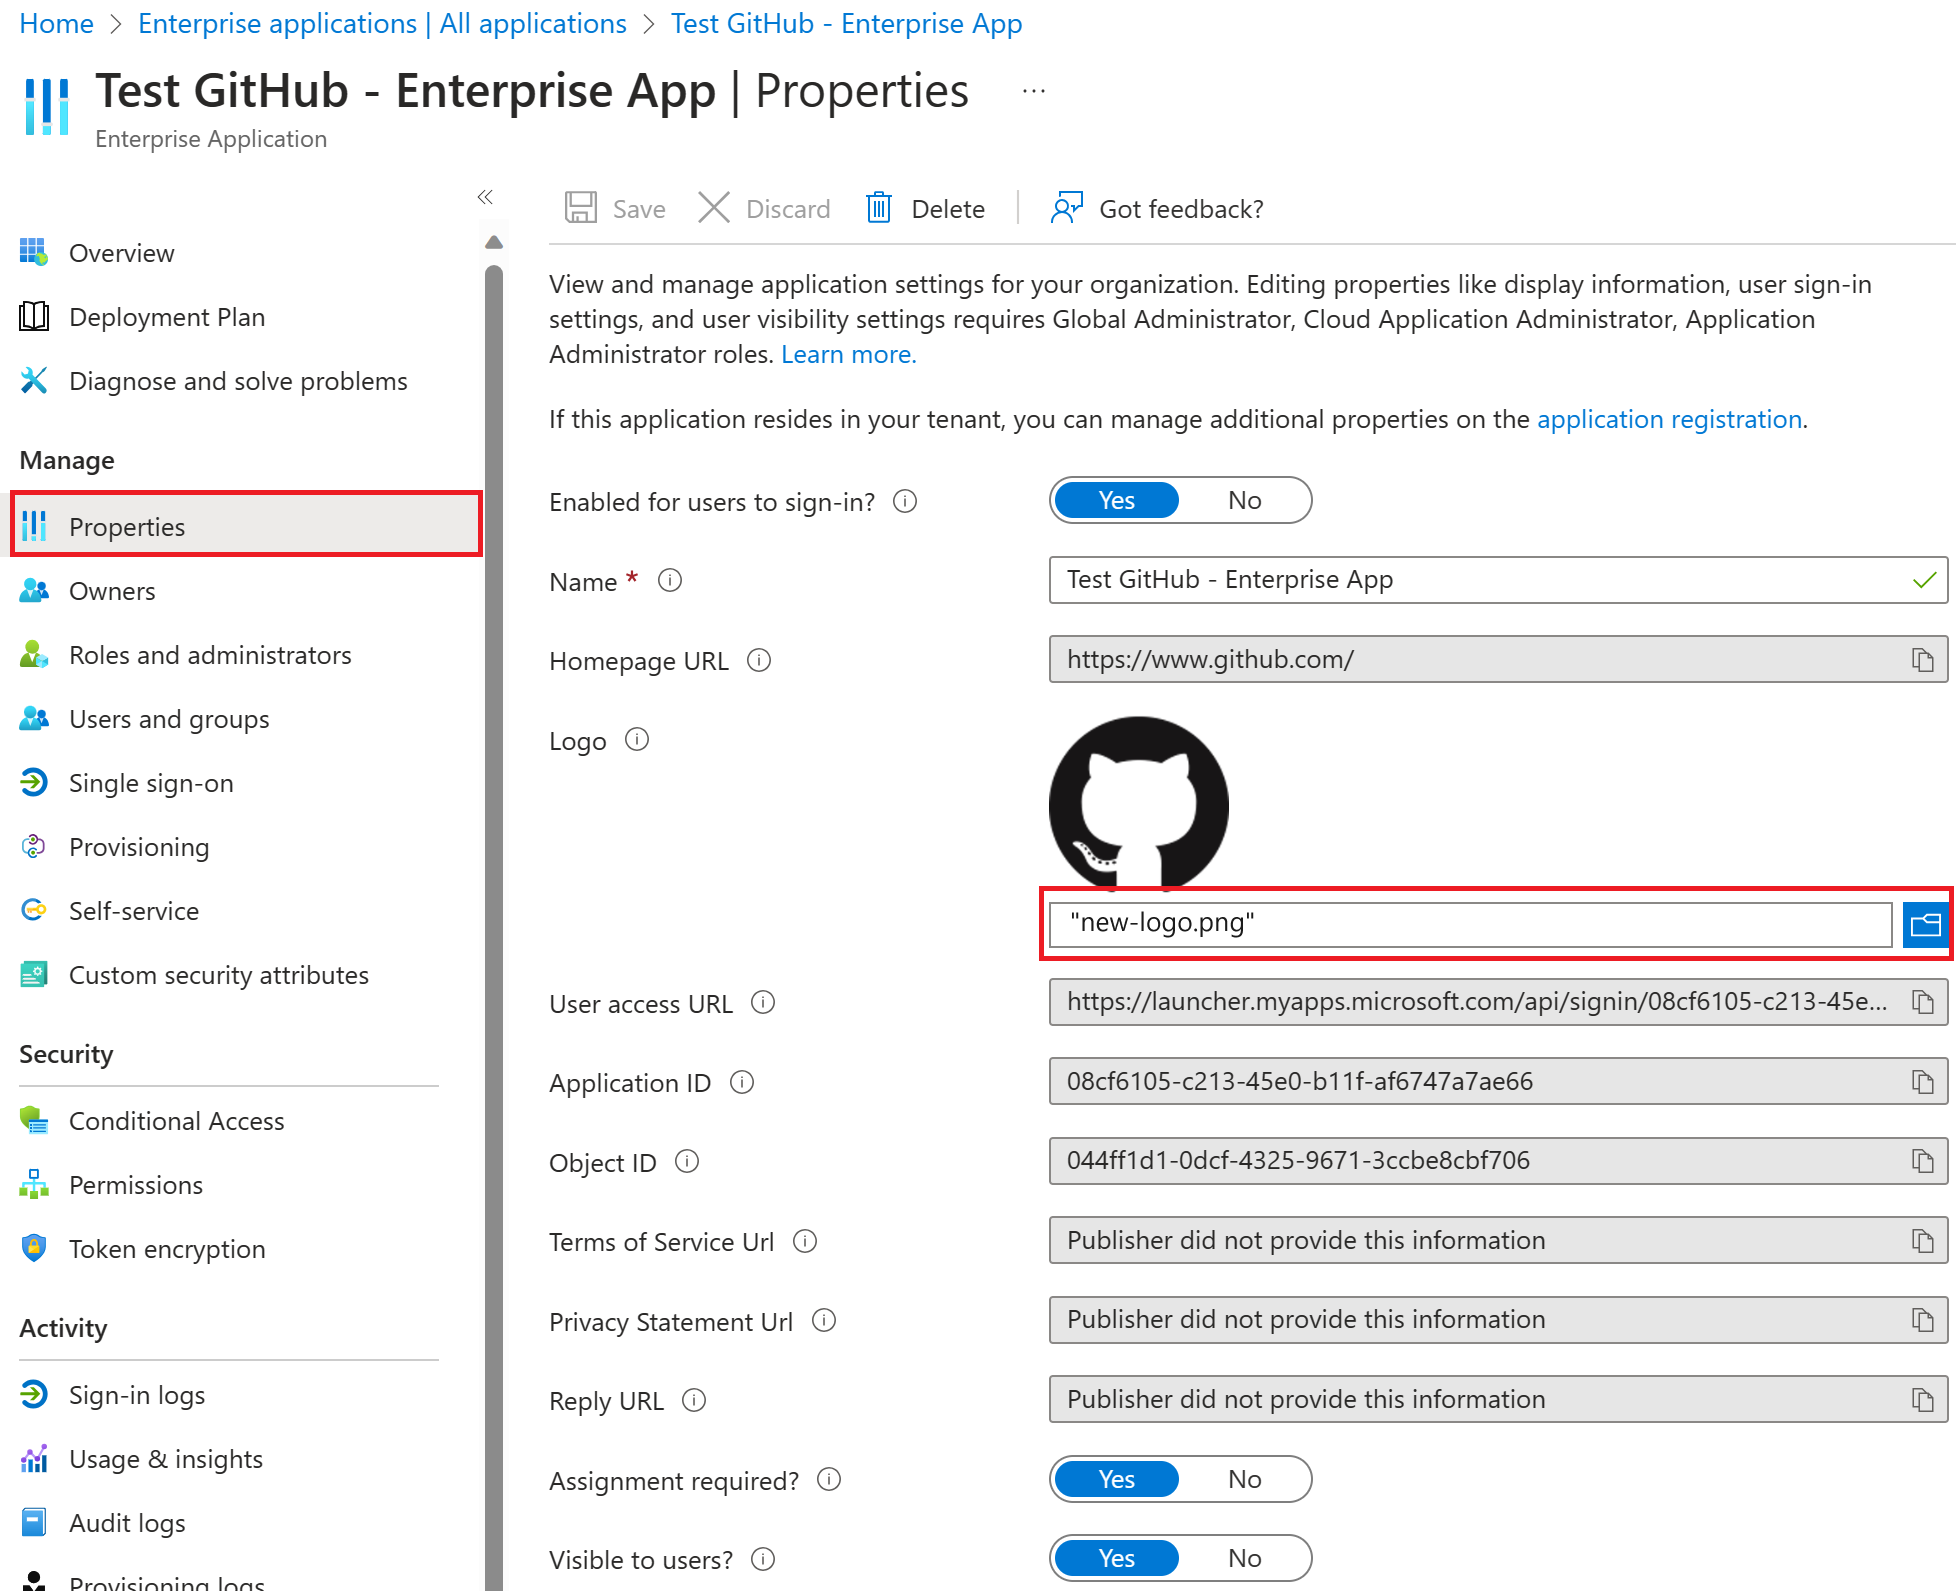
In the Manage section, select Properties to open the Properties pane for editing.
Take a moment to understand the options available. The options available will depend on how the app is integrated with Microsoft Entra ID. For example, an app that uses SAML-based SSO will have fields such as User access URL whereas an app that uses OIDC-based SSO won't. Apps added through Microsoft Entra ID - App registrations are by default OIDC-based apps, while apps added through Microsoft Entra ID - Enterprise applications might use any SSO standard. All apps will have fields for configuring when an app appears and can be used. These fields are:
- Enabled for users to sign in? determines whether users assigned to the application can sign in.
- User assignment required? determines whether users who aren't assigned to the application can sign in.
- Visible to users? determines whether users assigned to an app can see it in My Apps and Microsoft 365 app launcher. (See the waffle menu in the upper-left corner of a Microsoft 365 website.)
When you're finished, select Save
Use a custom logo
To use a custom logo:
Create a logo that's 215 by 215 pixels and save it in .png format.
In the Microsoft Entra admin center, select Enterprise applications. Then find and select the application you want to configure.
In the Manage section, select Properties to open the Properties pane for editing.
Select the icon to upload the logo.
Then you're finished, select Save.
Add notes
You can use the notes field to add any information that is relevant for the management of the application.
In the Microsoft Entra admin center, select Enterprise applications. Then find and select the application you want to configure.
In the Manage section, select Properties to open the Properties pane for editing.
Update the Notes field, select Save.