Exercise assign Azure resource roles in Privileged Identity Management
Assign Azure resource roles
Microsoft Entra Privileged Identity Management (PIM) can manage the built-in Azure resource roles, as well as custom roles, including (but not limited to):
- Owner
- User Access Administrator
- Contributor
- Security Admin
- Security Manager
Follow these steps to make a user eligible for an Azure resource role.
Sign in to the Microsoft Entra admin center as a tenant administrator.
Search for and then select Microsoft Entra Privileged Identity Management.
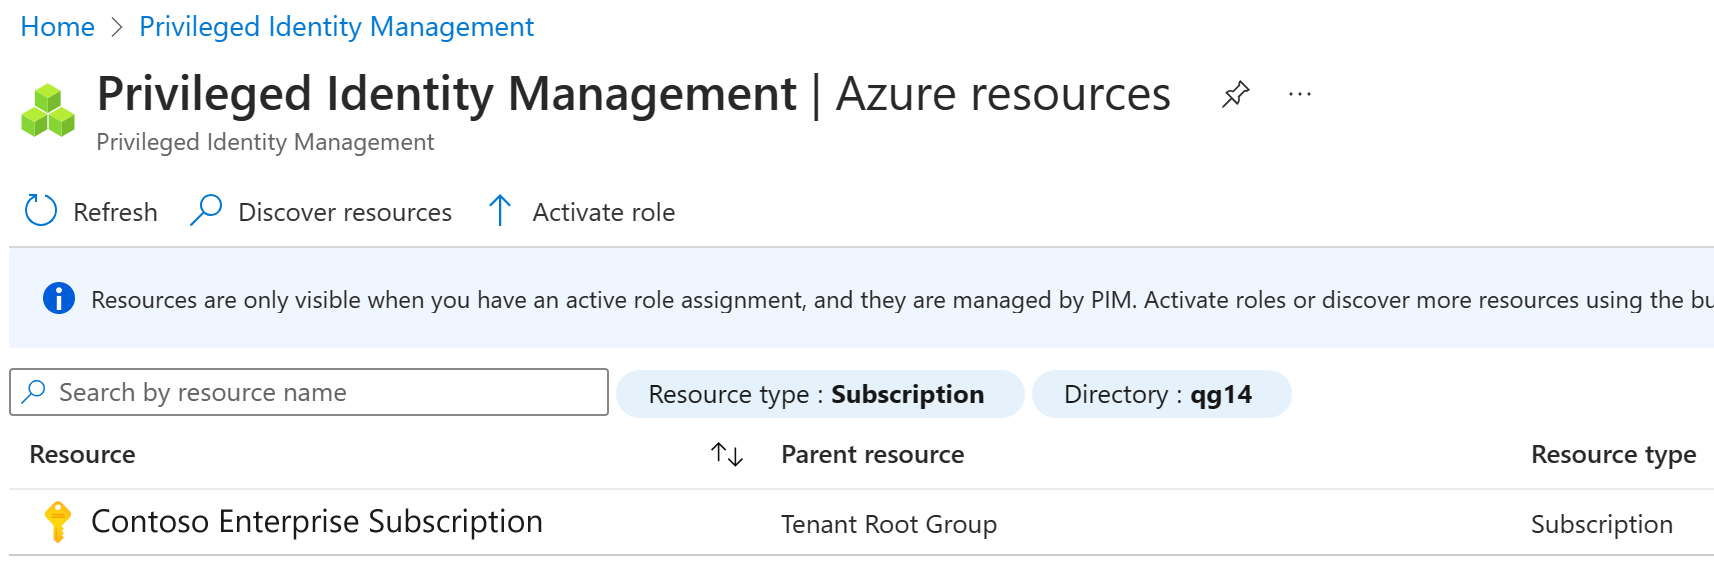
In the Privileged Identity Management menu, in the left navigation, select Azure resources.
On the top menu, select Discover resources.
In the Azure resources – Discovery screen, select your subscription and then, on the top menu, select Manage resource.
In the Onboarding selected resource for management dialog box, review the information and then select OK.
When onboarding completes, close the Azure resources – Discovery screen.
In the Azure resources screen, select the resource you just added.
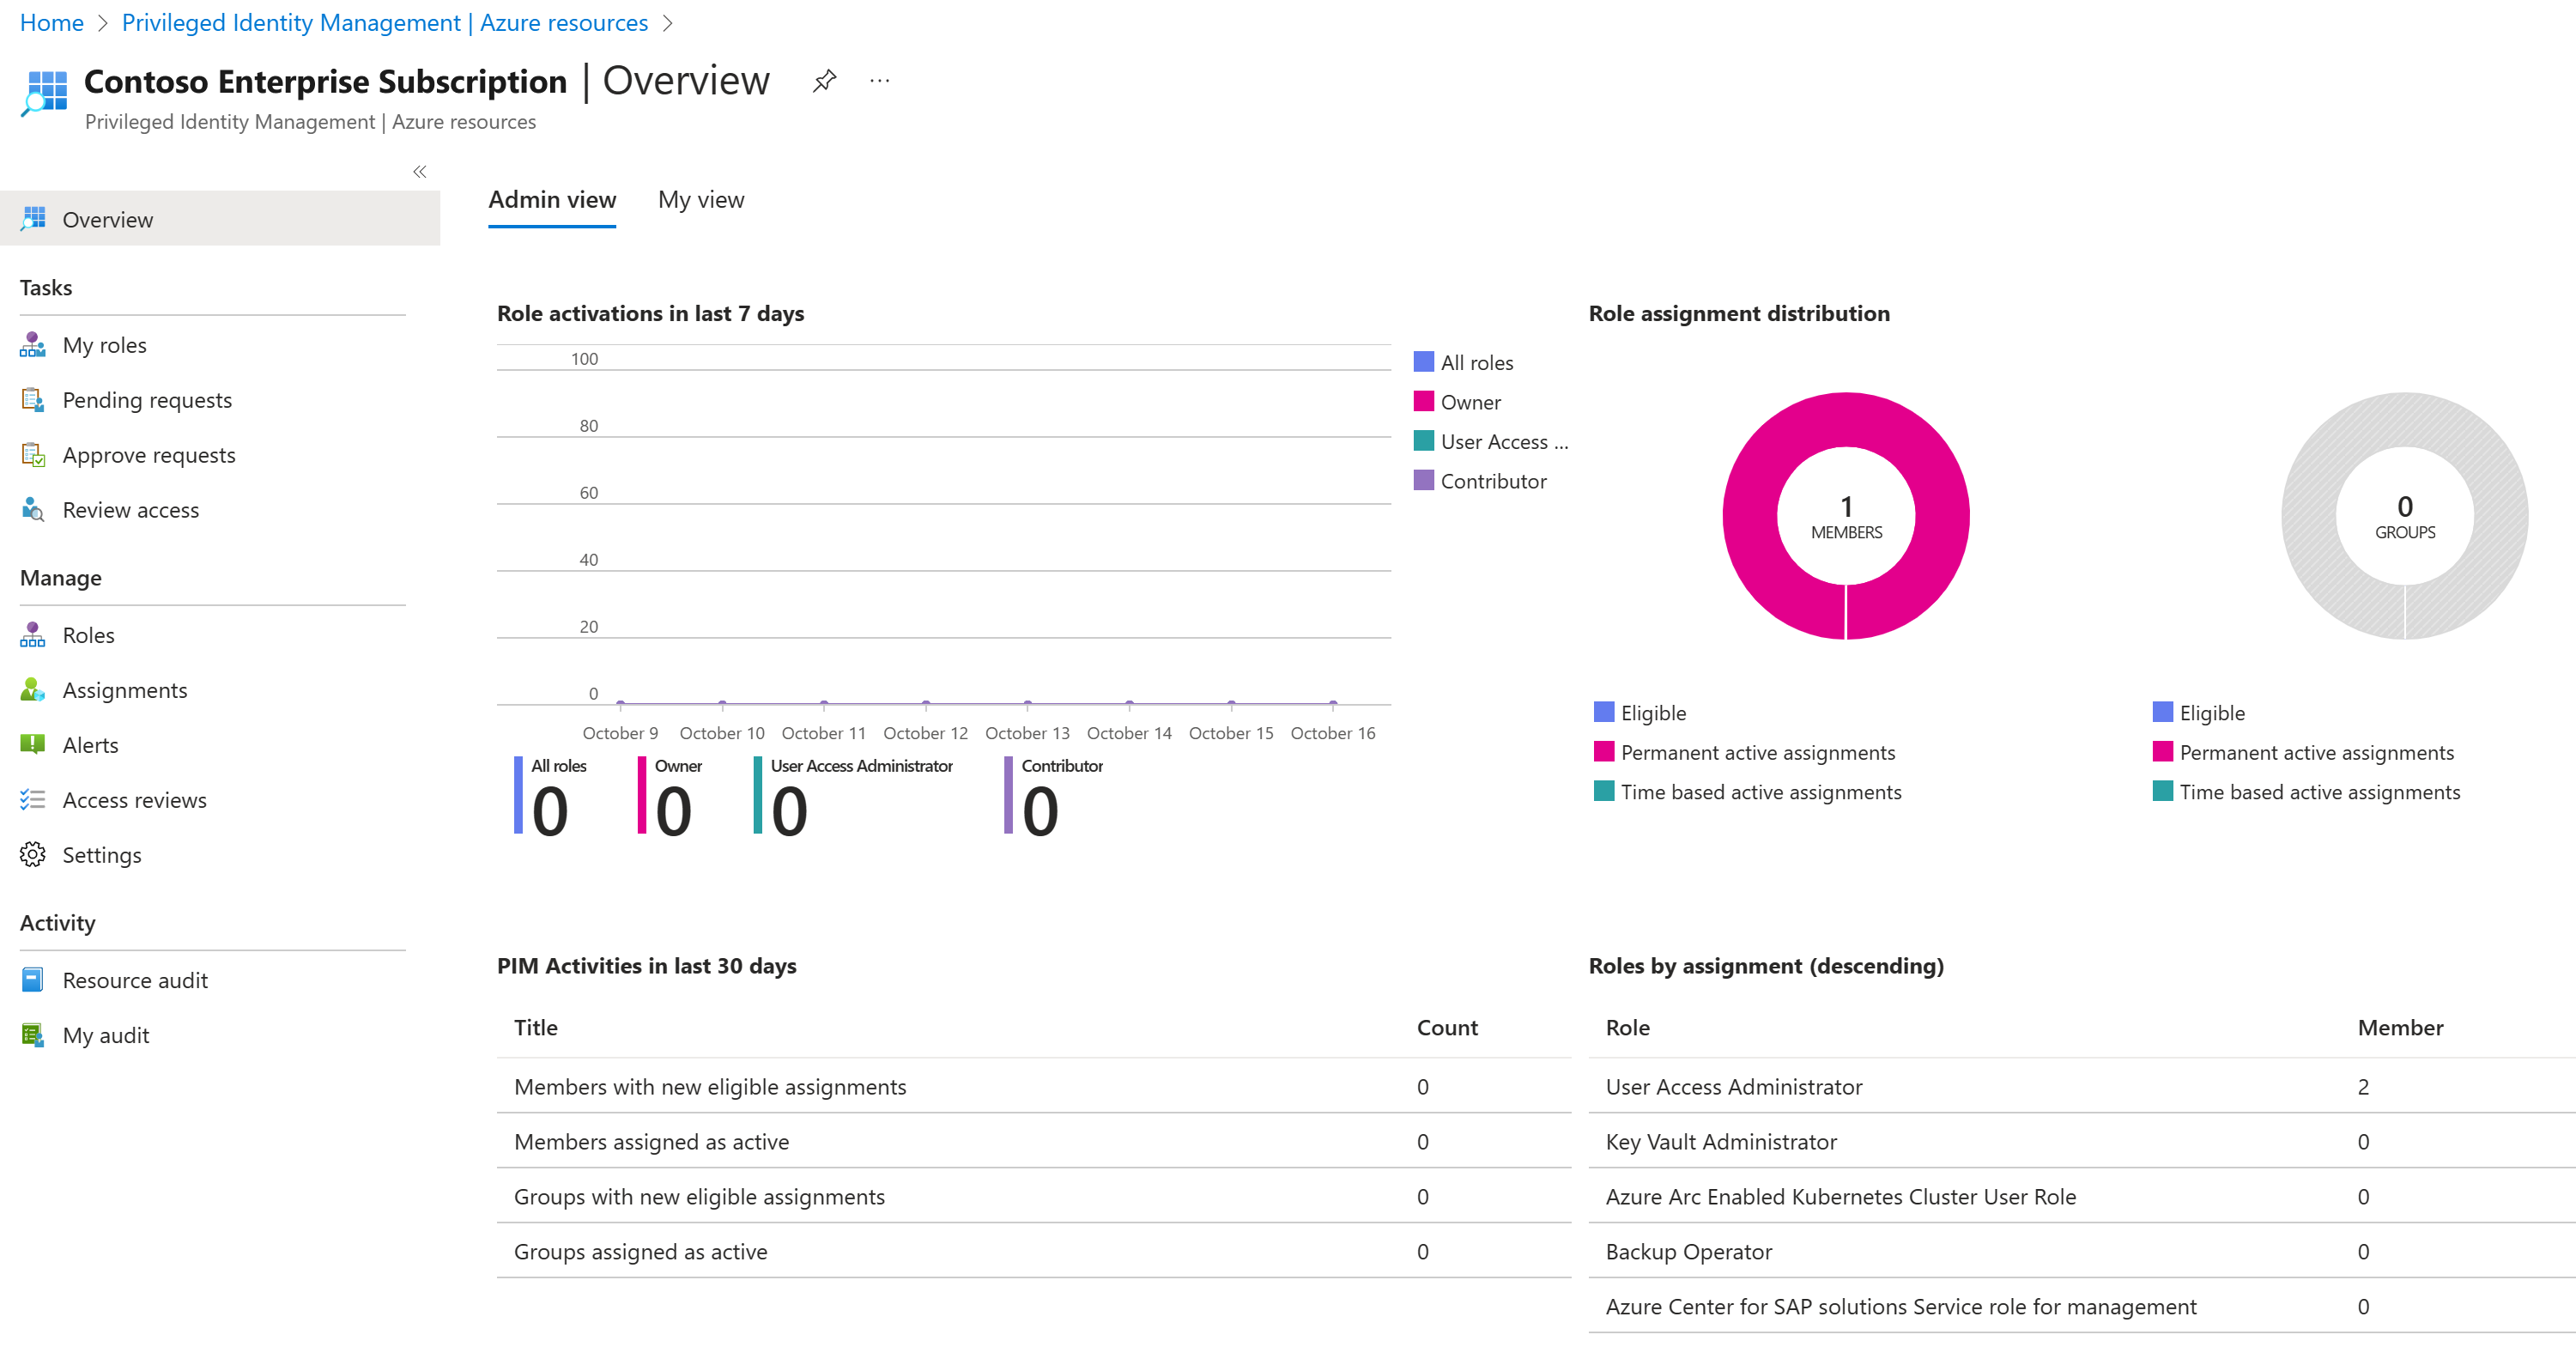
In the left navigation menu, under Manage, select Roles to see the list of roles for Azure resources.
On the top menu, select + Add assignments.
In the Add assignments dialog, select the Select role menu and then select API Management Service Contributor.
Under Select member(s), select No member selected.
In the Select a member or group pane, select an account from your organization that will be assigned the role.
Select Next.
On the Settings tab, under Assignment type, select Eligible.
- Eligible assignments require the member of the role to perform an action to use the role. Actions might include performing a multifactor authentication (MFA) check, providing a business justification, or requesting approval from designated approvers.
- Active assignments do not require the member to perform any action to use the role. Members assigned as active have the privileges always assigned to the role.
Specify an assignment duration by changing the start and end dates and times.
When finished, select Assign.
After the new role assignment is created, a status notification is displayed.
Update or remove an existing resource role assignment
Follow these steps to update or remove an existing role assignment.
- Open Microsoft Entra Privileged Identity Management.
- Select Azure resources.
- Select the resource you want to manage to open its overview page.
- Under Manage, select Assignments.
- On the Eligible roles tab, in the Action column, review the available options.
- Select Remove.
- In the Remove dialog box, review the information and then select Yes.