Exercise - Create the app in Power Apps
In this exercise, you create a solution to hold your customizations, create your canvas app, and complete the first screen of the app.
Note
This module is designed for use with the App in a Day instructor-led course. For more information on attending this free, instructor-led course, see Microsoft Power Platform instructor-led training. On that page, you can Register for an event.
Note
To complete the exercises, you'll need to use a few files. Download the App in a Day files for use in this module. The file folders that are in this download include:
- Completed modules with instructions - Package files to import the completed exercise steps.
- Machine-Order-Data.xlsx - File used in the exercises.
Section 1: Sign in to Power Apps web studio
Your first task is to sign in to Power Apps web studio.
Go to Power Apps and select Sign in. You can also go to Make Power Apps.

Sign in with your training account.
Before creating an app, you need to switch to the correct environment. Select the Environment dropdown menu in the upper-right corner of the screen to switch to the new environment. (If your environment doesn't show, try signing out and then signing in again.)


Section 2: Create a new solution
In this task, you create a new solution and a publisher. The solution will contain and track all your work.
Select Solutions > + New solution.

Enter
Contoso Coffeefor the Display name and then select the + New publisher button.
Enter
Contosoas the Display name,Contosoas the Name, andcontosofor Prefix. Select Save.
Select the Contoso publisher that you created for Publisher and then select Create.

Select the Contoso Coffee solution that you created.
Don't navigate away from this page.


Section 3: Create a new application
In this task, you create a new application by following these steps:
Make sure that you're in the Contoso Coffee solution.
Select + New and then select App > Canvas app.

Enter
Machine Ordering Appin the App name field, select the Tablet option under Format, and then select Create.
If prompted, select your region and then select Get started.
Select Skip if you receive the Welcome to Power Apps Studio prompt.


Section 4: Rename the screen
In this task, you'll rename Screen1 to Main Screen.
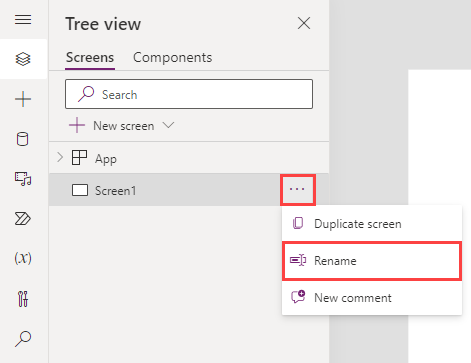
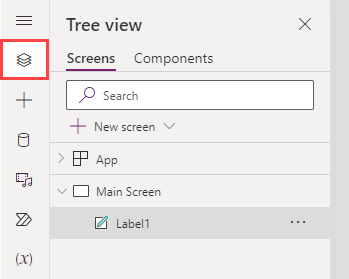
Select the screen by selecting the Screen1 tile in the Tree view on the left-hand side.
Select the ellipsis (...) next to Screen1 (or right-click Screen1) and then select the Rename option.
Change the name to
Main Screen.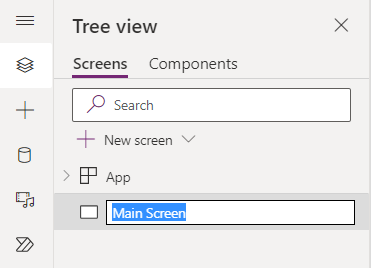
Note
You can also rename the screen by selecting the screen name in the right pane and then selecting the edit icon, or you can double-click the edit icon.
Tip
It's a good practice to rename screens and controls as you create them so that they're easier to locate as you work with Power Fx formulas that reference different controls. In this lab, you'll be prompted to rename screens and some controls. For other labs, you can rename them as you want on your own. However, make sure that you rename screens as prompted in this lab because future steps might rely on specific screen names.


View the full renaming instructions and best practices here.
Section 5: Add a header containing the app name and signed-in user's name
Follow these steps to add a header that contains the app name and the signed-in user's name
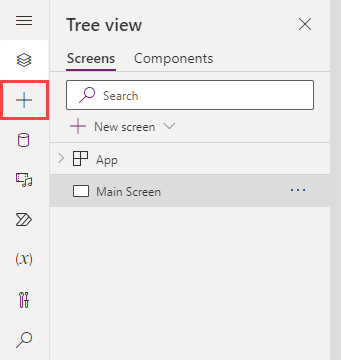
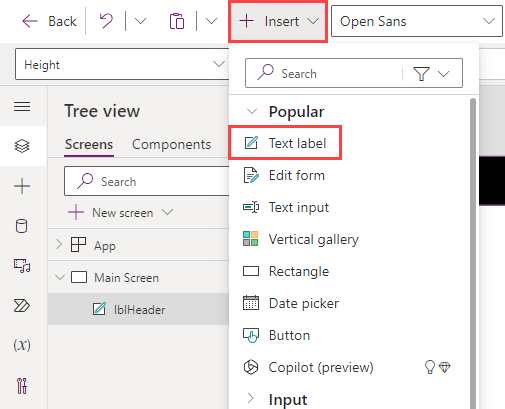
With Main Screen selected, select the + Insert button.
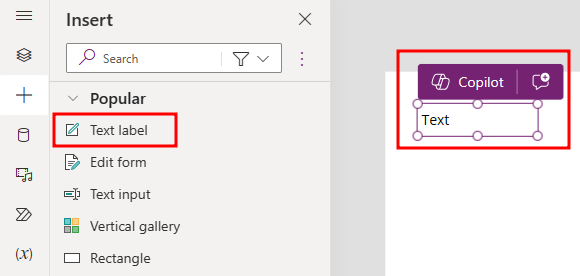
Drag Text label from the Insert pane and then drop it on the Main Screen.
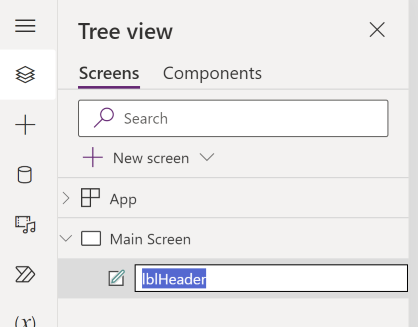
Select the Tree view tab.
Rename Label1 to lblHeader (refer to the previous task on renaming controls).
Note
Make sure that you rename this label correctly so that subsequent instructions in the lab will work as expected.
Select Text from the property dropdown list and then enter
"Machine Ordering"in the formula bar. You can also type directly in the label.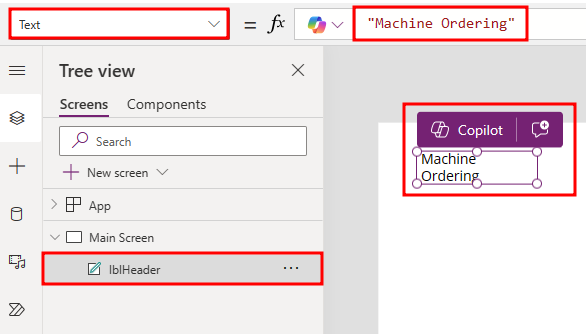
Set the X and Y values of the Header Label to
0.Set the Width of the Header Label to
1366.
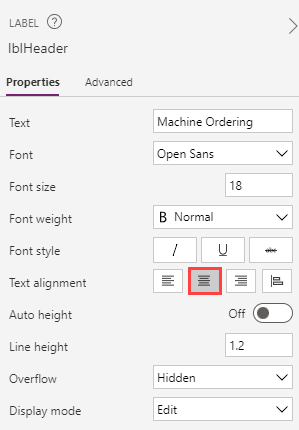
Select Color from the property dropdown list and set the Color value of the Header Label to
Color.White.Set the Fill value of the Header Label to
Color.Black.Set the Size value of the Header Label to
18.Set the Height value of the Header Label to
60.Go to the Properties pane on the right and select Align center for the Text alignment value.
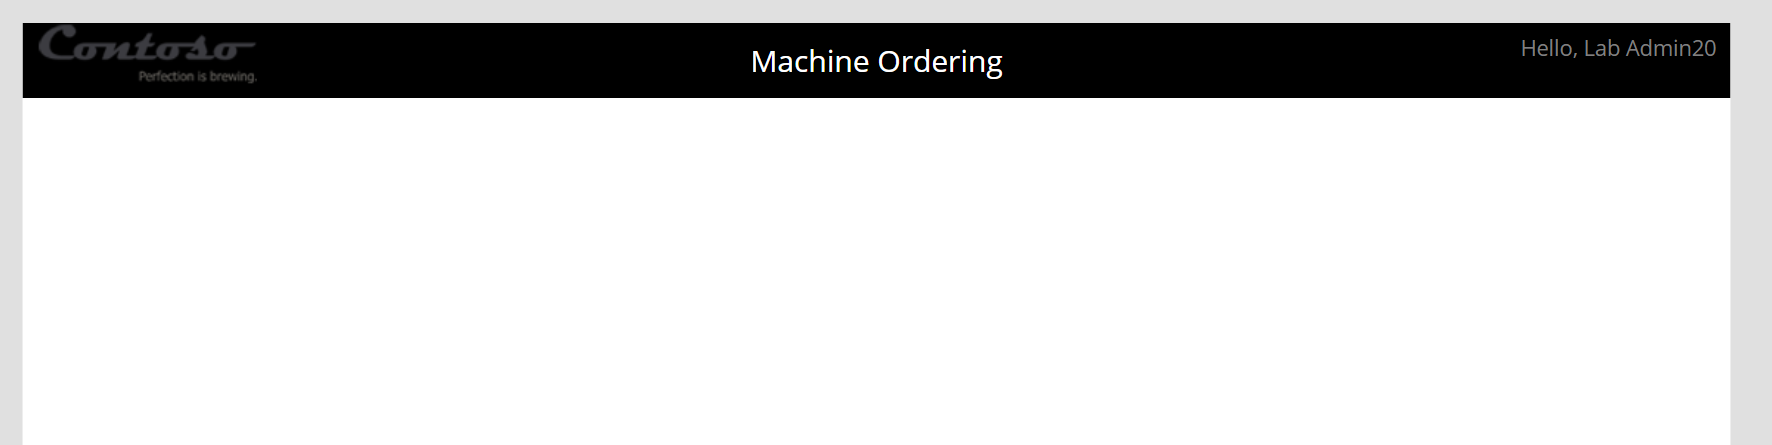
The header label should now resemble the following image.

Tip
You can also use the formula bar or the Advanced tab to enter specific values, or you can use Power Fx formulas for any property on a control.
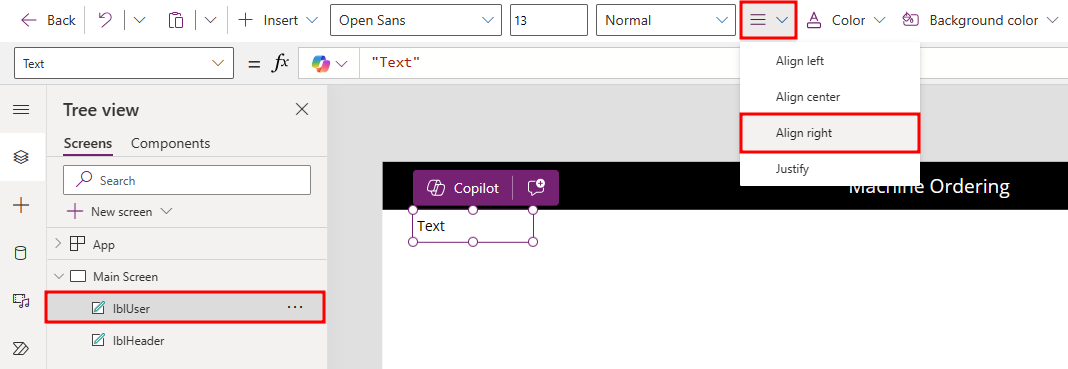
Select the + Insert button and then add another Text label to the Main Screen. You use this label to display the signed-in user's name.
Rename the label to
lblUser.Select the User Label, select Align, and then select Align right.
Set the X value of the User Label to
1160.Set the Y value of the User Label to
0.Set the Width value of the User Label to
200.Set the Color value of the User Label to
Color.Gray.Set the Text value of the User Label to the following formula:
"Hello, " & User().FullName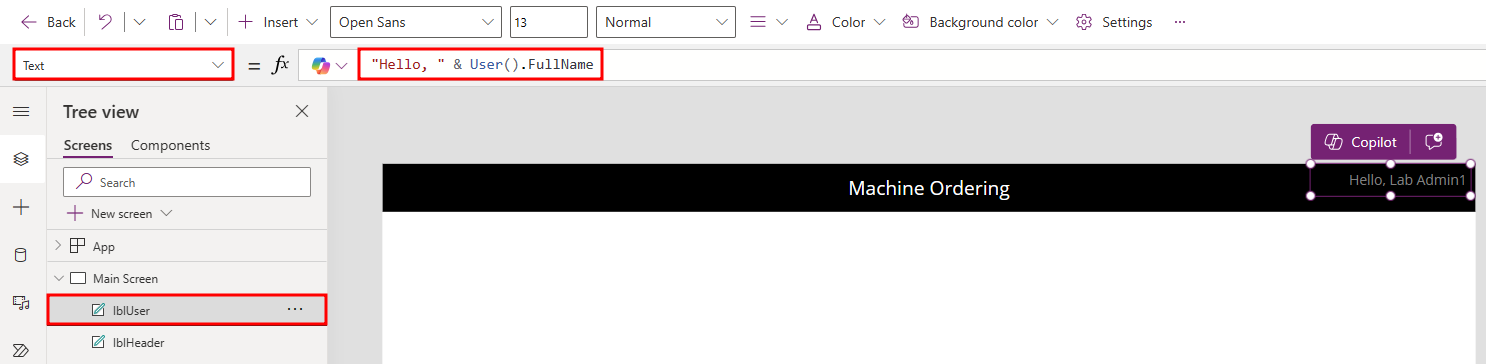
Note
All functions in Power Apps are case sensitive. As you start typing "User," a dropdown menu of available choices will appear. It's a good idea to pick from the autocomplete options. Additionally, help text will display in the upper part of the screen, showing the required parameters. In this case, no input parameters are required.
Select + Insert, expand the Media group, and then select Image.
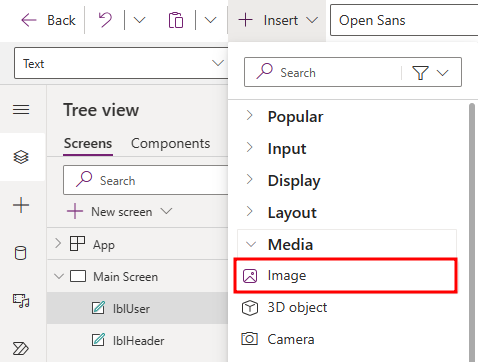
Rename the image
imgLogo.Set the Image value of the Logo Image to the following URL:
"https://github.com/MicrosoftDocs/mslearn-developer-tools-power-platform/blob/master/in-a-day/images/ContosoLogo.png?raw=true"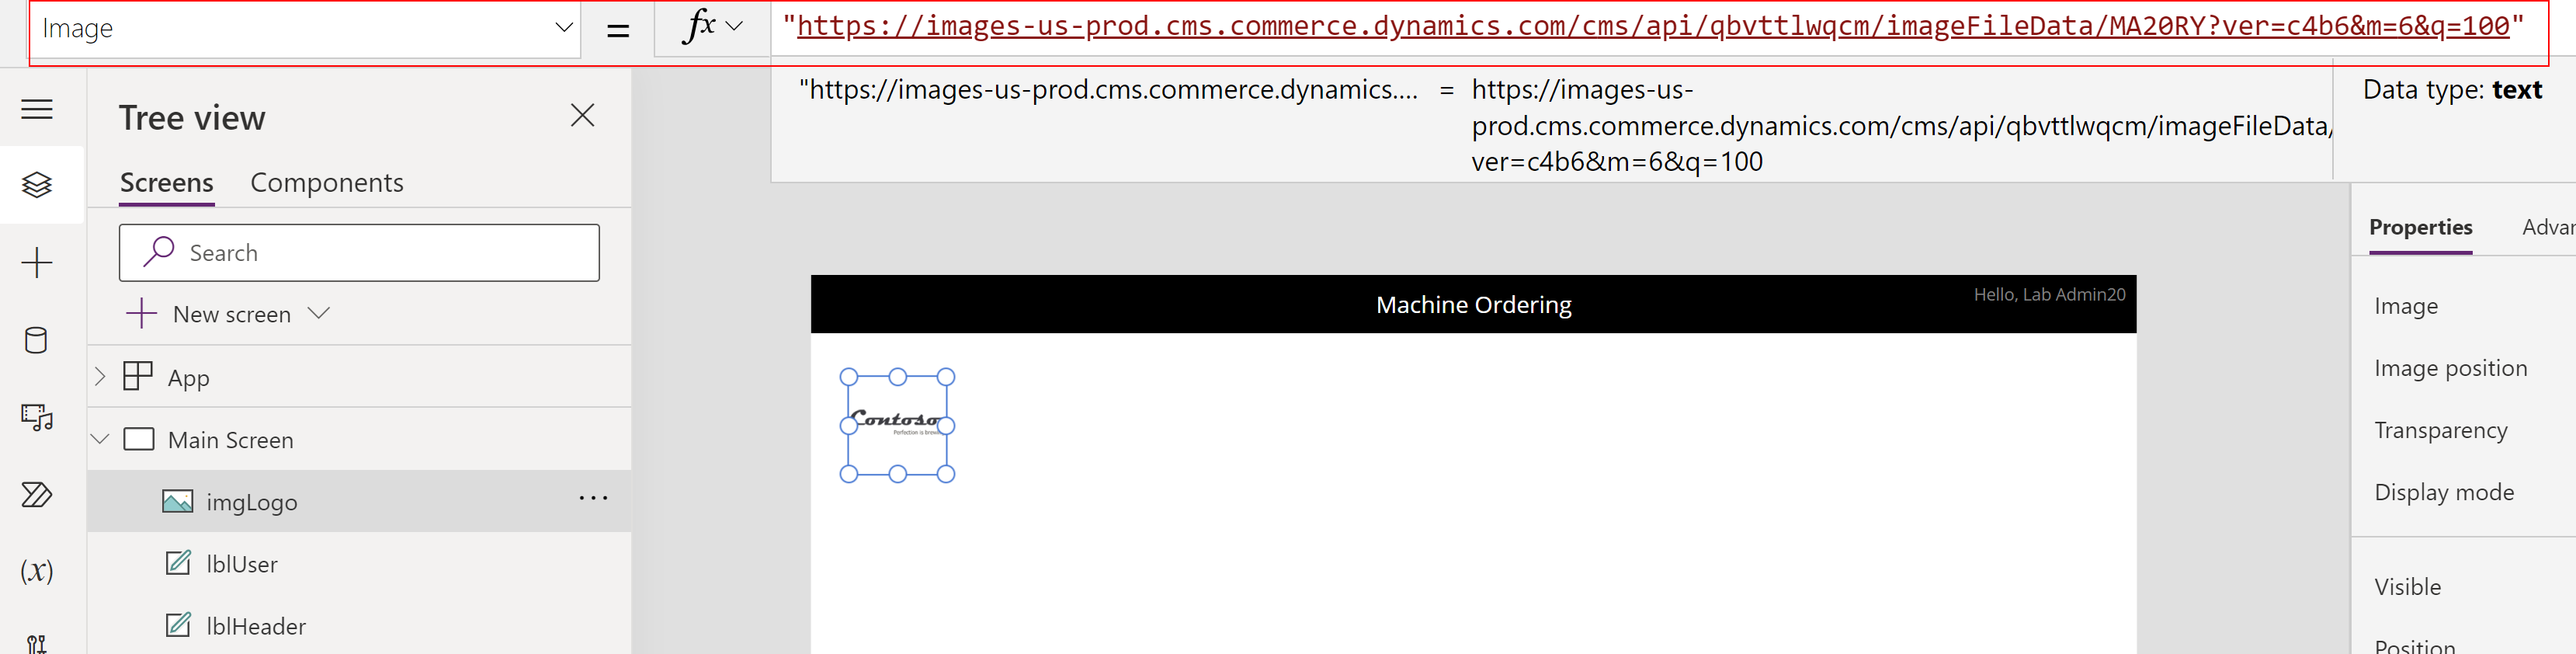
Set the X and Y values of the Logo Image to
0.Set the Height value of the Logo Image to
60.Set the Width value of the Logo Image to
200.The upper part of the screen should now resemble the following image.
Note
The User() function in Power Apps allows you to retrieve the email, full name, and picture for the currently signed-in user. App users will always be signed in with their business or school account (Microsoft Entra ID credentials), so this information will always be available for any Power Apps application.


Section 6: Save the application
In this task, you save an initial version of the app. It's a good practice to keep saving app updates at regular intervals.
Check if errors have occurred in the app by selecting the App Checker icon.

The App Checker pane appears, displaying errors that have occurred.
Close the App Checker pane.
From the tool bar at the top of the screen, select Settings.
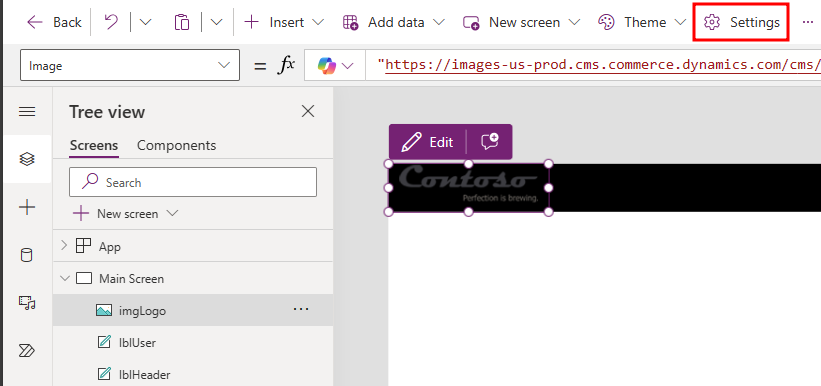
Note
Settings may be located within the tool bar at the top of the page, or within the drop-down after selecting the ellipsis (...) within the tool bar.
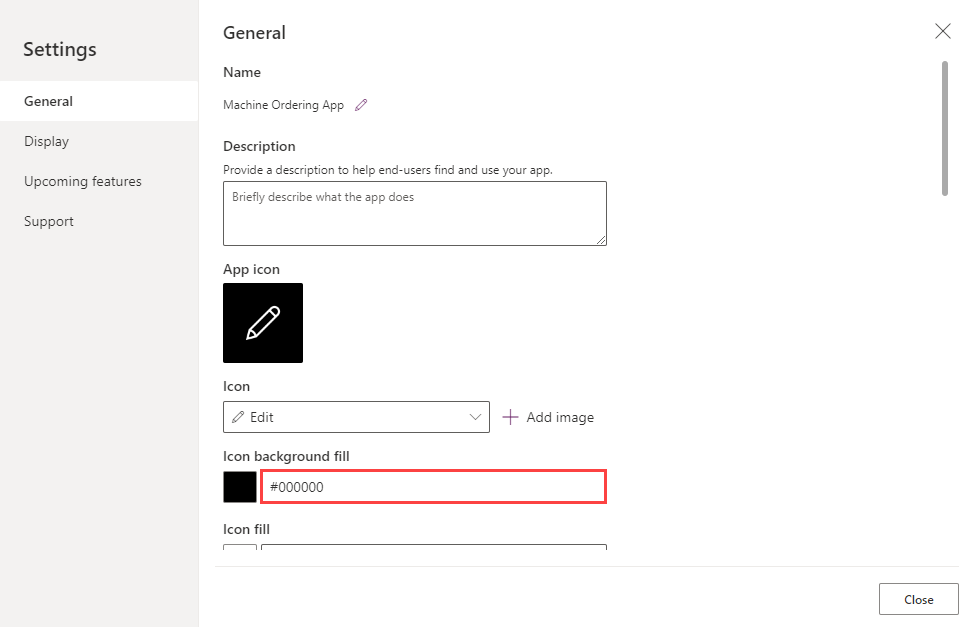
Change the Icon background fill value to
Black.In the application settings page, you can:
Change your app name.
Customize the app icon by choosing a background color and icon.
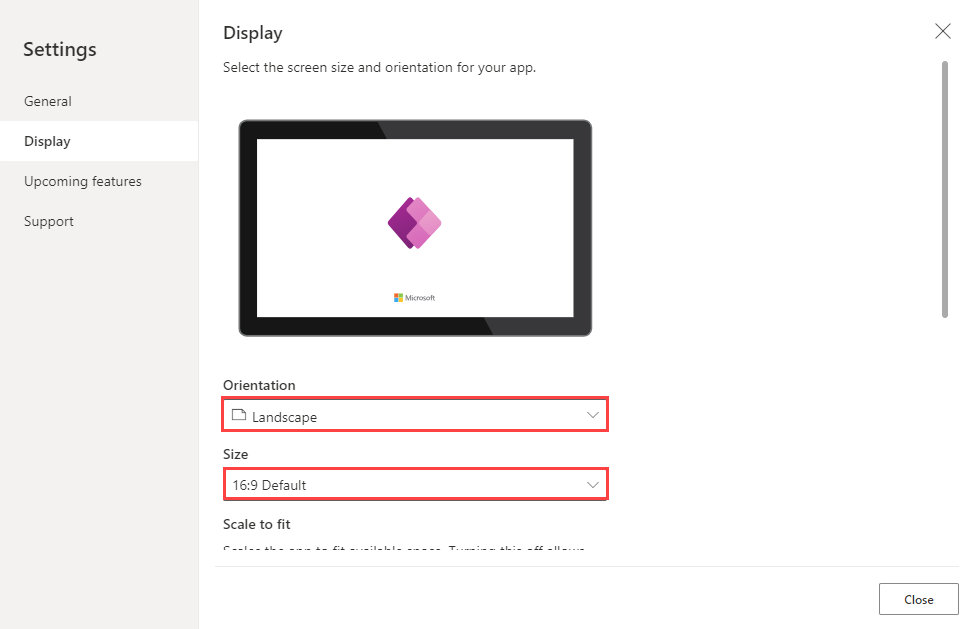
Select the Display tab to view the available screen orientation and aspect ratio settings. For this app, you leave it at the default setting of Landscape with 16:9 aspect ratio.
Close the Settings dialog.
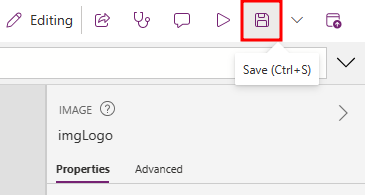
Select Save within the top right corner of the screen and wait for the application to be saved.
Tip
In Power Apps, when you save a version of your app, the first version will be published by default and will be available to everyone whom you share the app with. Subsequent saves are only visible to the app maker in the studio. You'll need to explicitly publish it so that all app users to get the update.


