Exercise - secure Dataverse data access
The purpose of this hands-on-lab is to use Power Pages design studio to build a secure web page displaying Dataverse data.
At the end of these exercises, you can accomplish the following tasks in Power Pages design studio:
- Add new columns to a Dataverse table.
- Create new views for a Dataverse table.
- Add list component to a web page.
- Apply page and table permissions to protect the data.
For this exercise, you need the following items:
- A provisioned Power Pages site in your environment. If you don't have a Power Pages site available, follow the Create and manage Power Pages sites instructions to create one.
Scenario
Business would like to have a directory page on their site with the list of accounts from Dataverse including name, email, and phone number columns. For privacy reasons this directory should be accessible by authenticated users only. By default, accounts shouldn't be included in the directory but must be opted into it.
High-level steps
- Open your site in Power Pages design studio.
- Using Data workspace add a new view and a new column opt-in column to the account table.
- Add a new page and include a list component. Add read permissions for account table.
- Restrict page access to authenticated users only.
Detailed steps
Launch Power Pages design studio
- Sign in to Power Pages.
- Use the environment selector in the upper-right corner to select a target environment.
- Select your site, and then select Edit to launch the design studio.
- Select Data workspace.
Table modifications
Select Account table.
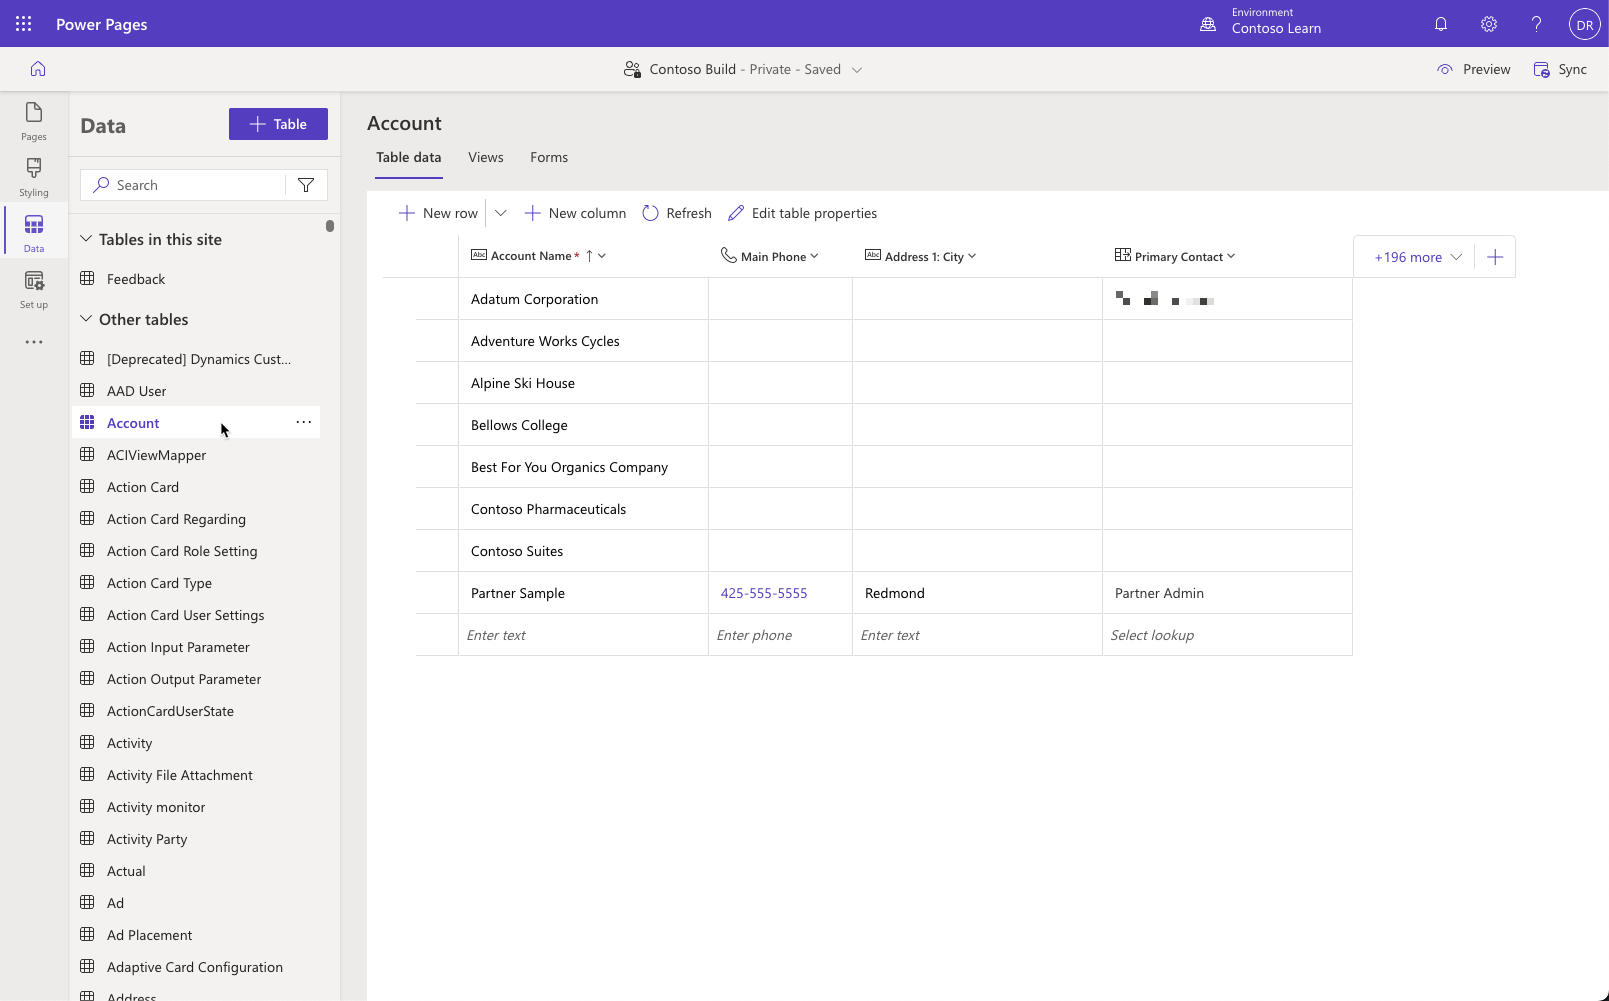
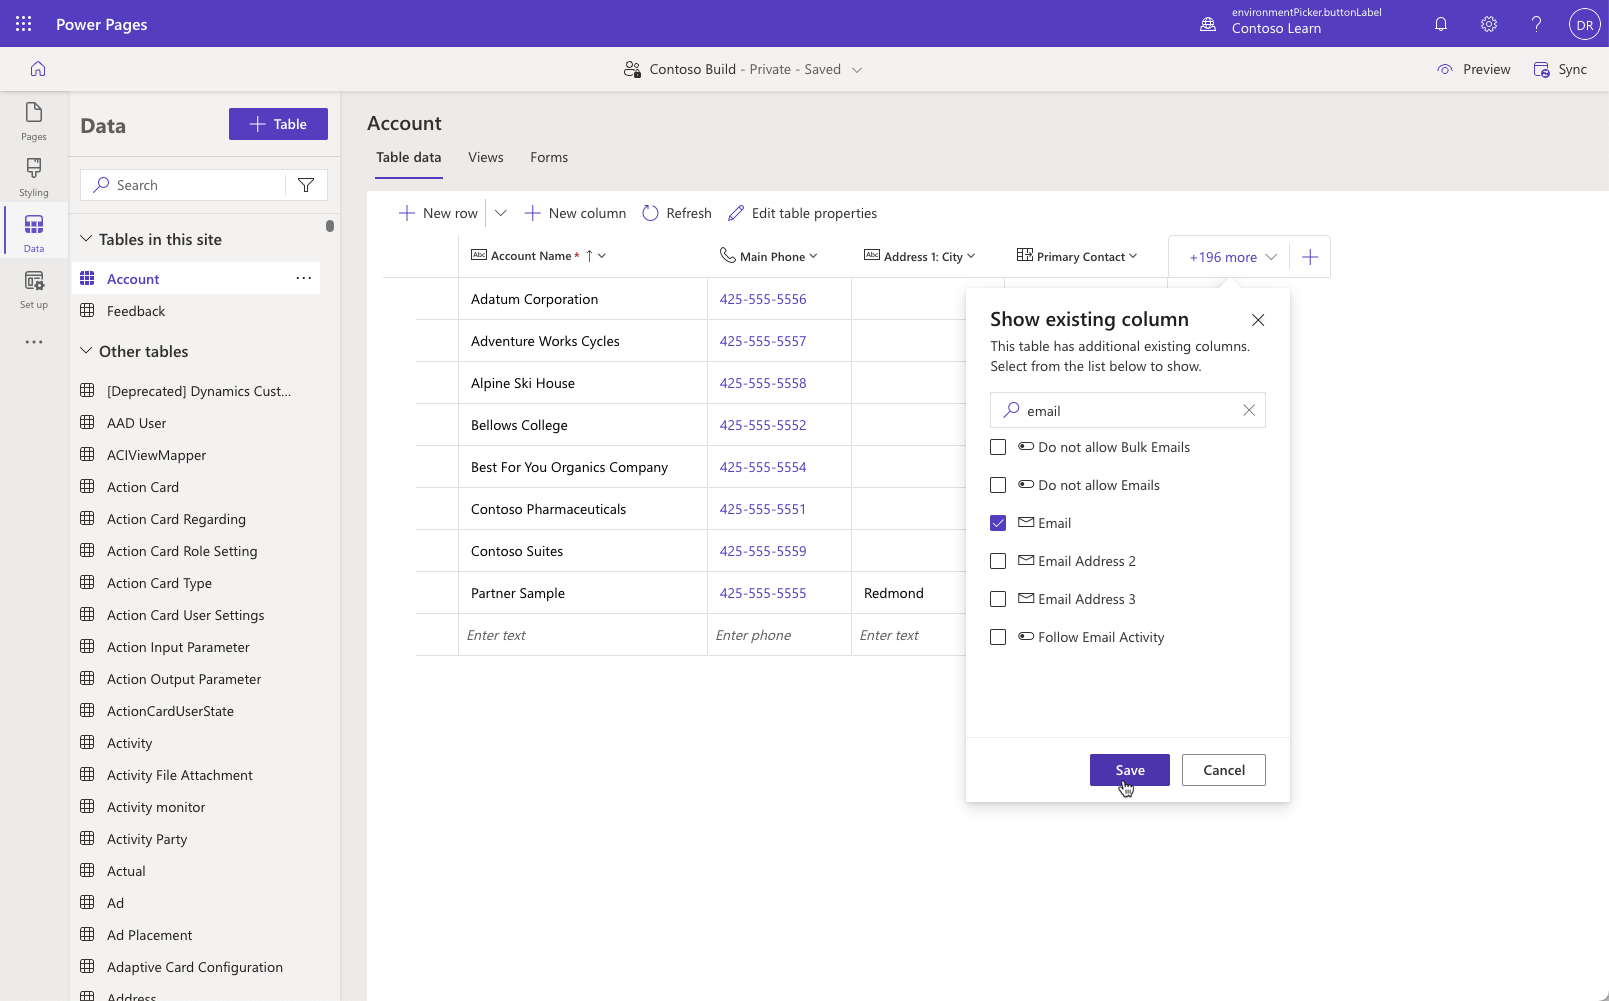
Select + more button, select Email column (find the column quickly by typing email into the search textbox), then press Save to add column to the view.
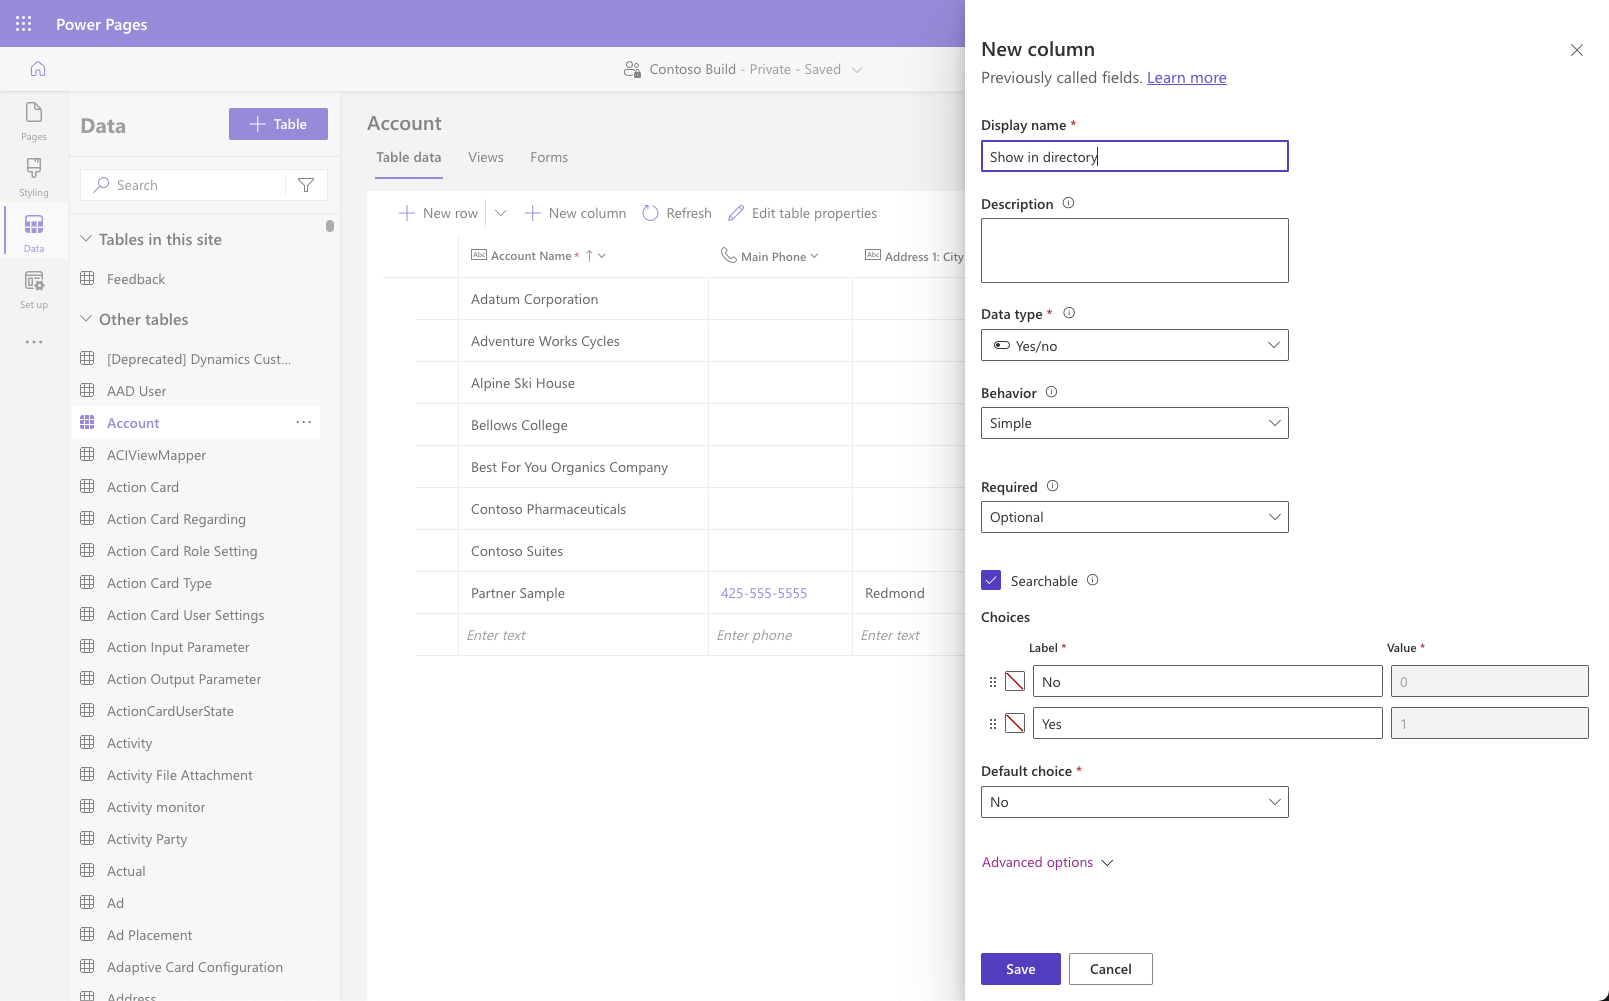
Create opt in column.
- Press + New column.
- Enter Show in directory for Display name.
- Select Choice > Yes/No for Data type.
- Set Default choice to No.
- Press Save.
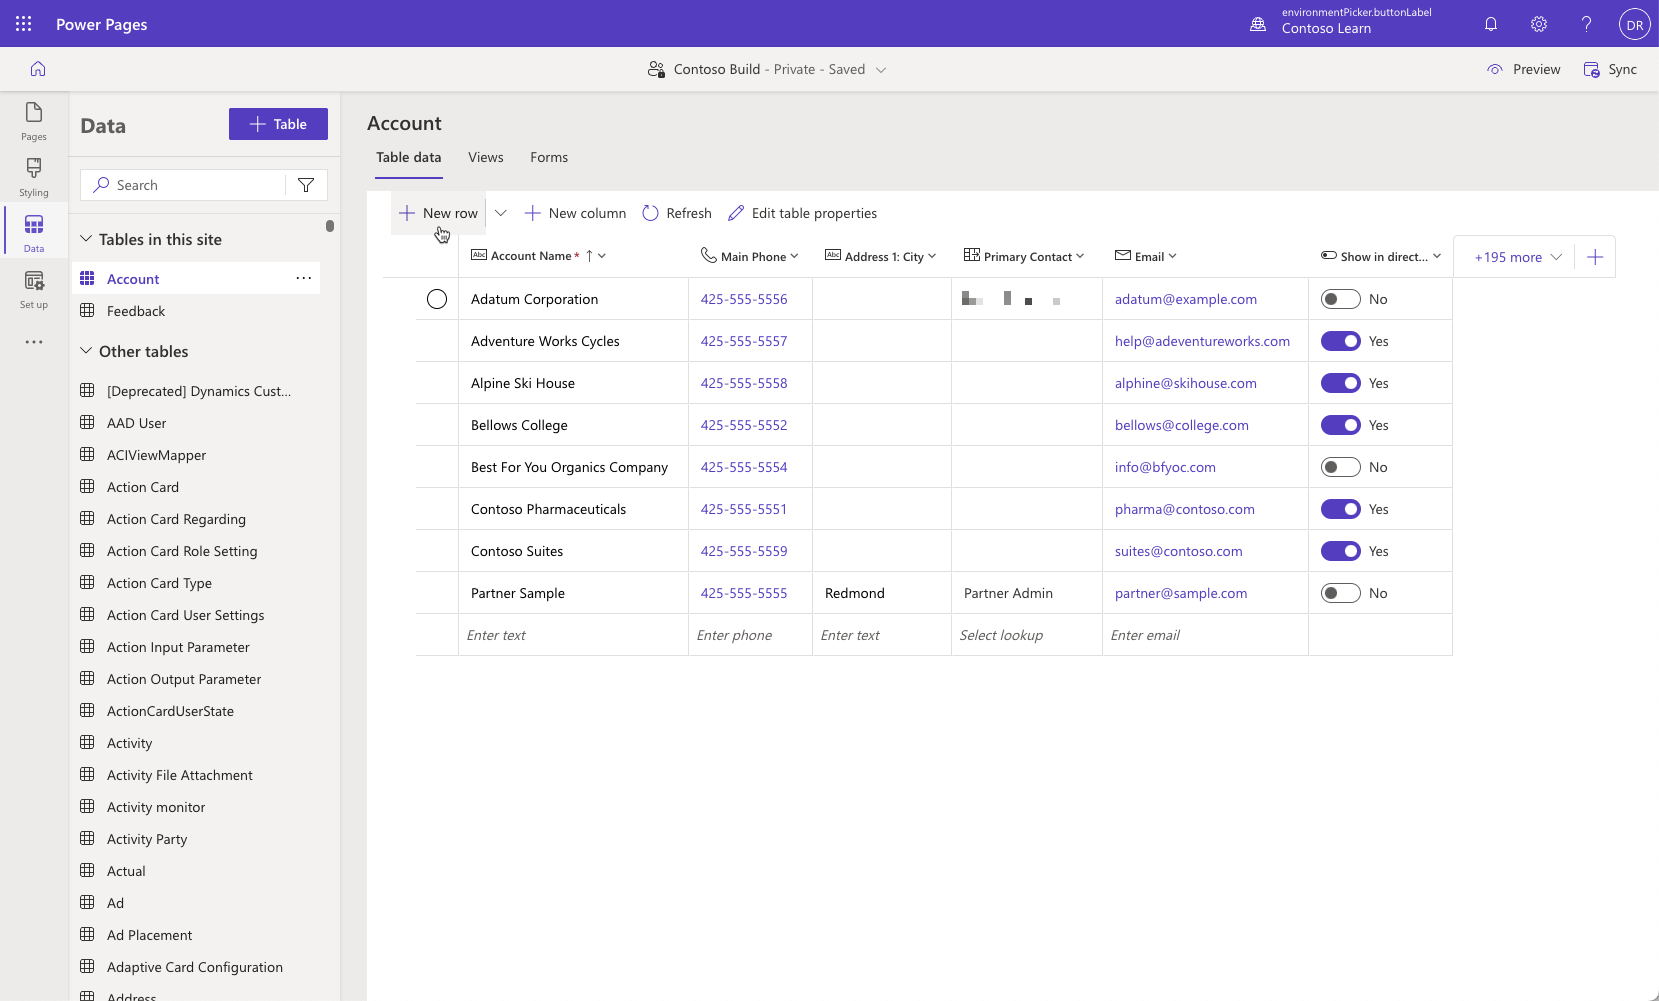
Make sure that your account table has at least 8-10 data rows, enter some more rows as required filling in Main Phone and Email columns. Set Show in directory flag to true for some of the rows.
Create new view
- Select Views tab.
- Enter Directory for View name.
- Press Create.
- Press + View column, locate and select Main Phone.
- Press + View column again, locate and select Email.
- Expand the view properties panel, and then select Edit filters.
- Press + Add > Add row, select Status column, set Equals for condition, select Active for value.
- Press + Add > Add row, select Show in directory column, set Equals for condition, select Yes for value.
- Press OK.
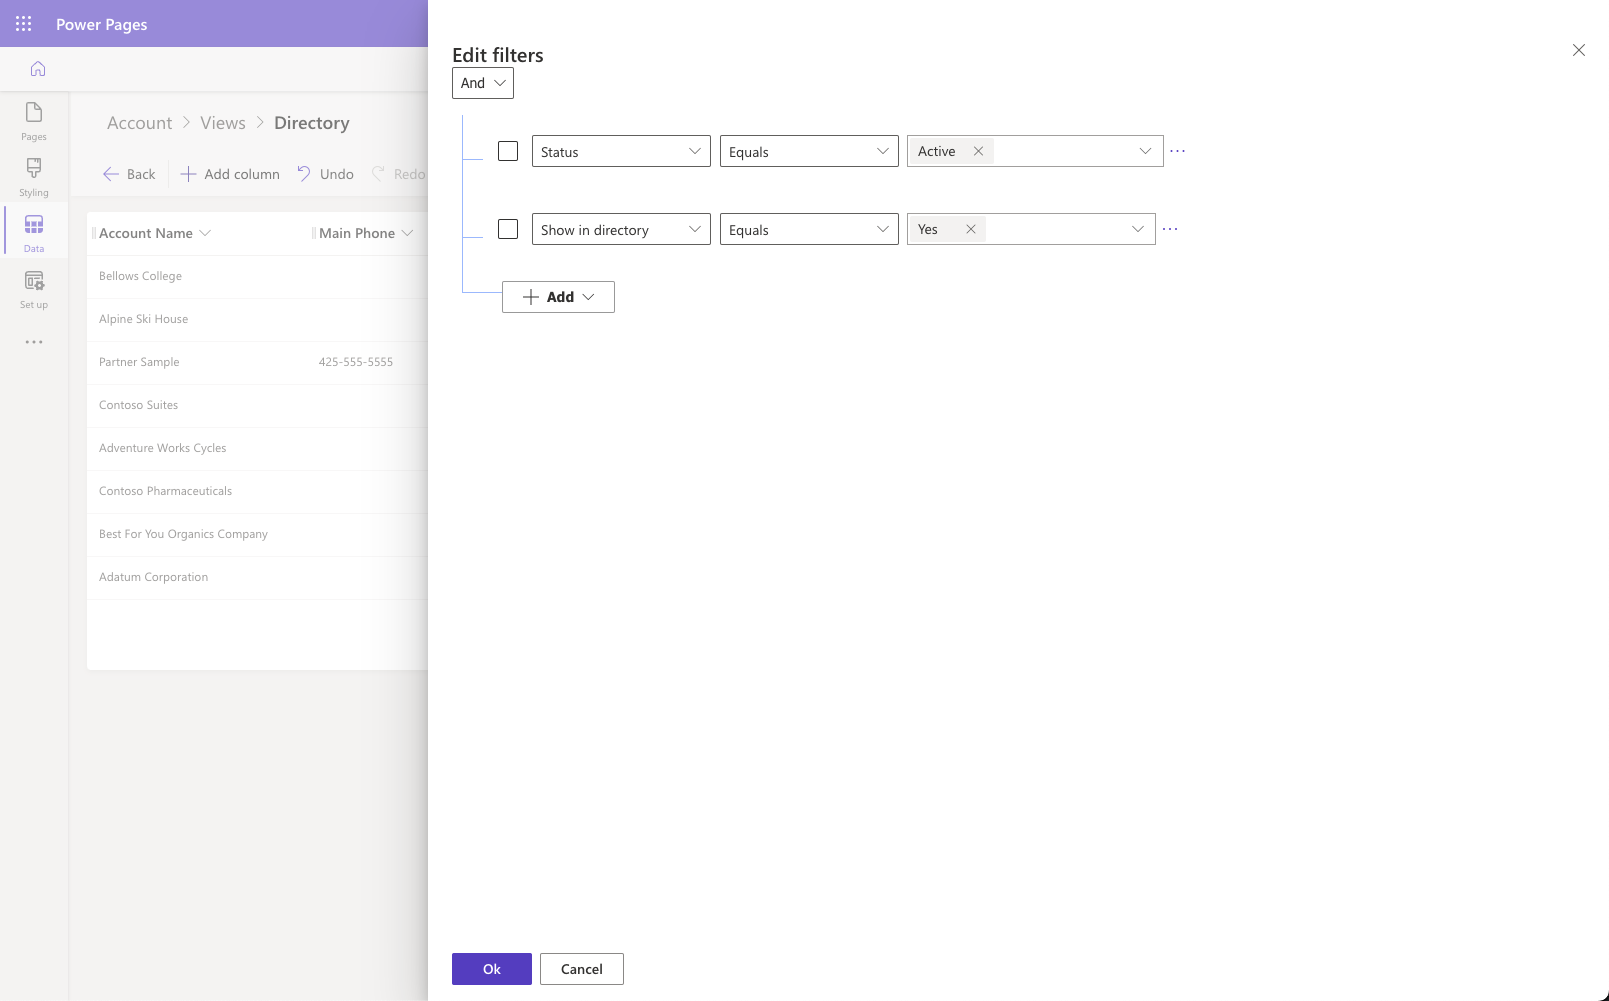
Notice the rows are now restricted to rows where Show in directory option is set to Yes.
Select Sort by then select Account name.
Your view should look like this:

Press Save then press Publish view.
Create a web page
Select Pages workspace.
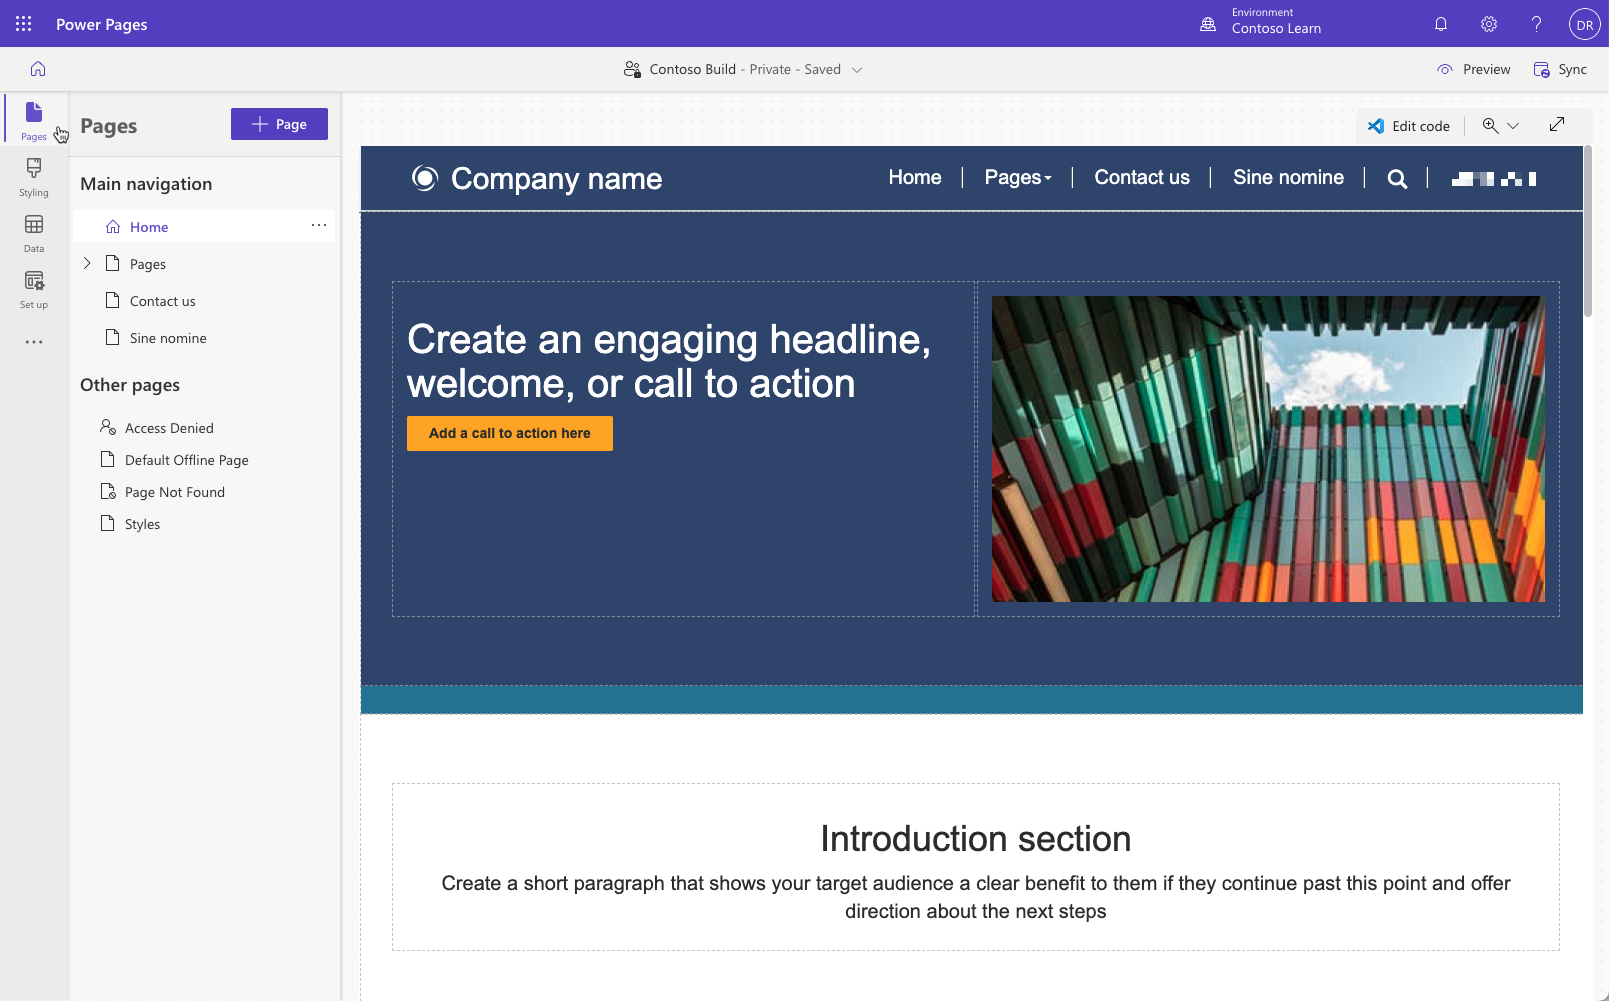
Select + Page button.
Enter Directory for the page name.
Select Start from blank standard layout, then press Add.
Select List from Choose a component to add to this section section.
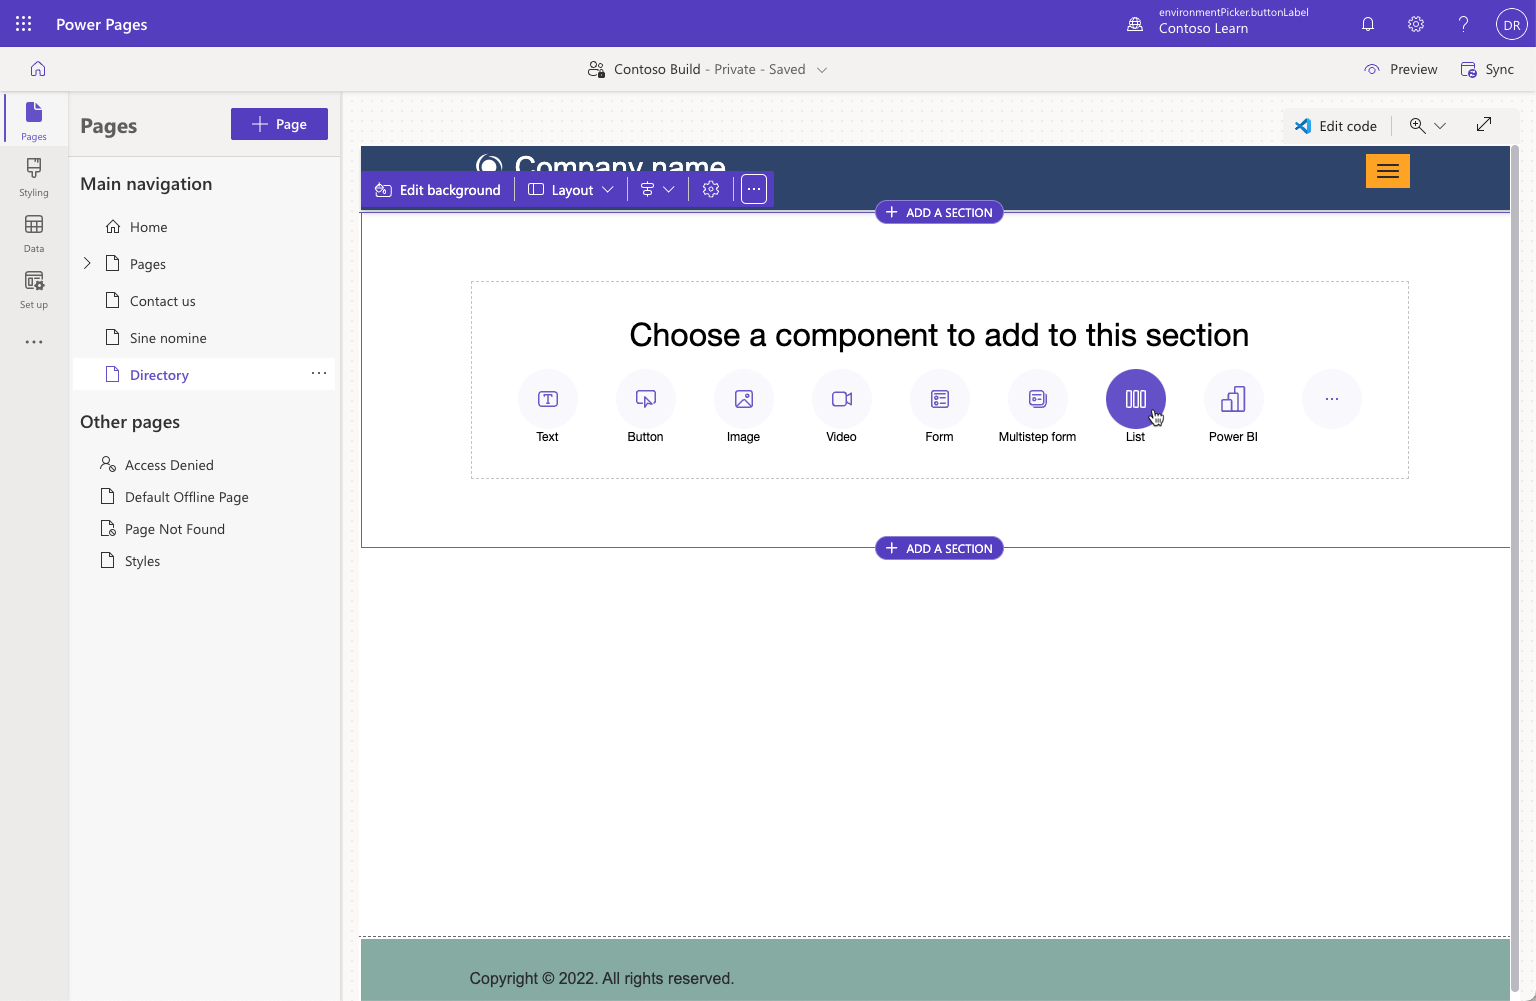
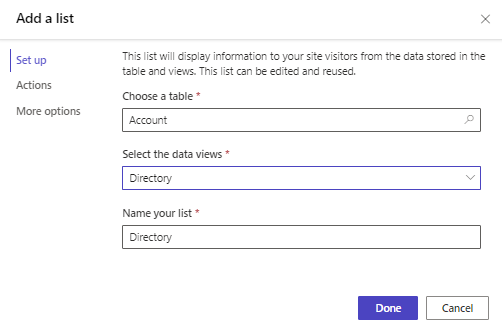
Select Account table, select Directory list and press OK.
Your page now should look like this:
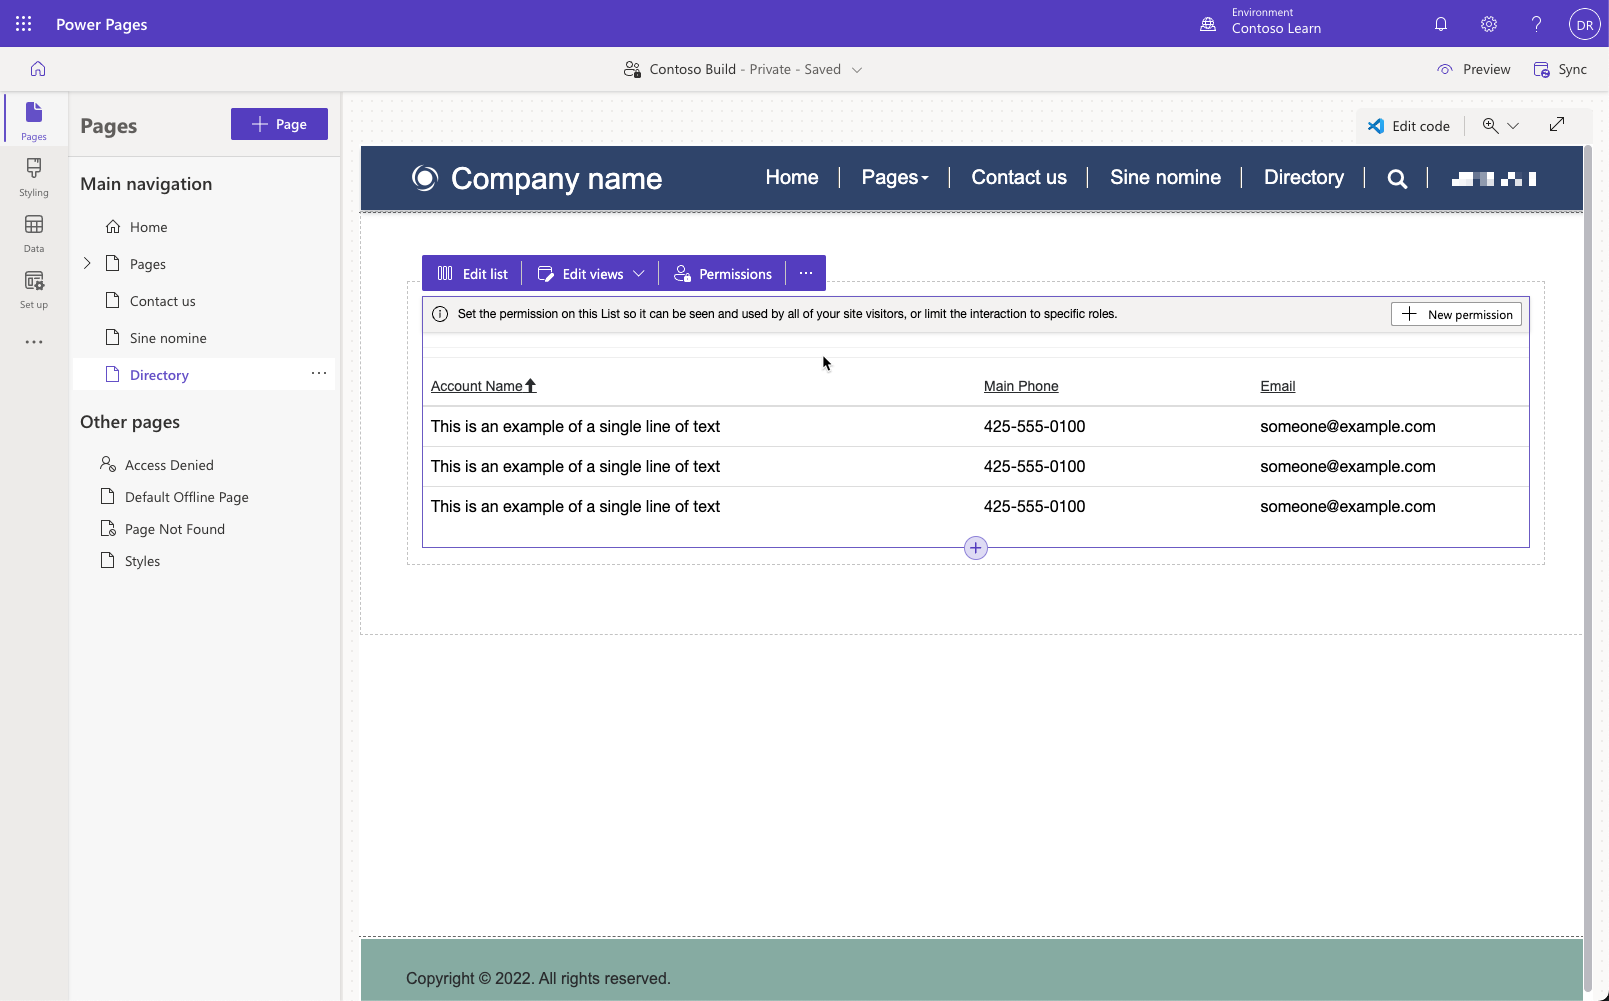
Add permissions
If you preview the page now, the list component displays "You don't have permissions to view these records." message. This display expected as by default there are no permissions to access the rows regardless of the user roles.
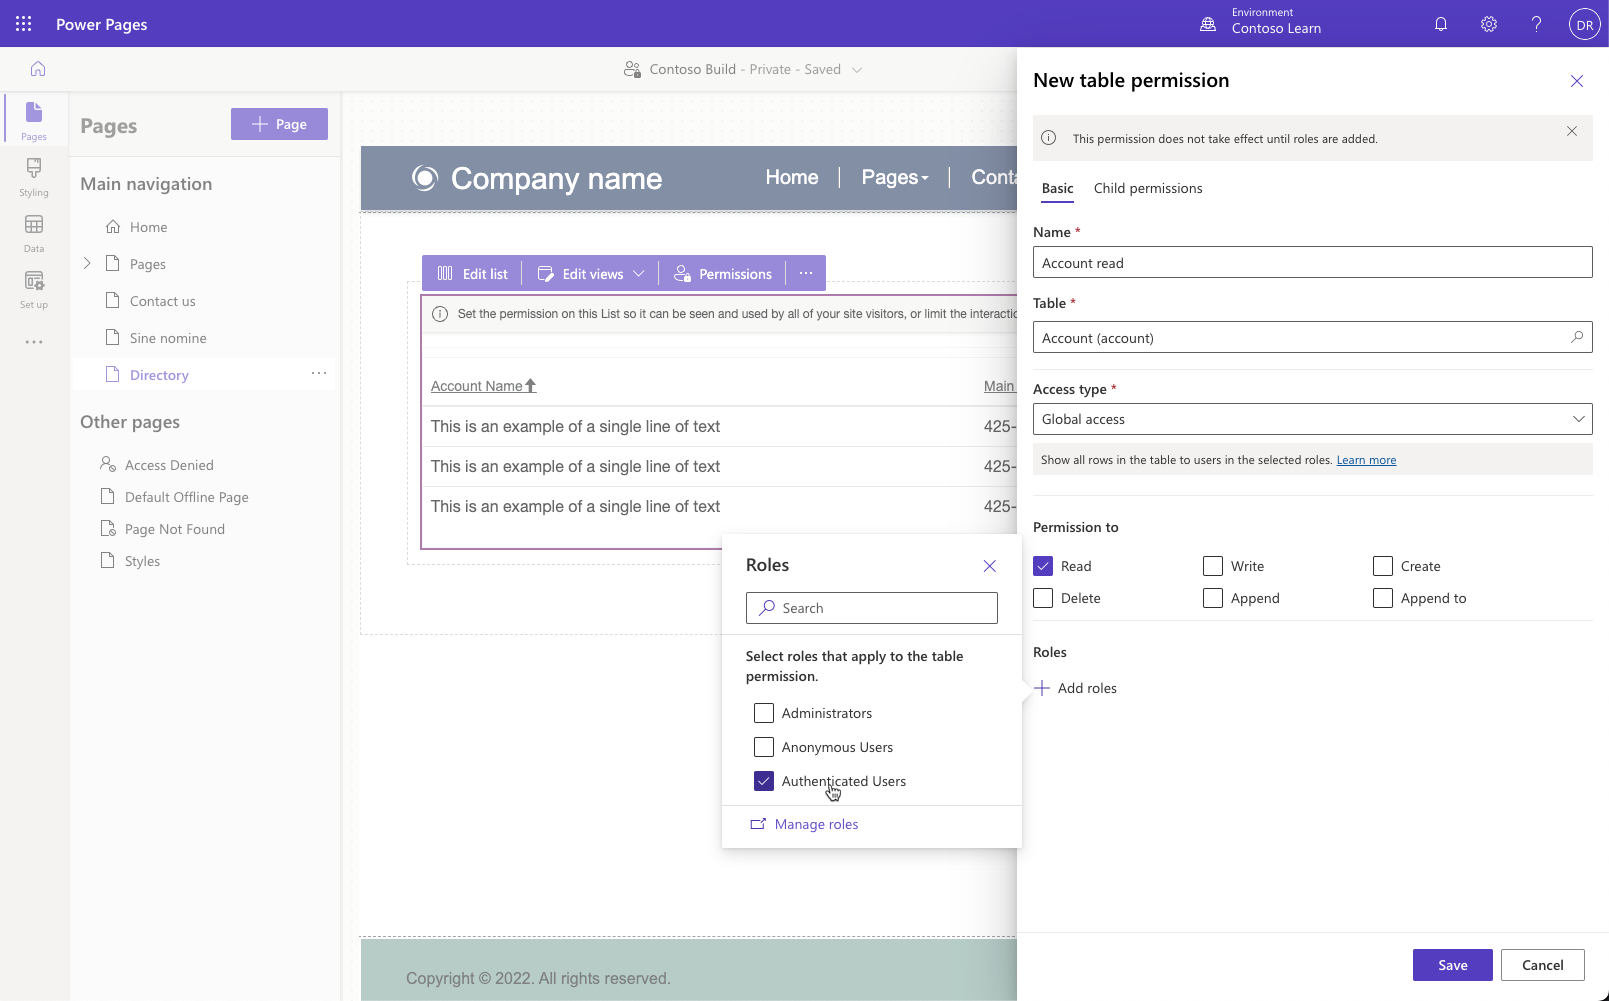
Configure table permissions
- Press + New permission button.
- Enter Account read for Name.
- Select Account for Table.
- Check Read under Permissions to.
- Select + Add roles then check Authenticated Users.
- Press Save.
Select Preview > Desktop.
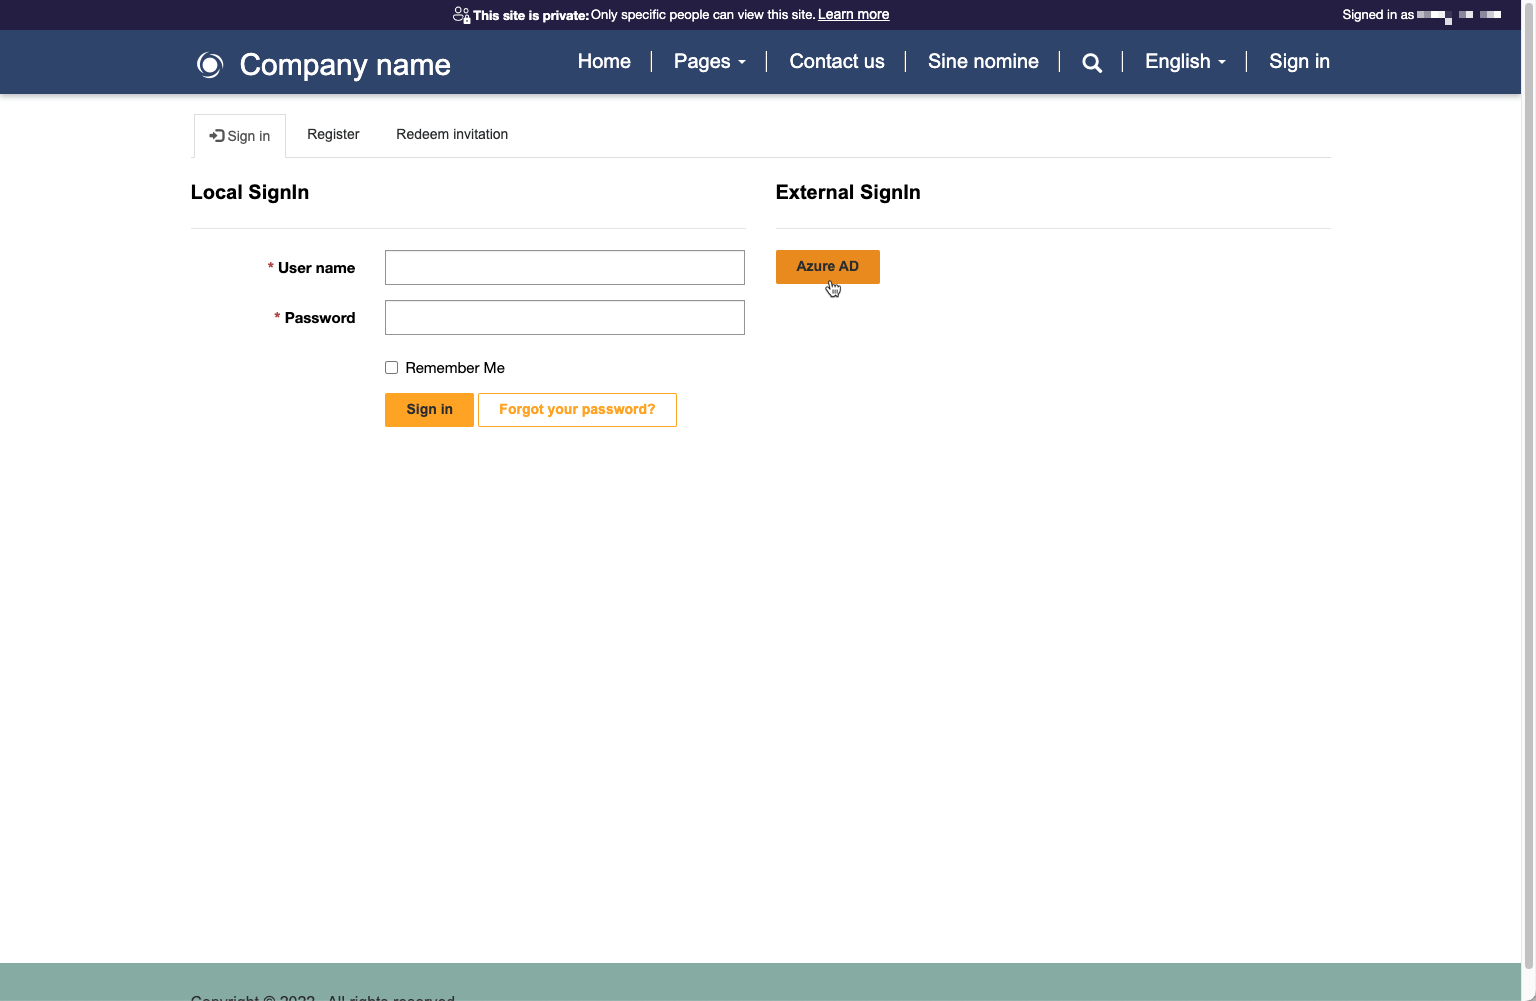
The list displays an error message if you aren't signed in. In this case press Sign In, select Microsoft Entra ID option, then sign in with your Azure credentials if prompted. You may be taken to your profile page. In this case select Directory from the menu.
The list should now be displayed. Test sorting by clicking column headers.
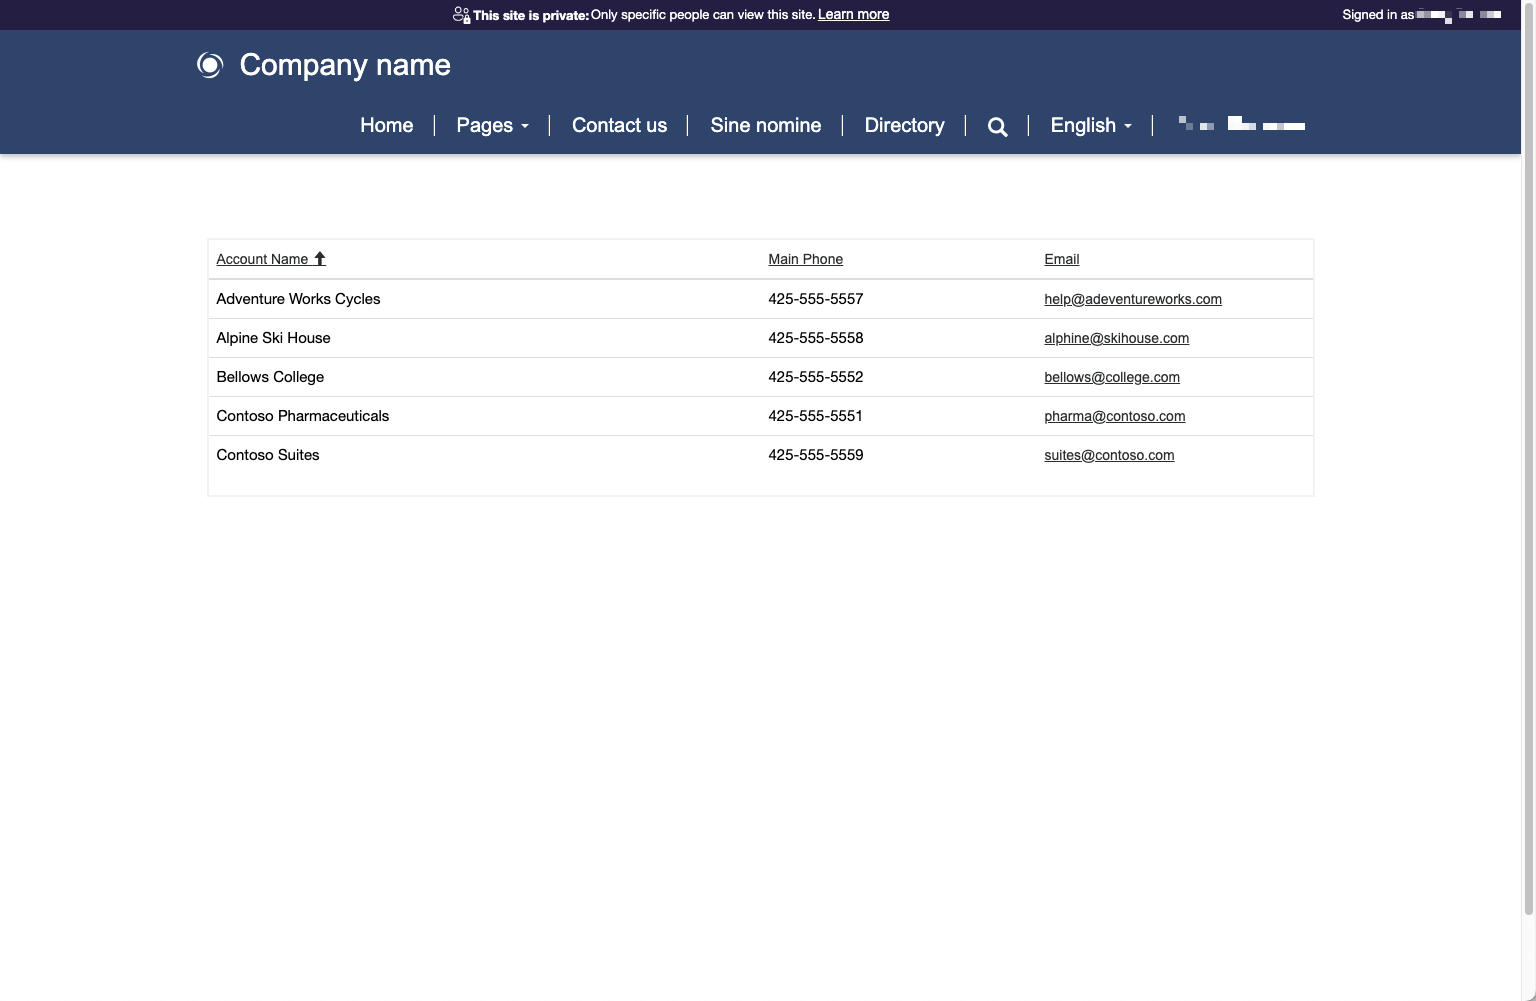
Select your user name then select Sign out. The list should now display the error message.
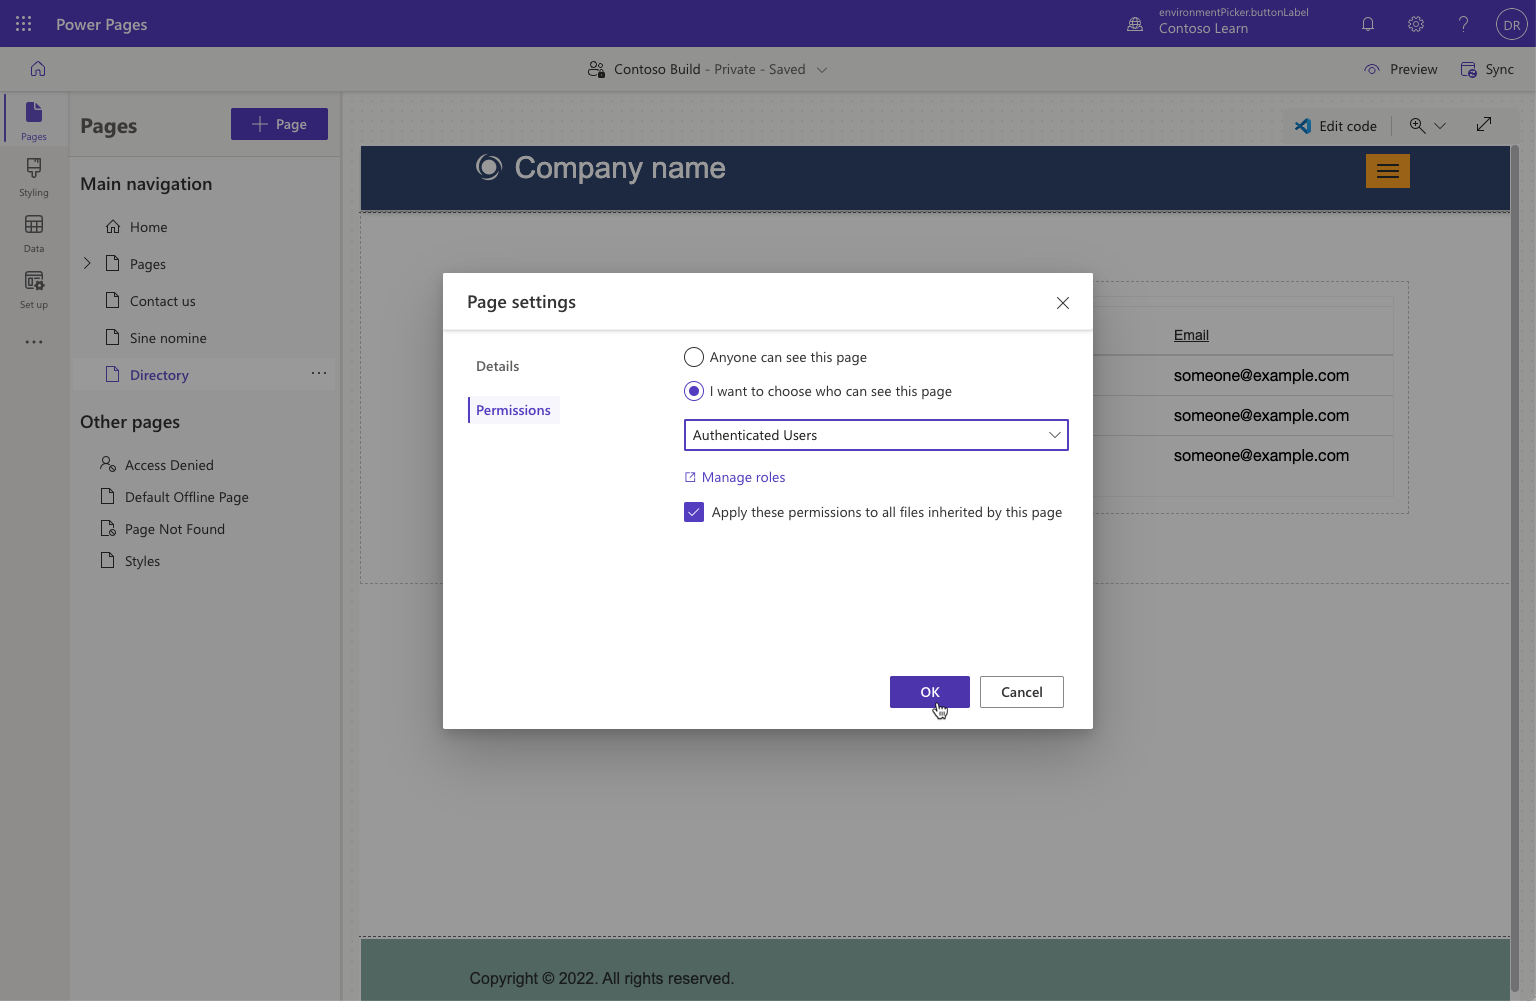
Restrict page access to authenticated users only.
- In Page workspace, select Directory page.
- Select ellipsis then select Page settings.
- Select Permissions tab.
- Select I want to choose who can see this page then select Authenticated Users from the role list.
- Press OK.
Select Preview > Desktop. Notice that you're redirected to the sign-in page and the Directory link is no longer in the navigation.
Important
Anonymous visitors previously denied only access to the account list on the page, no longer have visibility or access to the entire page. Page permissions protect the entire page regardless of what components are present. Table permissions govern access to the table rows regardless of where on the site the table is used.
Sign in using Microsoft Entra ID. The Directory link appears in the navigation and you'll be able to access the page and the account list.