Exercise - Create an Azure Static Web App
In this exercise, you create an Azure Static Web Apps instance including a GitHub Action that automatically builds and publishes your application.
Create a Static Web App
Now that you created your GitHub repository, you can create a Static Web Apps instance from the Azure portal.
This module uses the Azure sandbox to provide you with a free, temporary Azure subscription you can use to complete the exercise. Before proceeding, make sure that you activate the sandbox at the top of this page.
Sign in to the Azure portal, making sure you use the same account to sign in as you did to activate the sandbox.
On the Azure home page, under Azure services, select Create a resource. The Create a resource pane appears.
In the marketplace search box, search for and select Static Web App. The Static Web App pane appears.
Select Create. The Create Static Web App pane appears. Configure your new app and link it to your GitHub repository.
On the Basics tab, enter the following values for each setting.
Setting Value Project Details Subscription Concierge Subscription Resource Group [Sandbox resource group name] Static Web App details Name Name your app. Valid characters are a-z(case insensitive),0-9, and-.Hosting plan Pricing tier for your application Select Free Azure Functions and staging details Region for Azure Functions API and staging environments Select the region closest to you Deployment details Source Select GitHub GitHub account Select Sign in with GitHub. The Authorize Azure Static Web Apps pane appears. Select Authorize Azure-App-Service-Static-Web-Apps. Enter your password. Organization Select the Organization where you created the repository Repository my-static-blazor-app Branch main Build Details Build Presets Blazor App location Client Api location Api Output location wwwroot Select Review + create > Create.
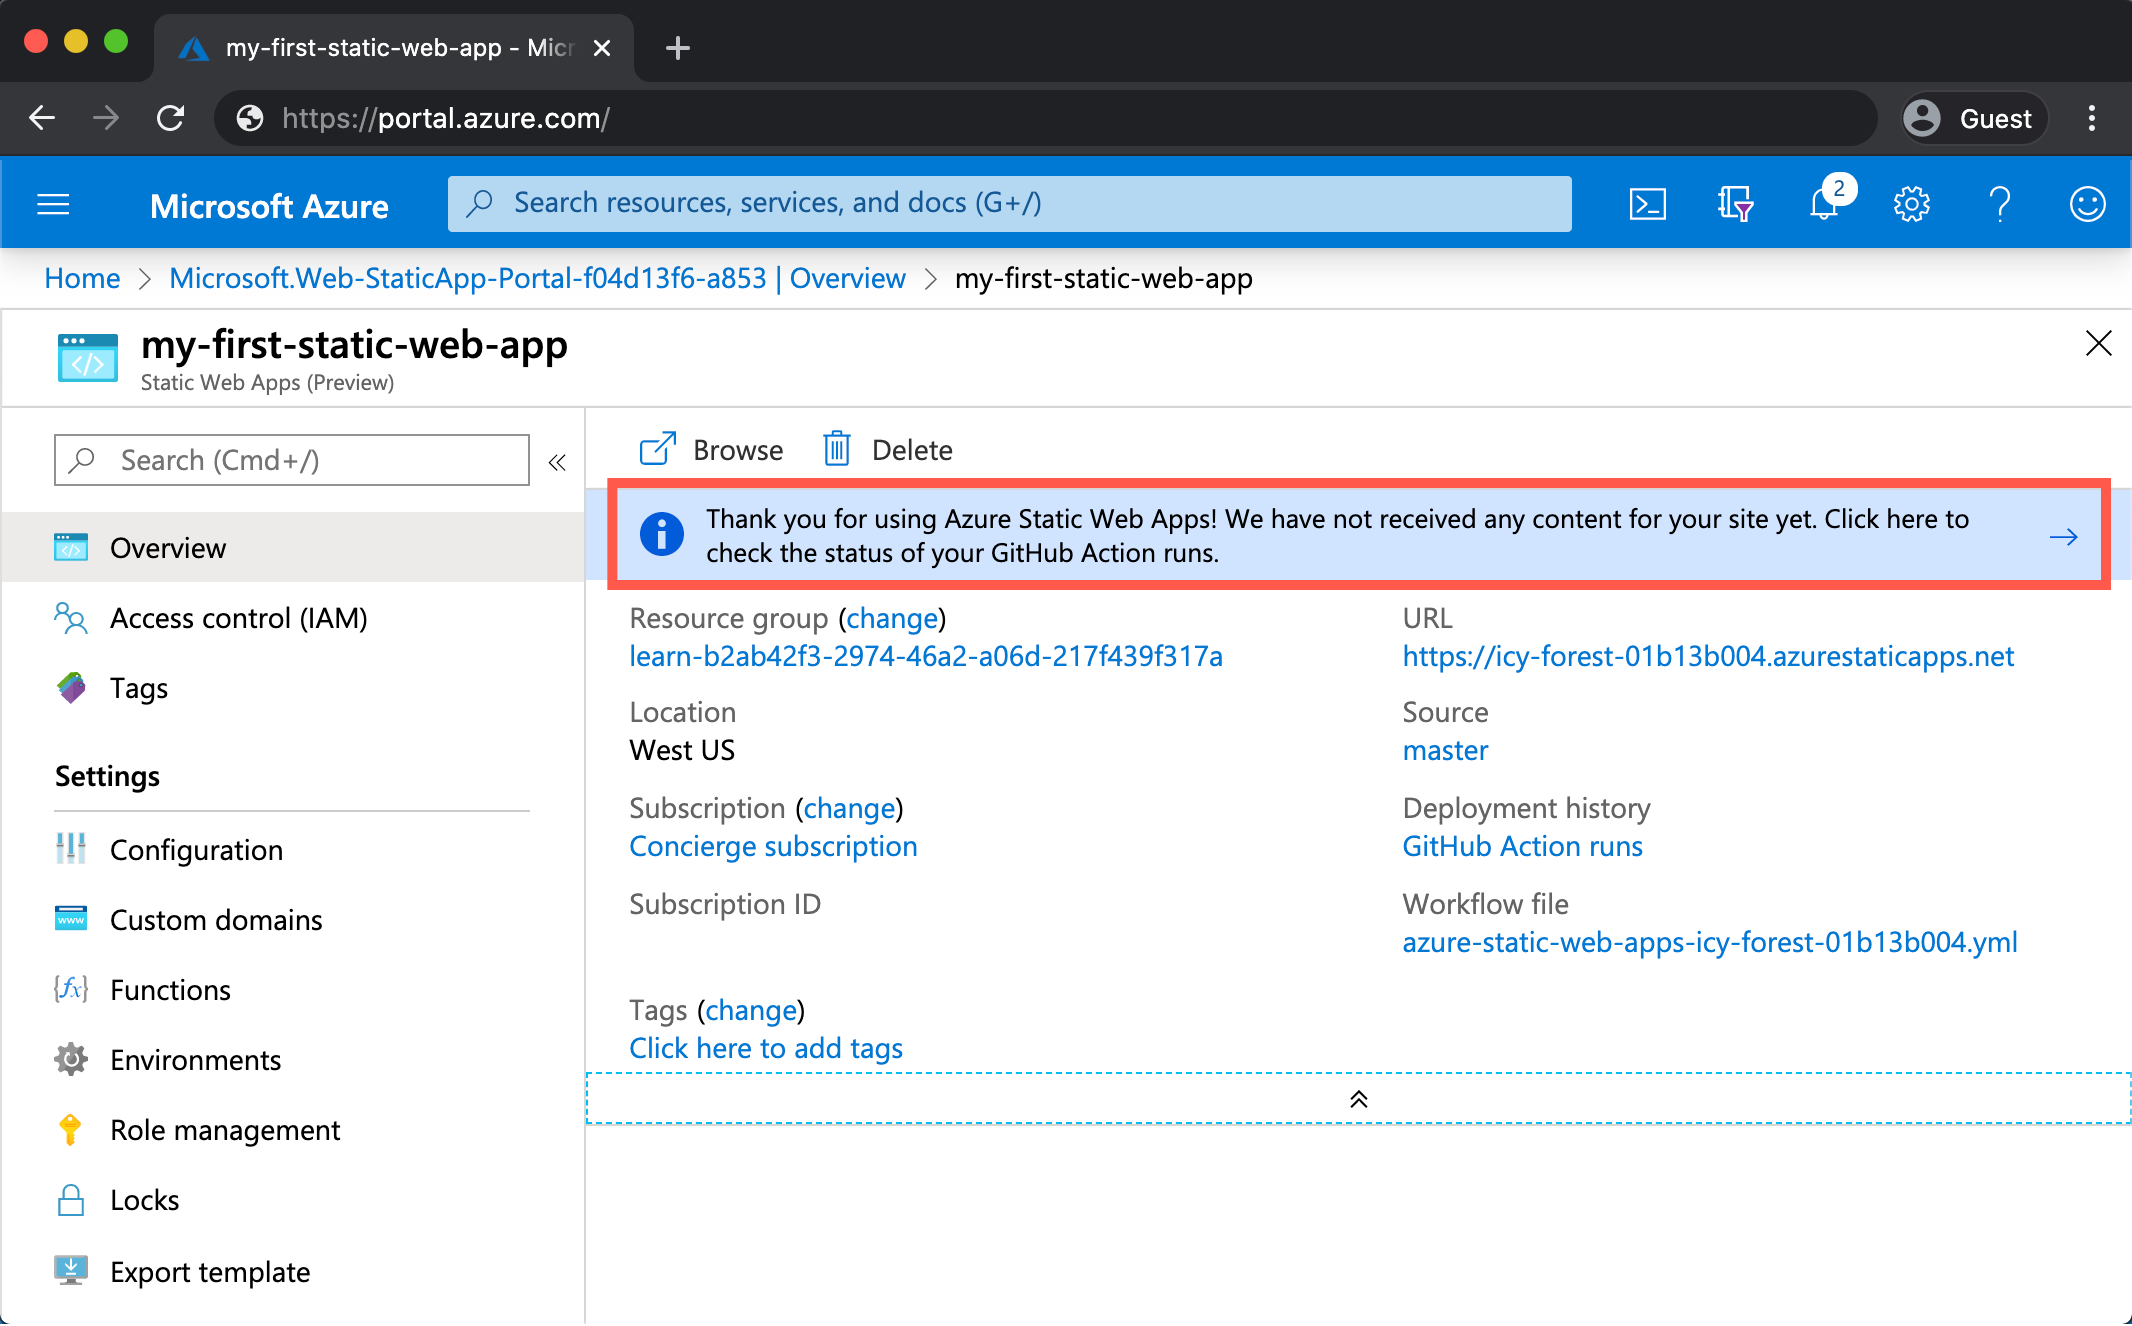
After deployment completes, select Go to resource. Your Static Web App pane appears.
Review the GitHub Action
At this stage, your Static Web Apps instance is created in Azure, but your app isn't yet deployed. The GitHub Action that Azure creates in your repository runs automatically to trigger the first build and deployment of your app, but it takes a couple minutes to finish.
You can check the status of your build and deploy action by selecting the following link to go to the Actions page of your GitHub repository:
After you're there:
Select Azure Static Web Apps CI/CD.
Select the commit titled, ci: add Azure Static Web Apps workflow file.
Select the Build and Deploy Job link
From here, you can observe the progress of your app as it builds.
View website
After your GitHub Action finishes building and publishing your web app, you can browse to see your running app.
Select the URL link in the Azure portal to visit your app in the browser.
Your app is now globally available, but still says Loading data because there's no data or API yet. You'll add the API for your web app in the next section.
Congratulations! You deployed your first app to Azure Static Web Apps!
Note
Don't worry if you see a web page that says the app hasn't been built and deployed yet. Try refreshing the browser in a minute. The GitHub Action runs automatically when the Azure Static Web Apps is created. So if you see the splash page, the app is still being deployed.
Next steps
Your app is missing an API for its shopping list. Next, you explore how to add an Azure Functions API to your app that publishes to Azure alongside the static assets.