Exercise - Deploy a web app to Azure
Suppose you have a simple Java web app that you've written in IntelliJ IDEA. You want to test the app in Azure, and you want to make the deployment as simple as possible so that your developers don't need to use extra tools. The Azure Toolkit for IntelliJ includes a wizard that makes it easier to deploy web apps.
In this exercise, you'll use the deployment wizard to deploy a web app to Azure.
Sign into Azure
To explore your Azure resources, you must first sign into Azure. By signing in, you specify the subscription and directory where you want to create resources.
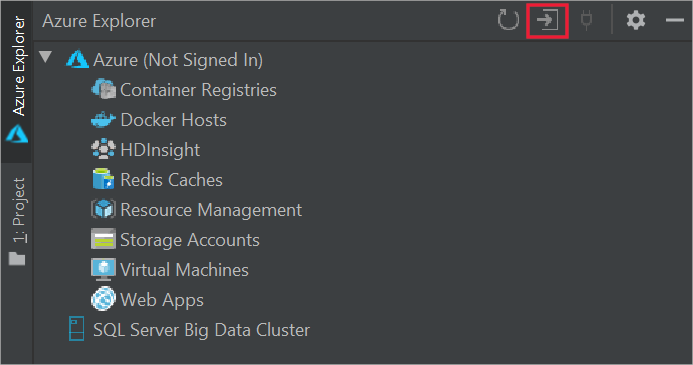
In IntelliJ IDEA, on the View menu, select Tool windows and then select Azure Explorer.
In the Azure Explorer window, select the Sign In button:
Select Device Login, then select Sign in.
In the Azure Device Login page, select Copy&Open.
In the browser, press CTRL-V to paste the code, and then select Next.
Sign into your Azure account with your user credentials.
When you see the sign-in acknowledgment, close the browser window.
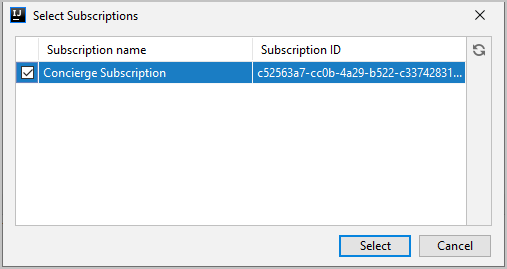
In IntelliJ IDEA, in the Select Subscriptions dialog, select the Concierge Subscription. This is a subscription created specifically for the sandbox.
The Azure Explorer now displays objects in your Azure subscription. You can explore the different types of objects, such as storage accounts.
Configure and deploy the web app
Now, you can use the Deploy to Azure wizard to create a new app in Azure App Service and then deploy your project to it:
In IntelliJ IDEA, in the Project window, right-click the webapp project, select Azure, and then select Deploy to Azure Web Apps.
In the Deploy to Azure dialog, select the + button for Web App.
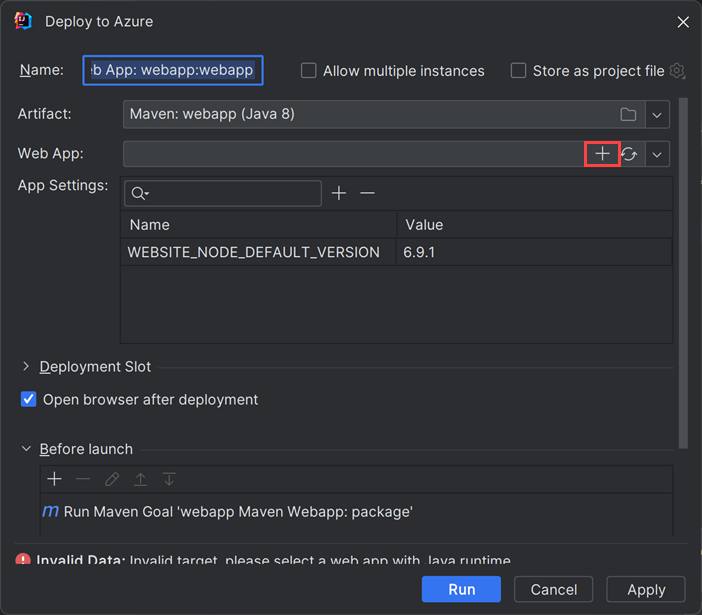
In the Create Web App dialog, click More Settings, Select Resource Group and select
[sandbox resource group name] , and then select OK: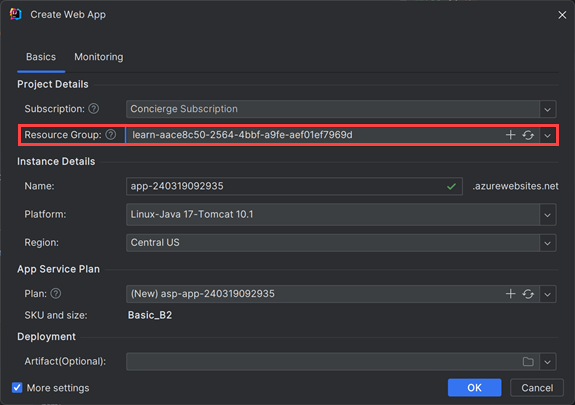
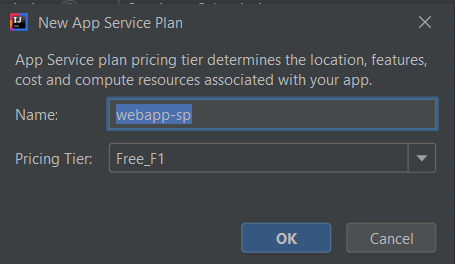
In the Create Web App dialog, click the + button for Plan, type any name in Name and select Free_F1 for Pricing Tier.
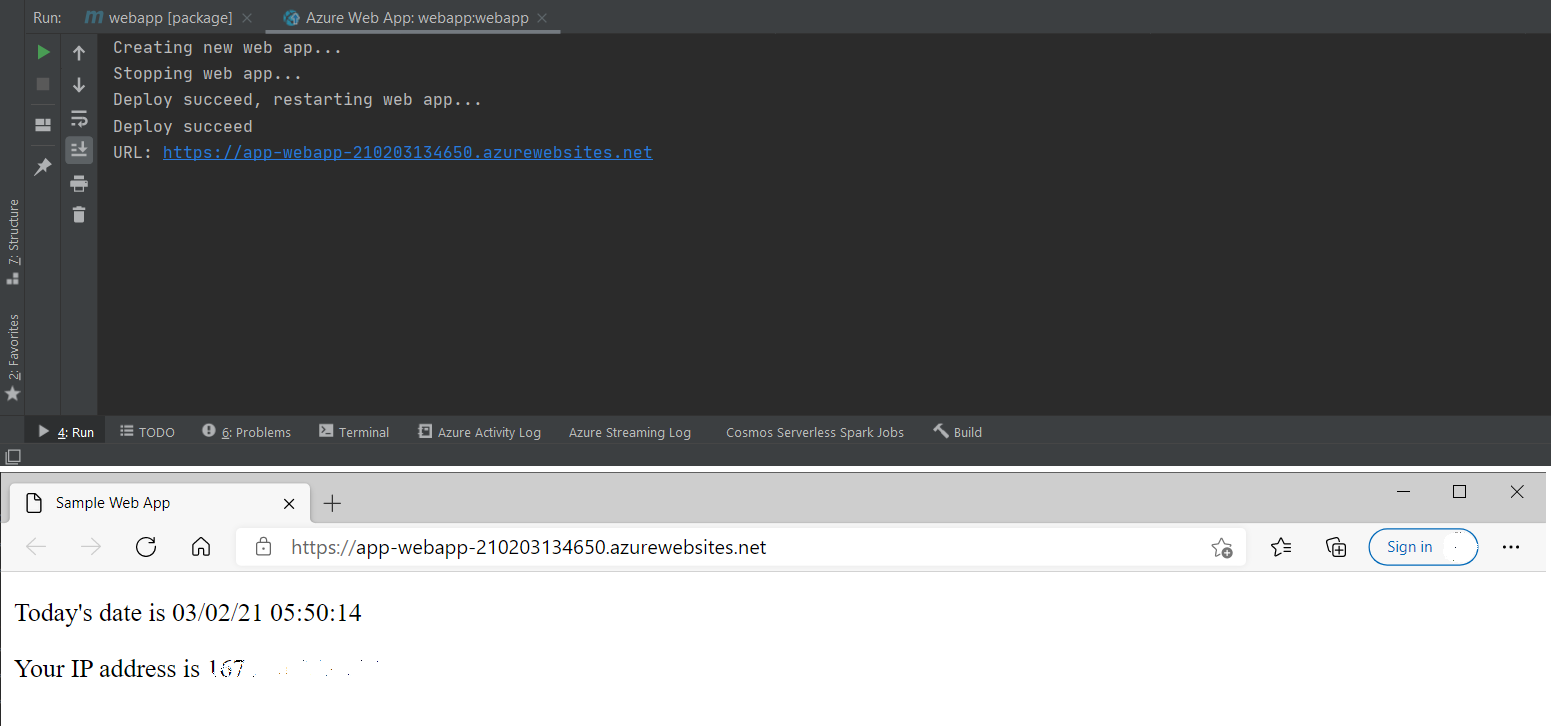
In the Create Web App dialog, select OK. In the Deploy to Azure dialog, select Run. The Azure Toolkit for IntelliJ deploys the web app to Azure and displays the site in your default web browser.
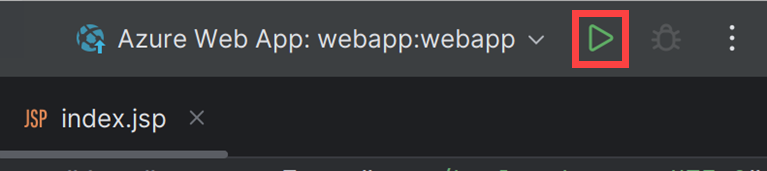
Redeploy the web app
Once you've deployed the web app to Azure, the settings will be saved as run configurations in your IDE. To redeploy, select the green Run icon on the top right or press Shift + F10.