Exercise - Get started
In this exercise, you'll create an Azure Static Web Apps instance including a GitHub Action that automatically builds and publishes your application.
This module uses the Azure sandbox to provide you with a free, temporary Azure subscription you can use to complete the exercise. Before proceeding, make sure you've activated the sandbox at the top of this page.
Tip
If you encounter issues with your node dependencies, ensure that you have Node Version Manager installed and can switch to an earlier version.
Create a repository
Next, create a new repository by using a GitHub template repository. A series of templates is available where each contains a starter app built with a different front-end framework.
Go to the create from template page for the template repository.
- If you get a 404 Page Not Found error, sign in to GitHub and try again.
If prompted for Owner, choose one of your GitHub accounts.
Name your repository my-static-web-app-authn.
Select Create repository from template.
Clone your app locally
You just created a GitHub repository named my-static-web-app-authn in your GitHub account. Next, you'll clone the repo and run the code locally on your computer.
Open a terminal on your computer.
Start by cloning the GitHub repository to your computer.
git clone https://github.com/<YOUR_GITHUB_USERNAME>/my-static-web-app-authnGo to the folder for your source code.
cd my-static-web-app-authn
Configure CORS locally
You won't have to worry about cross-origin resource sharing (CORS) when you publish to Azure Static Web Apps. Azure Static Web Apps automatically configures your app so it can communicate with your API on Azure using a reverse proxy. But when running locally, you need to configure CORS to allow your web app and API to communicate.
Now, instruct Azure Functions to allow your web app to make HTTP requests to the API on your computer.
Create a file named api/local.settings.json.
Add the following contents to the file:
{
  "Host": {
    "CORS": "http://localhost:4200"
  }
}
{ "Host": { "CORS": "http://localhost:3000" } }{ "Host": { "CORS": "http://localhost:5000" } }{ "Host": { "CORS": "http://localhost:8080" } }
Note
The local.settings.json file is listed in the .gitignore file, which prevents this file from being pushed to GitHub. This is because you could store secrets in this file you would not want that in GitHub. This is why you had to create the file when you created your repo from the template.
Run the API
The api folder contains the Azure Functions project with the HTTP endpoints for the web app. Start by running the API locally by following these steps:
Note
Be sure to install the Azure Functions Core Tools which will allow you to run Azure Functions locally.
In Visual Studio Code, open the command palette by pressing F1.
Enter and select Terminal: Create New Integrated Terminal.
Go to the api folder:
cd apiRun the Azure Functions app locally:
func start
Run the web app
Next, go to the folder of your preferred front-end framework, as follows:
cd angular-appcd react-appcd svelte-appcd vue-appNow install the application dependencies.
npm installFinally, run the front-end client application.
npm startnpm startnpm run devnpm run serve
Browse to your app
It's time to see your application running locally. Each front-end application runs on a different port.
- Select the link to browse to your application.
Browse to
http://localhost:4200.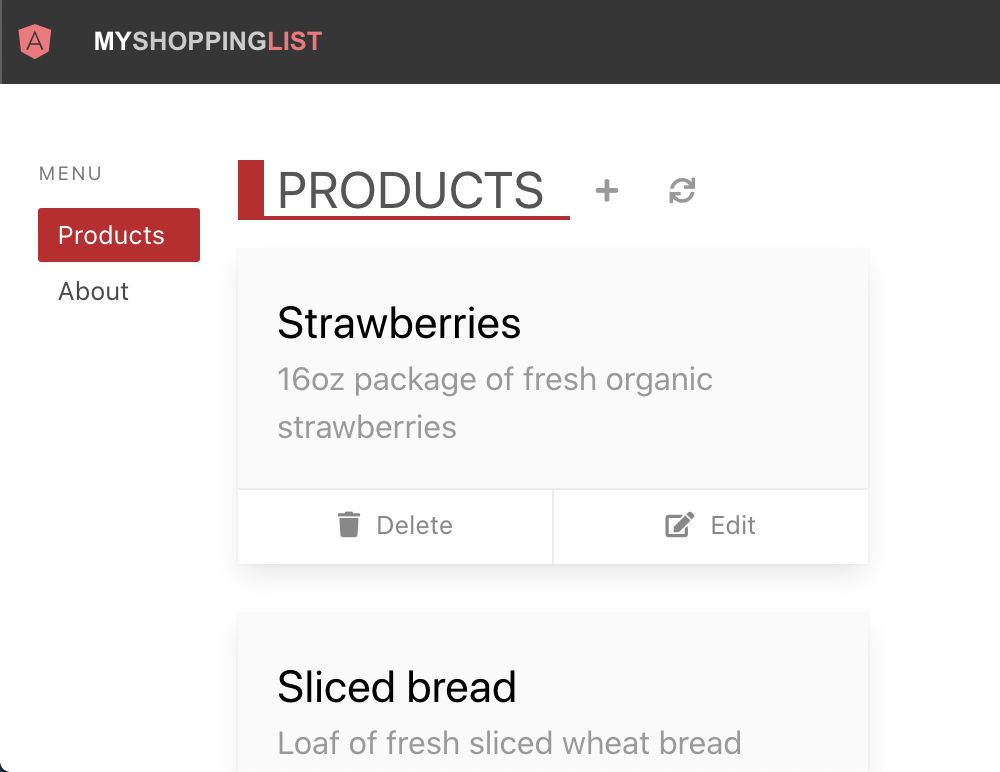
Browse to
http://localhost:3000.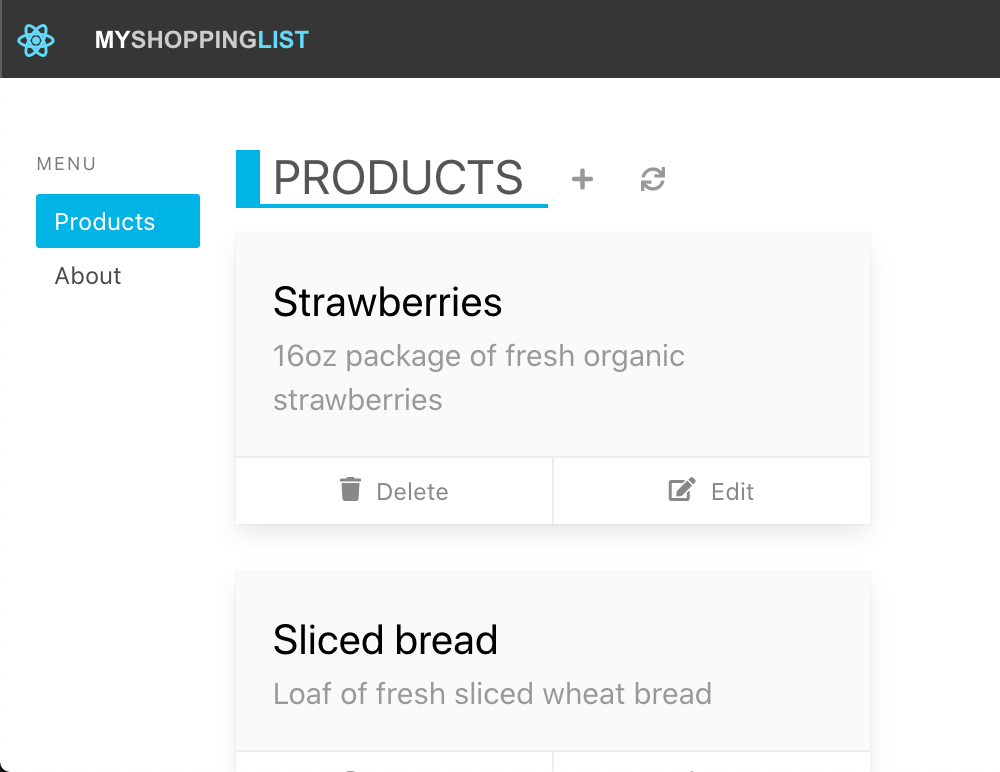
Browse to
http://localhost:5000.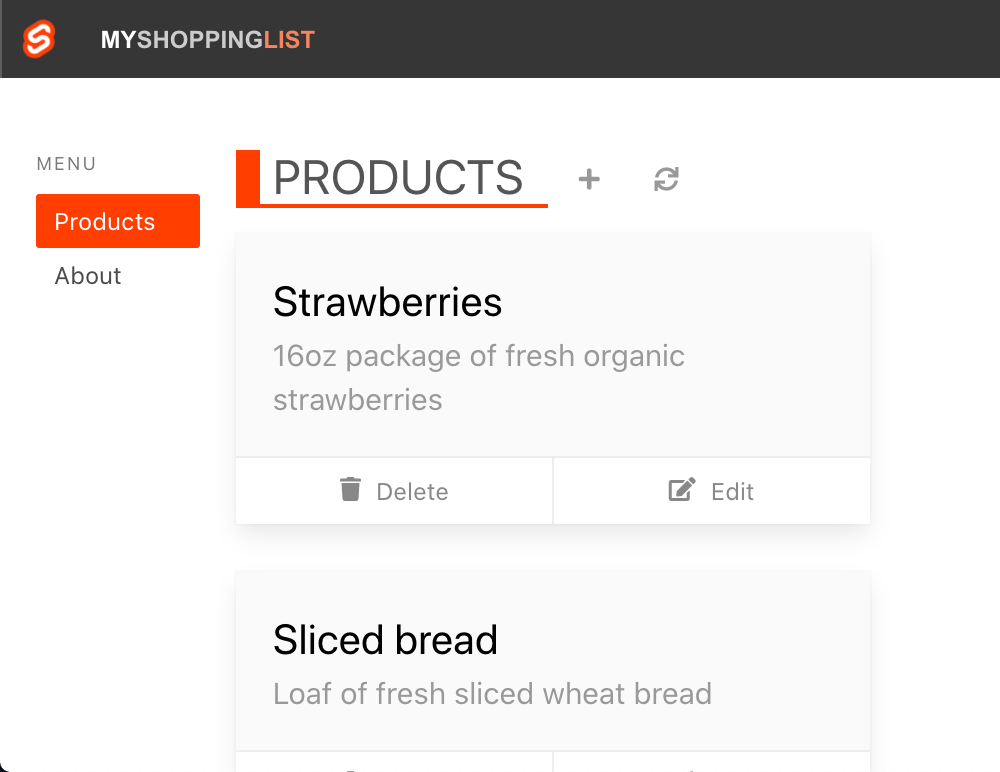
Browse to
http://localhost:8080.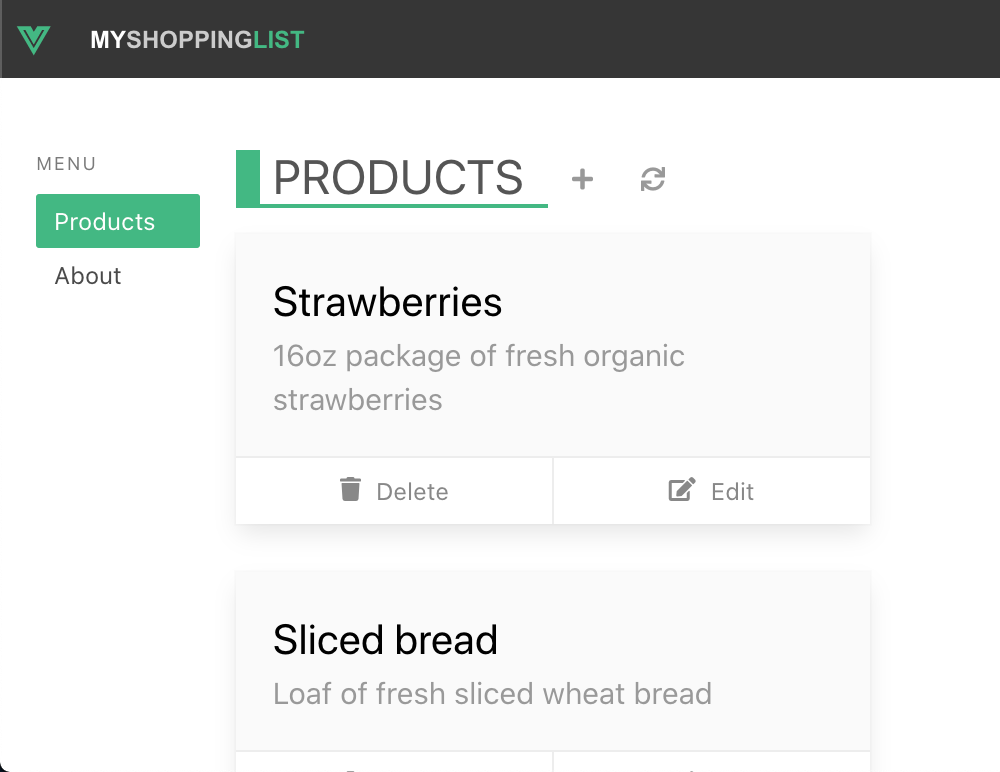
Your app should display a list of products.
- Now, stop your running app by pressing Ctrl-C in the terminal.
You built your application and now it's running locally in your browser.
Next, you'll publish your application to Azure Static Web Apps.
Create a static web app
Now that you've created your GitHub repository, you can create a Static Web Apps instance using the Azure Static Web Apps extension for Visual Studio Code.
Install the Azure Static Web Apps extension for Visual Studio Code
Go to the Visual Studio Marketplace, and install the Azure Static Web Apps extension for Visual Studio Code.
When the extension tab loads in Visual Studio Code, select Install.
After installation is complete, select Reload.
Sign in to Azure in Visual Studio Code
In Visual Studio Code, sign in to Azure by selecting View > Command Palette and entering Azure: Sign In.
Important
Log in to Azure using the same account used to create the sandbox. The sandbox provides access to a Concierge Subscription.
Follow the prompts to copy and paste the code provided in the web browser, which authenticates your Visual Studio Code session.
Select your subscription
Open Visual Studio Code, and select File > Open to open the repository you cloned to your computer in the editor.
Verify that you've filtered your Azure subscriptions to include the Concierge Subscription by opening the command palette F1, entering
Azure: Select Subscriptions, and pressing Enter.Select Concierge Subscription, and press Enter.

Create a Static Web App with Visual Studio Code
Open Visual Studio Code, and select File > Open to open the repository you cloned to your computer in the editor.
Inside Visual Studio Code, select the Azure logo in the activity bar to open the Azure extensions window.

Note
Azure and GitHub sign-in are required. If you are not already signed in to Azure and GitHub from Visual Studio Code, the extension will prompt you to sign in to both during the creation process.
Place your mouse over the Static Web Apps label, and select + (plus sign).

When the command palette opens at the top of the editor, select Concierge Subscription, and press Enter.

Enter my-static-web-app-authn, and press Enter.

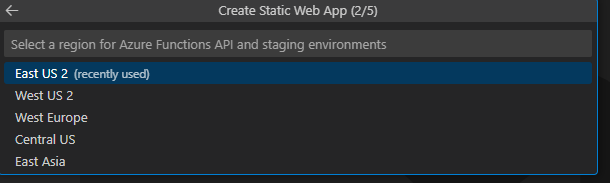
Select the region closest to you, and press Enter.
Select the corresponding framework option, and press Enter.
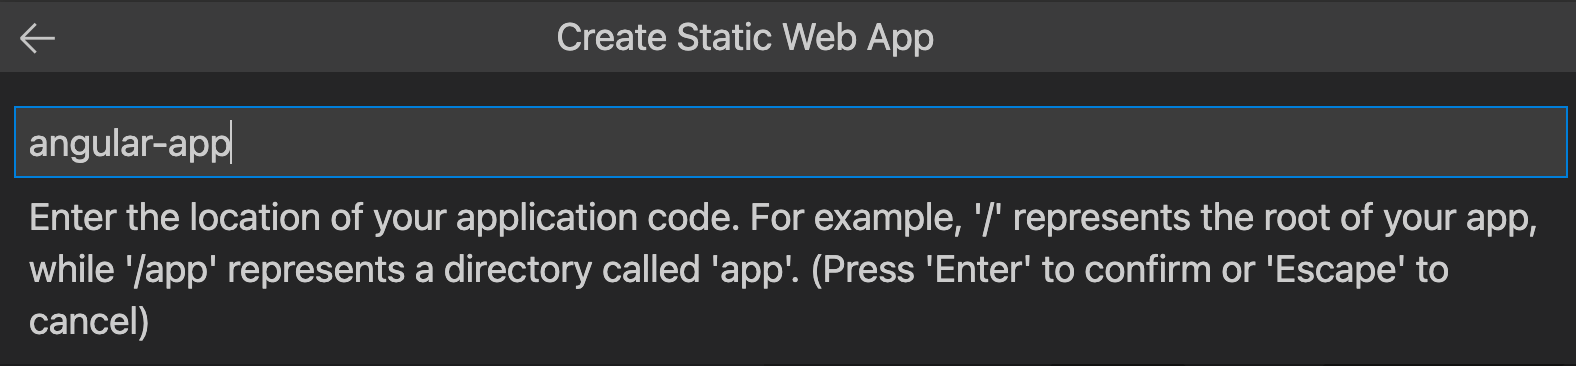
Select angular-app as the location for the application code, and press Enter.
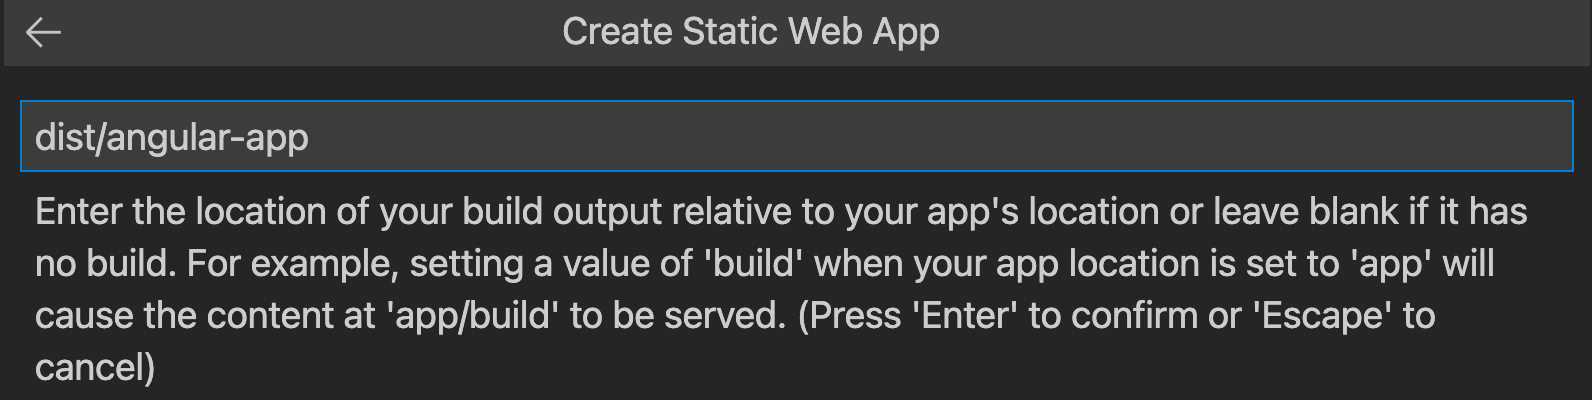
Enter dist/angular-app as the output location where files are built for production in your app, and press Enter.
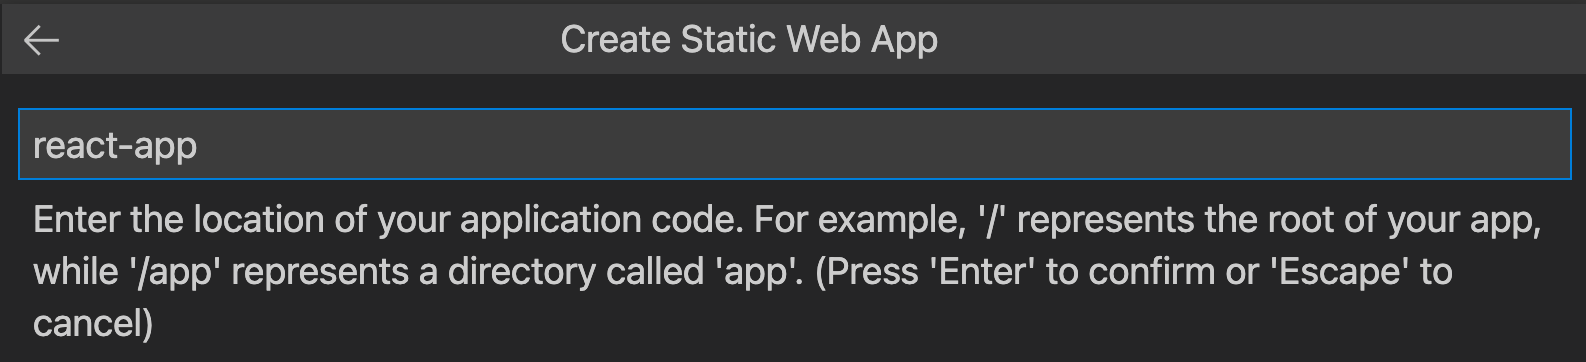
Select react-app as the location for the application code, and press Enter.
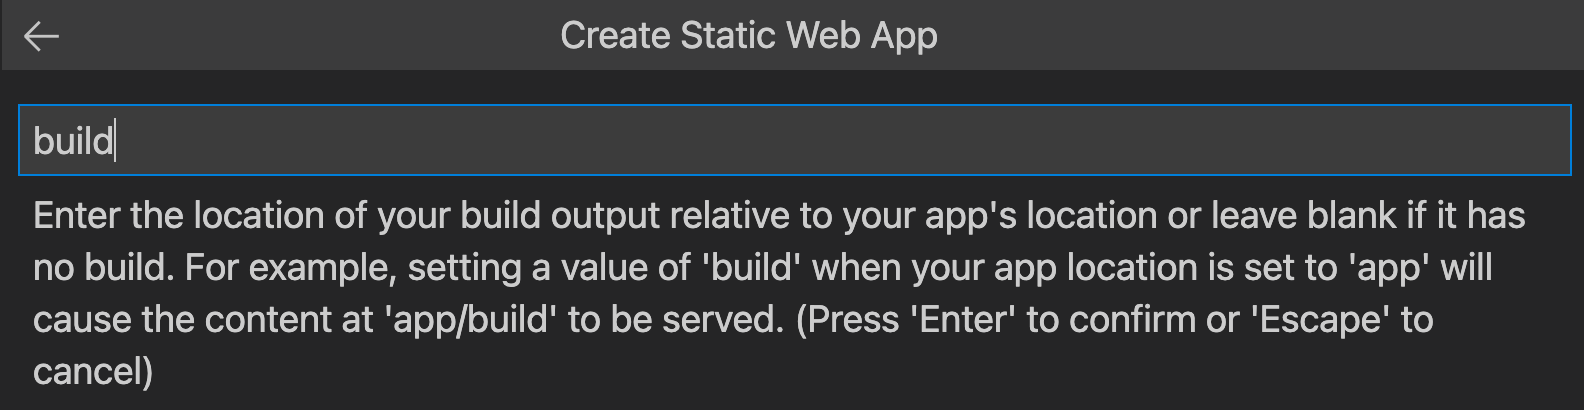
Enter build as the output location where files are built for production in your app, and press Enter.
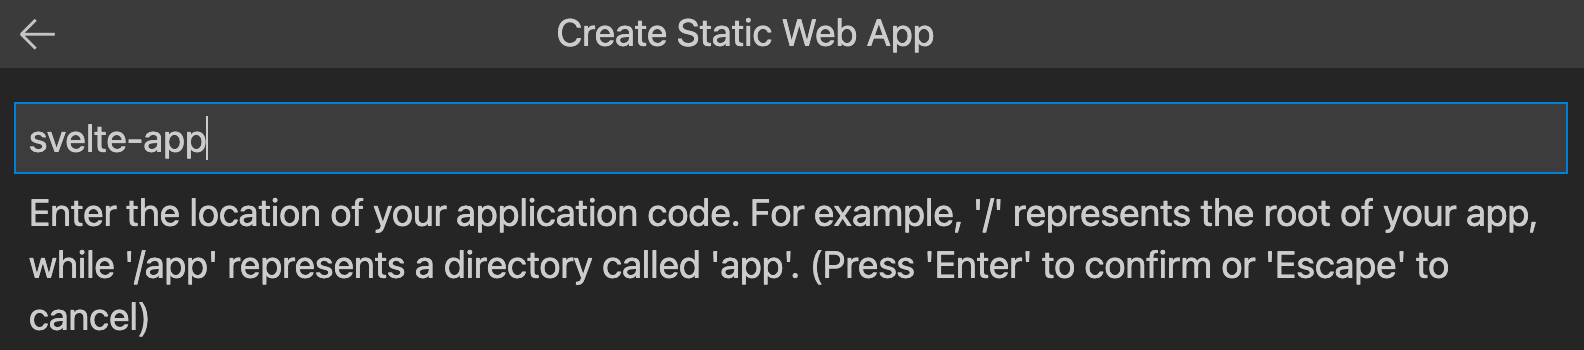
Select svelte-app as the location for the application code, and press Enter.
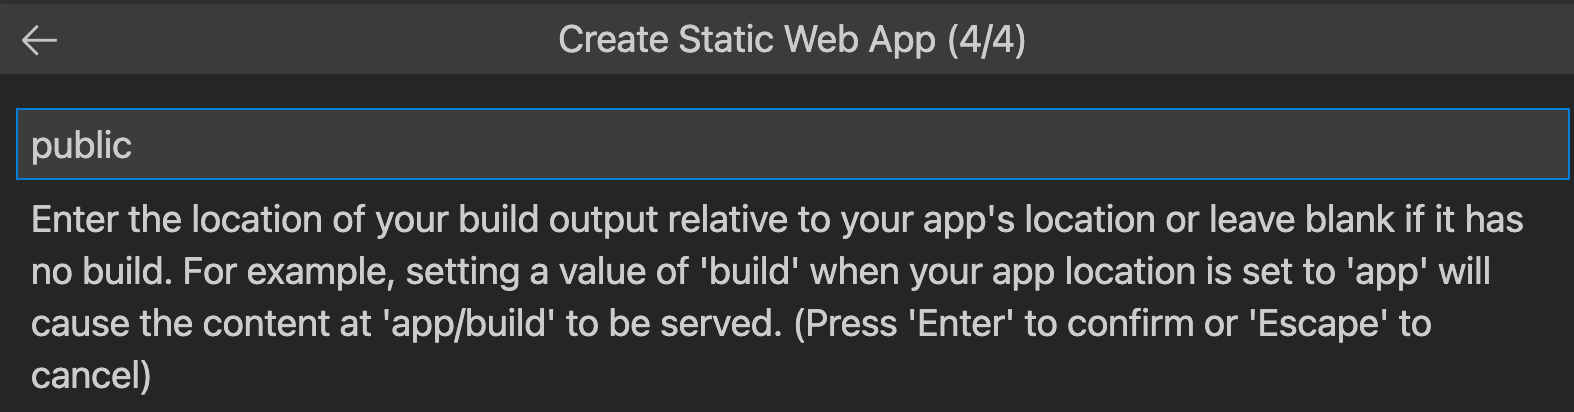
Enter public as the output location where files are built for production in your app, and press Enter.
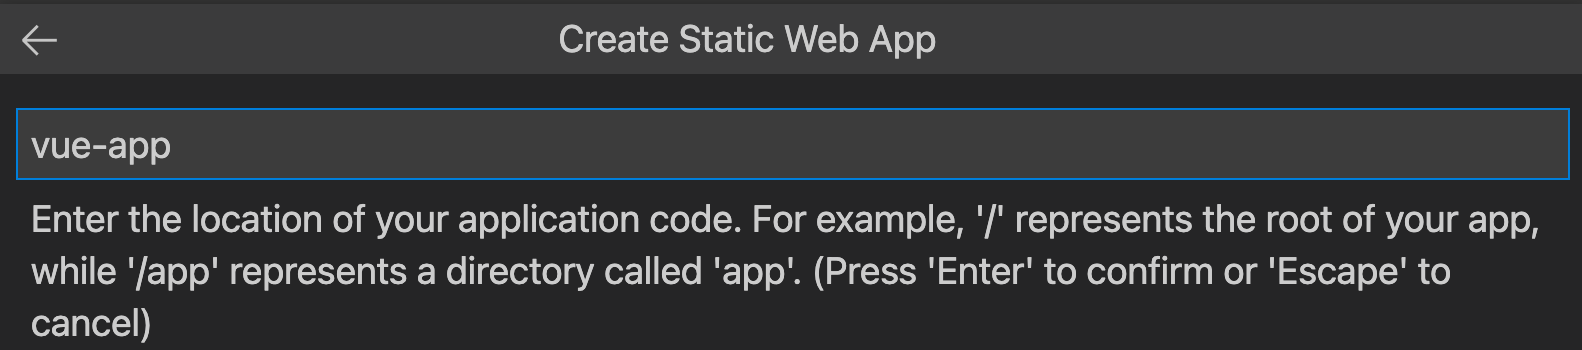
Select vue-app as the location for the application code, and press Enter.
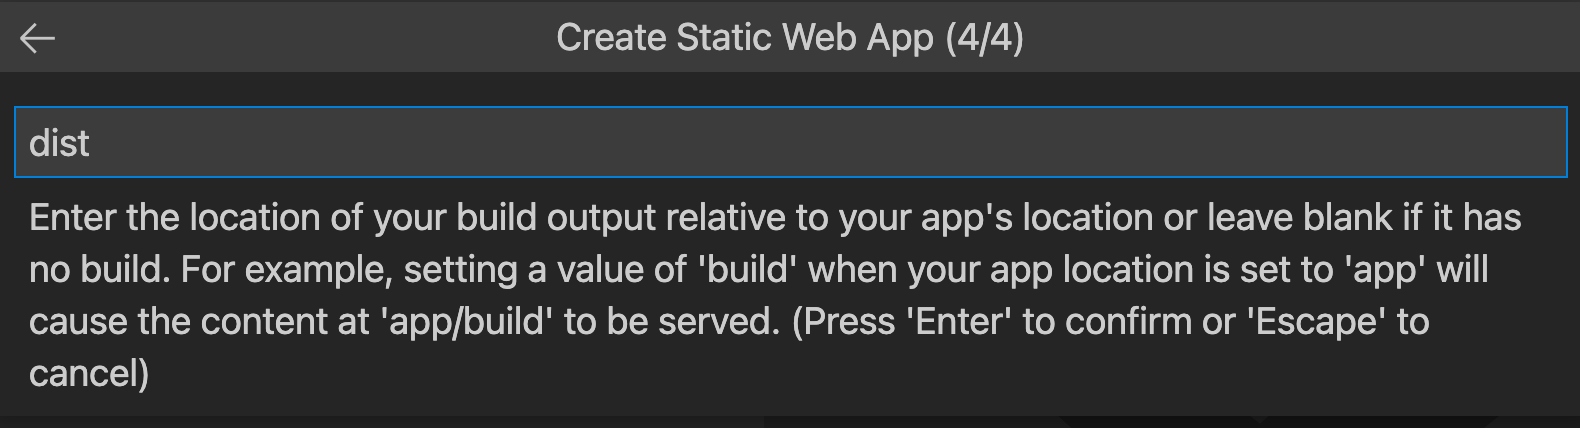
Enter dist as the output location where files are built for production in your app, and press Enter.
Note
Your repository may be a bit different than the ones you may have used in the past. It contains four different apps in four different folders. Each folder contains an app created in a different JavaScript framework. Typically, you have one app in the root of your repository and specify / for the app path location. This is a great example of why Azure Static Web Apps lets you configure the locations in the first place - you get full control over how the app is built.
After the app is created, a confirmation notification appears in Visual Studio Code.
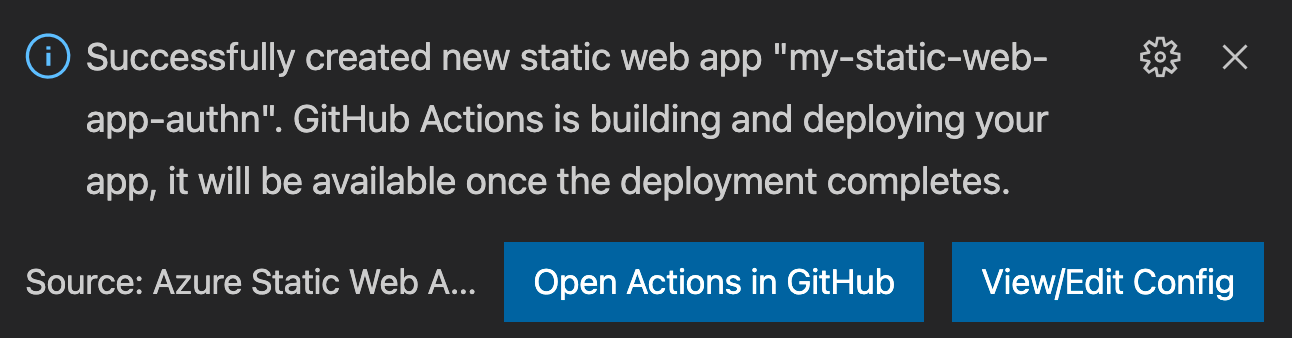
As the deployment is in progress, the Visual Studio Code extension reports the build status to you.
:::image type="content" source="../media/extension-waiting-for-deployment.png" alt-text="Screenshot showing the waiting for deployment button.":::
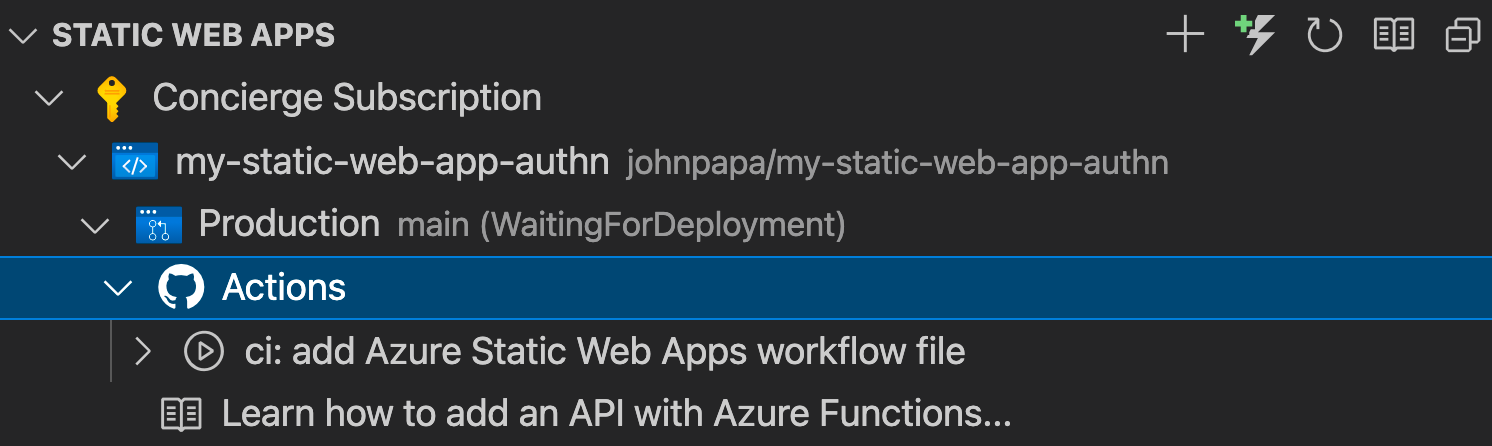
You can view the progress of the deployment using GitHub Actions by expanding the Actions menu.
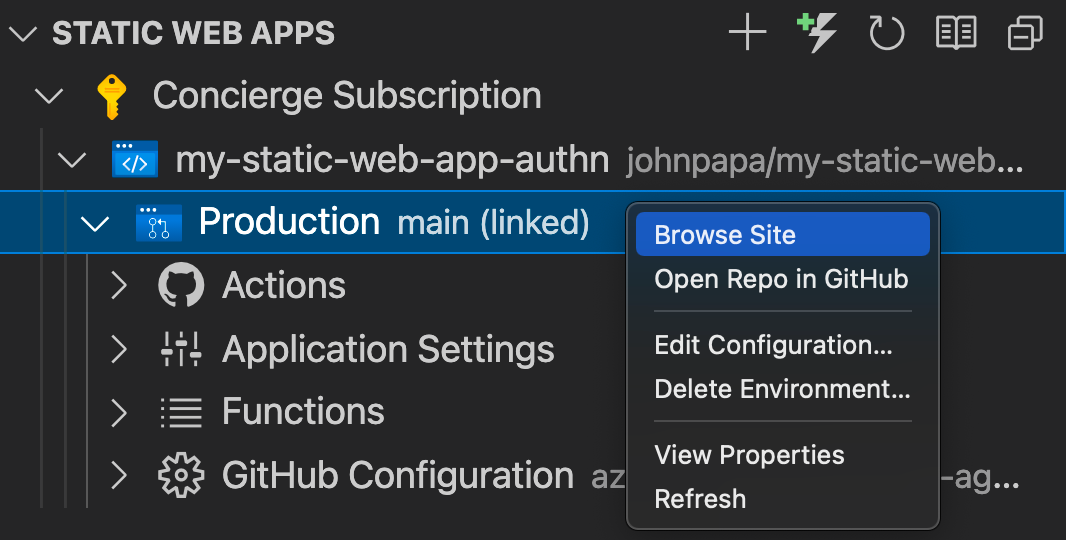
After the deployment is complete, you can go directly to your website.
To view the website in the browser, right-click the project in the Static Web Apps extension, and select Browse Site.
Congratulations! You've deployed your app to Azure Static Web Apps!
Note
Don't worry if you see a web page that states the app hasn't been built and deployed yet. Refresh the browser in a minute. The GitHub Action runs automatically when the Azure Static Web Apps is created. If you see the splash page, the app is still being deployed.
Pull the changes from GitHub
Pull the latest changes from GitHub to bring down the workflow file that was created by Azure Static Web Apps:
Open the command palette by pressing F1.
Enter and select Git: Pull, and then press Enter.
Next steps
Next, you'll learn how to integrate user authentication into your app.