Create an eDiscovery search
To search for content in Microsoft Purview eDiscovery, you must first create a case. A case provides the workspace where searches, holds, and exports are managed. Creating a search also creates a case, which ensures that access to investigation data is controlled and auditable. This ensures that access to investigation data is controlled and auditable.
Why cases are required
Every search must be associated with a case. The case model provides:
- Controlled access to investigation data
- An auditable trail of search and export actions
- A consistent structure for managing investigation tasks
The person who creates the case is automatically added as a member. Other users must be added manually. Even with the correct eDiscovery roles, users can’t access a case unless they’re listed as a member.
Create a search
You can either create a case and search in a single step or create a search through a case.
Create a search directly
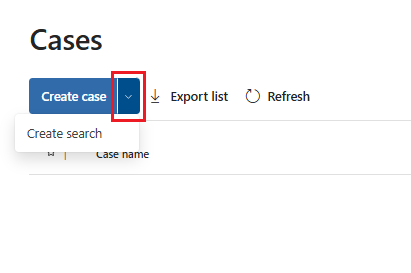
In the Microsoft Purview portal, go to Solutions > eDiscovery > Cases.
Select the arrow next to + Create case, then select Create search.
Enter a case name and a search name.
Optionally, provide descriptions for the case and search.
Select Create to create the case and search.
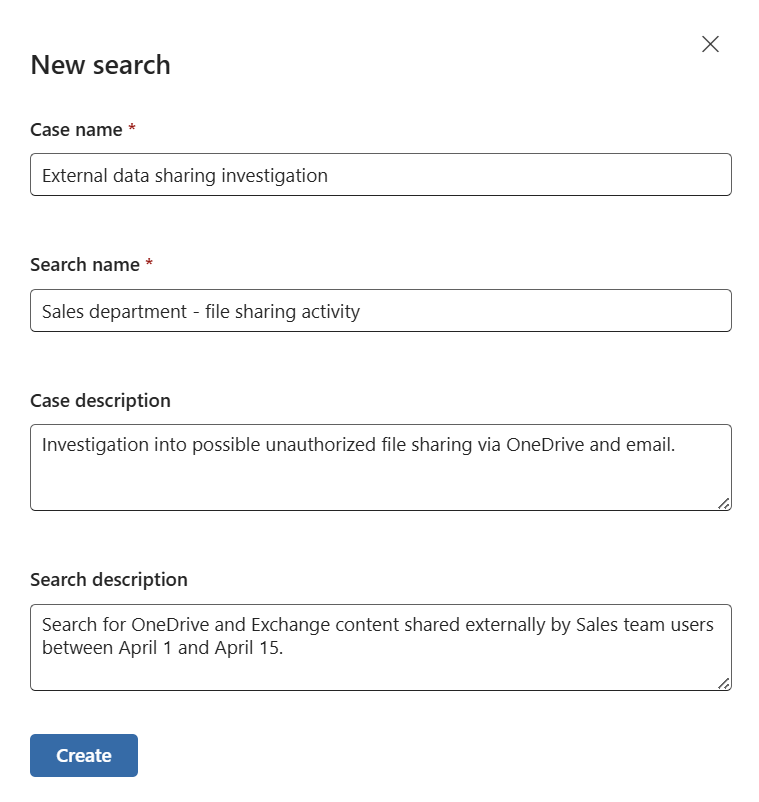


This creates a case and a search at the same time, so you can move directly into configuring your search criteria without setting up the case separately.
Create a search through a case
If you prefer to create the case first and then add a search from within it:
Go to Solutions > eDiscovery > Cases.
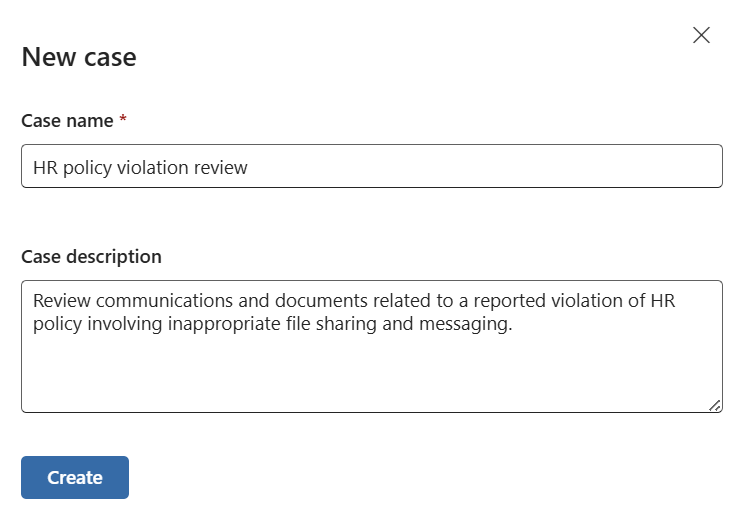
Select + Create case.
Enter a name and optional description.
Select Create to create a case.
On the Searches tab of your case, select Create search.
Enter a name and optional description.
Select Create to create the search.

Once the search is created, you can begin configuring the search criteria to locate the content relevant to your investigation.