Exercise - Enable Teams Approvals for Requests flow in Power Apps
As Reed Smith, the Microsoft System Administrator, you need to turn on the Teams Approvals for Requests flow in Power Apps portal.
Open Power Apps in a web browser.
Sign in as Reed Smith.
From the command bar, select the environment. Make sure that you've selected the MCRIAD environment.
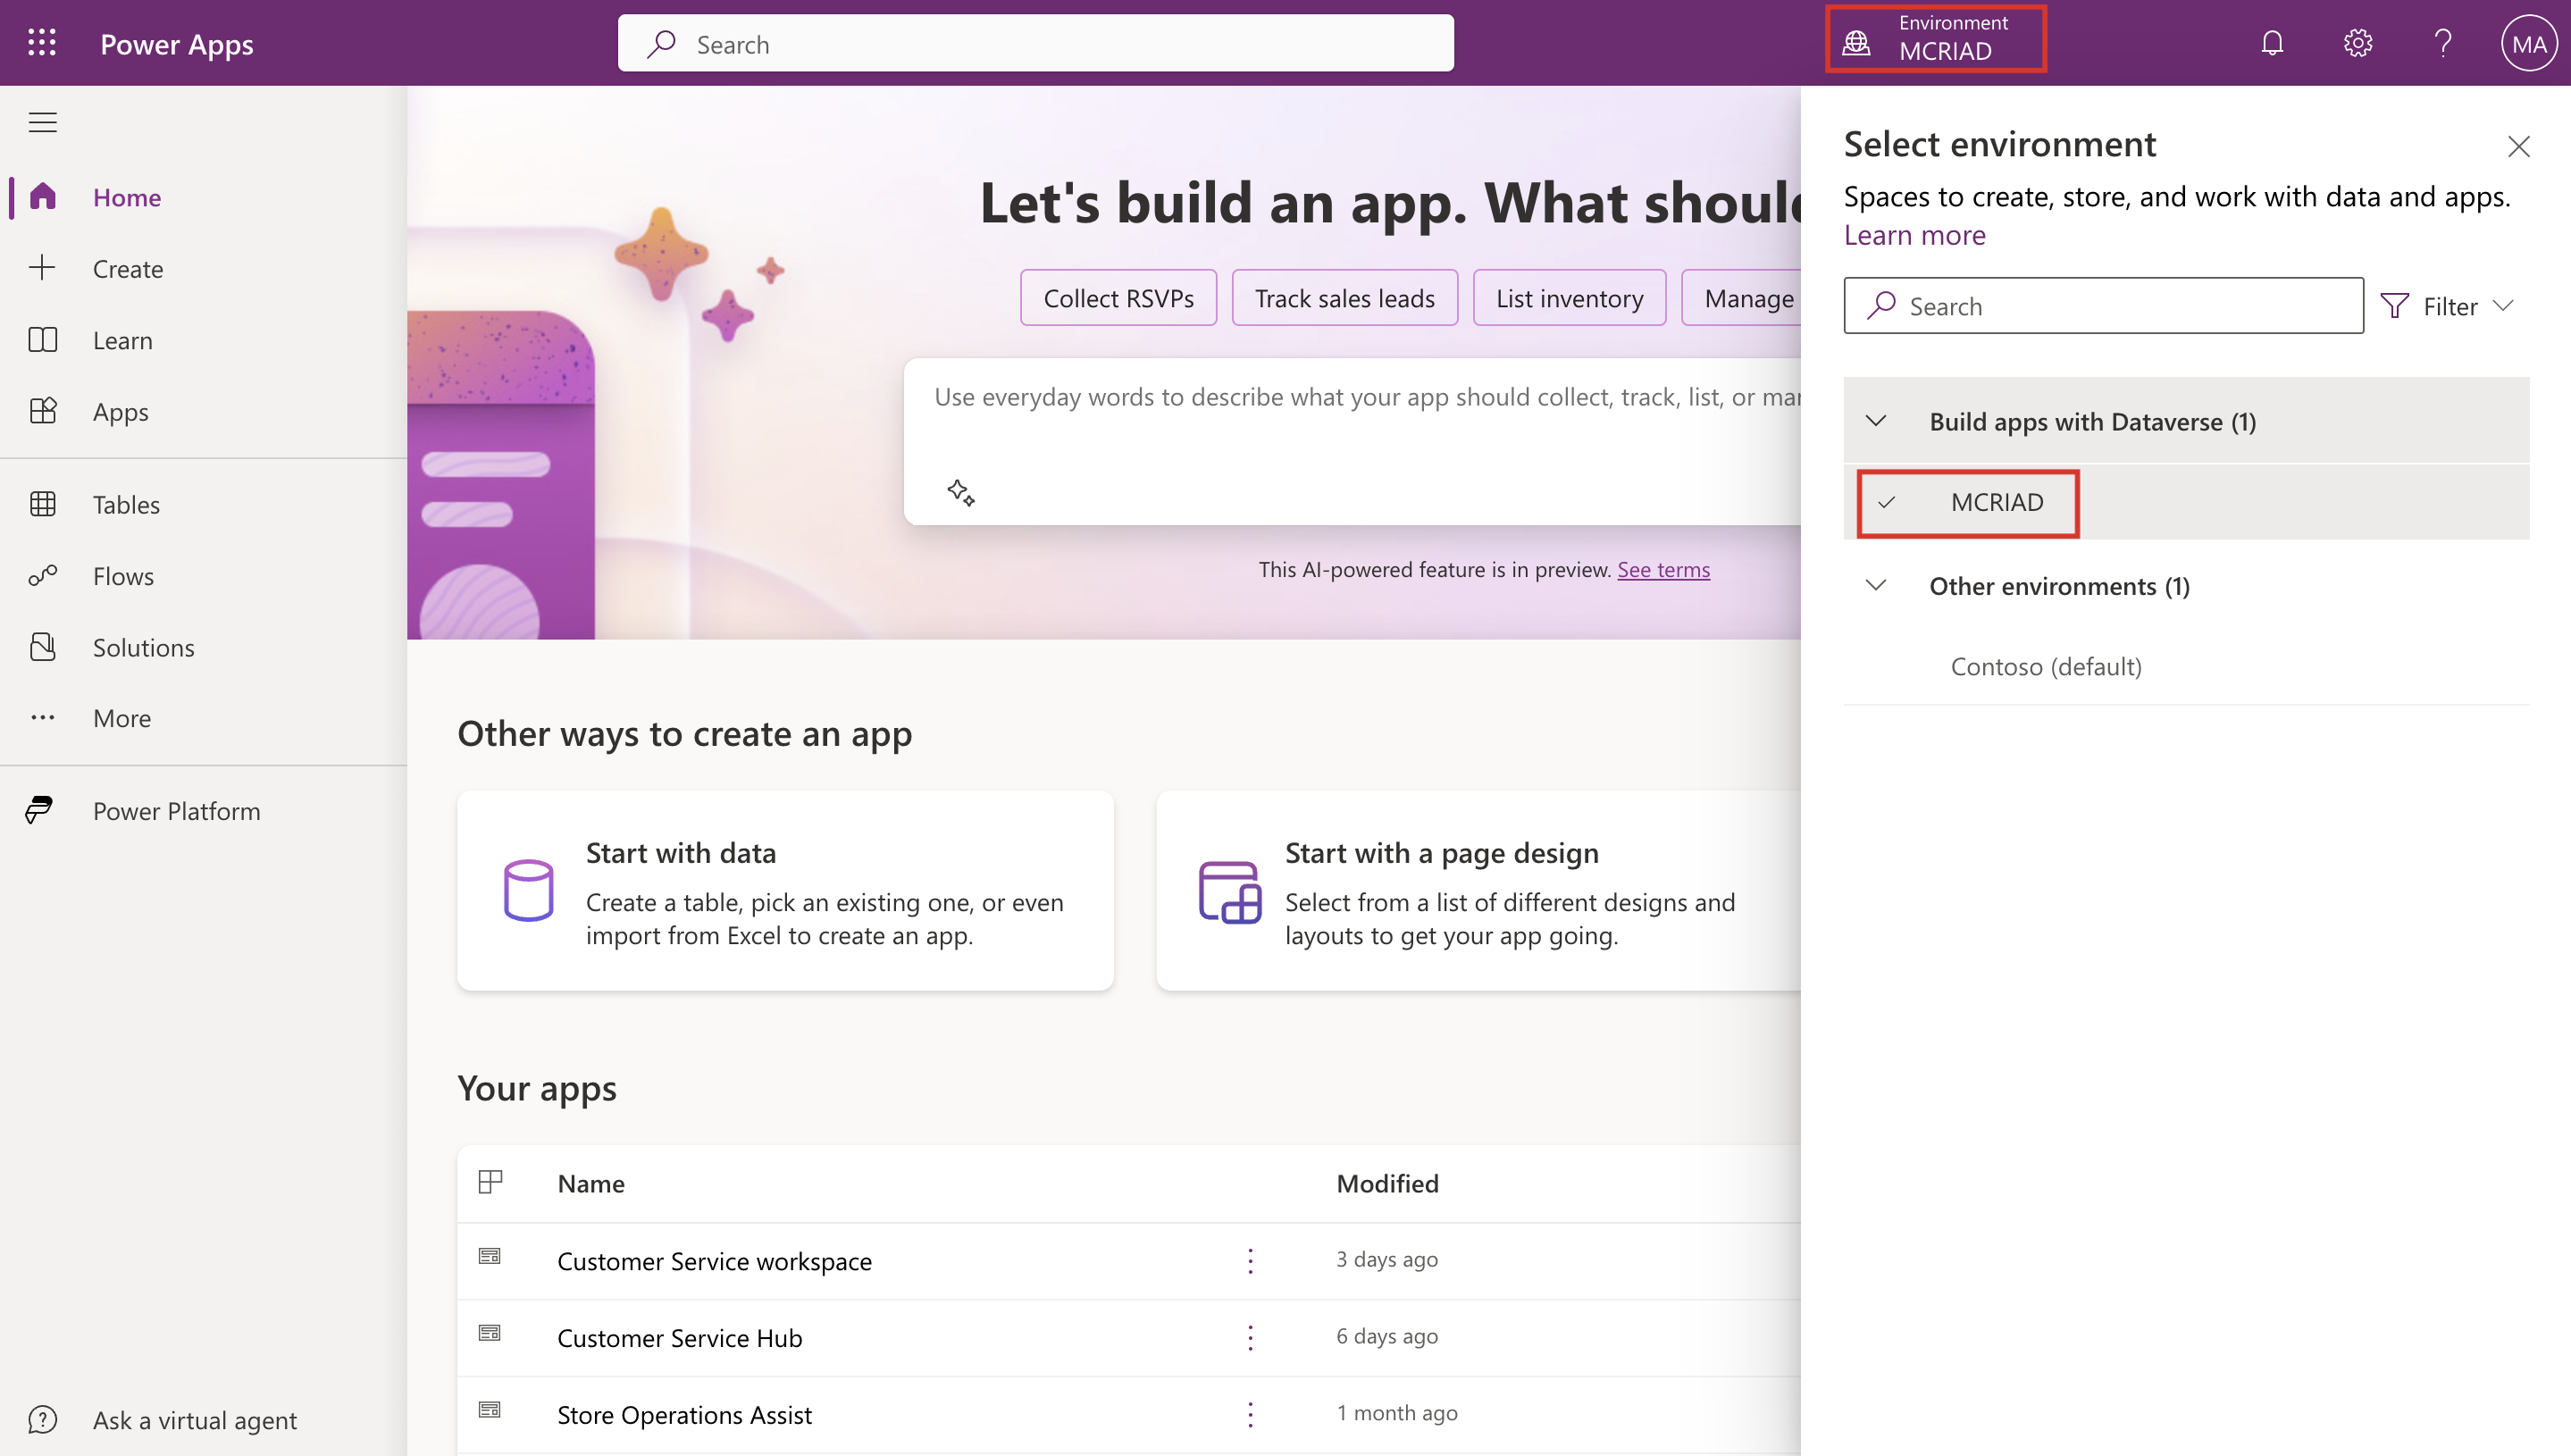
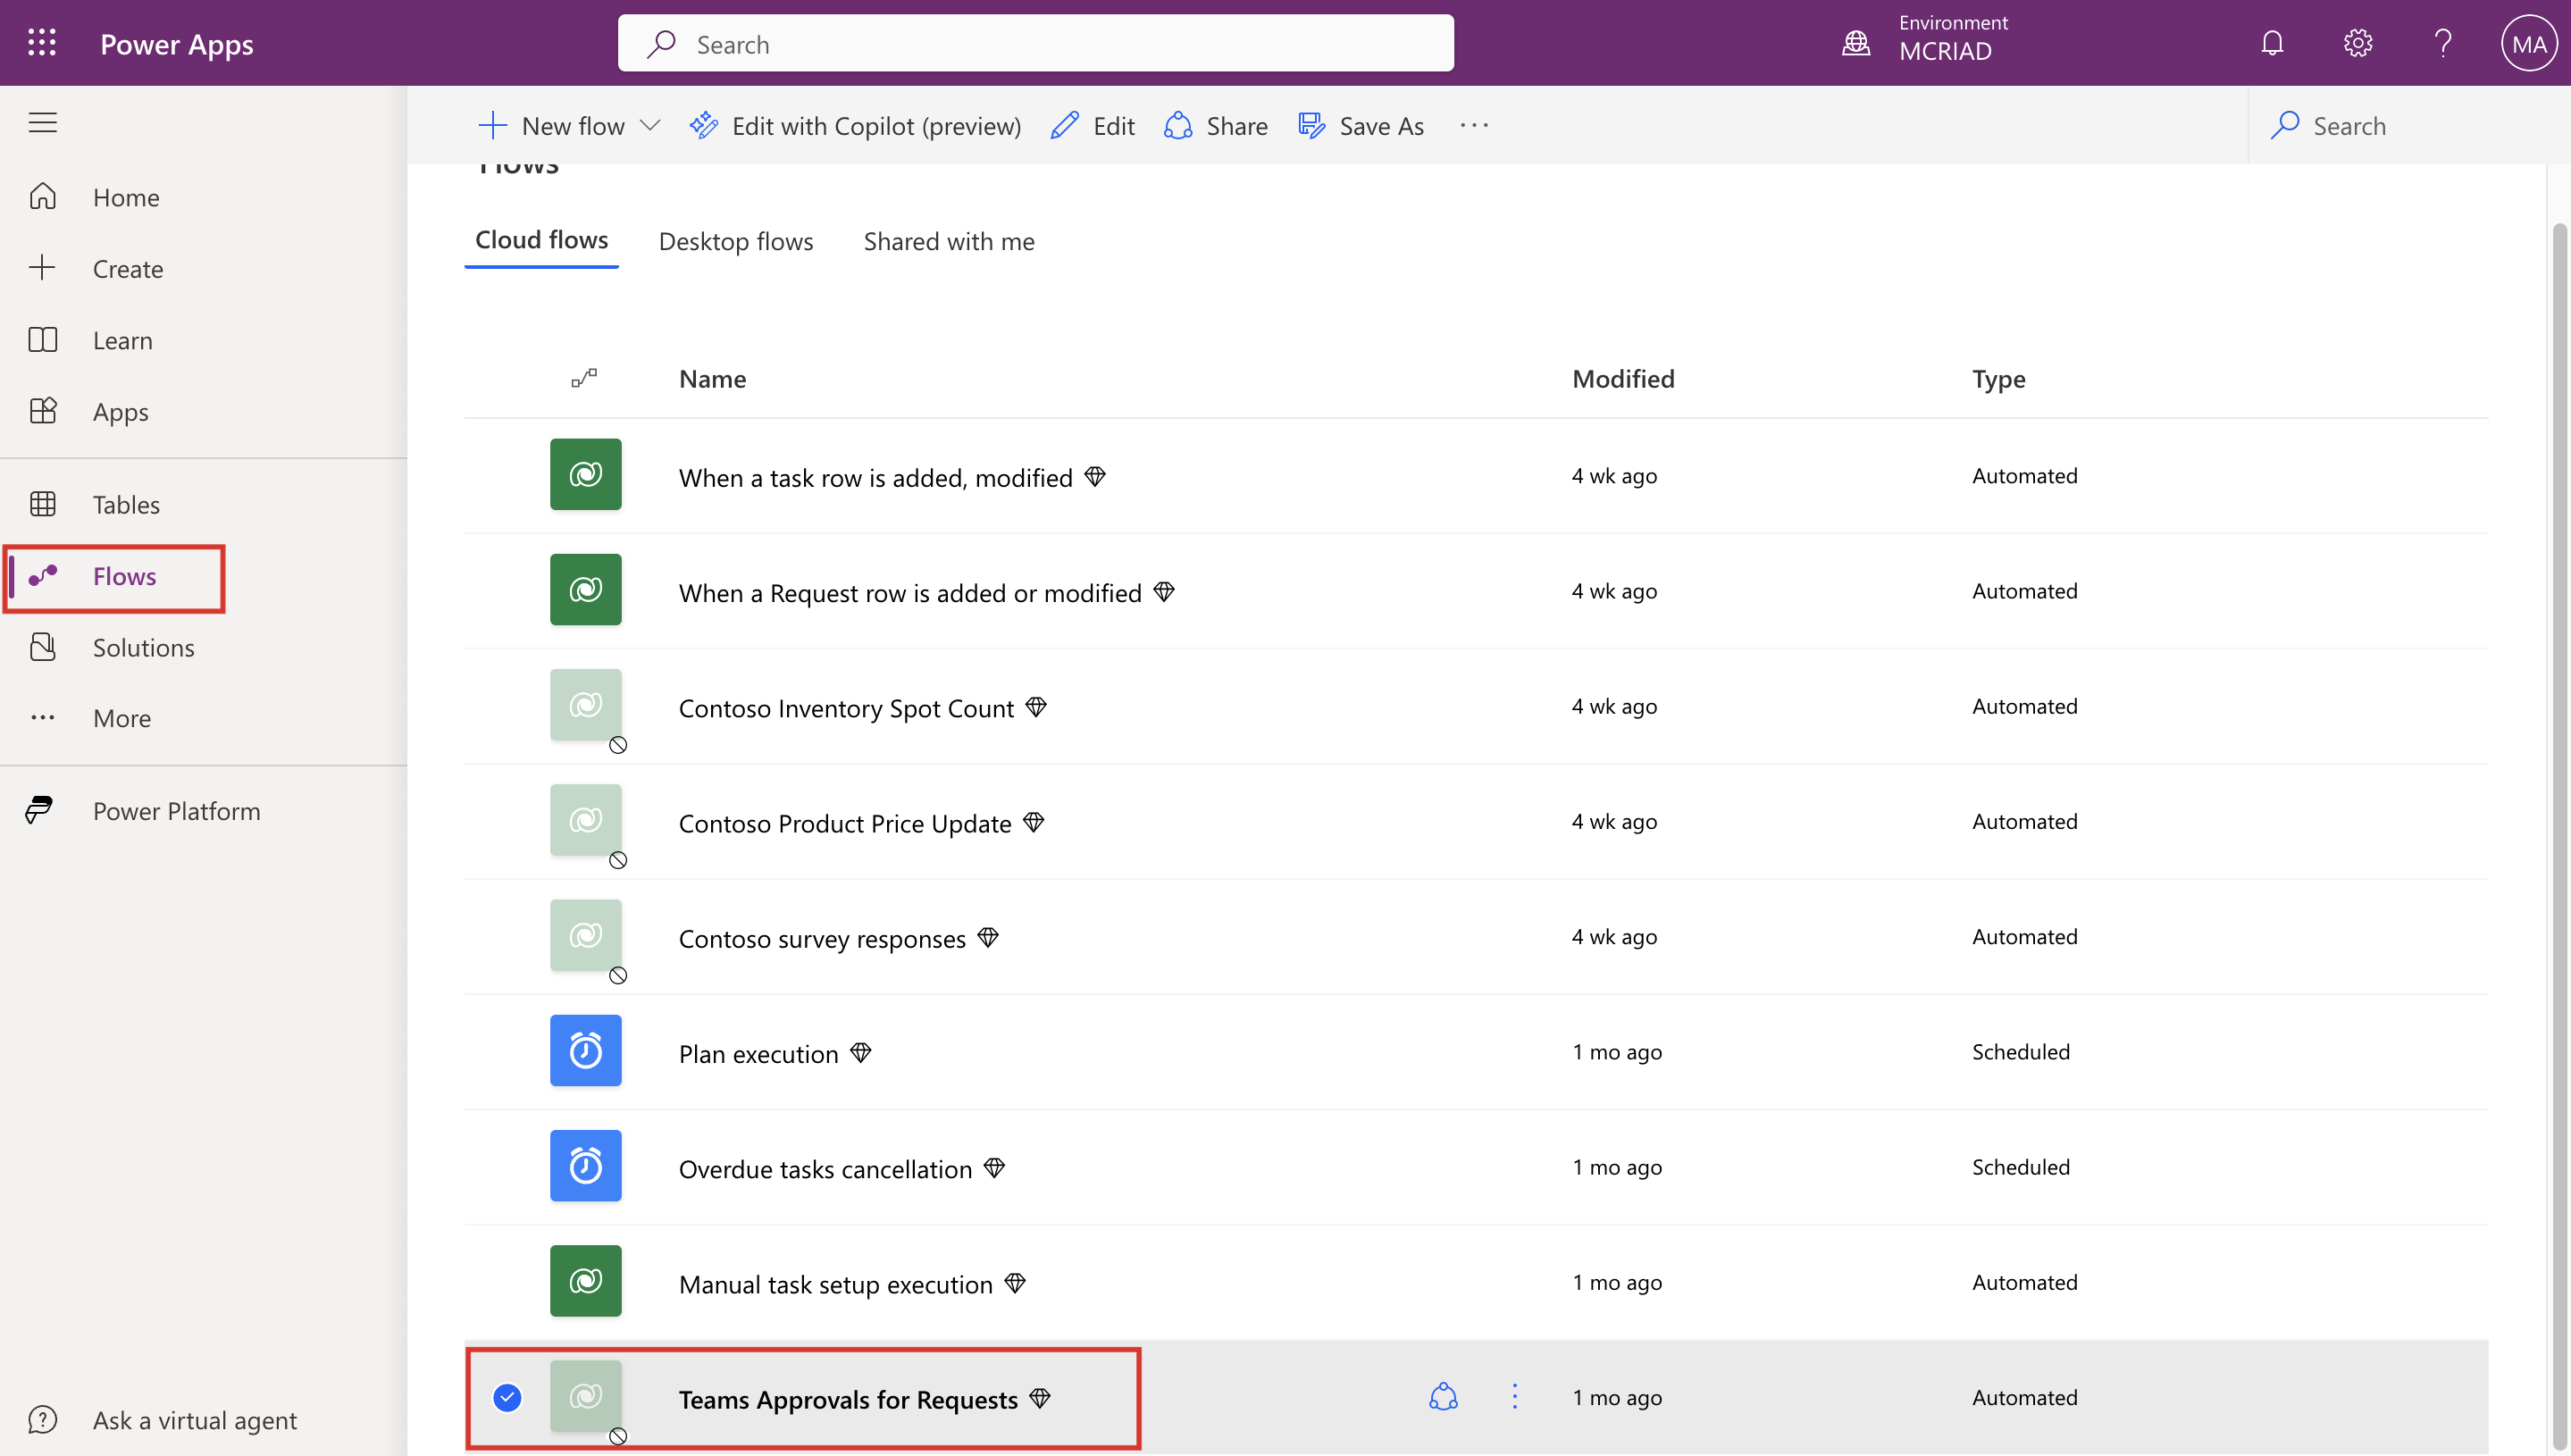
From the left navigation pane, select Flows and then select Teams Approvals for Requests from the list of Cloud flows.
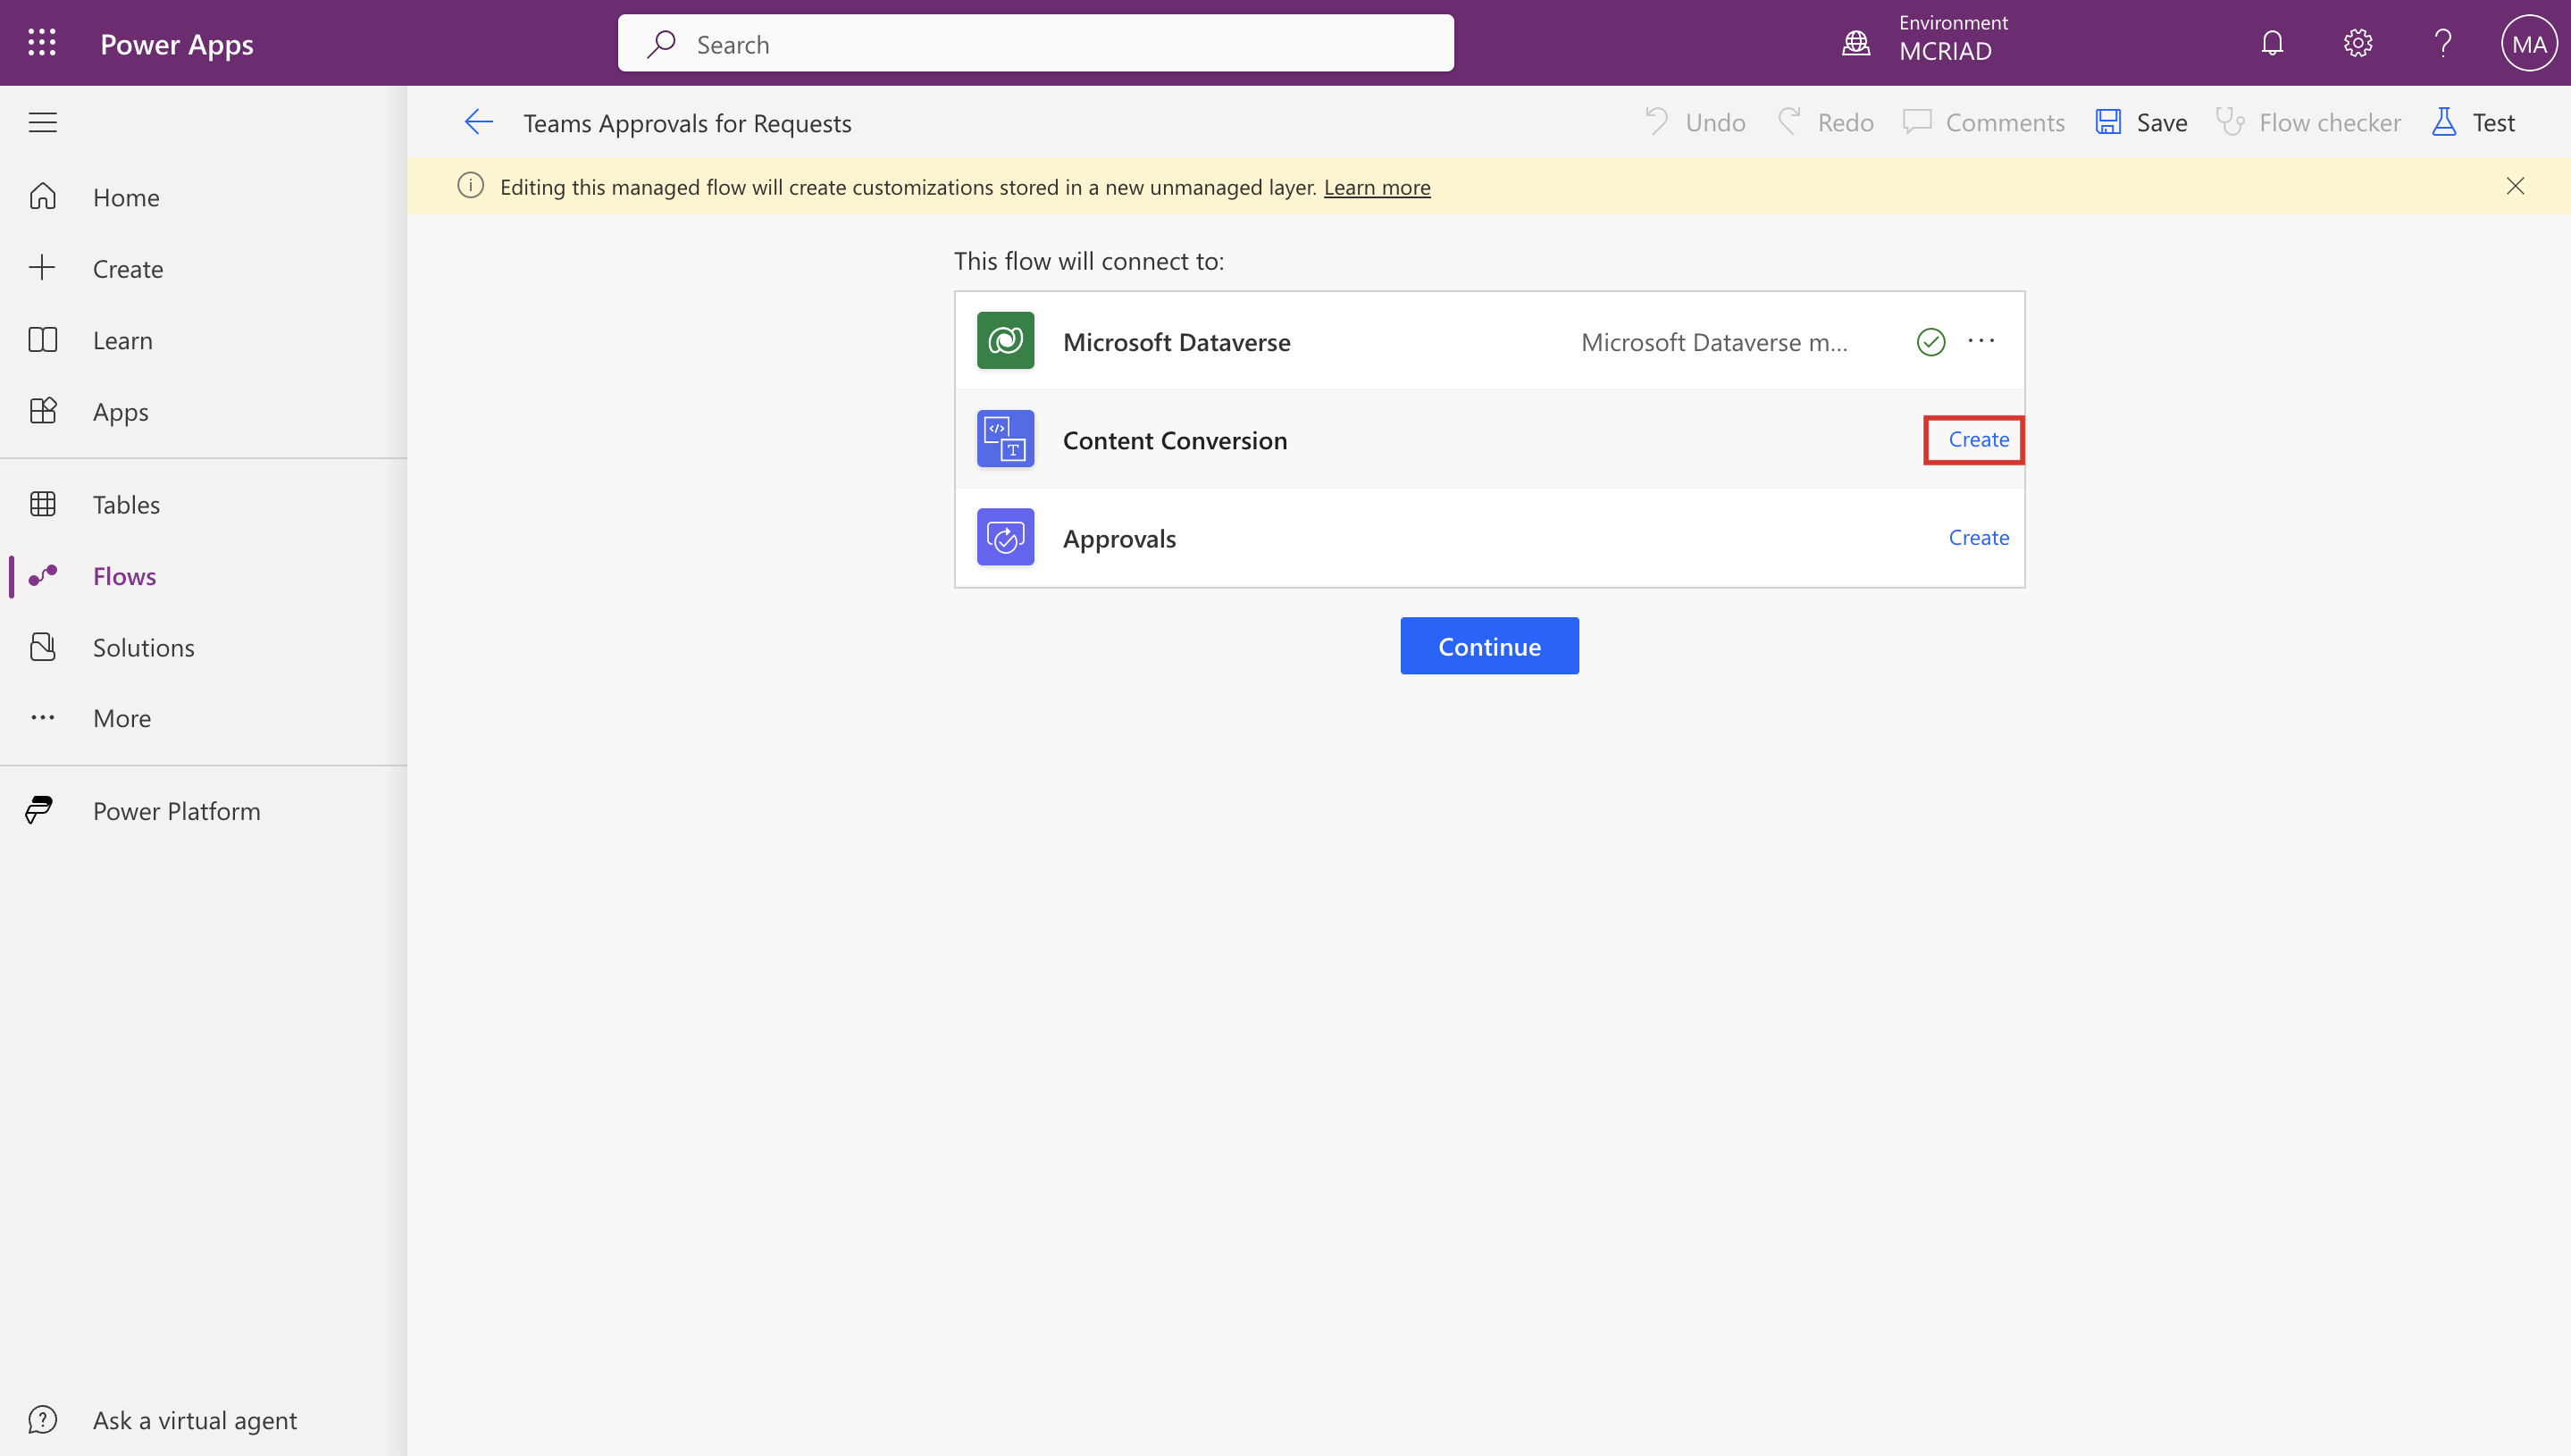
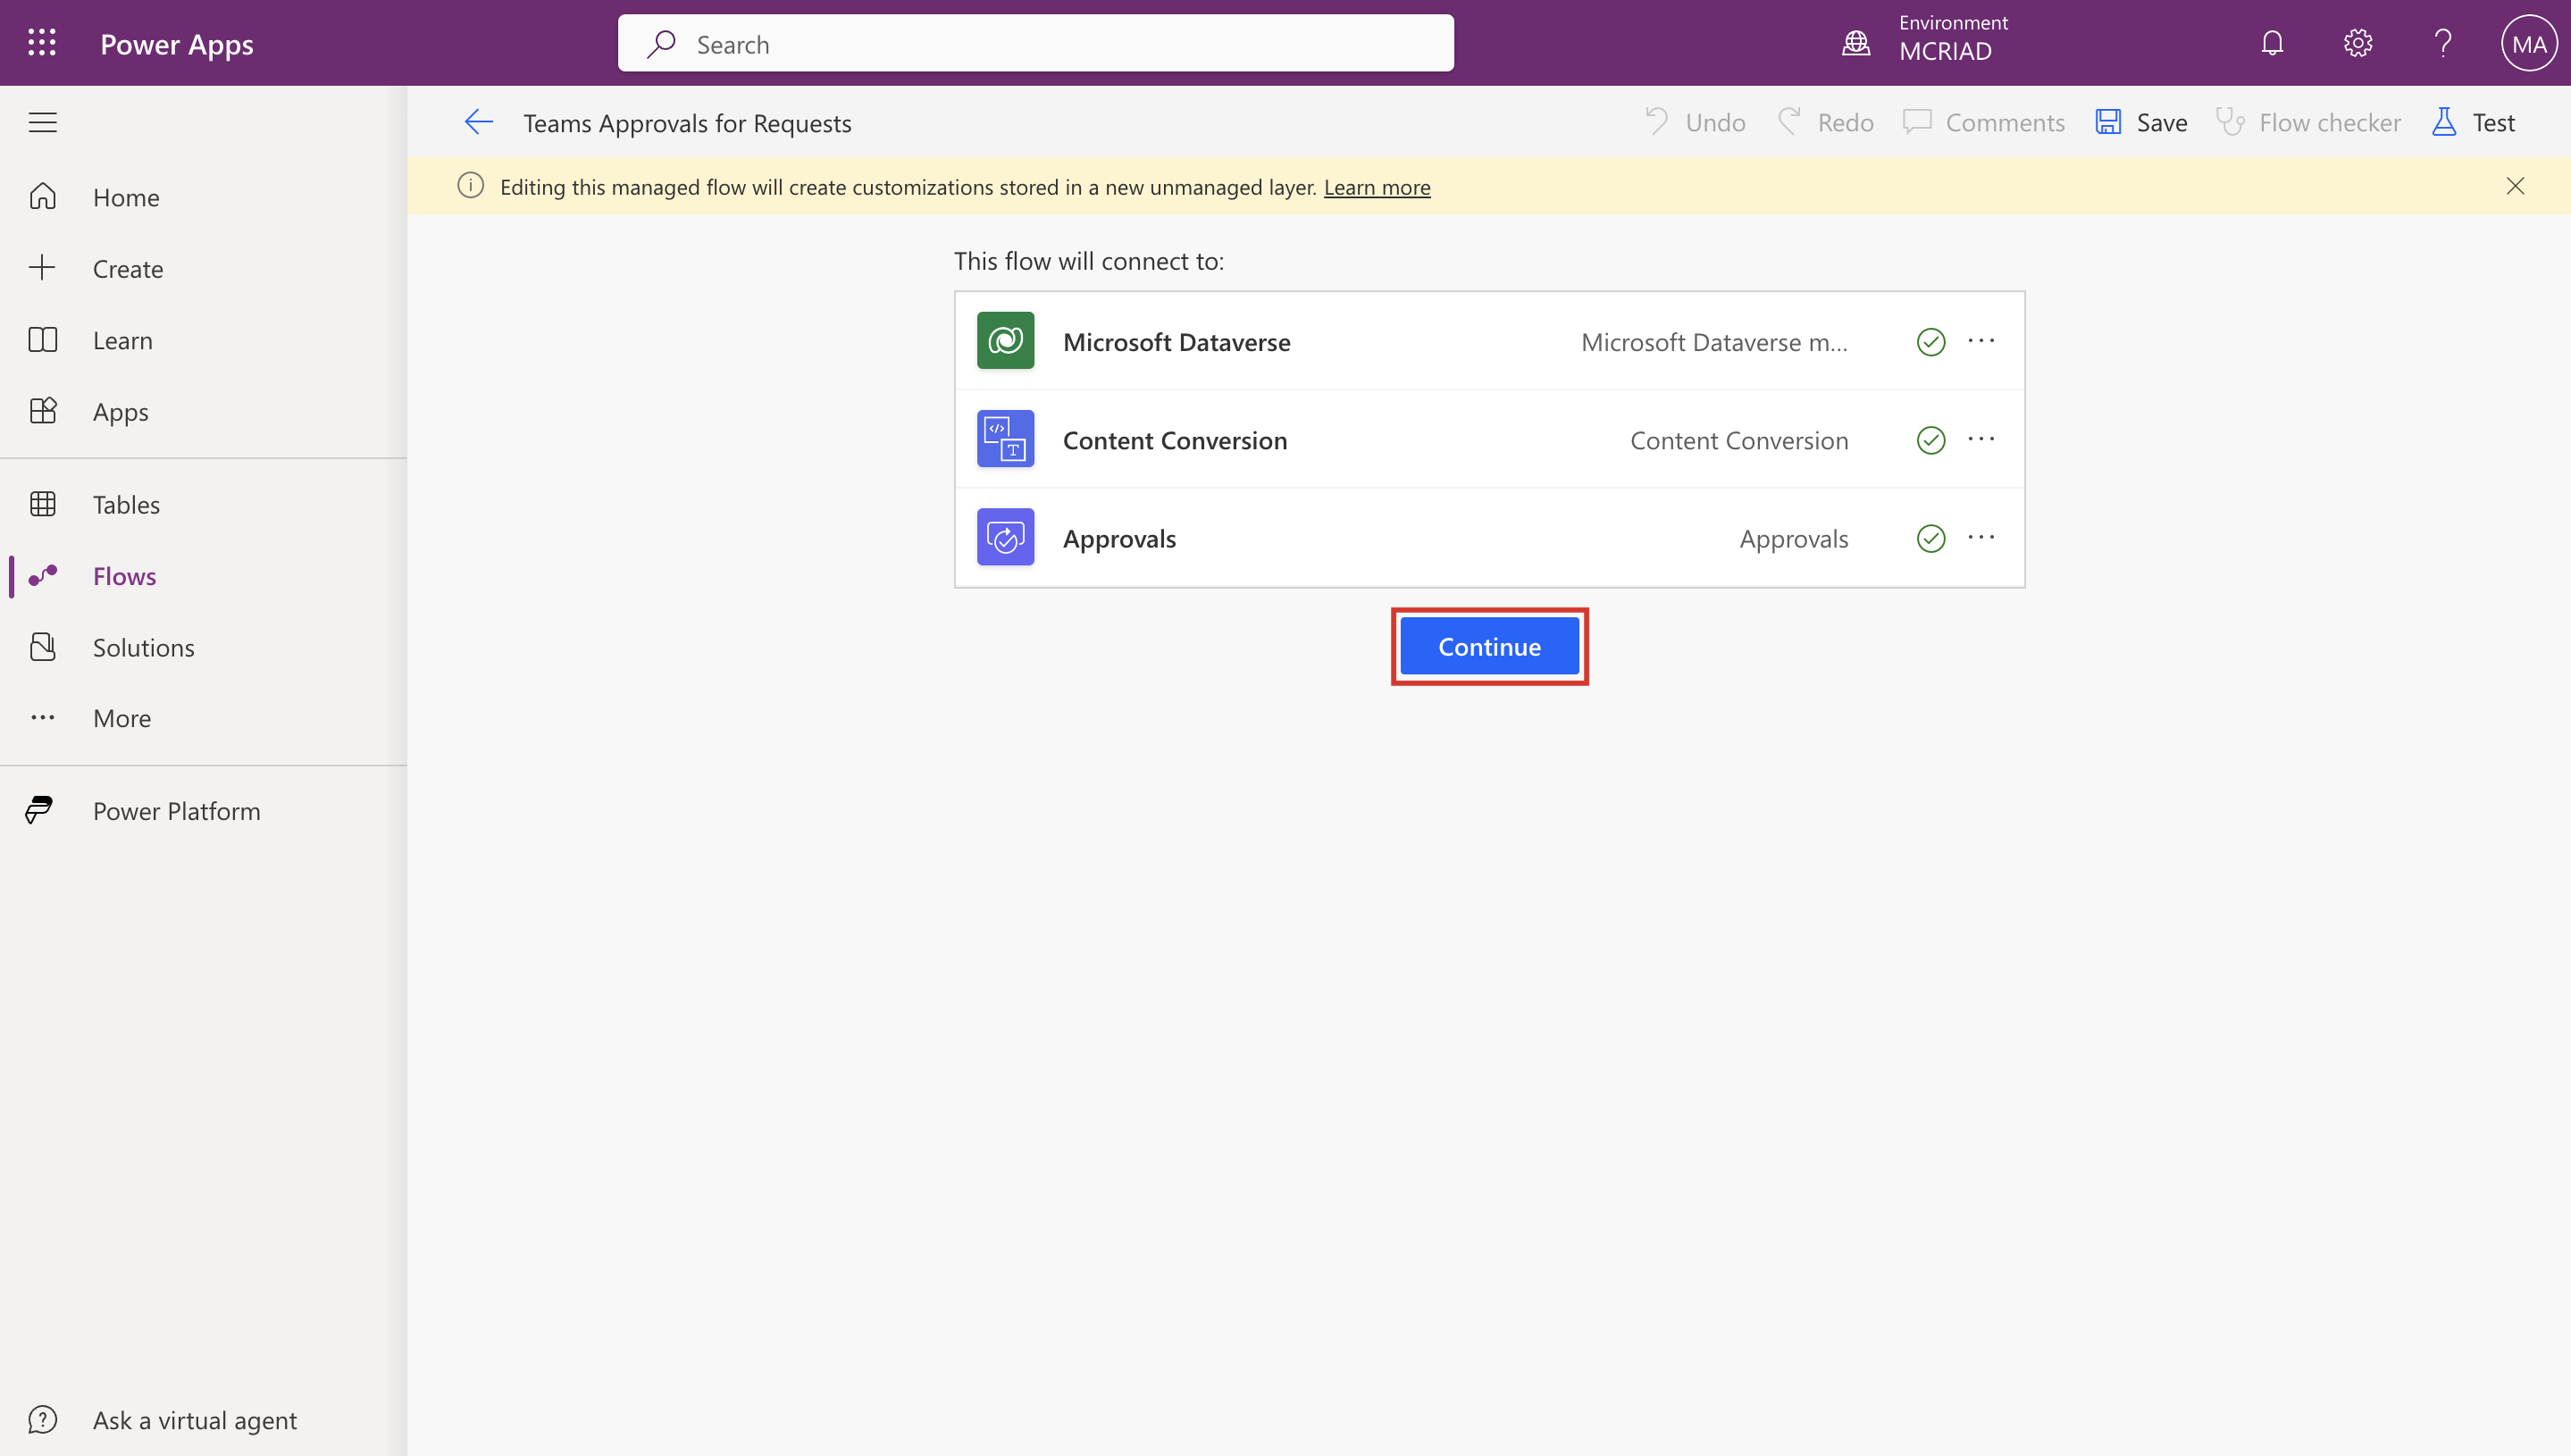
On the flow page, under the This flow will connect to section, select Create next to Content Conversion.
If asked, sign in by using your tenant credentials.
Select Create next to Approvals.
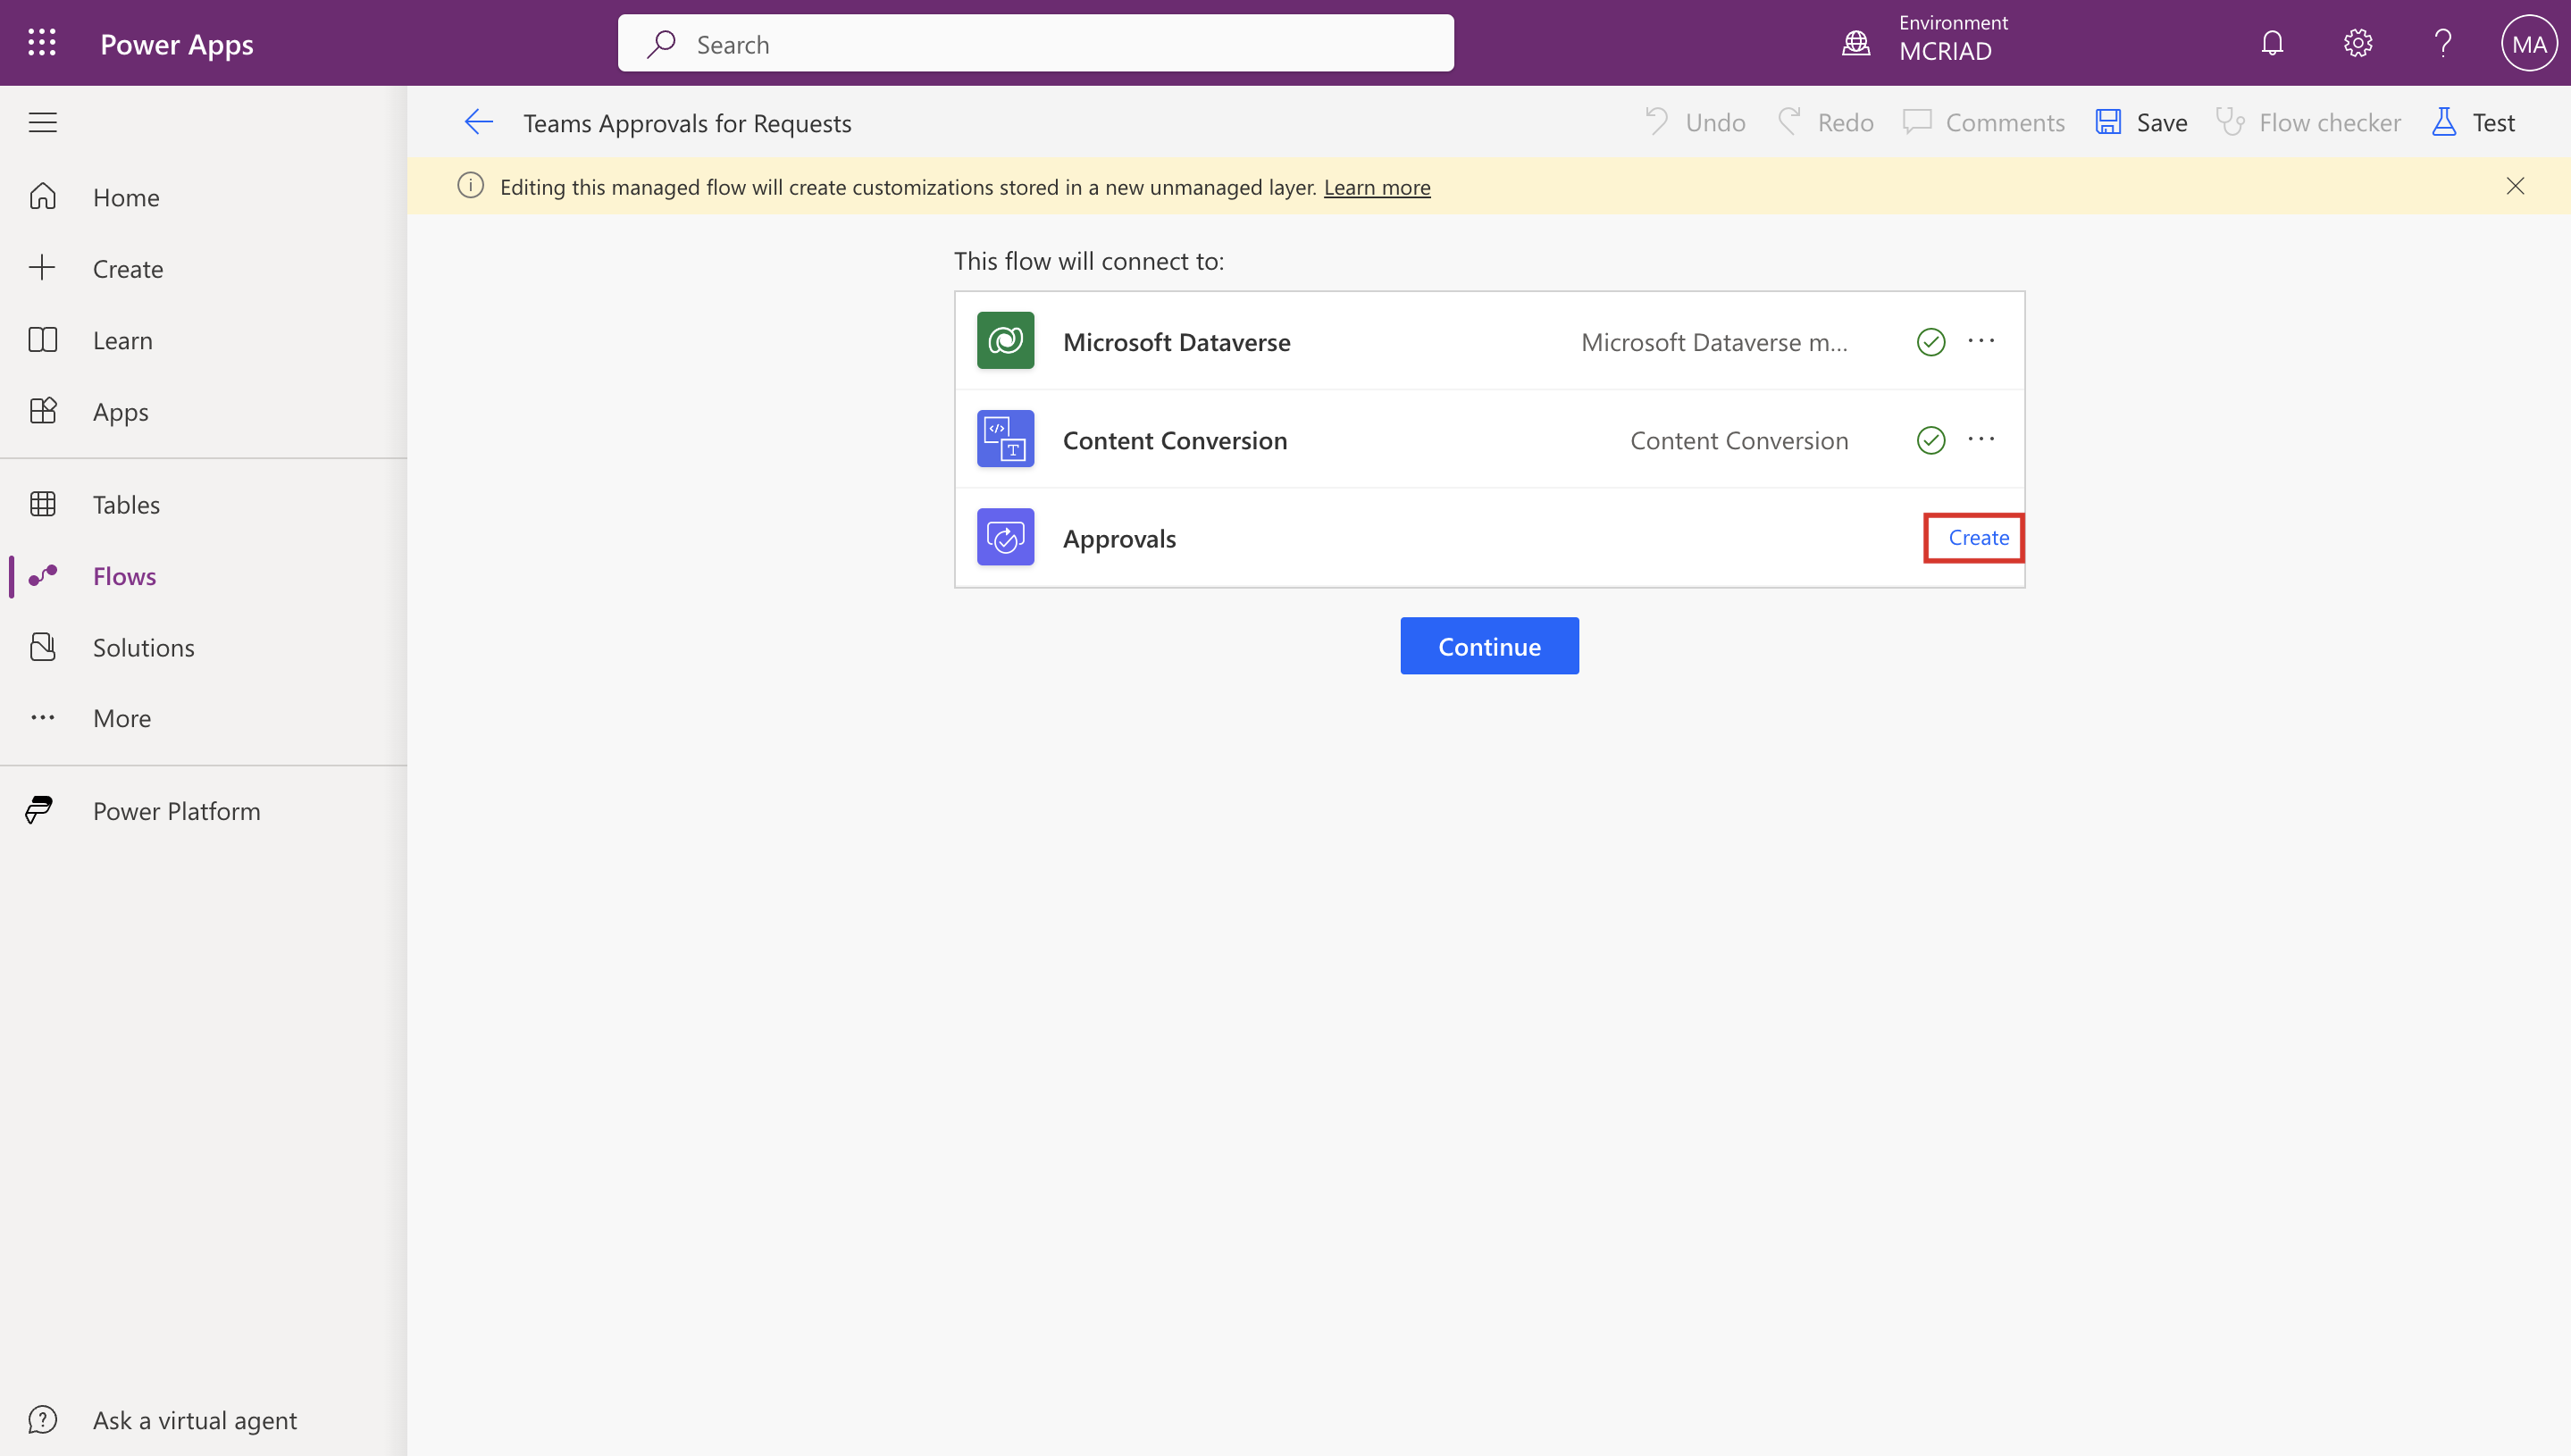
After both flows are created, select Continue.
You're redirected to the flow information page. From the command bar, select Turn on.
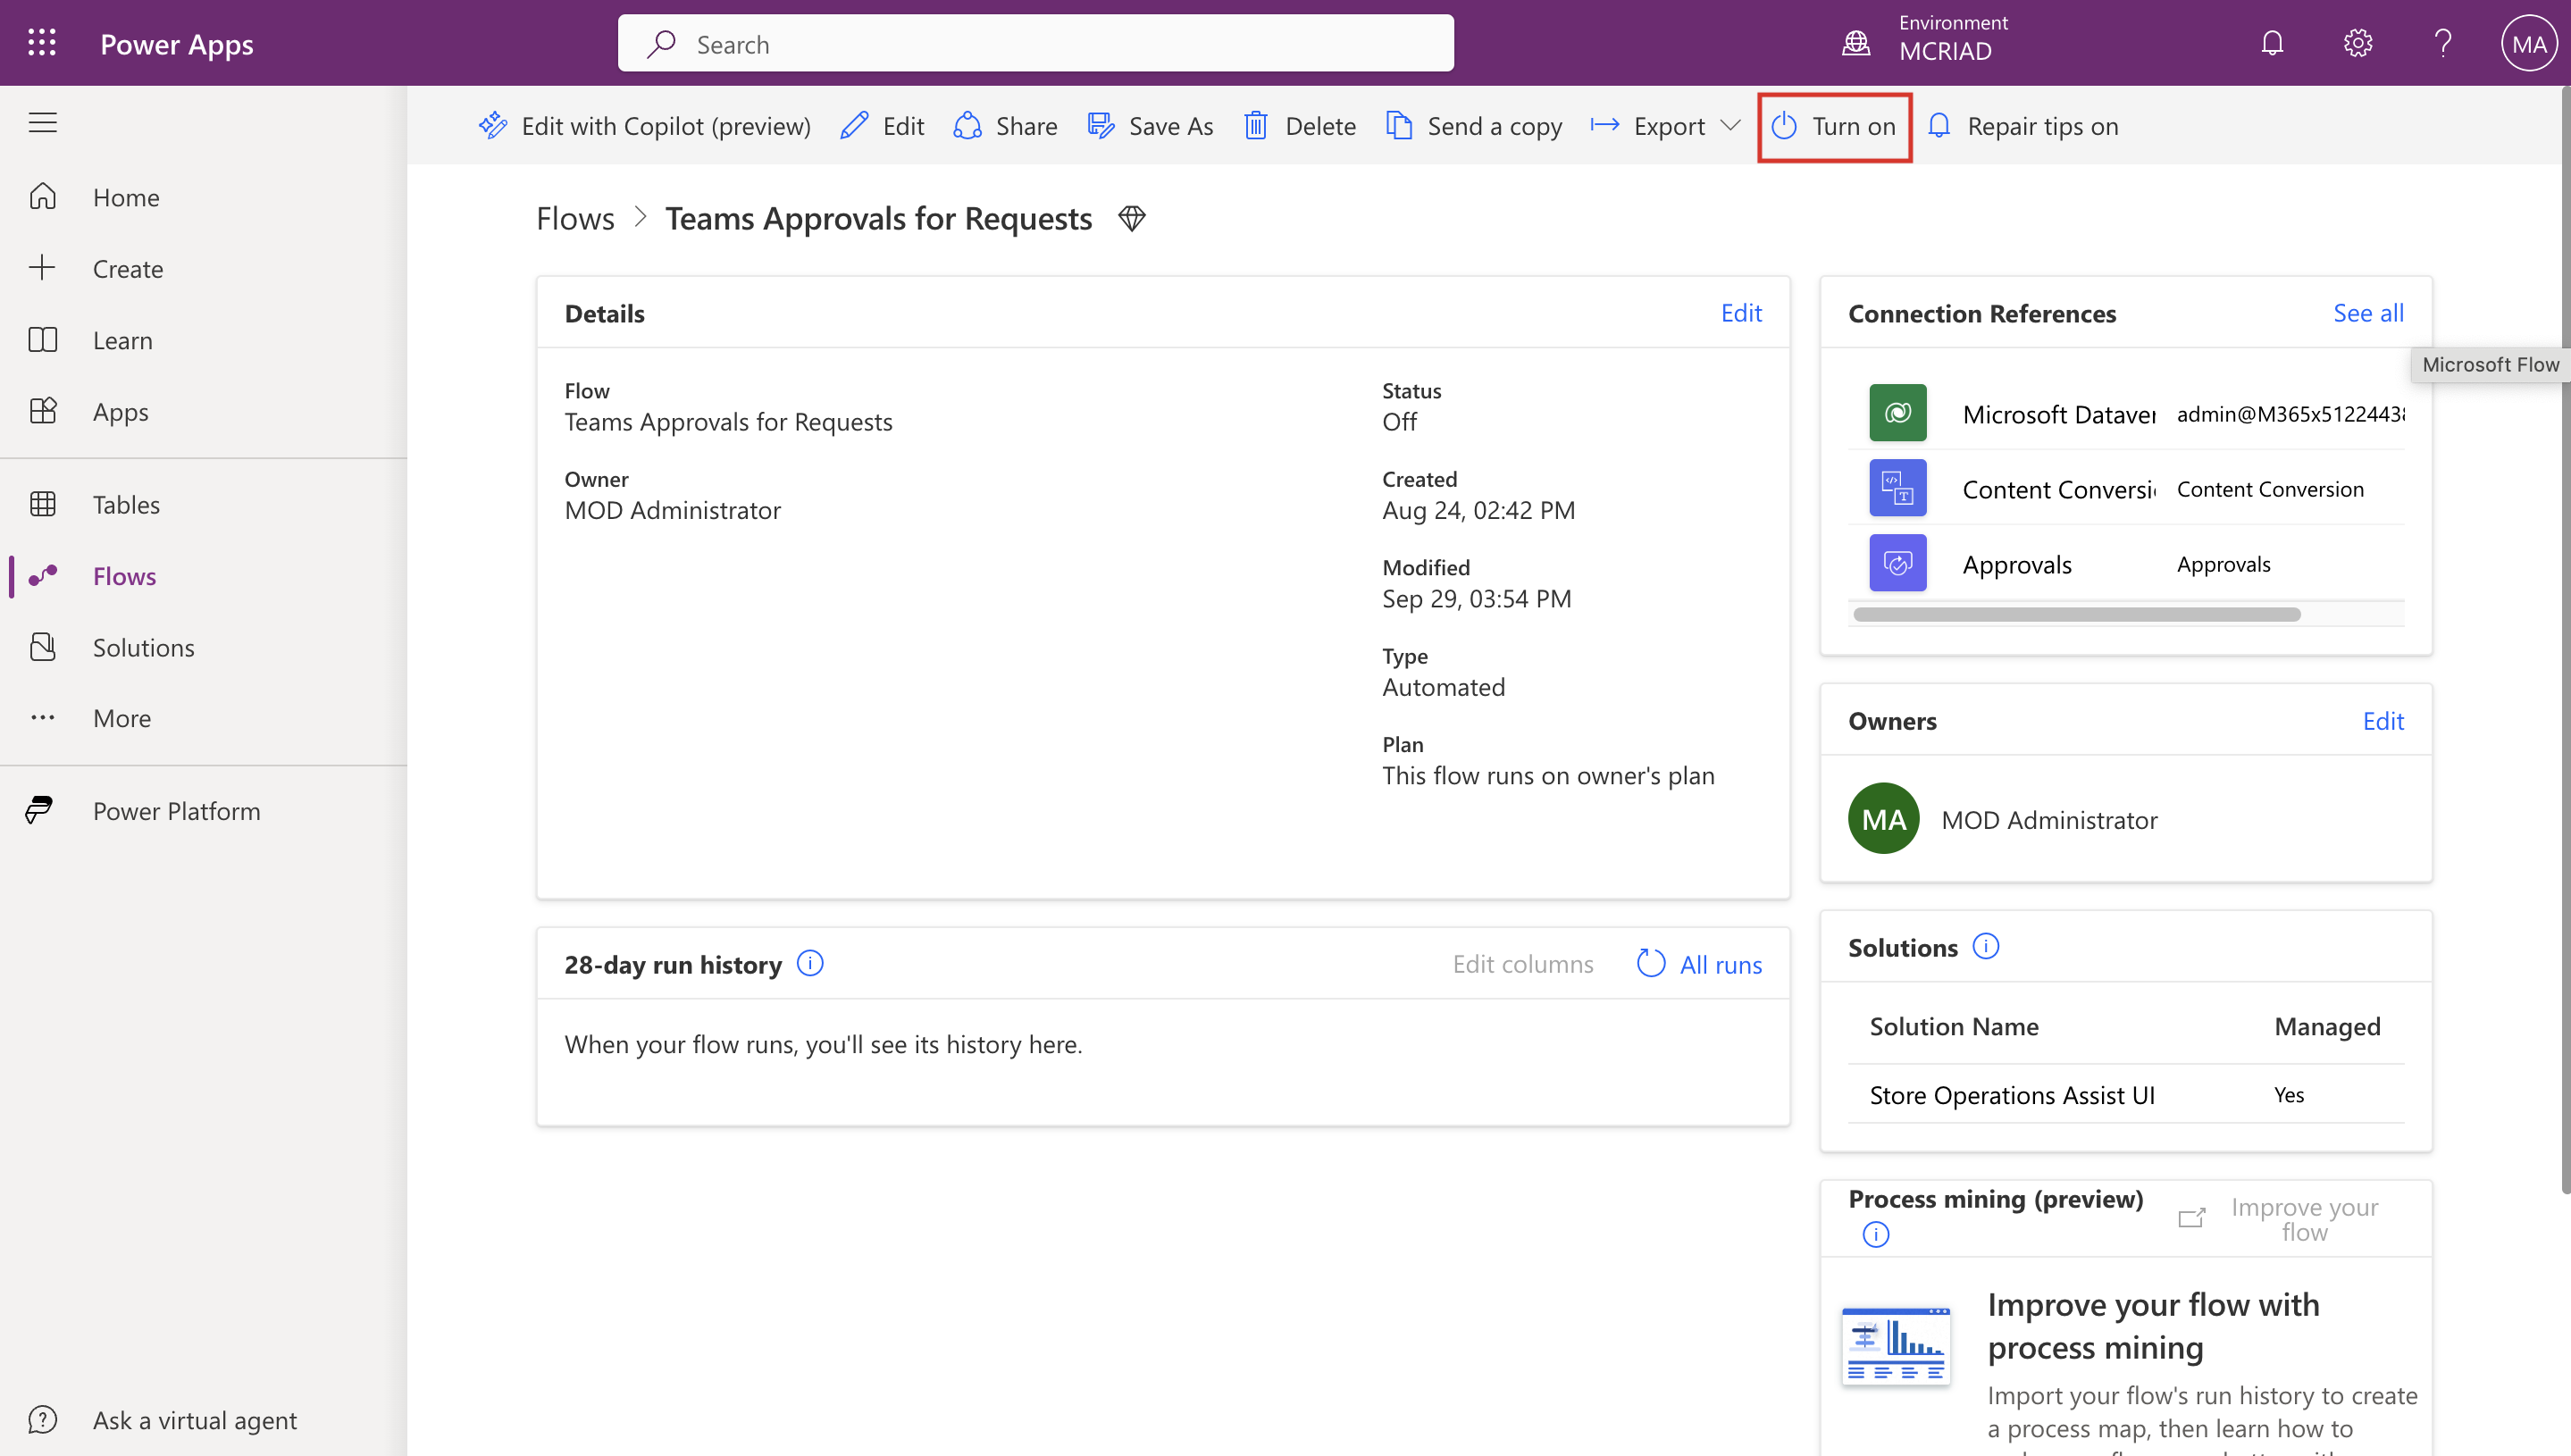


Now, your flow is ready to be used. The first time that the request is created, the flow is triggered.