Exercise - Create templates
In this exercise, you assume the persona of Alex Serra, regional manager, and create a form template, an inventory spot count template, and a product price update template.
Task: Create a form template
In this task, you create a form template for store associates to access all relevant and vital information in one place. The following screenshot shows an example of the store template design.

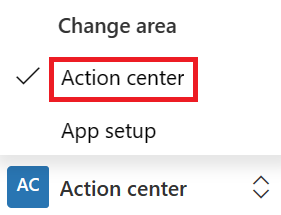
Change the navigation area on the lower left of the screen to Action center.
On the left navigation pane, select Templates.
Select New on the command bar to create a new template.
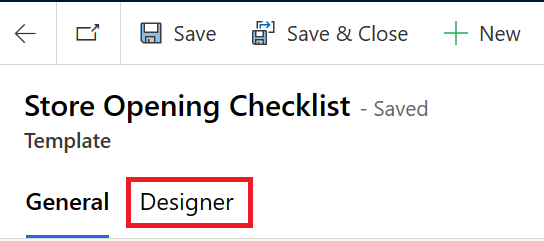
Enter Store Opening Checklist as the name and then select Save.

Select the Designer tab.
Copy the following values to the respective fields:
Description - Please follow the guidelines to enable a delightful shopping experience for the customers.
Guidelines:
Clean and Hygienic
- Shopping floor swept and cleaned
- Backstage area swept and cleaned
- Lounges and changing area swept and cleaned
Clutter Free and Welcoming
- All areas must be easy to navigate
- Wet floor signs removed
- Equipment stowed away neatly
- No stacks of stock placed on the shopping floor
Safety Compliance
- Hand sanitizers installed in billing area
- "Maintain social distance" signage put up
- Restricted material stowed away neatly
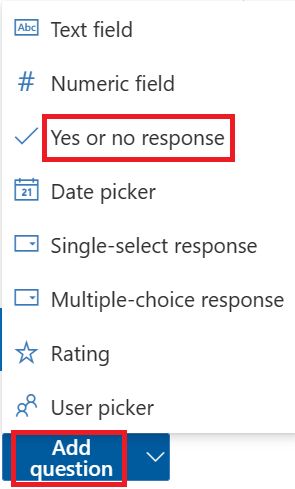
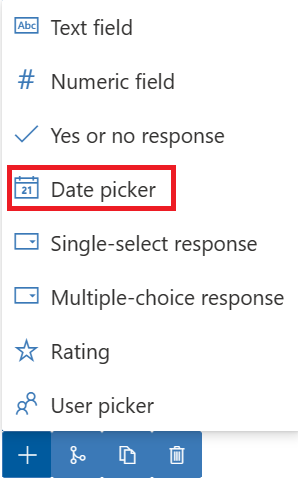
Select Add question and then select Yes or no response.
On the Properties pane in the right corner of the screen, enter the following values:
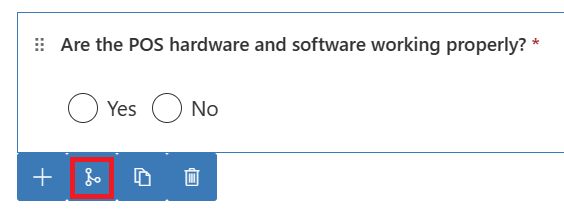
Question - Are the POS hardware and software working properly?
Response required - Turn on the toggle to enable Yes
Select Close (X) to close the Properties pane and save the question.
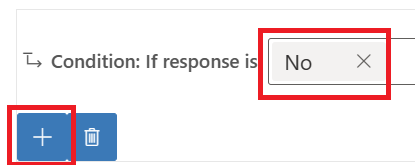
Select the branching icon below the question that you created.
Select the condition response as No and then select the plus (+) sign to add a new text field to display when the response for the question is selected as No.
On the new text field, enter the following details:
Question - Provide details
Helper text - Provide the details of the issues observed on the POS hardware/software
Response required - Yes
Select Close (X) to close the Properties pane and save the question.
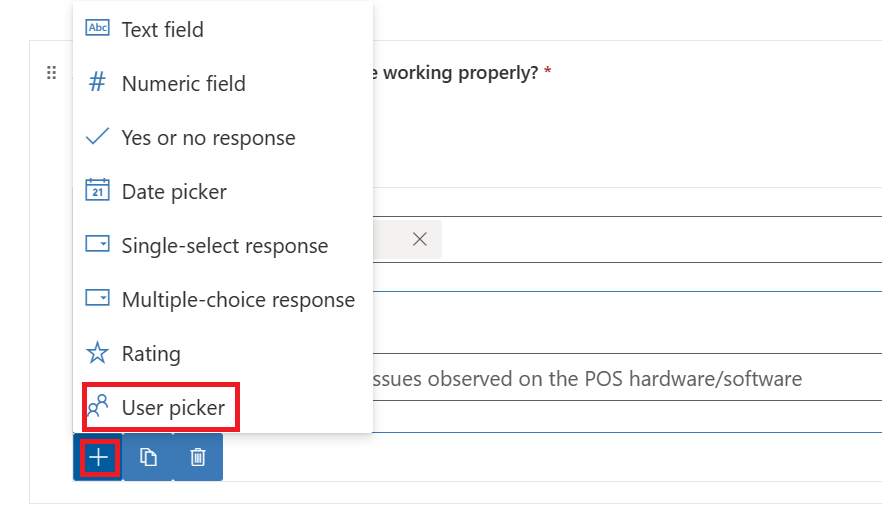
Select the plus (+) sign and select a User picker question beneath the main question. Enter the following details on the Properties pane:
Question - Select any other user to whom this issue needs to be reported.
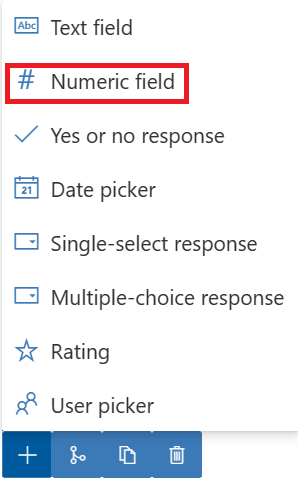
Select the plus (+) sign beneath the first question to create a Numeric field question.
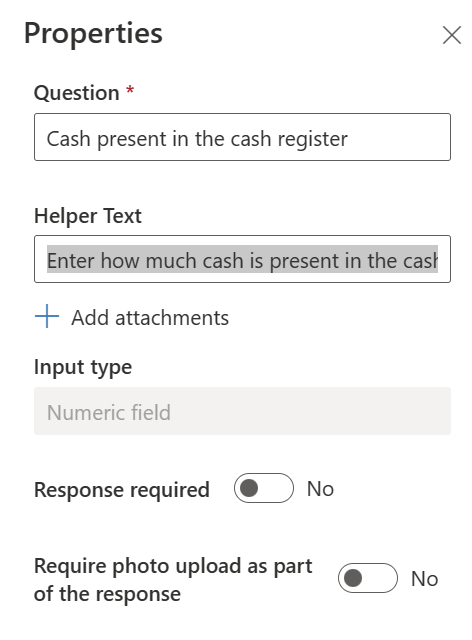
Provide the following values on the properties:
Question - Cash present in the cash register
Helper Text - Enter how much cash is present in the cash register
Select Close (X) to close the Properties pane and save the question.
Select the plus (+) sign beneath the previous question to create a Date picker question.
Provide the following values in the Properties pane:
Question - Date displayed on the calendar
Helper Text - Enter the date displayed on the calendar
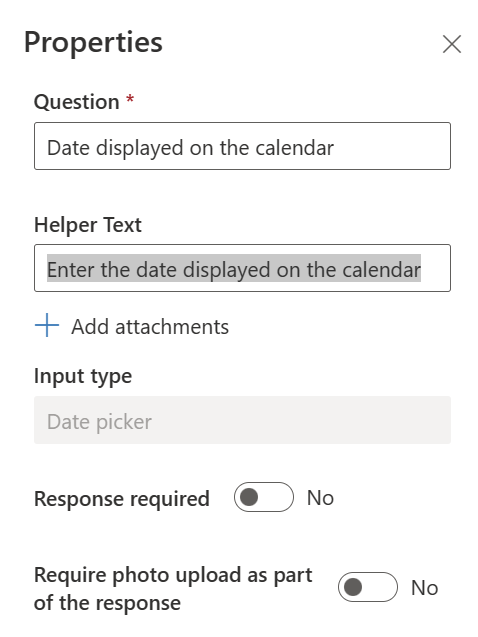
Select Close (X) to close the Properties pane and save the question.
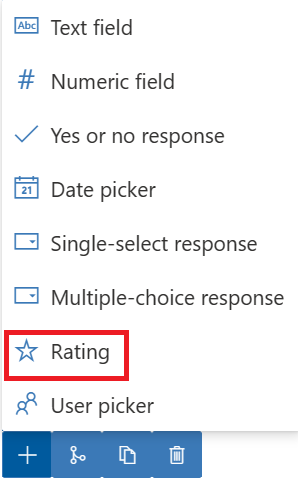
Select the plus (+) sign beneath the previous question to create a Rating question.
Provide the following value on the Properties pane:
Question - Rate the cleanliness of the store.
Select Close (X) to close the Properties pane and save the question.
Select the branching icon below the question that you've created.

Select the condition response as Less than 3 and then select Action icon > Add Task to add a new task object, which is displayed when the response for the preceding question is less than three stars.

Enter Clean the floor as the task name on the Properties pane for the conditional task. This task is automatically created if the mentioned condition is met.
Select Close (X) to close the Properties pane and save the question.
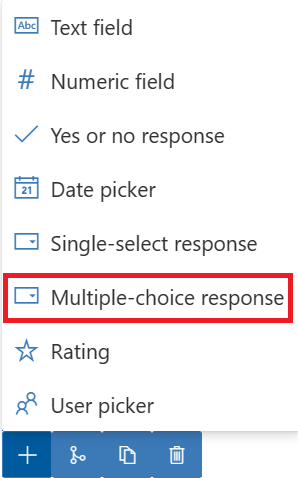
Select the plus (+) sign beneath the Rating question block to create a Multiple-choice response question.
Provide the following values on the Properties pane:
Question - Which of the following areas requires additional cleaning?
Dropdown Options:
- Men's Clothing
- Women's Clothing
- Kids Clothing
- Accessories
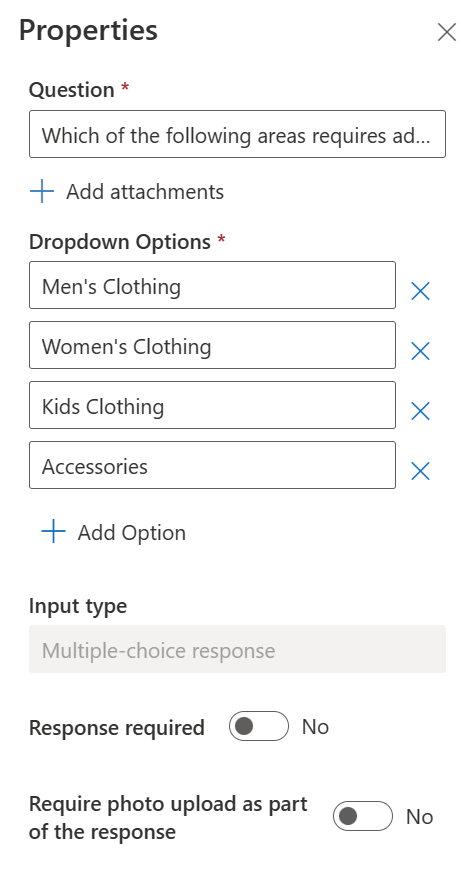
Select Close (X) to close the Properties pane and save the question.
Select the plus (+) sign beneath the previous question to create a Yes or no response question.
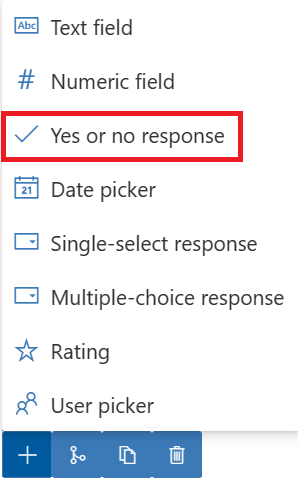
Provide the following values on the Properties pane:
Question - Is the store layout compliant as per the image displayed?
Select Add attachments on the Properties pane to upload the following image: super-store-layout.
Require photo upload as part of the response - Yes
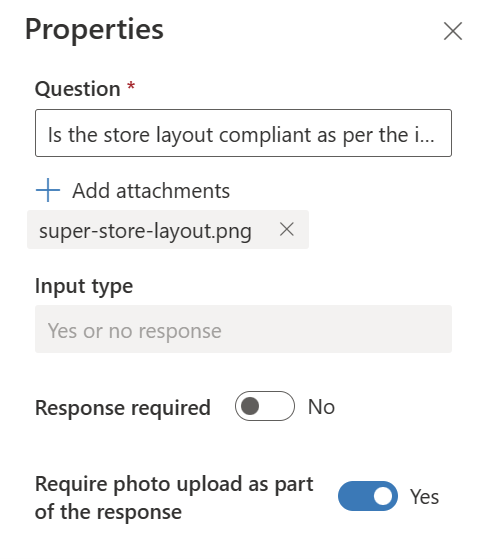
Select Close (X) to close the Properties pane and save the question.
On the upper command bar, select Save and then select Publish to finalize the form template.
Select Yes on the confirmation dialog.


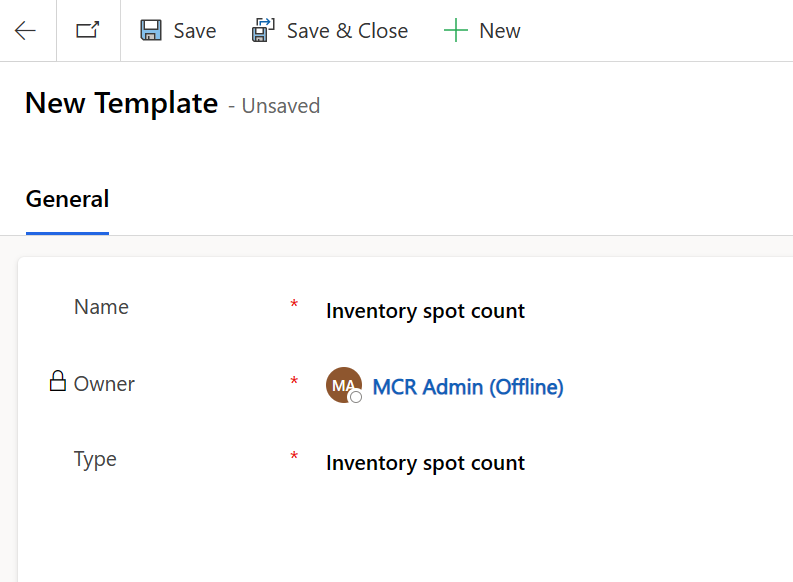
Task: Create an inventory spot count template
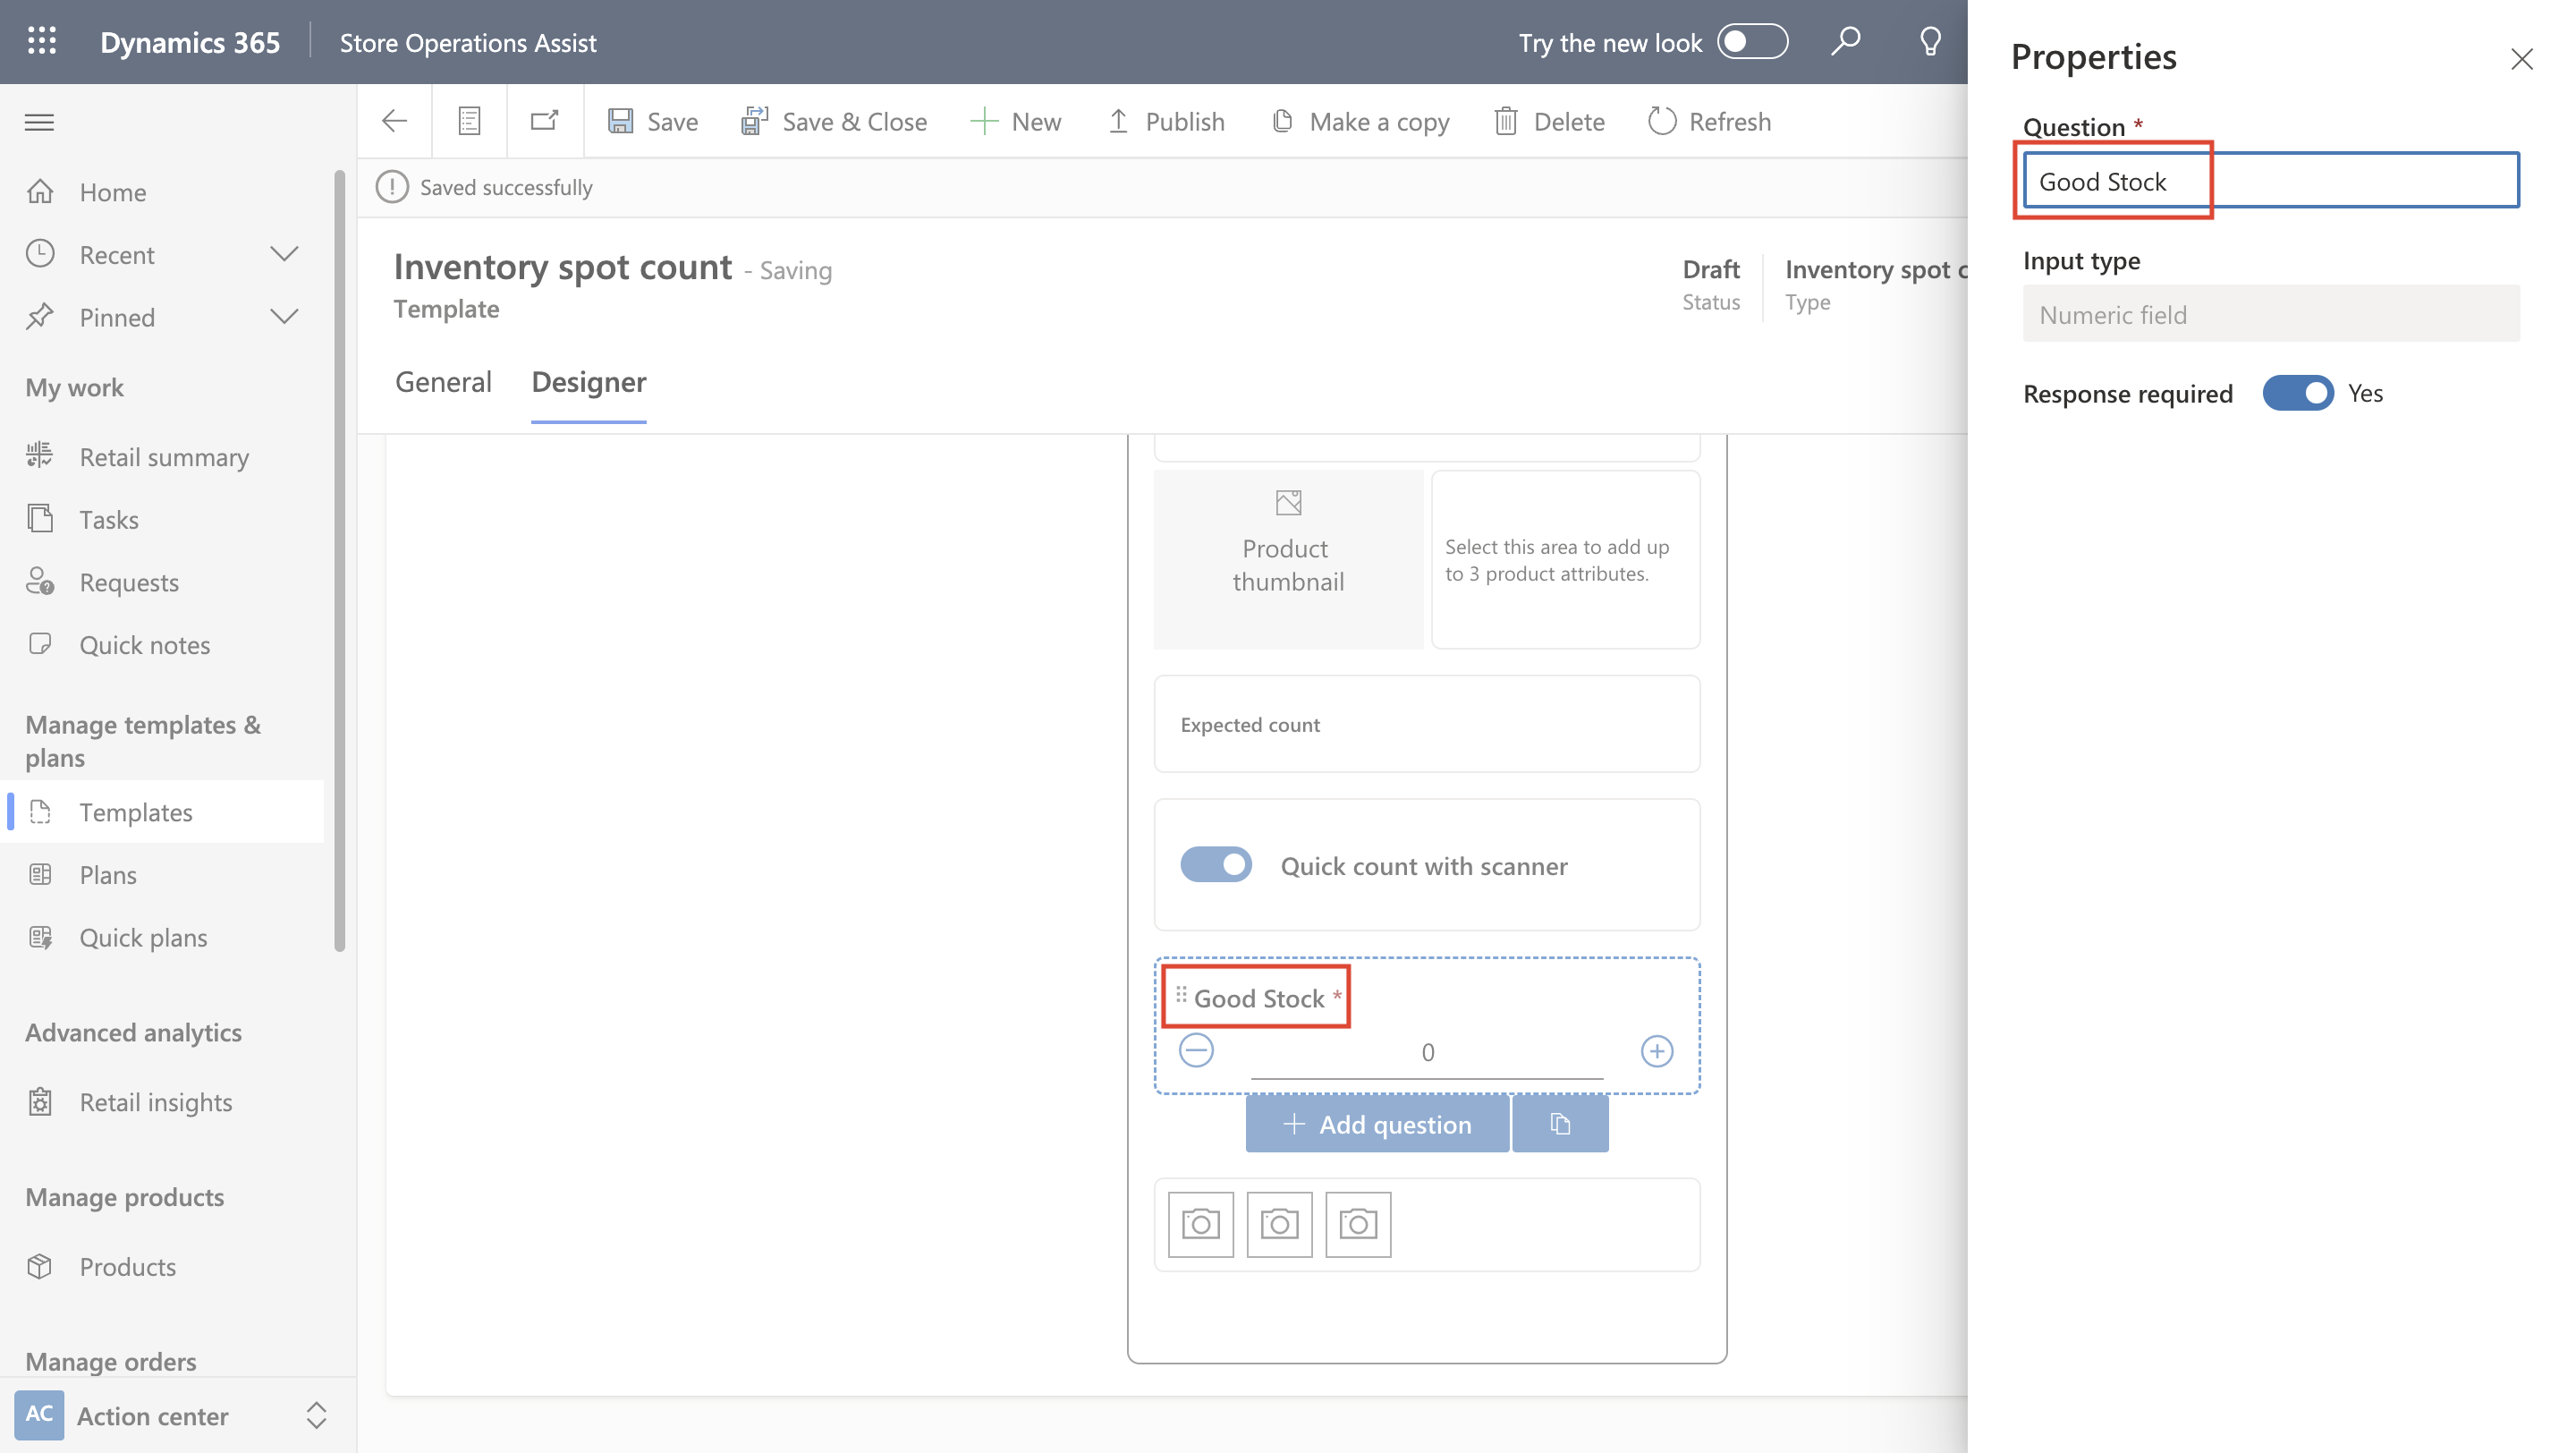
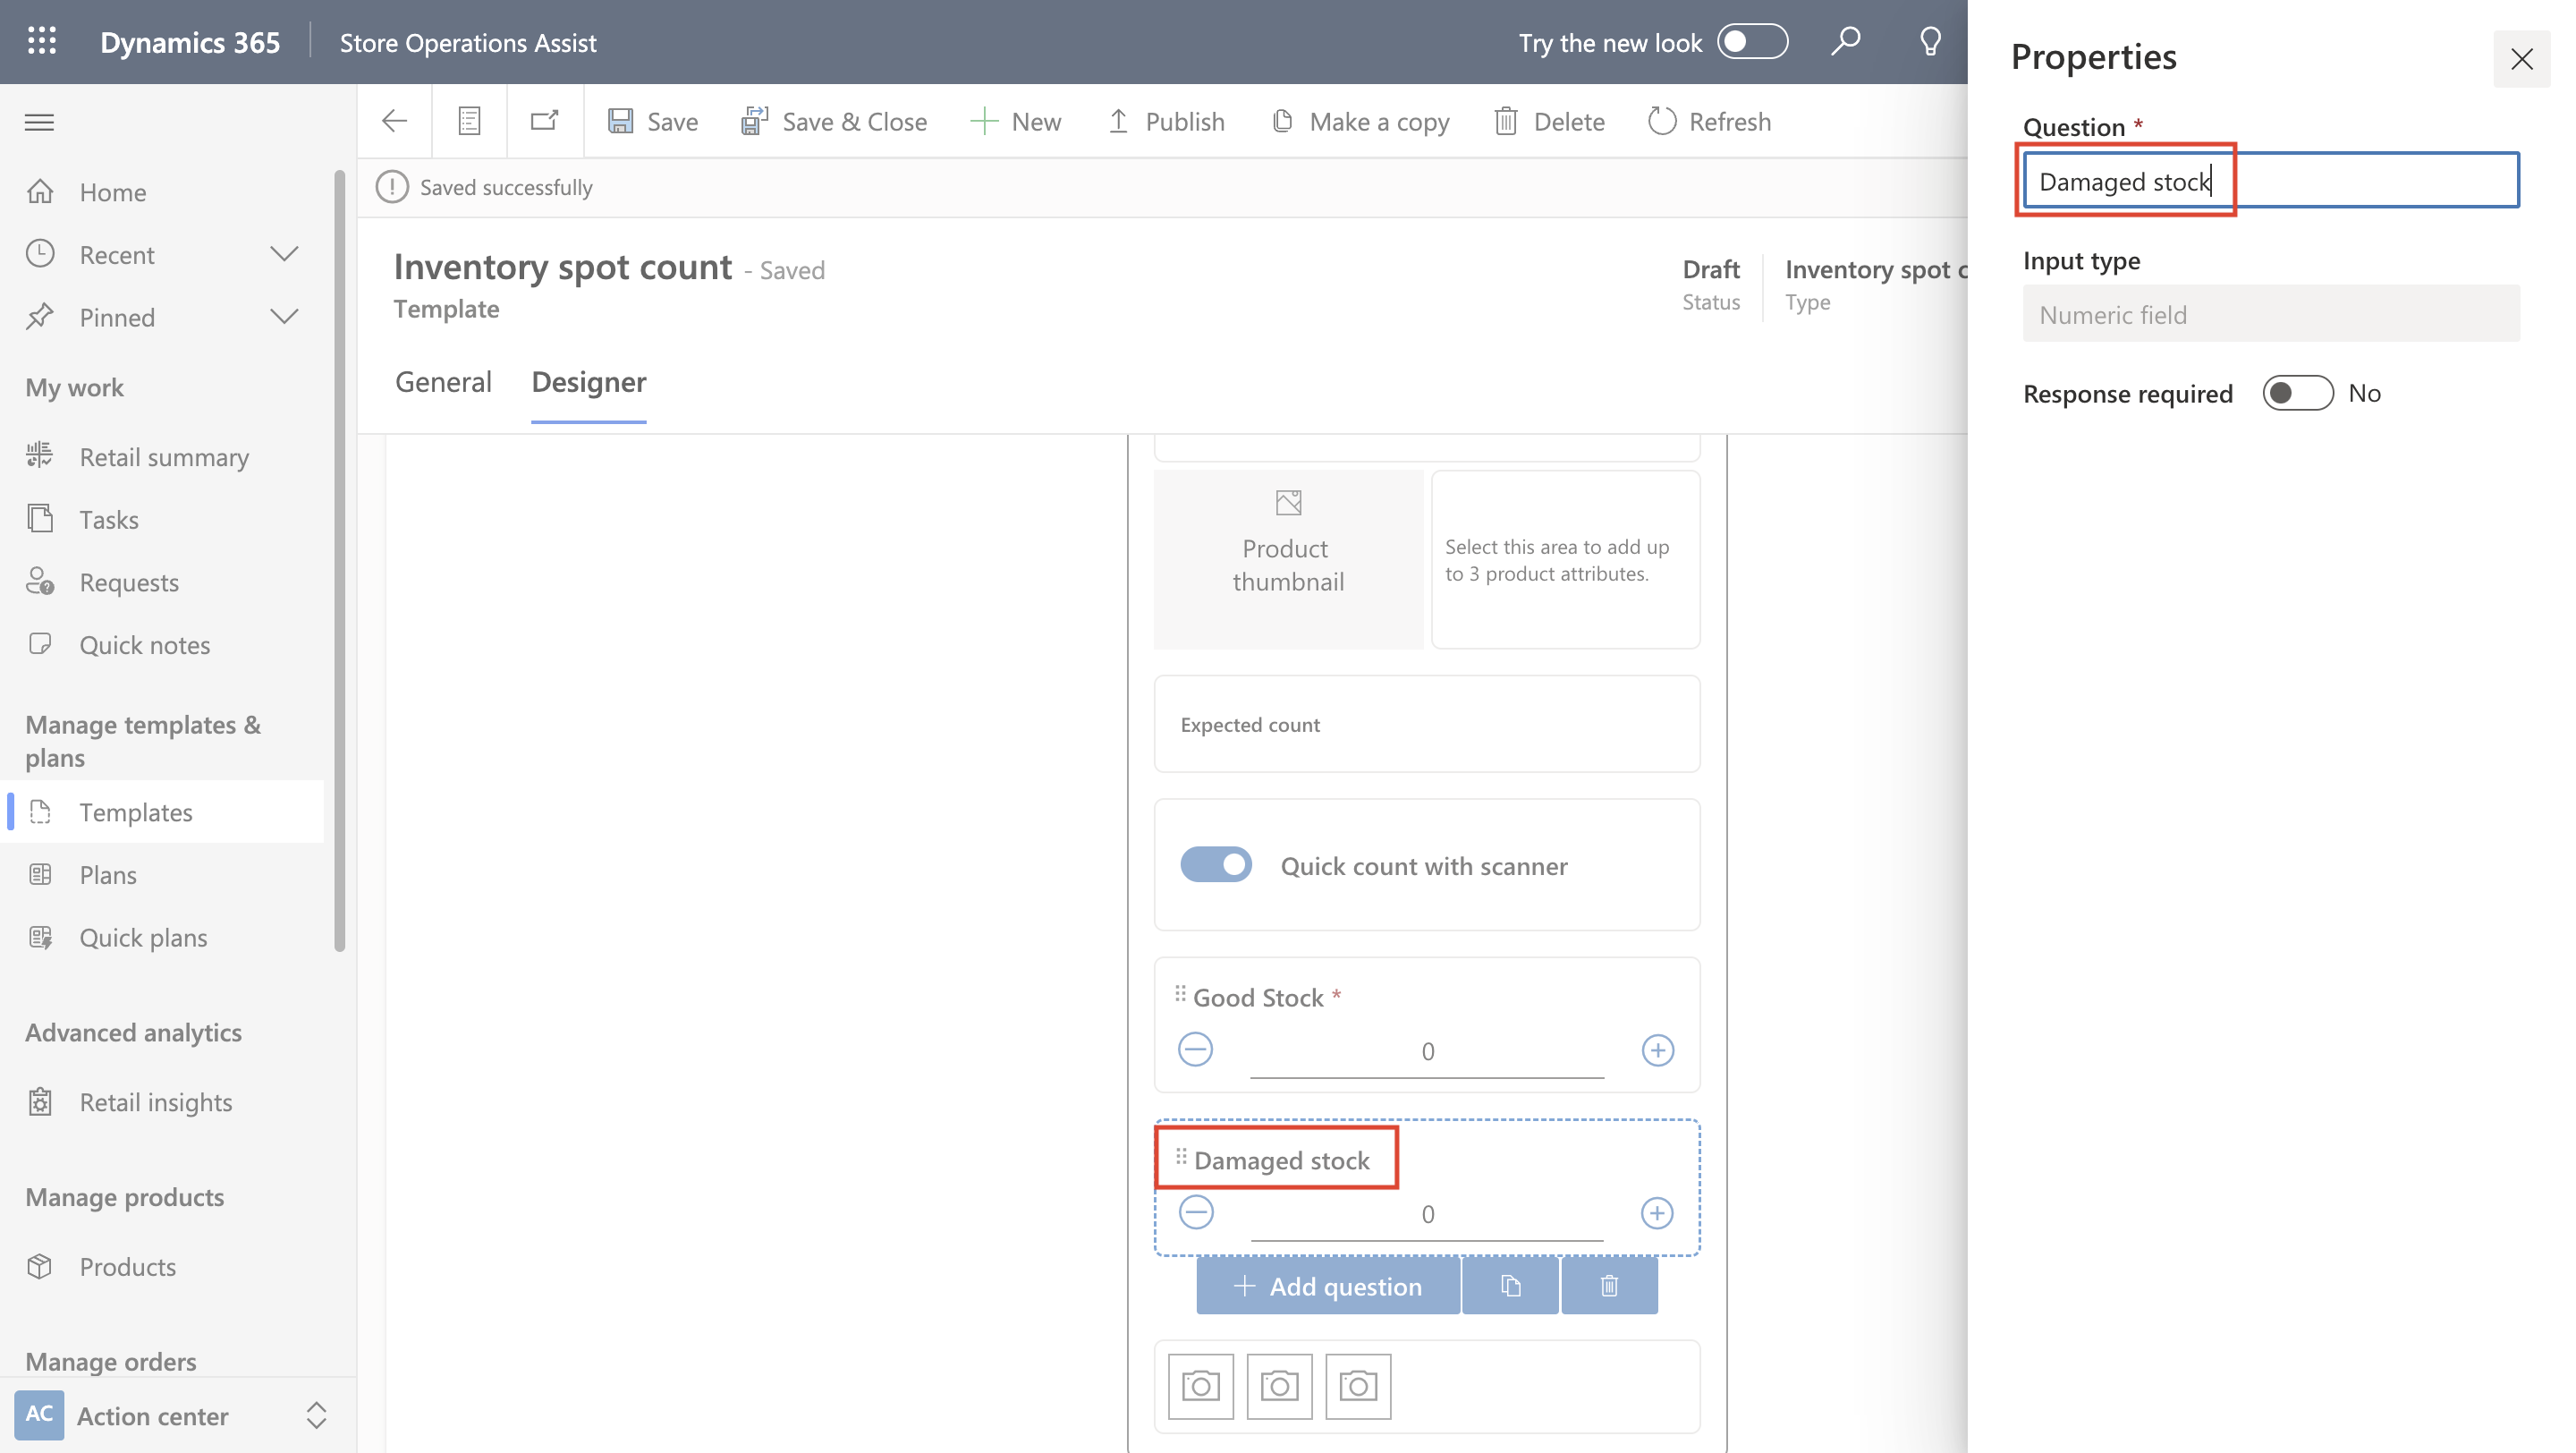
In this task, you create an inventory spot count template for footwear products. The following screenshot shows an example of the inventory spot count template.

Select New on the command bar to create a new template.
Enter Inventory spot count as the name, select Inventory spot count as the Type, and then select Save.
On the Designer tab, select Count. On the Properties pane on the right, change the Question field entry to Good stock. Select Close (X) to close the Properties pane and save the question.
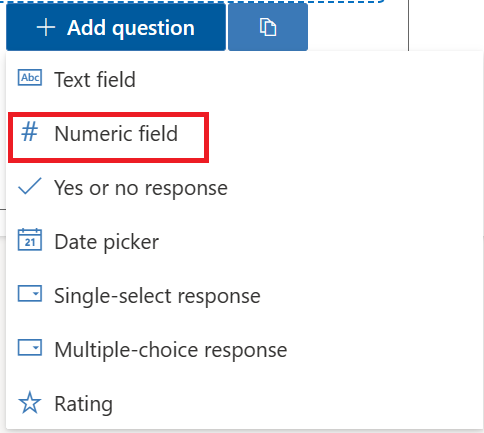
Select Add question and then select Numeric field.
On the Properties pane on the right, change the Question field entry to Damaged stock. Select Close (X) to close the Properties pane and save the question.
On the upper command bar, select Save and then select Publish to finalize the template.
Select Yes on the confirmation dialog.


Task: Create a product price update template
In this task, you create a product price update template for capturing new price updates. The following screenshot shows an example of the product price update template.

Select New on the command bar to create a new template.
Enter Product price update as the name, select Product price update for the Type, and then select Save.

On the Designer tab, on the upper command bar, select Save and then select Publish to finalize the template.
Select Yes on the confirmation dialog.
