Exercise - Send a copy
In this exercise, you create a cloud flow, send a copy of the cloud flow to yourself, and then test the cloud flow.
Important
Use a test environment for the exercise.
Task 1: Create a cloud flow
In this task, you create a cloud flow that sends a daily weather notification for a certain city.
Go to Power Automate and make sure that you're in the correct environment.
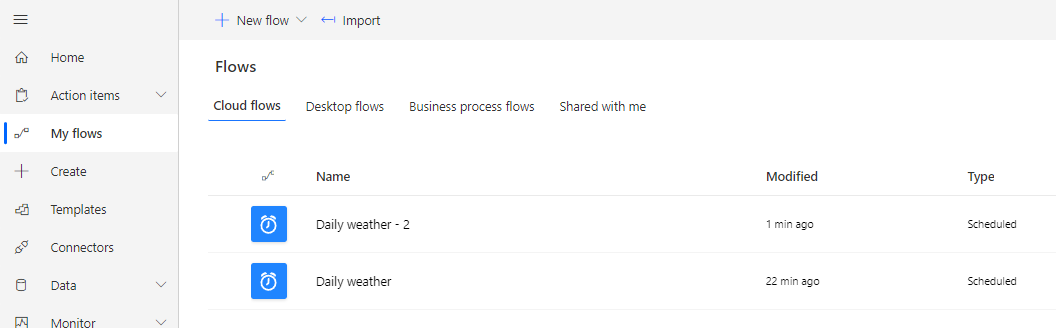
Select My flows.
Select + New Flow.
Select Scheduled cloud flow.
Enter Daily weather for Flow name. For Repeat every, select 1 Day and then select Create.

Select the + icon, then Add an action to add a new action.
Search for weather and then select Get forecast for today (MSN Weather).
Make sure the Get forecast for today action is selected and select Create New, then enter Denver or any city that you want for Location, select Imperial for Units

Select the + icon underneath the Get Forecast for Today action, then Add an action.
Search for send email and then select Send me an email notification under Notifications.
On the left, select Create New and then for the Subject type Today's weather.
Select the Body field and then select the lightning bolt to open the Dynamic Content.
Search for Day Summary and select it.

Type with high in the Body field and then select the lightning bolt to open the Dynamic content panel.
Search for and select Temperature High from the Dynamic content panel.
Type and low and then select the lightning bolt to open the Dynamic content panel.
Search for and select Temperature Low from the Dynamic content pane.
The Send me an email notification step should now resemble the following image. Select Save and then wait for the flow to be saved.

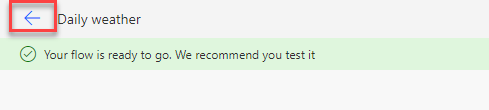
Select the back arrow button next to the flow's name in the top left hand corner.
Select Run.
Select Run flow.
Select Done.
The flow run should succeed.
Select the App launcher in the top left hand corner, right-click Outlook, and then select Open in new tab.
You should receive the email notification that the flow sent.
Go to the flow details browser tab.
Don't navigate away from this page.

Task 2: Send a copy
In this task, you send a copy of the cloud flow that you created to yourself. You might send the copy to another user if you have more than one user in your tenant.
Select Send a copy.

Enter Cloud flow that sends a weather email notification in the Description field, select your username and any other user that you want to send the copy to, and then select Send.

Go to the Outlook browser tab.
You should receive an email from Power Automate. Select Create My Flow.

Power Automate should launch and display the flow template. Select Continue to flow creation.
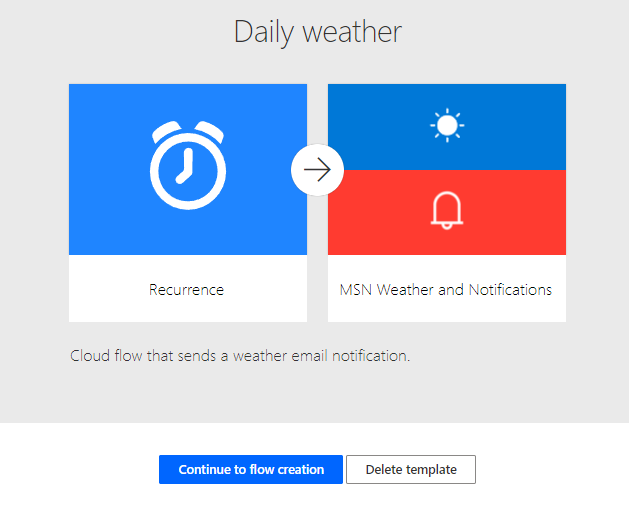
Power Automate should display the connectors that the flow uses. Select Create flow.

Select Run.
Select Run flow.
Select Done.
The flow should succeed, and you should receive the weather email notification.
Select My flows.
The original flow that you created should display, and the flow copy that you sent to yourself should also display, assuming that you sent the copy to yourself.