Exercise - Use reverb to add distance to spatial audio
In the previous exercise, you added spatialization for the sounds to give them a sense of direction. In this exercise, you'll add a reverb effect to give sounds a sense of distance.
Add a mixer group and a reverb effect
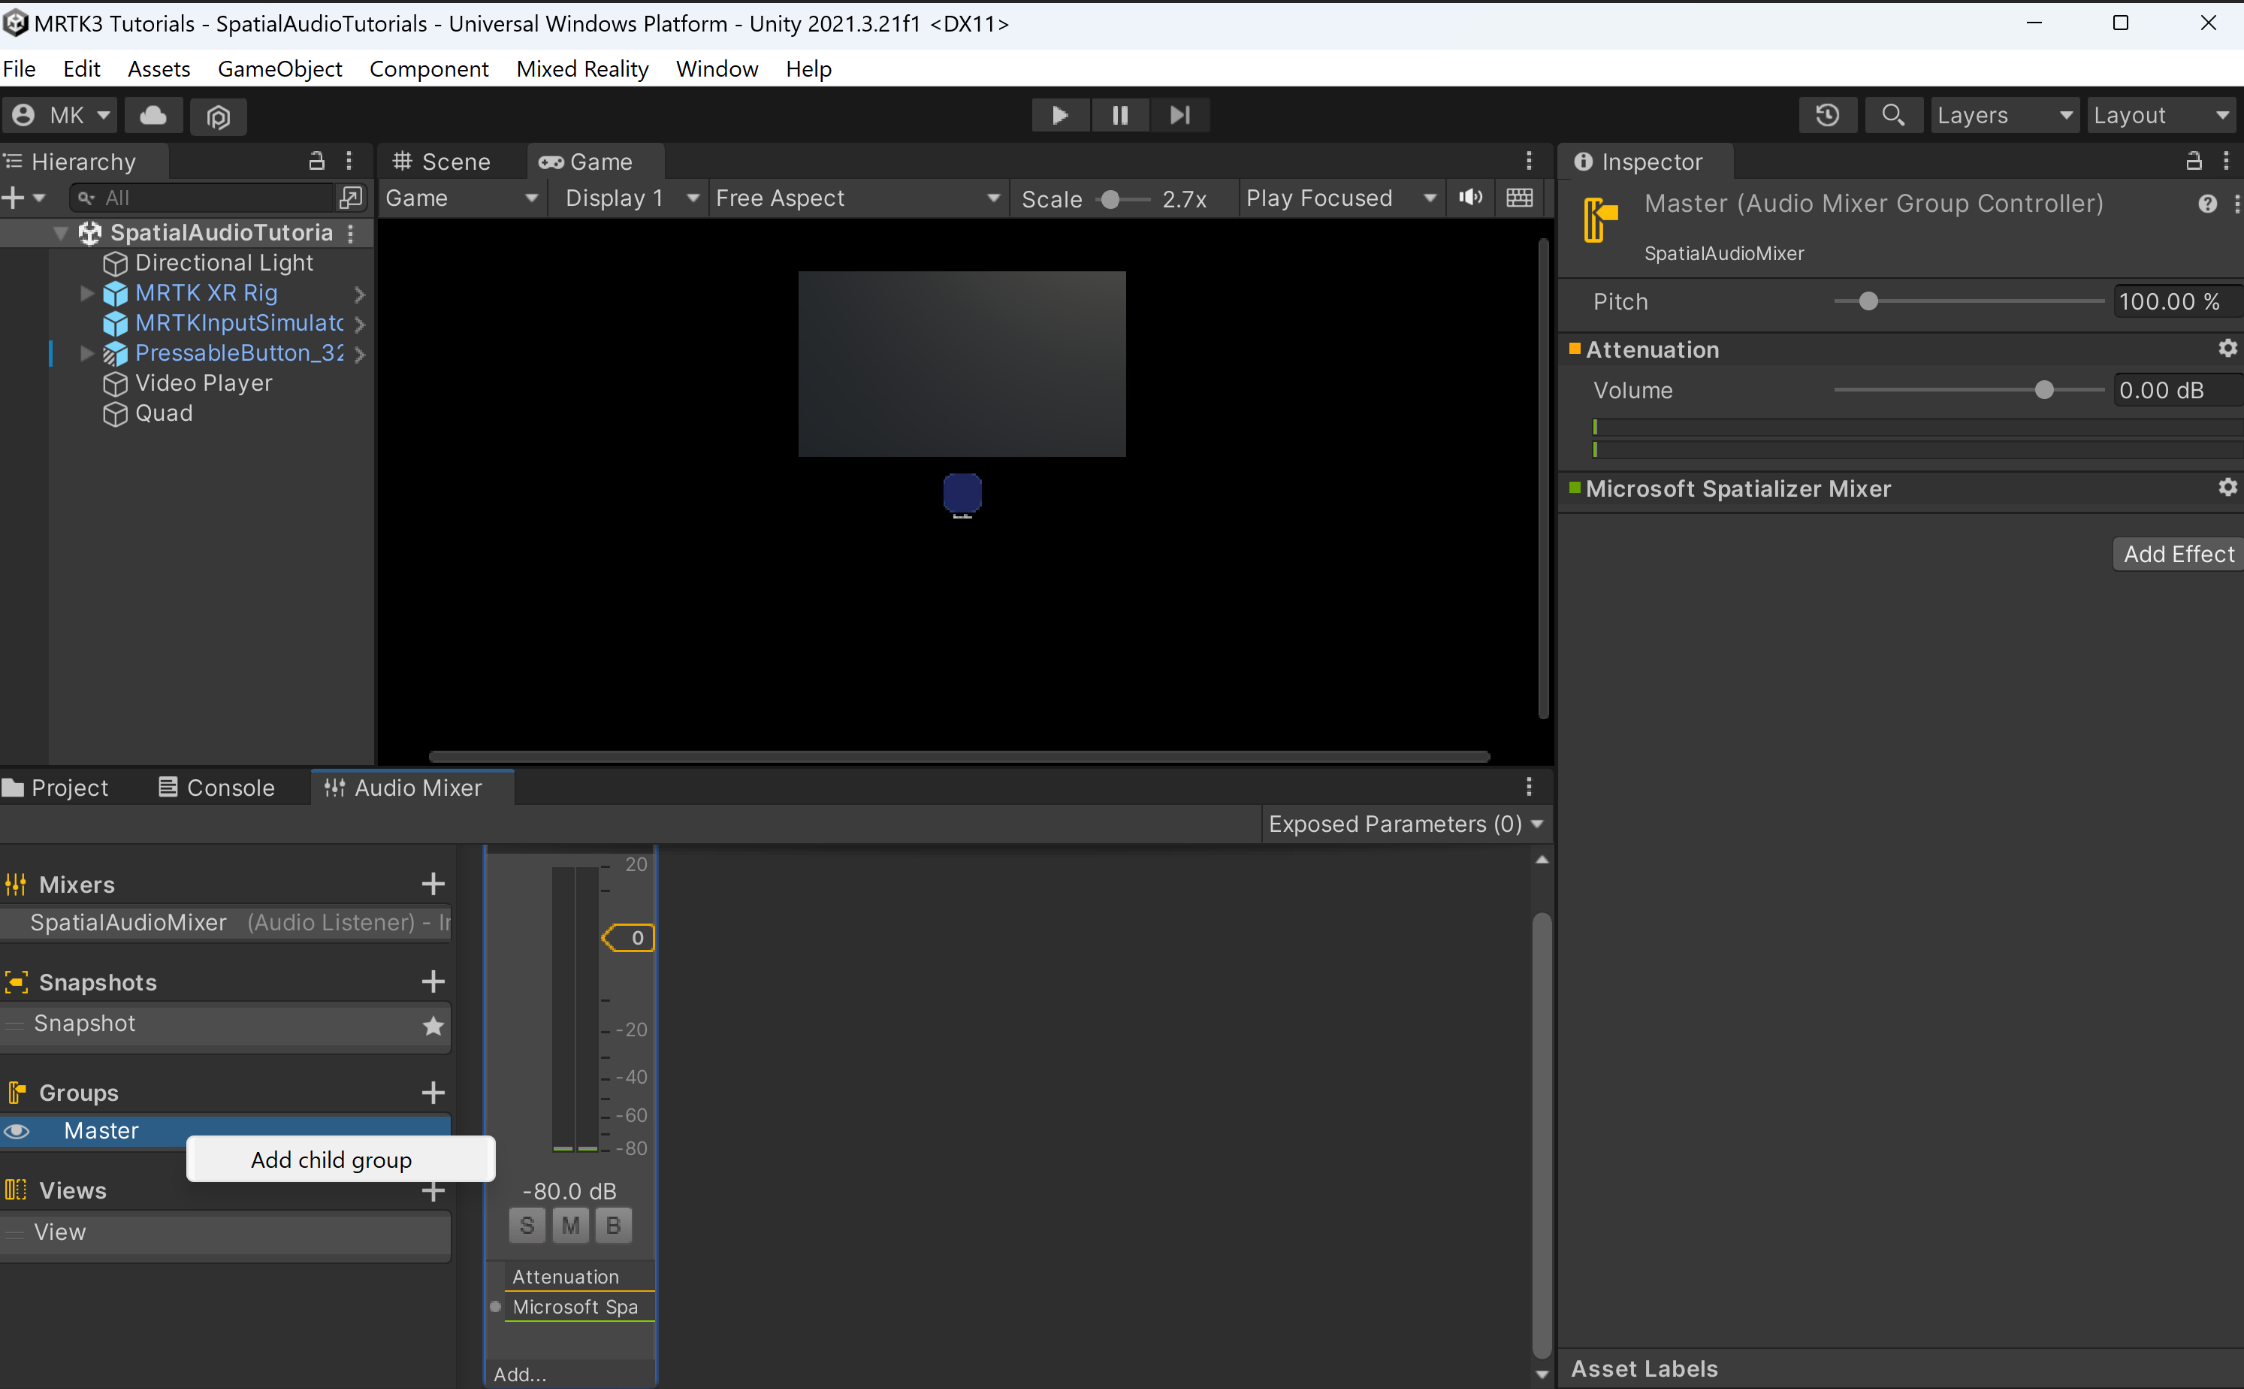
Previously, we added a mixer. The mixer includes one Group by default, called Master. Because we'll only want to apply a reverb effect to some sounds, let's add a second Group for those sounds. To add a Group, right-click on the Master group in the Audio Mixer choose Add child group. Give the group a suitable name; for example Room Effect:
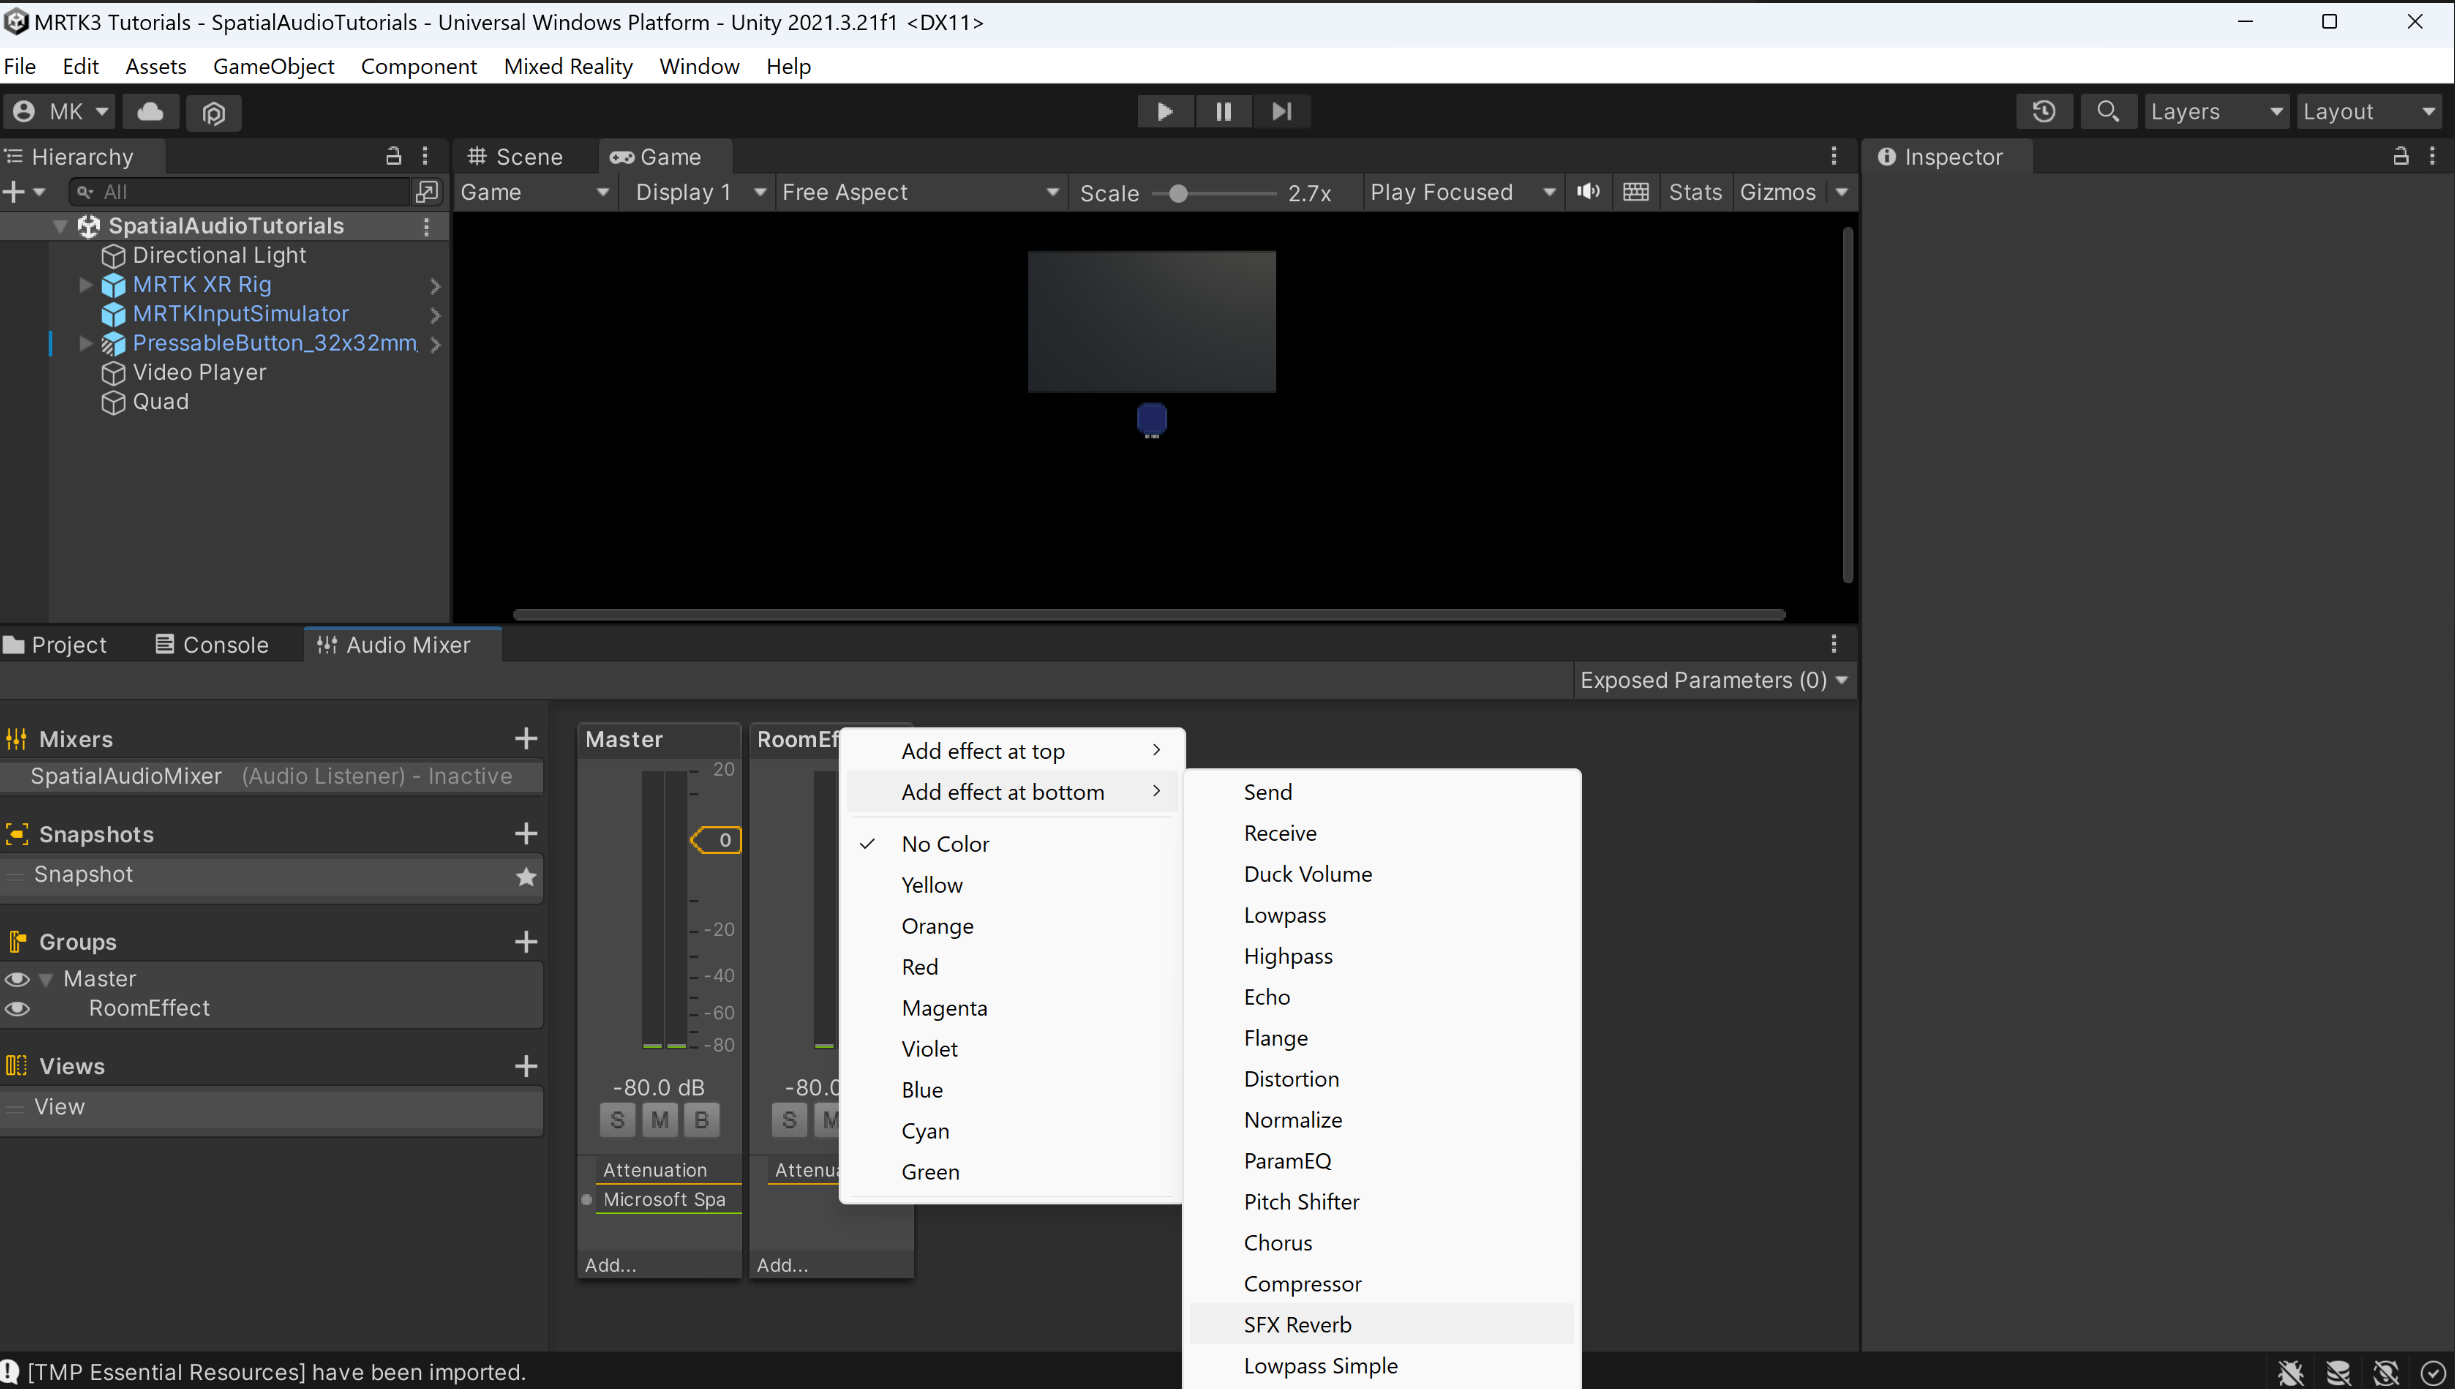
Each Group has its own set of effects. To a reverb effect to the new group, right-click the Room effect mixer, select Add effect at bottom, then select SFX Reverb.
In audio terminology, the original, unreverberated audio is called the dry path, and the audio after filtering with the reverb filter is called the wet path. Both paths are sent to the audio output, and their relative strengths in this mixture is called the wet/dry mix. The wet/dry mix strongly affects the sense of distance.
The SFX Reverb includes controls to adjust the wet/dry mix within the effect. Because the Microsoft Spatializer plugin handles the dry path, we'll be using the SFX Reverb only for the wet path. In the Inspector pane of your SFX Reverb:
- Set the Dry Level property to the lowest setting (-10000 mB).
- Set the Room property to the highest setting (0 mB).

The other settings control the feel of the simulated room. In particular, Decay Time is related to perceived room size.


Enable reverb on the video playback
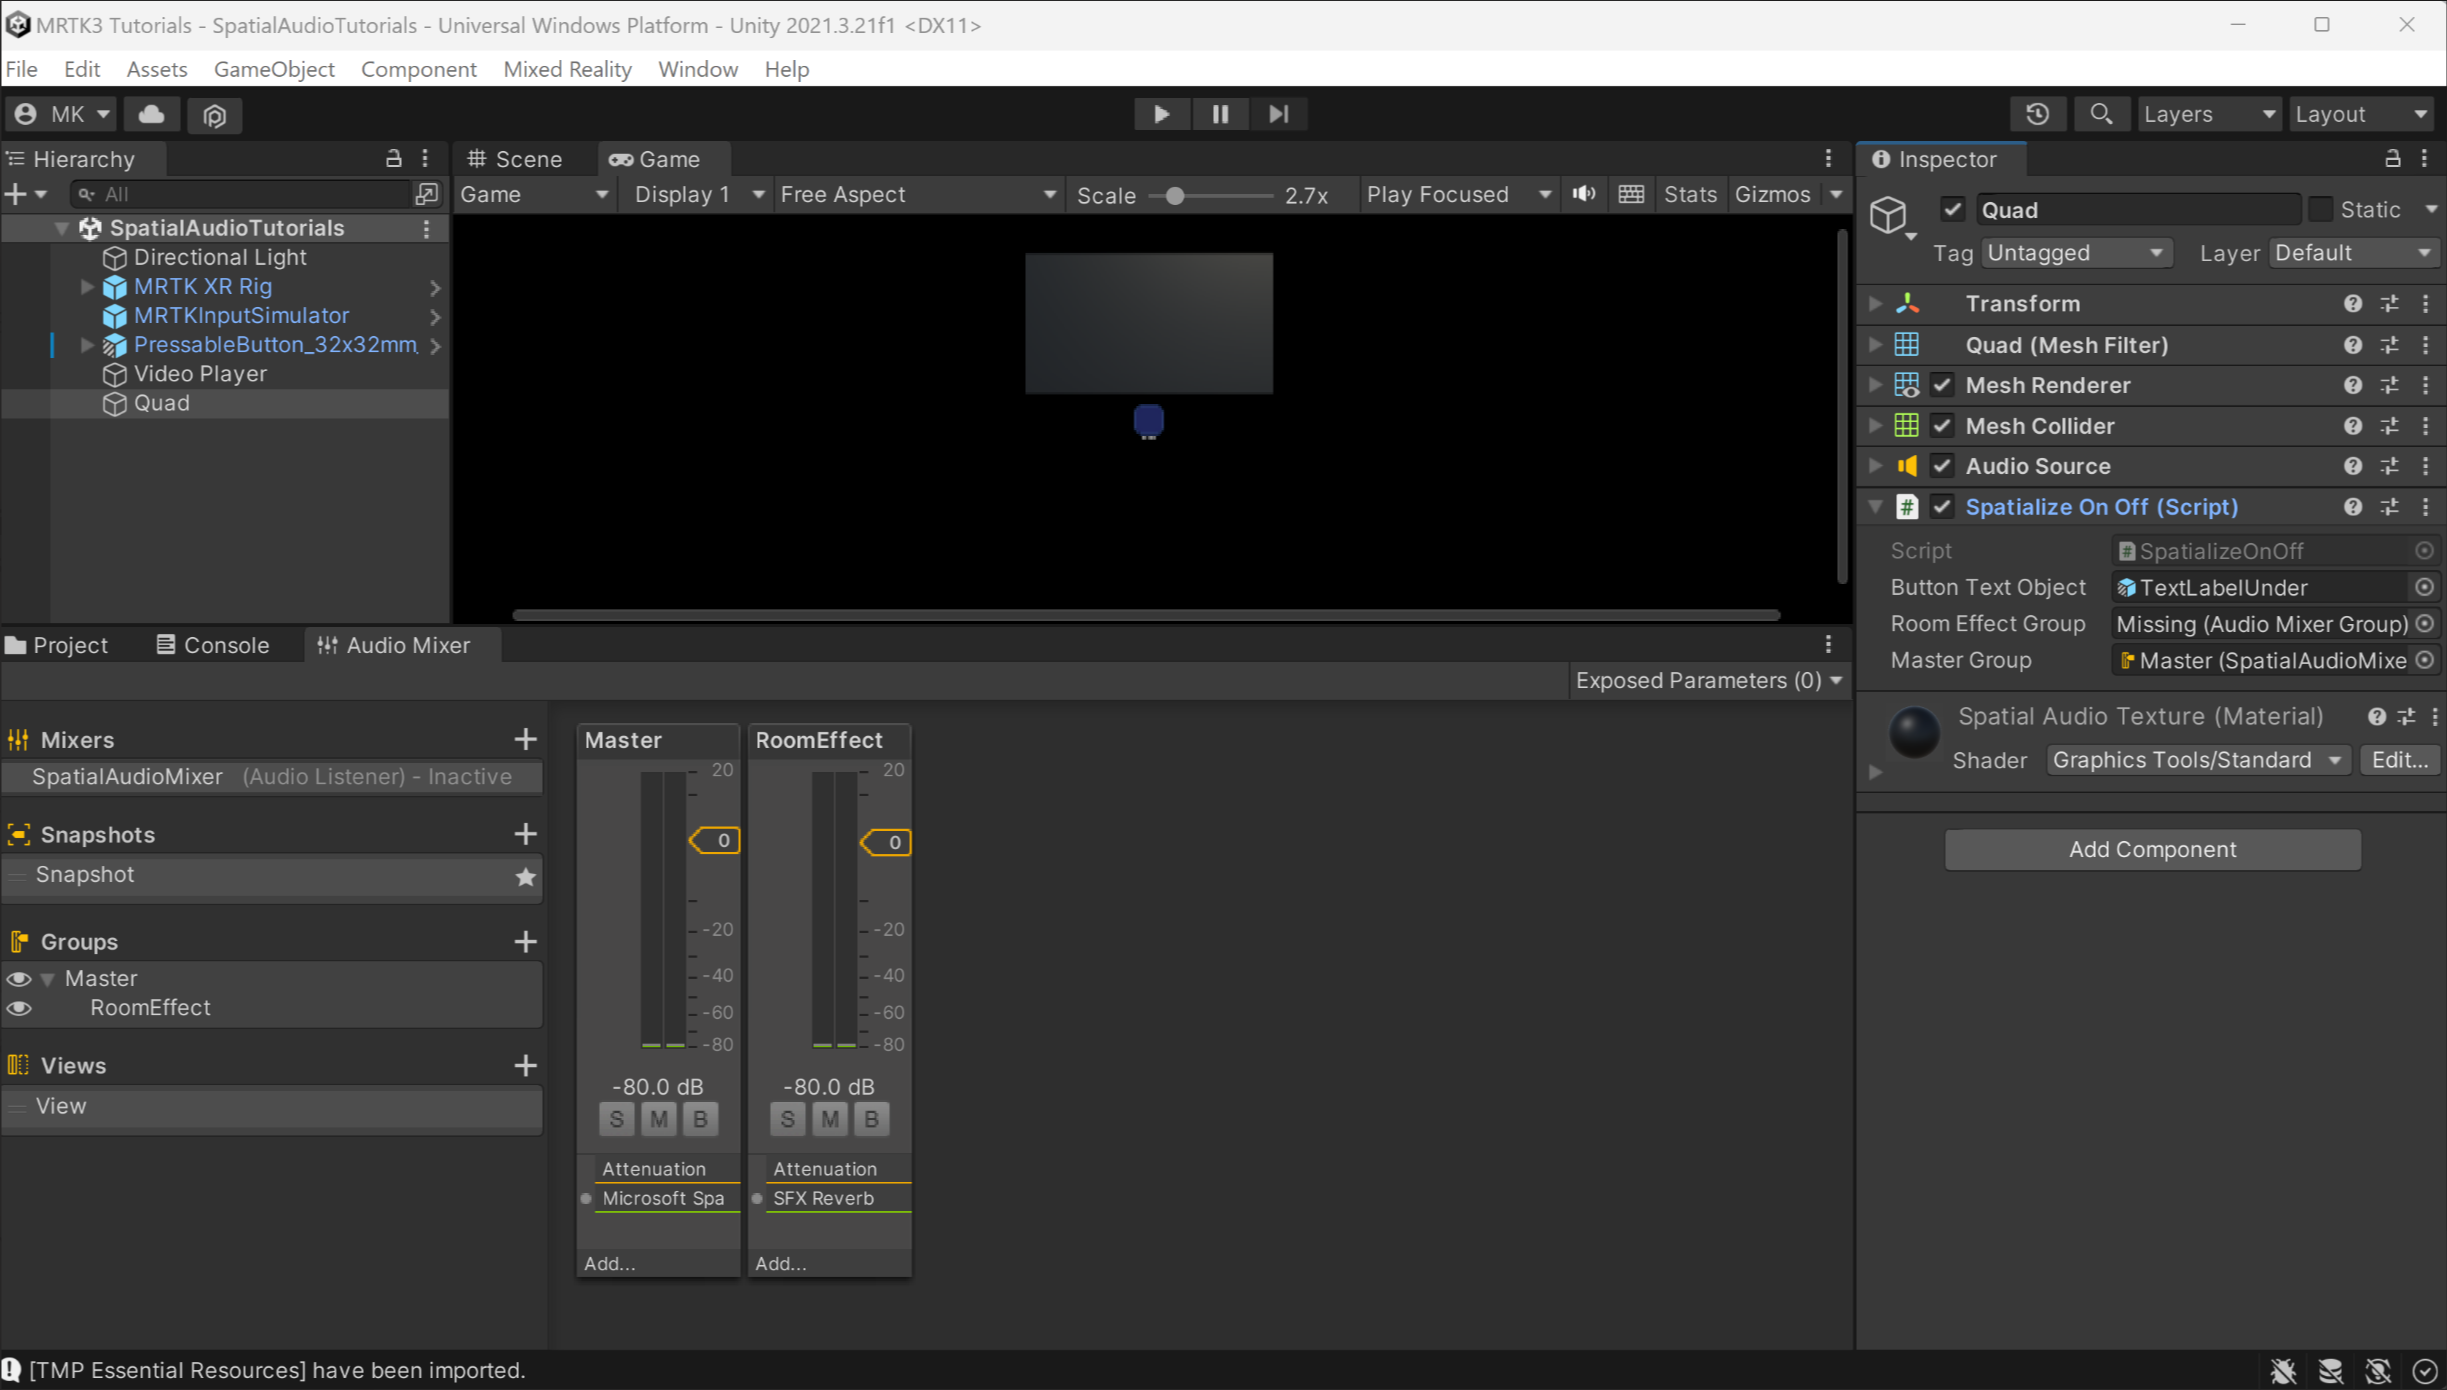
Go back to Visual Studio and uncomment the four commented lines in the SpatializeOnOff script. The script will now look like this:
using System.Collections;
using System.Collections.Generic;
using UnityEngine;
using UnityEngine.Audio;

[RequireComponent(typeof(AudioSource))]
public class SpatializeOnOff : MonoBehaviour
{
    public GameObject ButtonTextObject;
    public AudioMixerGroup RoomEffectGroup;
    public AudioMixerGroup MasterGroup;

    private AudioSource m_SourceObject;
    private bool m_IsSpatialized;
    private TMPro.TextMeshPro m_TextMeshPro;

    public void Start()
    {
        m_SourceObject = gameObject.GetComponent<AudioSource>();
        m_TextMeshPro = ButtonTextObject.GetComponent<TMPro.TextMeshPro>();
        SetSpatialized();
    }

    public void SwapSpatialization()
    {
        if (m_IsSpatialized)
        {
            SetStereo();
        }
        else
        {
            SetSpatialized();
        }
    }

    private void SetSpatialized()
    {
        m_IsSpatialized = true;
        m_SourceObject.spatialBlend = 1;
        m_TextMeshPro.SetText("Set Stereo");
        m_SourceObject.outputAudioMixerGroup = RoomEffectGroup;
    }

    private void SetStereo()
    {
        m_IsSpatialized = false;
        m_SourceObject.spatialBlend = 0;
        m_TextMeshPro.SetText("Set Spatialized");
        m_SourceObject.outputAudioMixerGroup = MasterGroup;
    }
}
Once these lines are uncommented, it adds two properties to the SpatializeOnOff script's Inspector window. Assign these on the Inspector window of SpatializeOnOff component of the Quad:
- Set the Room Effect Group property to your new Room Effect mixer group.
- Set the Master Group property to the Master mixer group.