Network preparation
Surface for Business models with 5G offer business users a choice when it comes to the way that service is activated. While every Surface for Business device with 5G has a dedicated SIM card slot, they also enable eSIM for a more dynamic carrier switching experience. Let's explore the differences between these two methods of connection.
Physical nano SIM
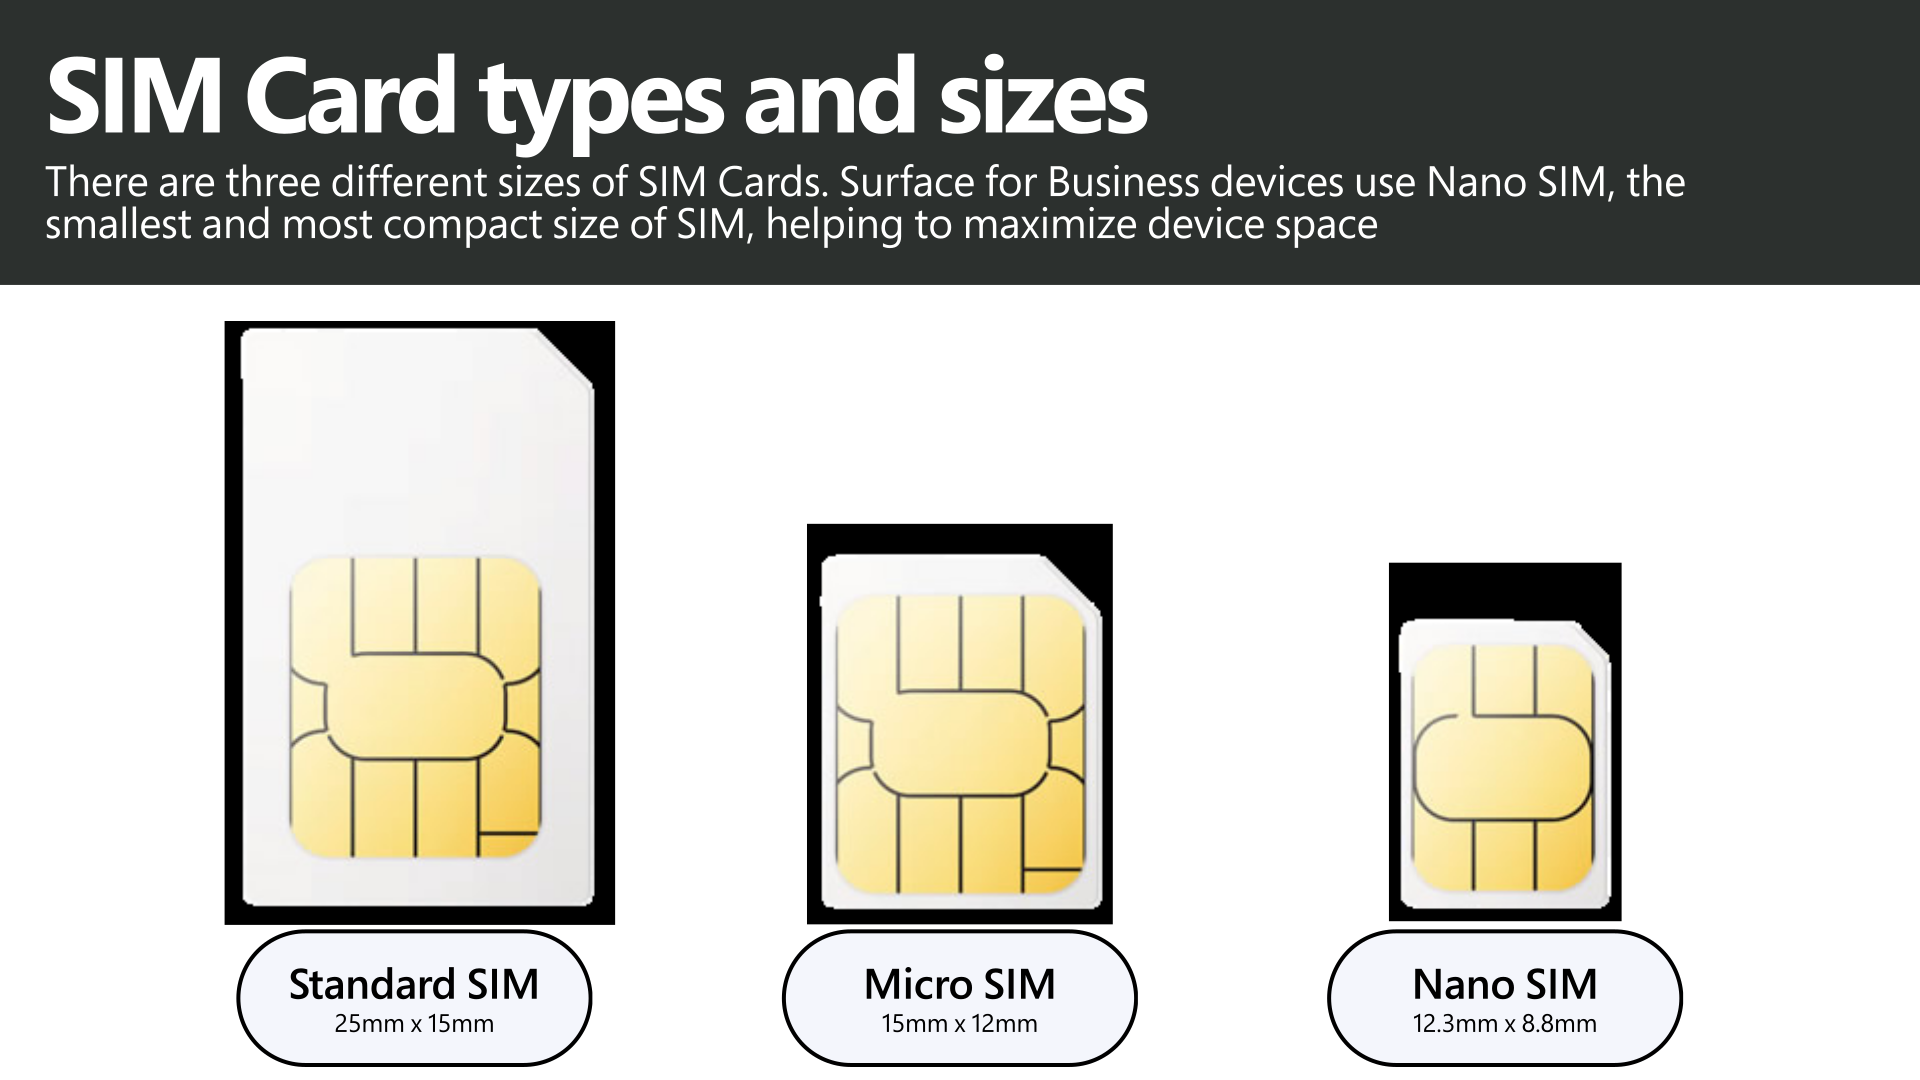
5G Surface devices feature a dedicated SIM card slot. This slot houses a Nano SIM card, the most compact and space efficient SIM card that's available from wireless carriers.
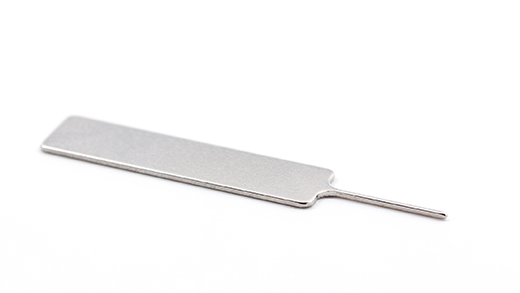
Surface Laptop devices with 5G come with a SIM ejector tool. To find it, look for an instruction card in the box your Surface was packaged in. Surface Pro devices don't require a tool as the slot is housed within a push mechanism on the SSD door. For Surface Laptop devices, the ejector tool looks like this:
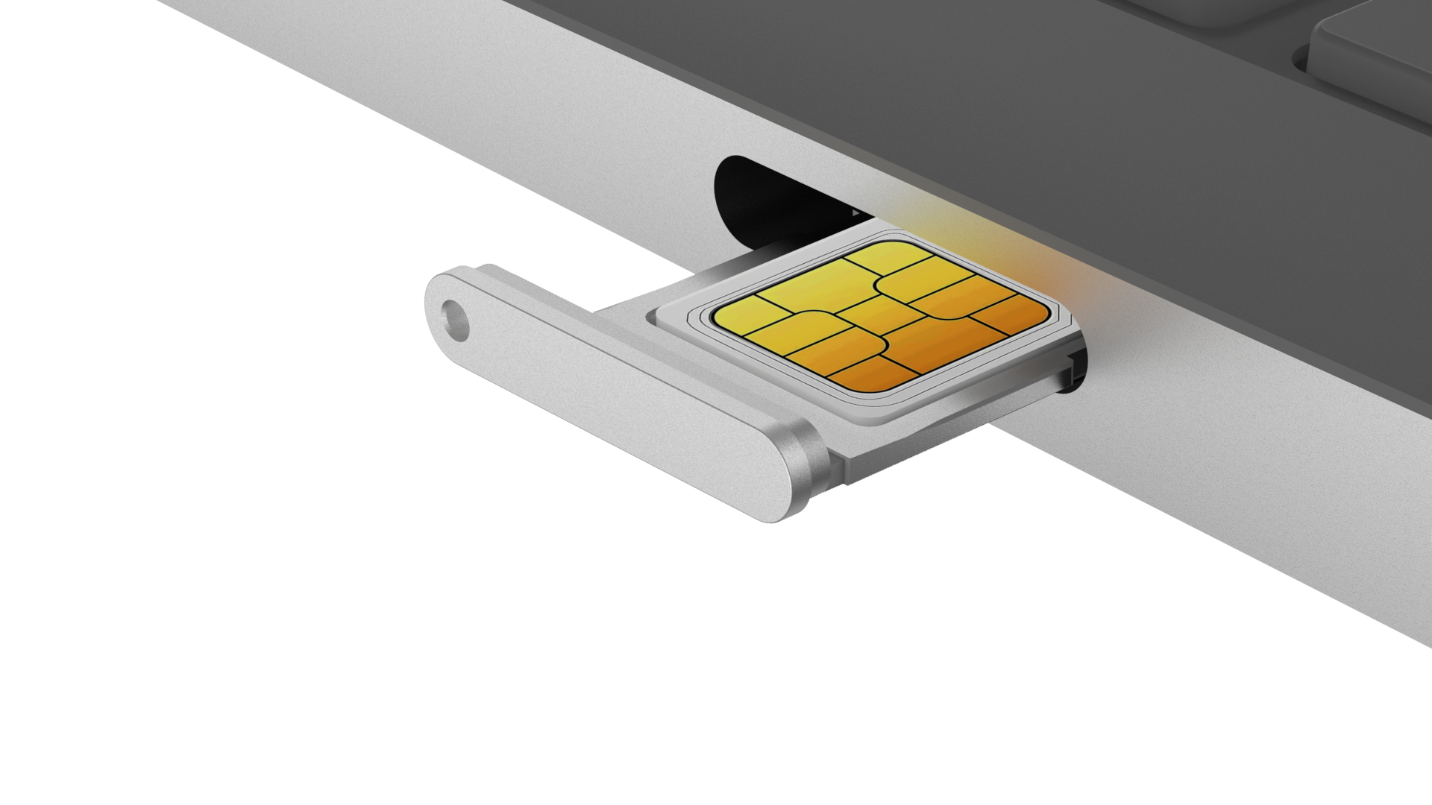
Now you're ready to install your SIM card into your Surface. Follow these steps to complete the installation:
- Locate the SIM card tray on your Surface device. If you use a Surface Laptop, the slot is on the right side of the device next to the Surface Connect port. On 5G Surface Pro devices, the slot is underneath the device kickstand.
- Release the SIM card tray. On Surface Laptop devices, insert the narrow point of the SIM ejector tool into the small hole and gently press to release the tray. On Surface Pro devices, press down on the divot on top of the SSD door until it pops open and then remove it from the device.
- Insert the SIM card into the slot with the SIM card face up. Make sure that the small notch in the corner of the SIM matches the one in the SIM card tray to ensure proper fit.
- Slide the tray (Surface Laptop) or door (Surface Pro) into the slot and press to install. Make sure that this component slides in smoothly—applying too much force could cause damage.
eSIM
eSIM is a digital way to connect to your mobile operator that doesn't require a physical SIM. This is ideal for business users who want to easily switch between mobile operators and data plans and is especially useful for those who travel abroad for work.
First, add an eSIM profile to set up an internet connection using cellular data:
- Select the Start button, then enter Settings. Select Settings > Network & internet > Cellular > eSIM profiles.
- Select Add an eSIM profile from your mobile operator, then select Add profile.
- Search for available profiles to connect to. Start by selecting Search for available profile > Next. When a profile is found, select Download. After installation, select Continue to find other profiles that you might want and repeat the process. Select Close when you have downloaded the profiles that you want.
- If your mobile operator has provided an activation code, select Let me enter an activation code I have from my mobile operator > Next.
- If you have a QR code to scan for the activation code, choose which camera to use on your Surface, and then scan the QR code. The code should appear in the corresponding Activation code box. Select Next. For the dialog box that asks Do you want to download this profile?, enter the confirmation code from your mobile operator into the corresponding box, and then select Download. Select Close after installation.
You have now successfully set up an eSIM profile. In the next unit, you'll explore how to activate data service on both physical nano SIMs and eSIMs.