Exercise - Publish your Teams tab app
In this exercise, you learn how to publish your app to the organization store.
Publish your app to the store
In Visual Studio Code, on the Activity Bar, select the Microsoft Teams icon to open the Teams Toolkit panel.
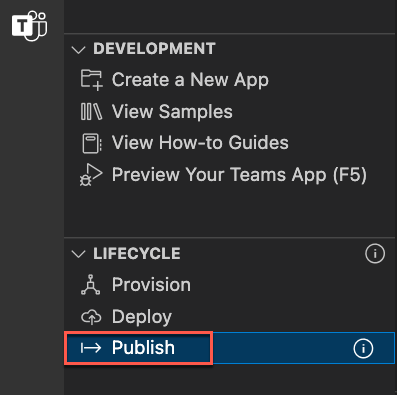
On the Teams Toolkit panel, under Lifecycle, select Publish.
A dialog indicates that the app has been successfully published to the Microsoft Teams admin portal.
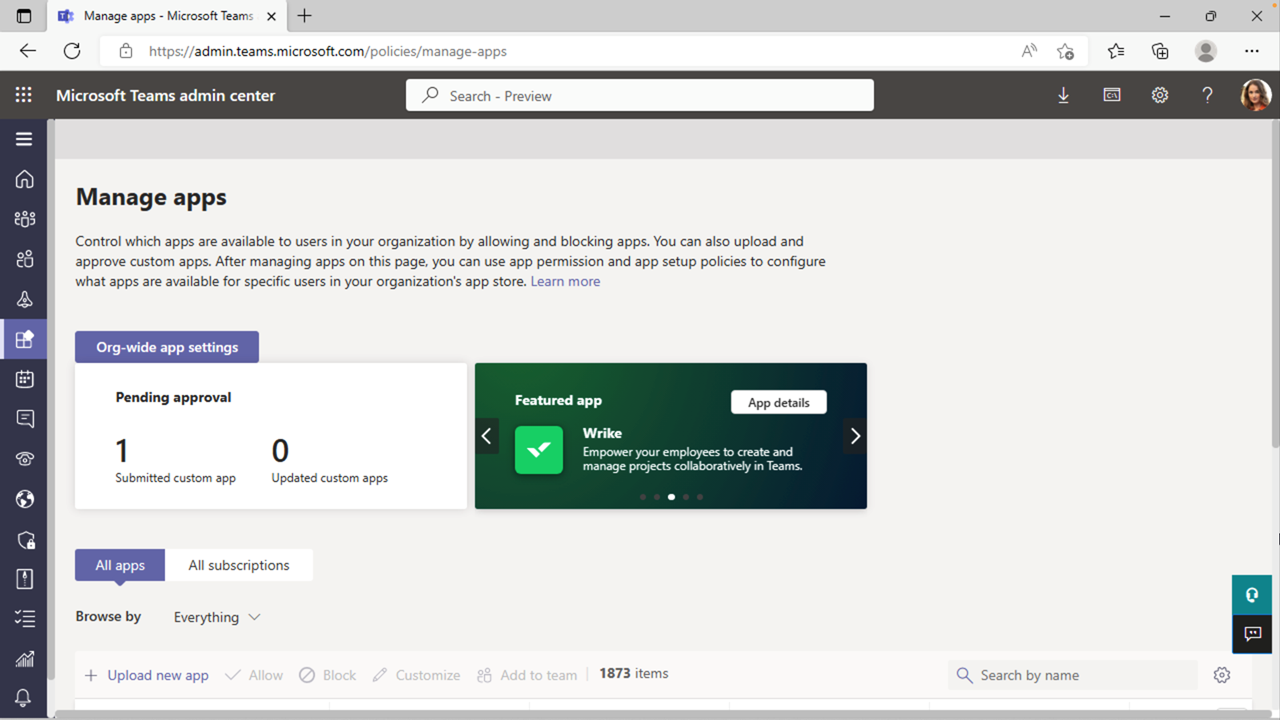
In the dialog, select Go to admin portal to open the Microsoft Teams admin center.

In the Teams admin center, in the Search by name box, enter hello-tab to filter the list of apps. Then select the app to view the app details.
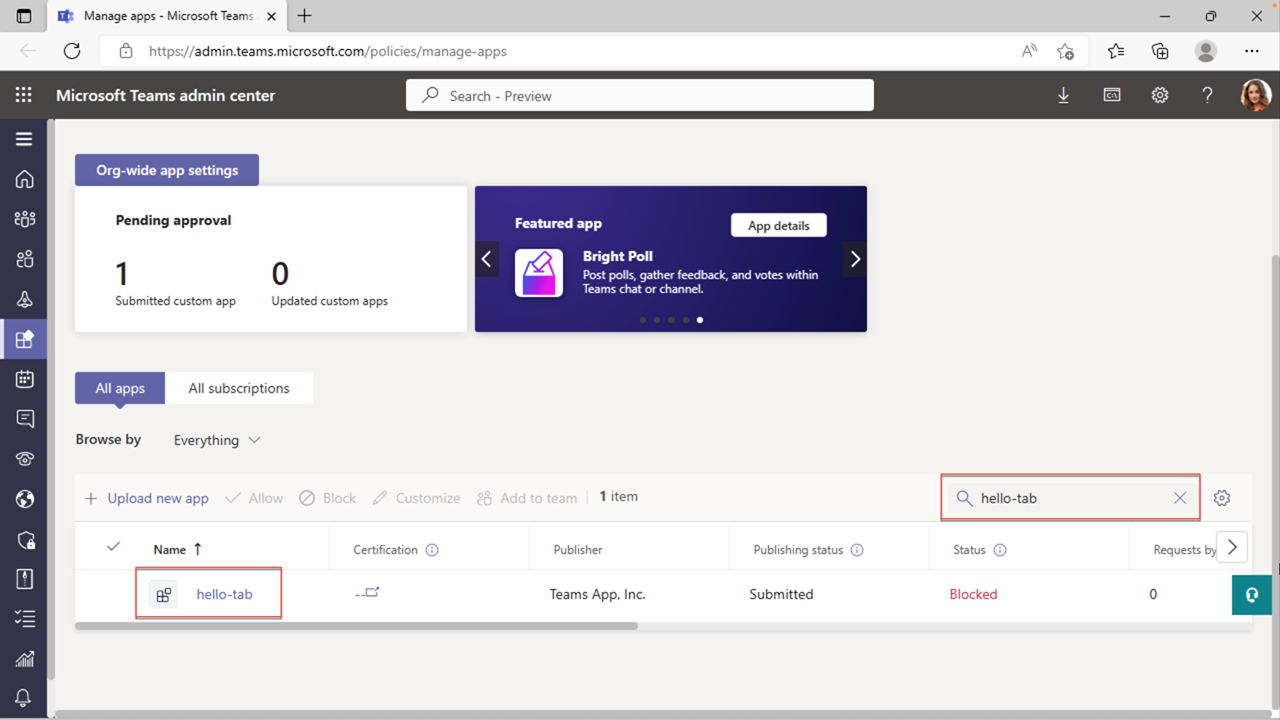
On the hello-tab app details panel, select Publish.
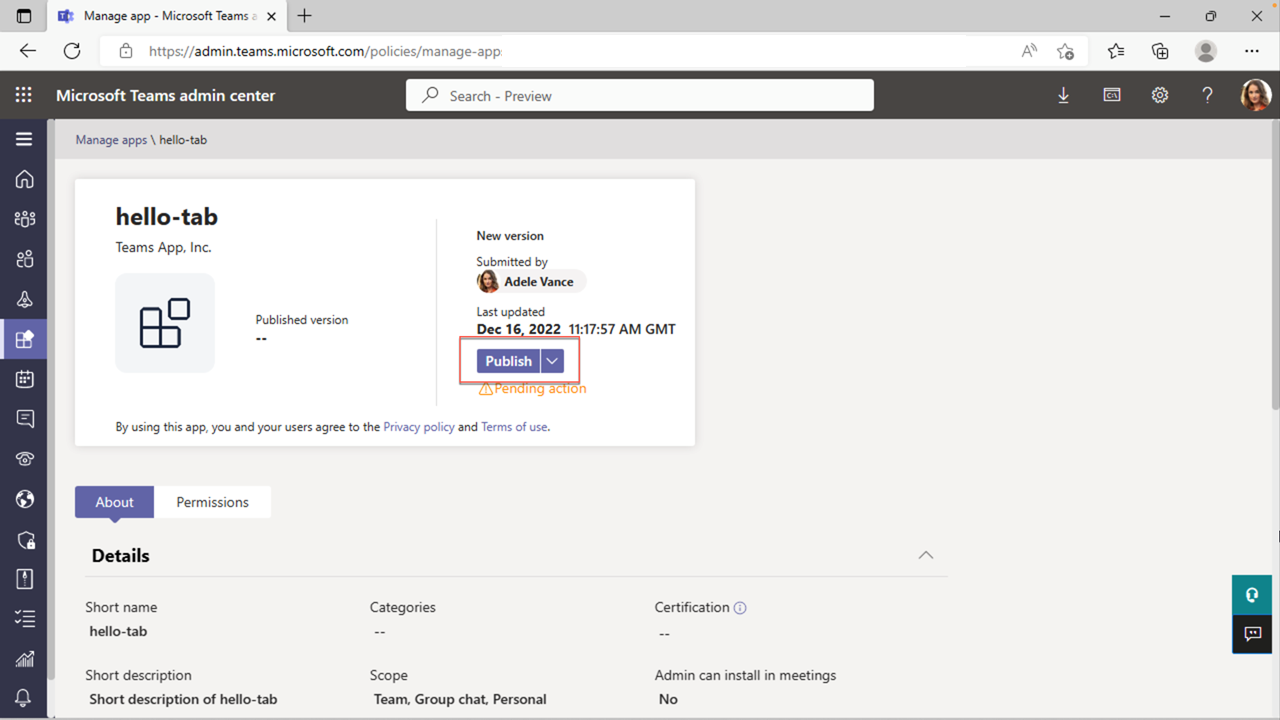
In the Publish your custom app? dialog, select Publish.
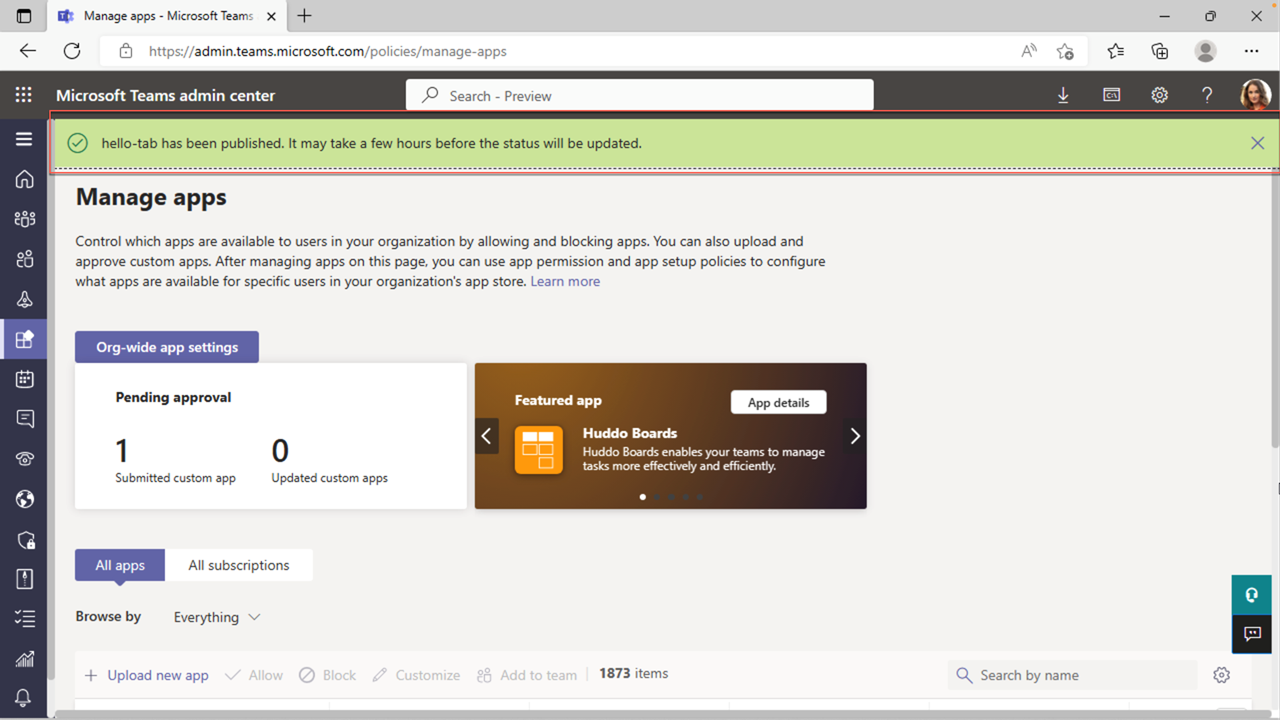
A green banner indicates that the hello-tab app has been published.
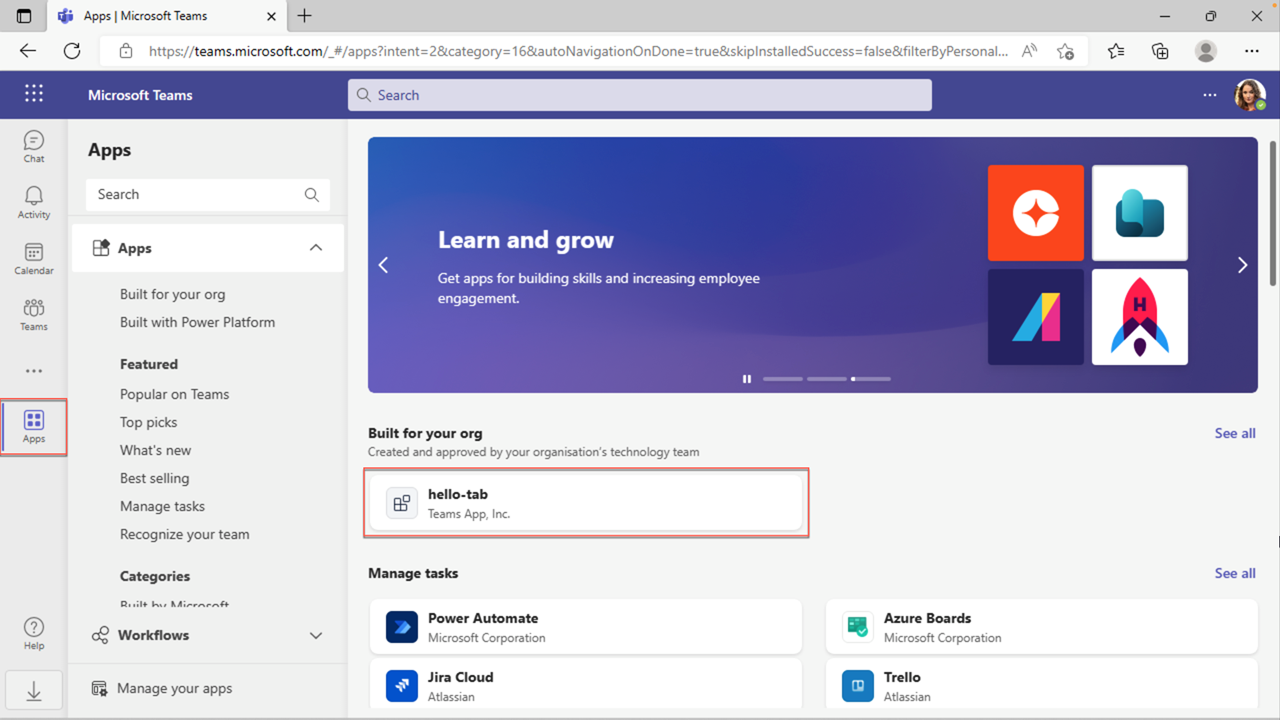
Now that your app is published in the organization store, open Microsoft Teams and install the app from the organization store.
Install the app from the store
In Microsoft Teams, go to Apps to view the organization store. Under Built for your org, select the hello-tab tile.
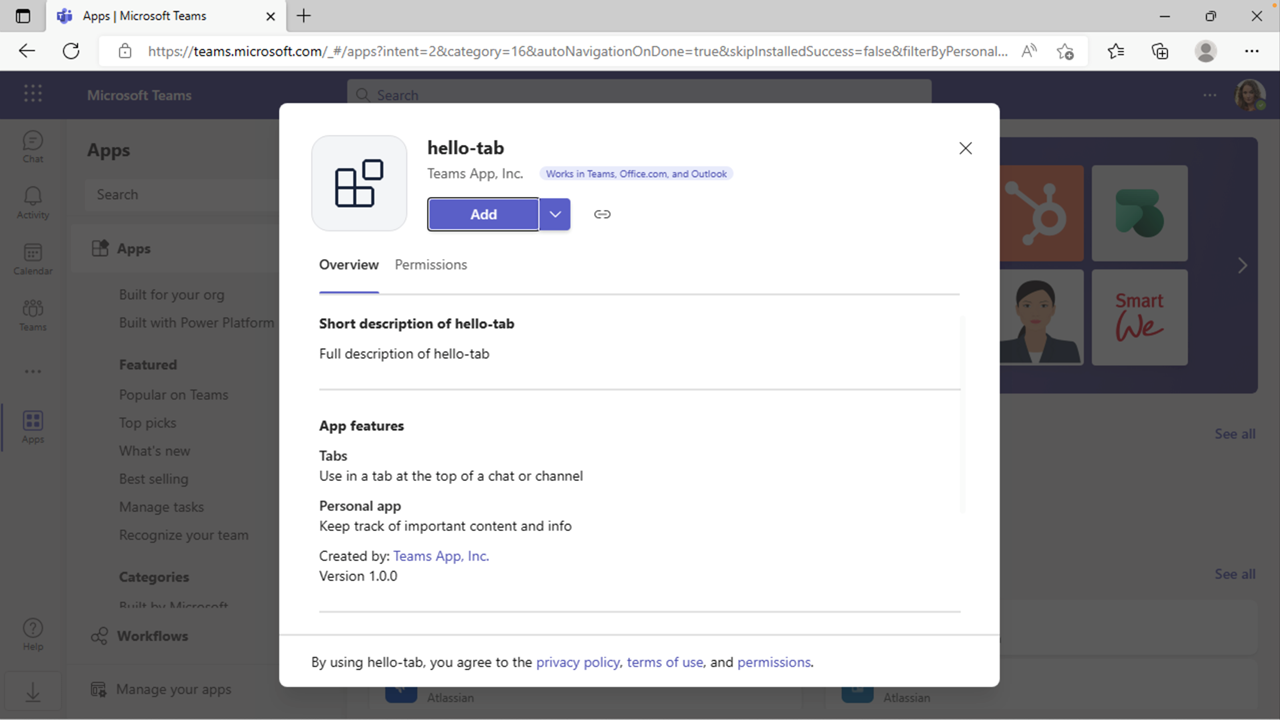
In the app installation dialog, select Add.
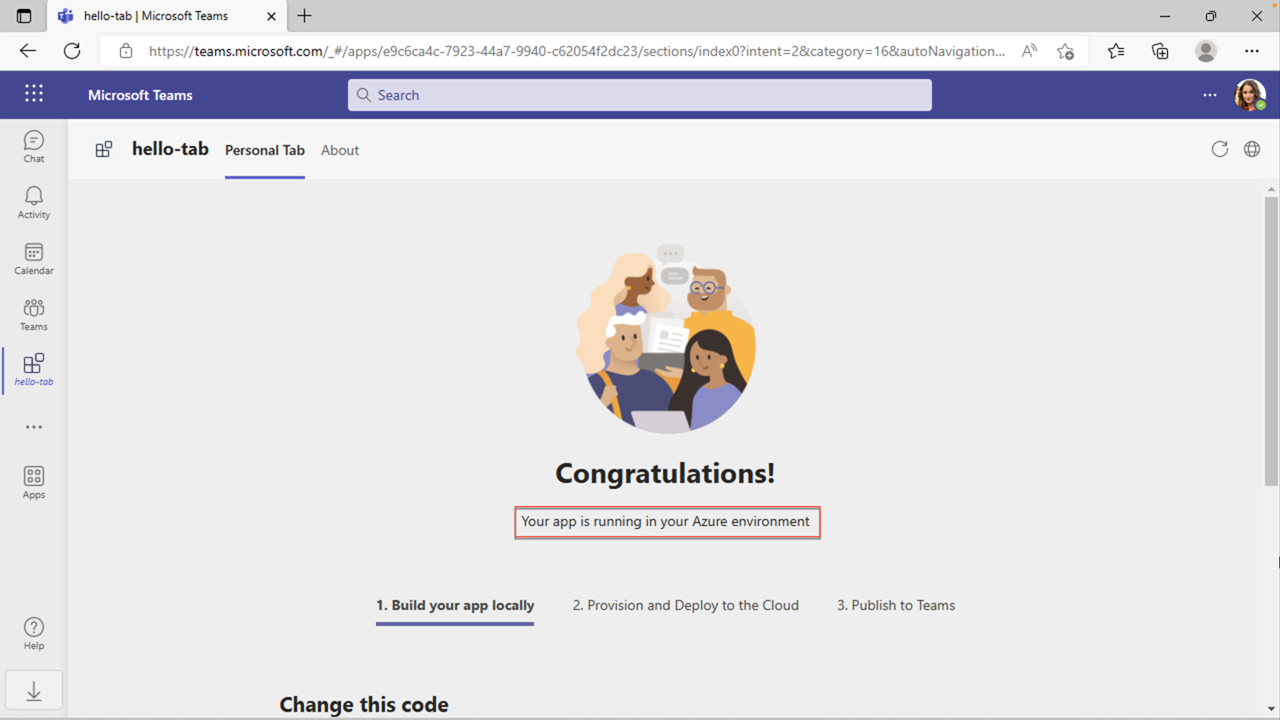
The app opens, and the message Your app is running in your Azure environment appears.