Validate network configuration
To properly support your users with using Teams, you must configure your network infrastructure to support the IP ports and protocols used by Teams. For the most part, the settings that you configure to support Microsoft 365 also apply to Teams, but Teams also has a few specific requirements.
Validate network configuration settings
To verify that general network settings are appropriate, you can use the Microsoft 365 network connectivity test tool. This network onboarding tool performs the following tasks:
If selected, it automatically detects your location.
Checks the location of your network egress.
Tests the network path to the nearest Microsoft 365 service access point.
Provides a downloadable Windows 10 app that makes the following advanced network design recommendations:
Reviews and reports on perimeter network design relating to:
- Proxy servers
- Firewalls
- DNS
Runs performance tests for:
- Microsoft Teams
- SharePoint Online
- Exchange Online
You can run the tool from Microsoft 365 admin center:
Select Health, and then Network connectivity.
Select Network connectivity test.
Choose whether you want to manually or automatically define your physical location, and then select Run test.
A file is downloaded. Select and run the downloaded file.
Important
You’ll need Microsoft Windows .Net Desktop Runtime installed. You’ll be prompted to install this.
The tests run. When prompted, select Close.
You can review the Summary and Details tabs for information about the test results. Teams information is displayed on the Details tab.
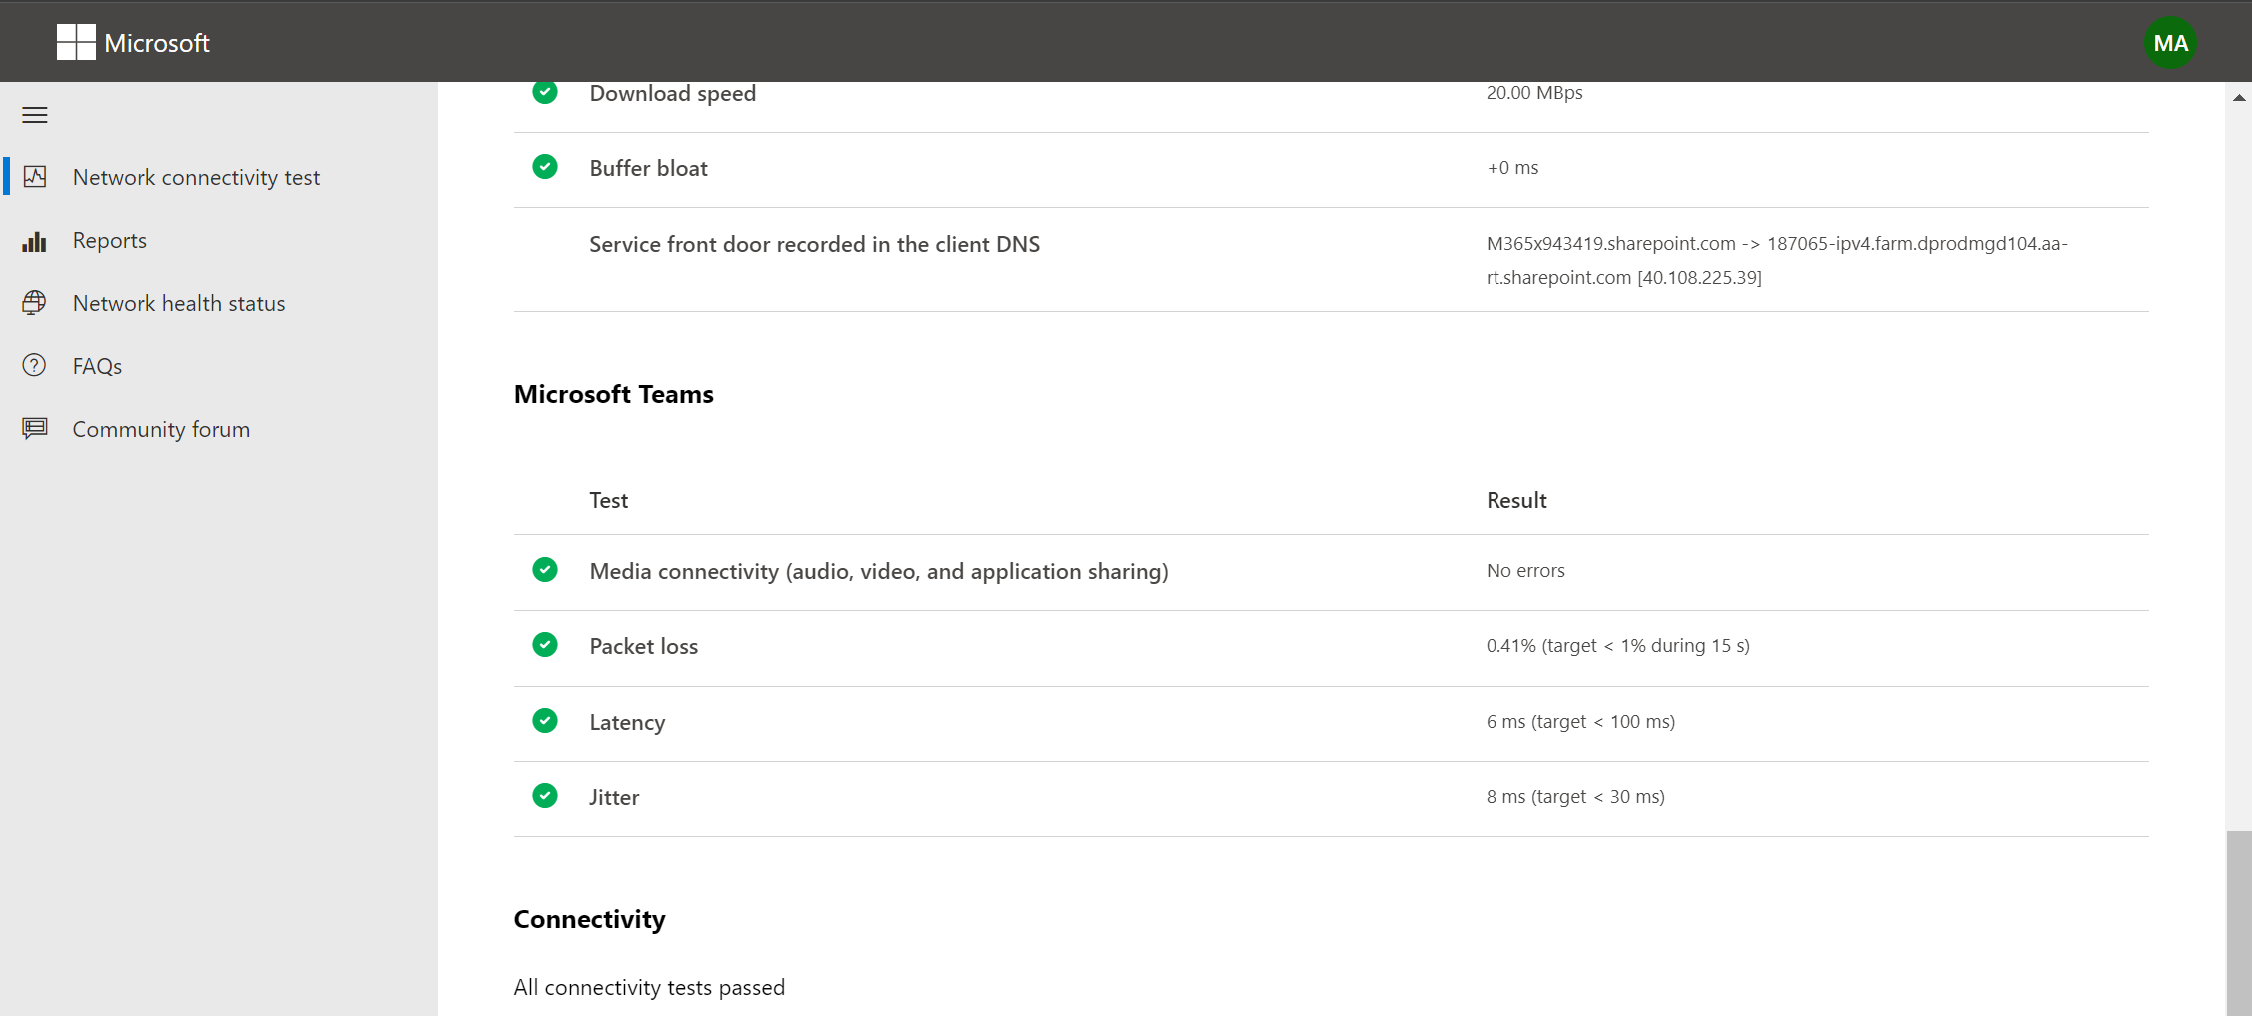
Verify Teams connectivity
After you have verified that your infrastructure meets the requirements to support Microsoft 365 connectivity, you should also verify the additional requirements for Teams. In addition to internet access and general web traffic, all locations also require:
- UDP ports 3478 through 3481 to be open
- Access to IP address ranges 13.107.64.0/18, 52.112.0.0/14, and 52.120.0.0/14
To help make these determinations, you can use Network planner from the Microsoft Teams admin center. In Network planner, you create a network plan that you then associate with your sites and subnets. After you have created the required objects, you can run reports against your planned infrastructure.
To run the Network planner, open the Microsoft Teams admin center:
Select Planning and then select Network planner.
Create a network plan by selecting Add.
Add your network sites. For each site, you’ll need to:
- Provide a name
- Enter the number of users
- Add subnet information
- Select ExpressRoute or Connected to WAN as appropriate for your Microsoft 365 connection type
- Specify the Internet egress device
- Specify the link capacity for the site in Mbps
- Select the PSTN egress setting that best describes your situation
Select Save, and then define the remaining sites.
When all sites are defined and saved, select the Report tab.
Create a new report, and define the workloads expected for the site.
Select Generate report. These reports can help identify potential issues with your configuration.
Implement split tunneling
You can bypass the VPN for Microsoft 365 traffic by using split tunneling. Split tunneling means that traffic for Microsoft 365 or Office 365 goes directly to Microsoft 365 or Office 365, and avoids the VPN. Split tunneling can have a very positive impact on Teams performance and quality. To implement a split-tunnel VPN, work with your VPN vendor.