Deploy Microsoft Copilot for Security for Enhanced Security
Copilot for Security is a generative AI security product that empowers security and IT professionals respond to cyber threats, process signals, and assess risk exposure at the speed and scale of AI.
Understand what you need to get started such as the minimum requirements, purchasing security compute units, and setting up a default environment.
Get recommendations on next steps to take to get you on your way to maximizing the capabilities in Copilot for Security.
Note
Disclaimer: This documentation is only intended for customers using commercial clouds. Currently, Copilot for Security is not designed for use by customers using US government clouds, including but not limited to GCC, GCC High, DoD, and Microsoft Azure Government. For more information, see with your Microsoft representative.
Minimum requirements
Subscription
In order to purchase security compute units, you need to have an Azure subscription. For more information, see Create your Azure free account.
Security compute units
Security compute units are the required units of resources that are needed for dependable and consistent performance of Microsoft Copilot for Security.
Copilot for Security is sold in a provisioned capacity model and is billed by the hour. You can provision Security Compute Units (SCUs) and increase or decrease them at any time. Billing is calculated on an hourly basis with a minimum of one hour.
For more information, see Microsoft Copilot for Security pricing.
Capacity
Capacity in the context of Copilot for Security, is an Azure resource that contains SCUs. SCUs are provisioned for Copilot for Security. You can easily manage capacity by increasing or decreasing provisioned SCUs within the Azure portal or the Copilot for Security portal. Copilot for Security provides a usage monitoring dashboard for Copilot owners, allowing them to track usage over time and make informed decisions about capacity provisioning.
Onboarding to Copilot for Security
Onboarding to Copilot for Security is a two-step process:
Step 1: Provision capacity
You can choose from the following options to provision capacity:
- Option 1 (Recommended): Provision capacity within Copilot for Security
- Option 2: Provision capacity through Azure
Note
Regardless of the method you choose, you will need to purchase a minimum of 1 and a maximum of 100 SCUs. The recommended number of units to start the most basic exploration of Copilot for Security is 3 units.
Option 1 (Recommended): Provision capacity through Copilot for Security
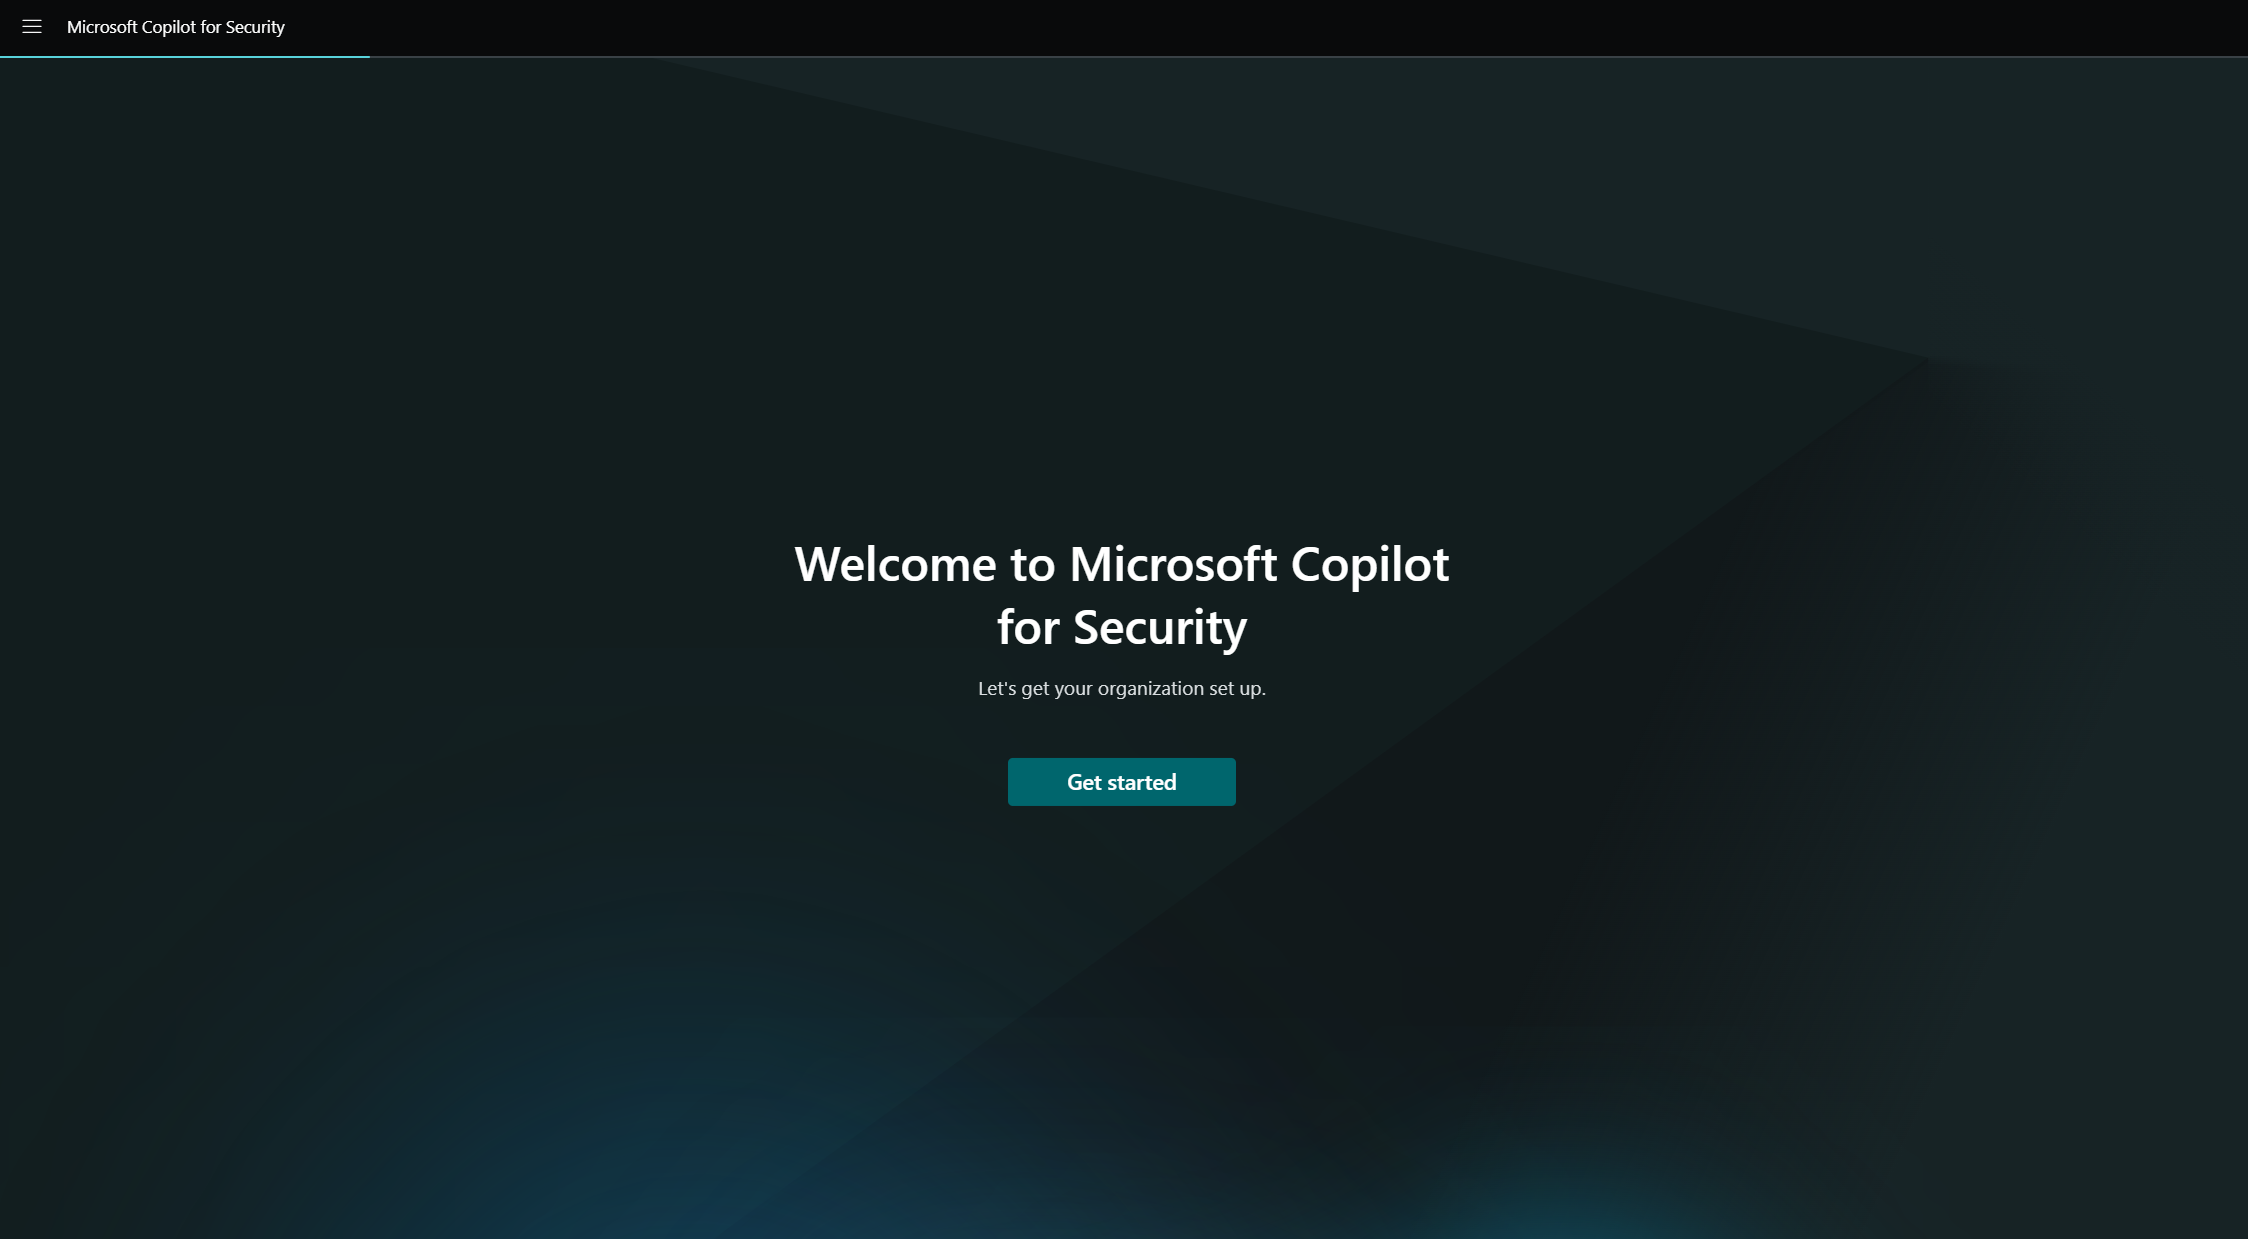
When you first open Copilot for Security (https://securitycopilot.microsoft.com), you're guided through the steps in setting up capacity for your organization.
Required role
You need to be an Azure subscription owner or contributor to create capacity.
Note
A global administrator in Microsoft Entra ID doesn't necessarily have the Azure subscription owner or contributor role by default. Microsoft Entra role assignments don't grant access to Azure resources. As a global admin in Entra, you can enable acccess management for Azure resources through Azure portal.
Sign in to Copilot for Security (https://securitycopilot.microsoft.com).
Select Get started.
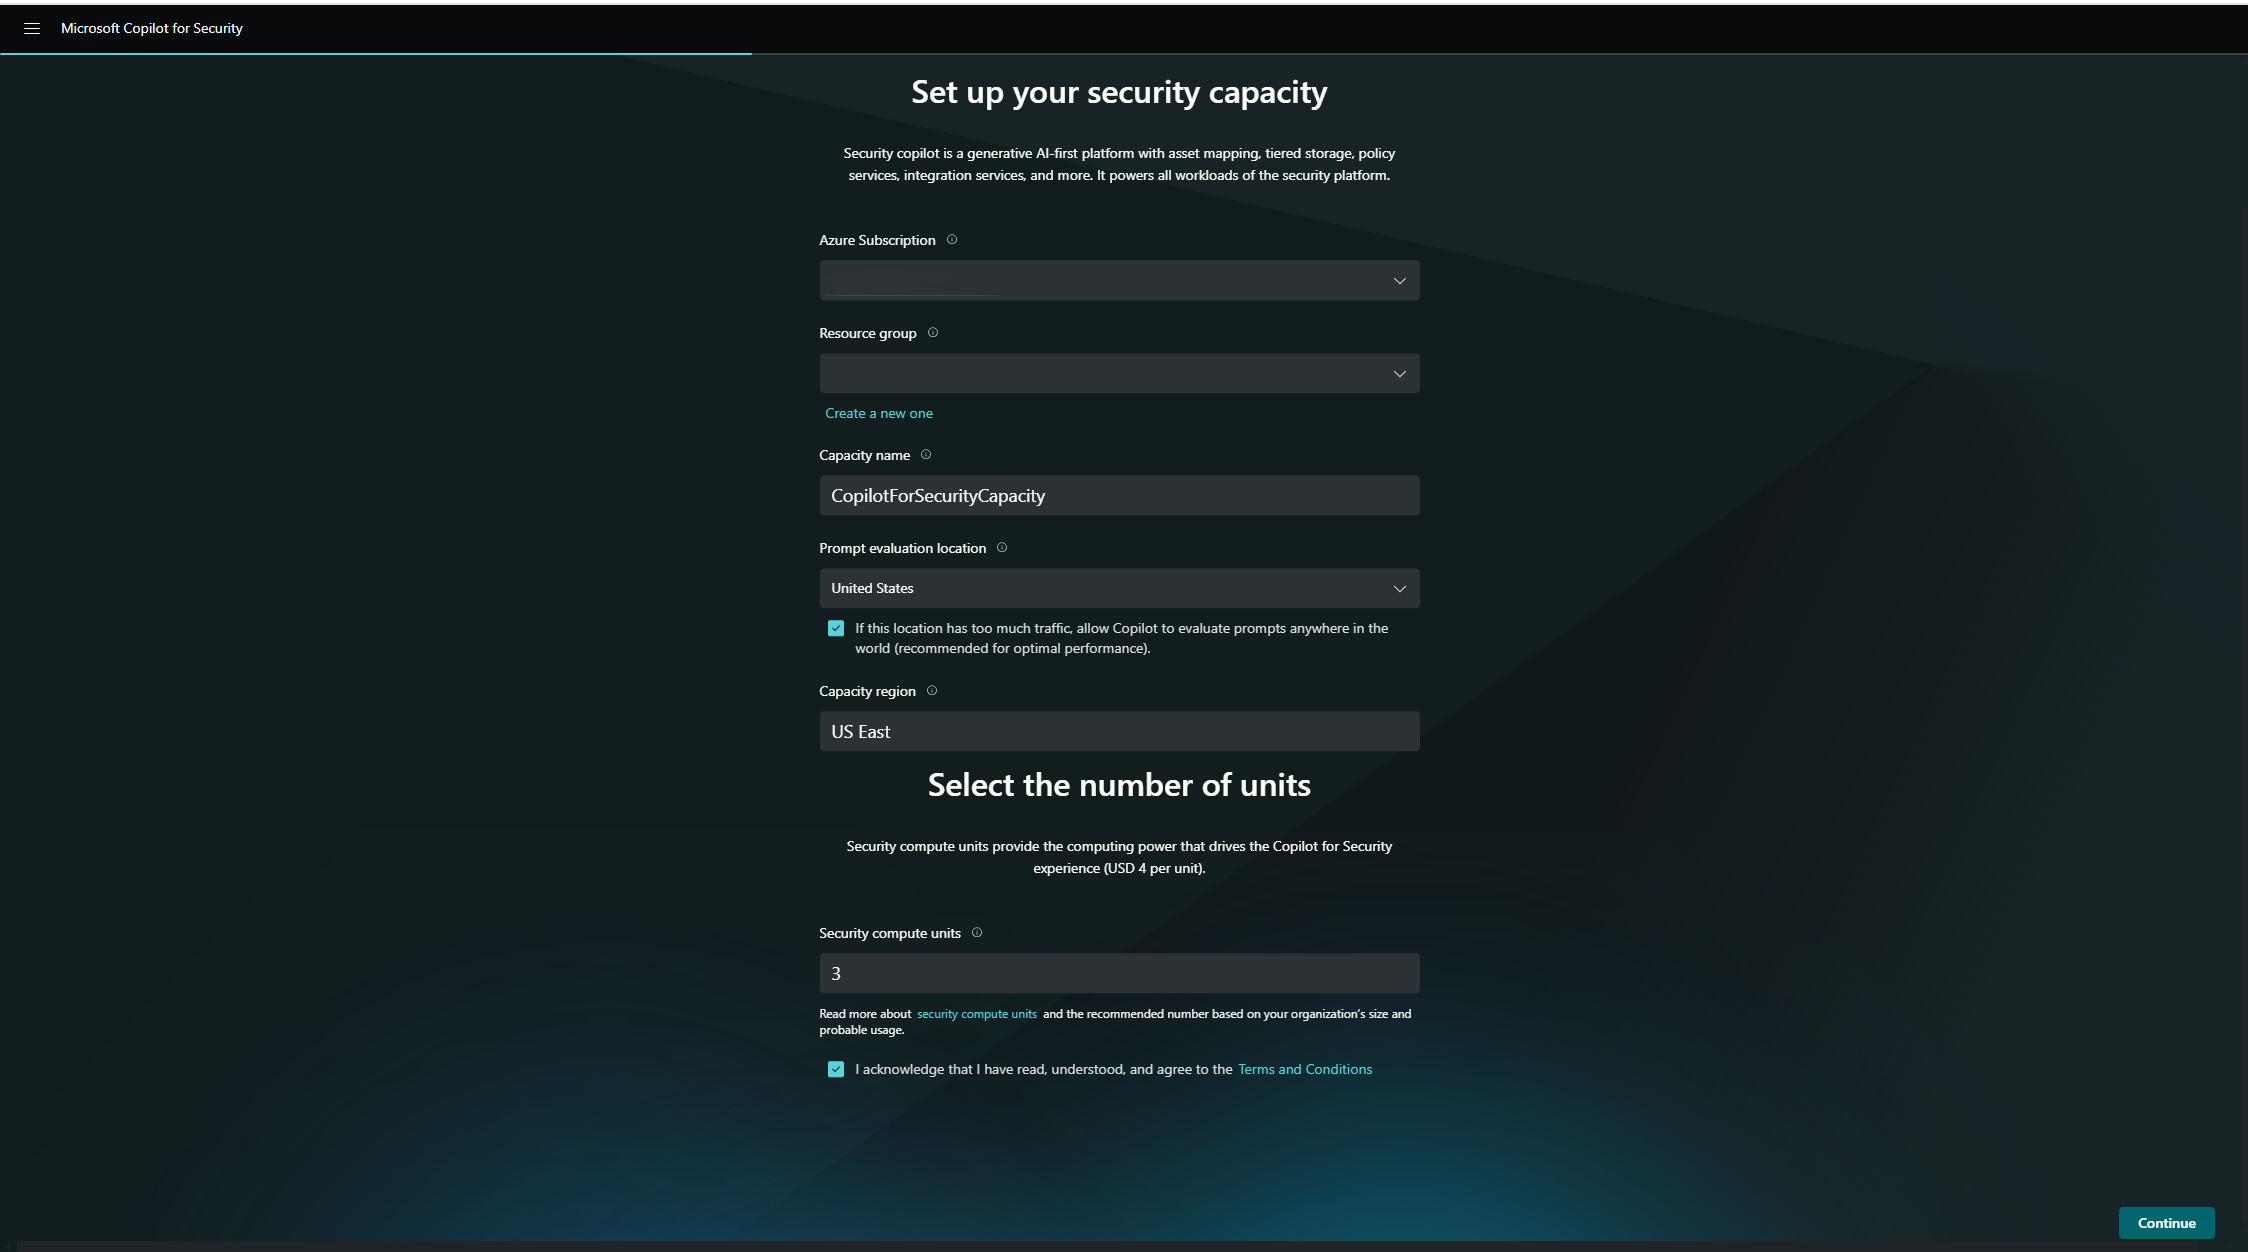
Set up your security capacity: Select the Azure subscription, associate capacity to a resource group, add a name to the capacity, select the prompt evaluation location, and specify the number of Security Compute Units (SCUs). Data is always stored in your home tenant geo.
Note
The number of SCUs is provisioned on an hourly basis, and the estimated monthly cost is displayed.
If your selected geo location is too busy, you can also evaluate the prompts anywhere in the world. This can be done by selecting the appropriate option in the capacity creation screen.
Confirm that you acknowledge and agree to the terms and conditions, then select Continue.


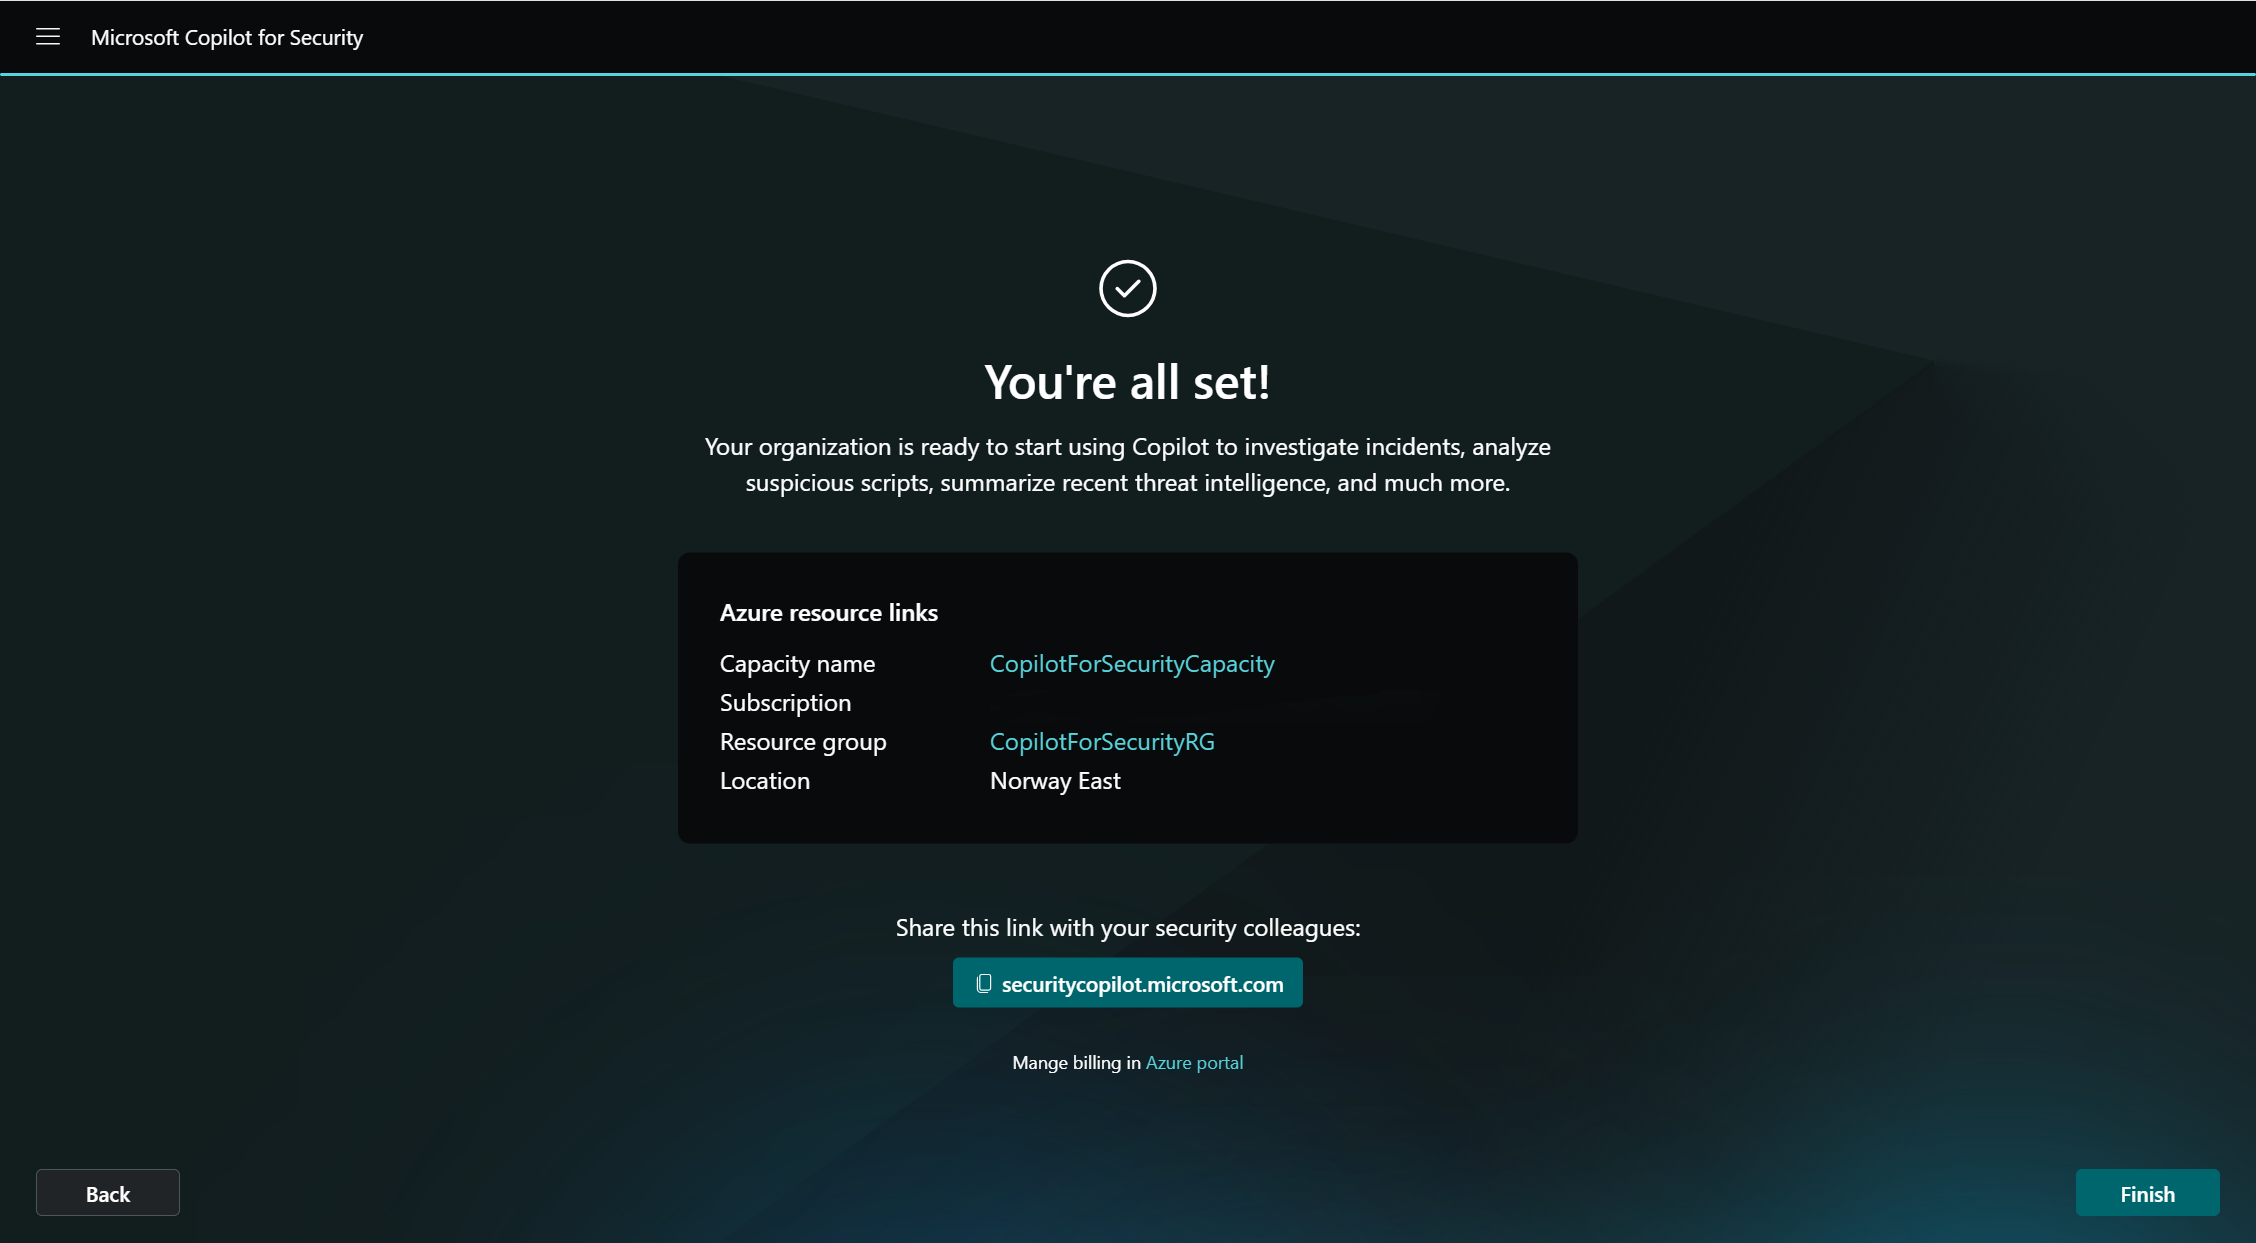
After you've created the capacity, it will take a few minutes to deploy the Azure resource on the backend.

Option 2: Provision capacity in Azure
The initial setup in this method starts in the Azure portal. Then, you need to complete the setup in the Copilot for Security portal.
Required role
You need to be an Azure subscription owner or contributor to create capacity.
Sign in to the Azure portal.
Search for Copilot for Security in the list of services, then select Copilot for Security.
Select Resource groups.
Under Plan, select Microsoft Copilot for Security. Then select Create.

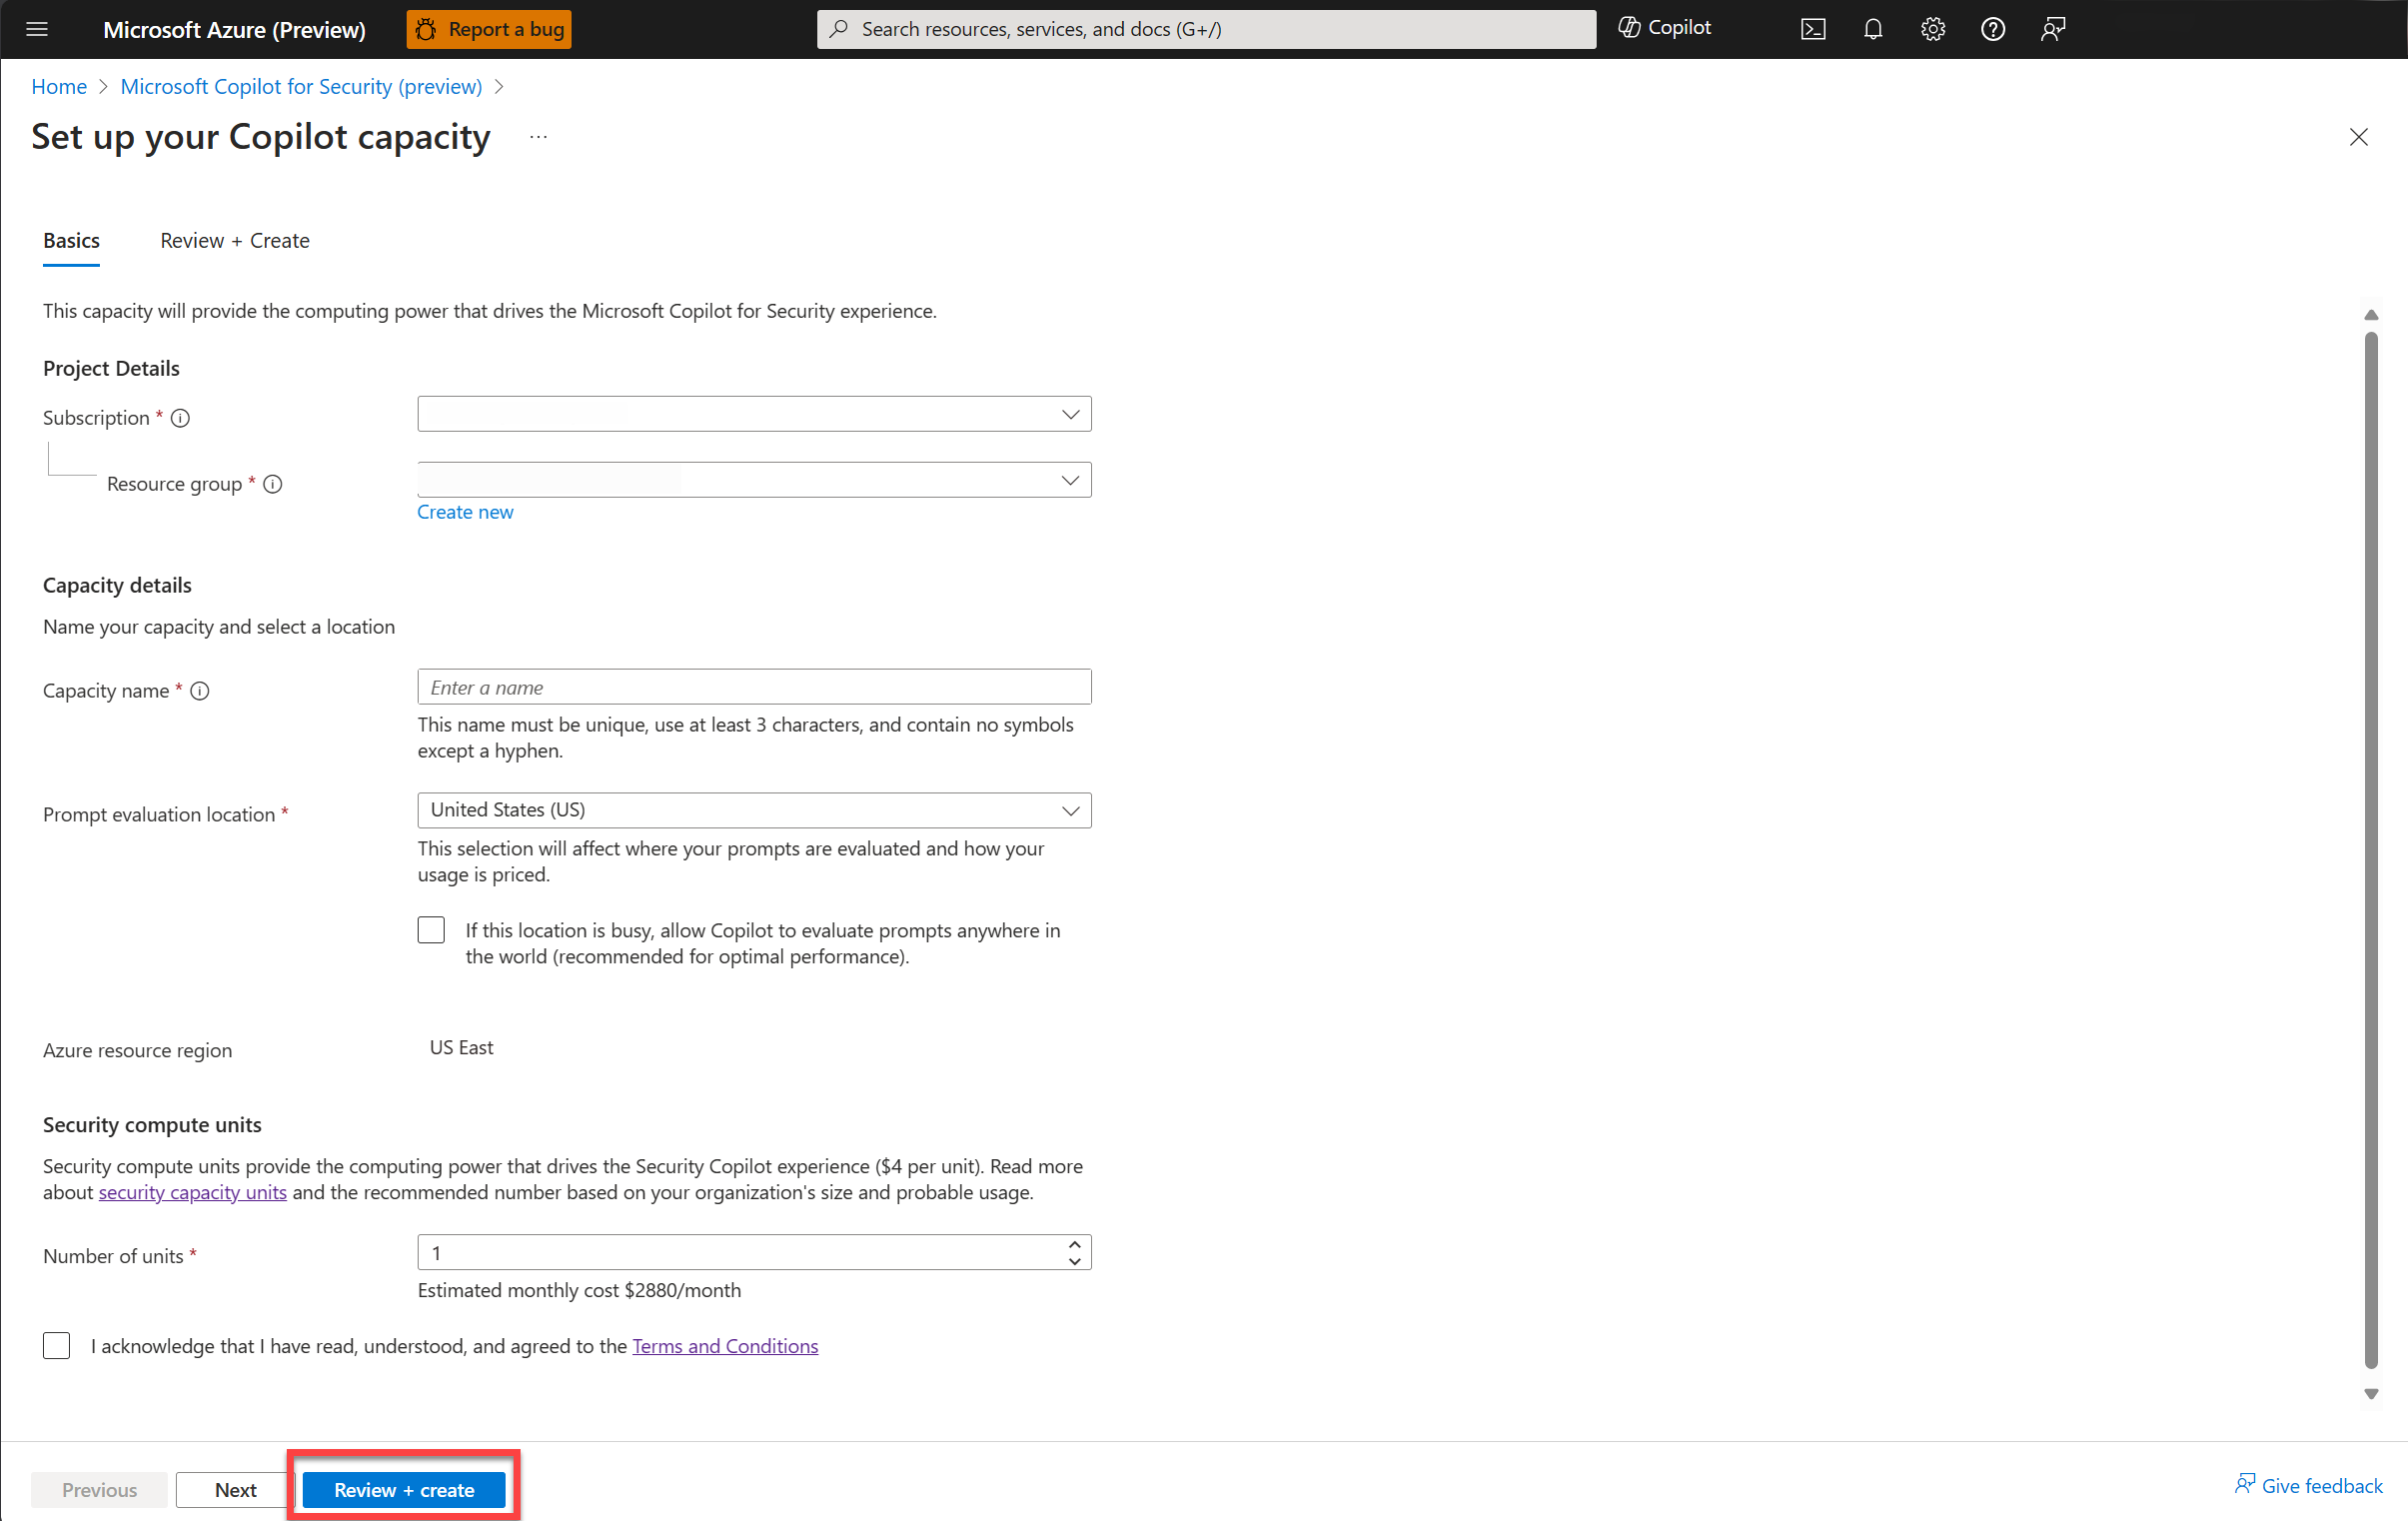
Select a subscription and resource group, add a name to the capacity, select the prompt evaluation location and select the number of Security Compute Units (SCUs). Data is always stored in your home tenant geo.
Note
The number of SCUs is provisioned on an hourly basis, and the estimated monthly cost is displayed.
If your selected geo location is too busy, you can also evaluate the prompts anywhere in the world. This can be done by selecting the appropriate option in the capacity creation screen.
Confirm that you acknowledge and have read the terms and conditions, then select Review + create.
Verify that all the information is correct, then select Create. A confirmation page is displayed.
Select Finish setup in the Copilot for Security portal.


Step 2: Set up default environment
Required role
You need to be a Global Administrator or a Security Administrator role to accomplish this task.
You need to be an Azure Owner or a contributor for the capacity resource to associate capacity to Copilot for Security.
Associate your capacity to the Copilot for Security environment if the capacity was created in the Azure portal.

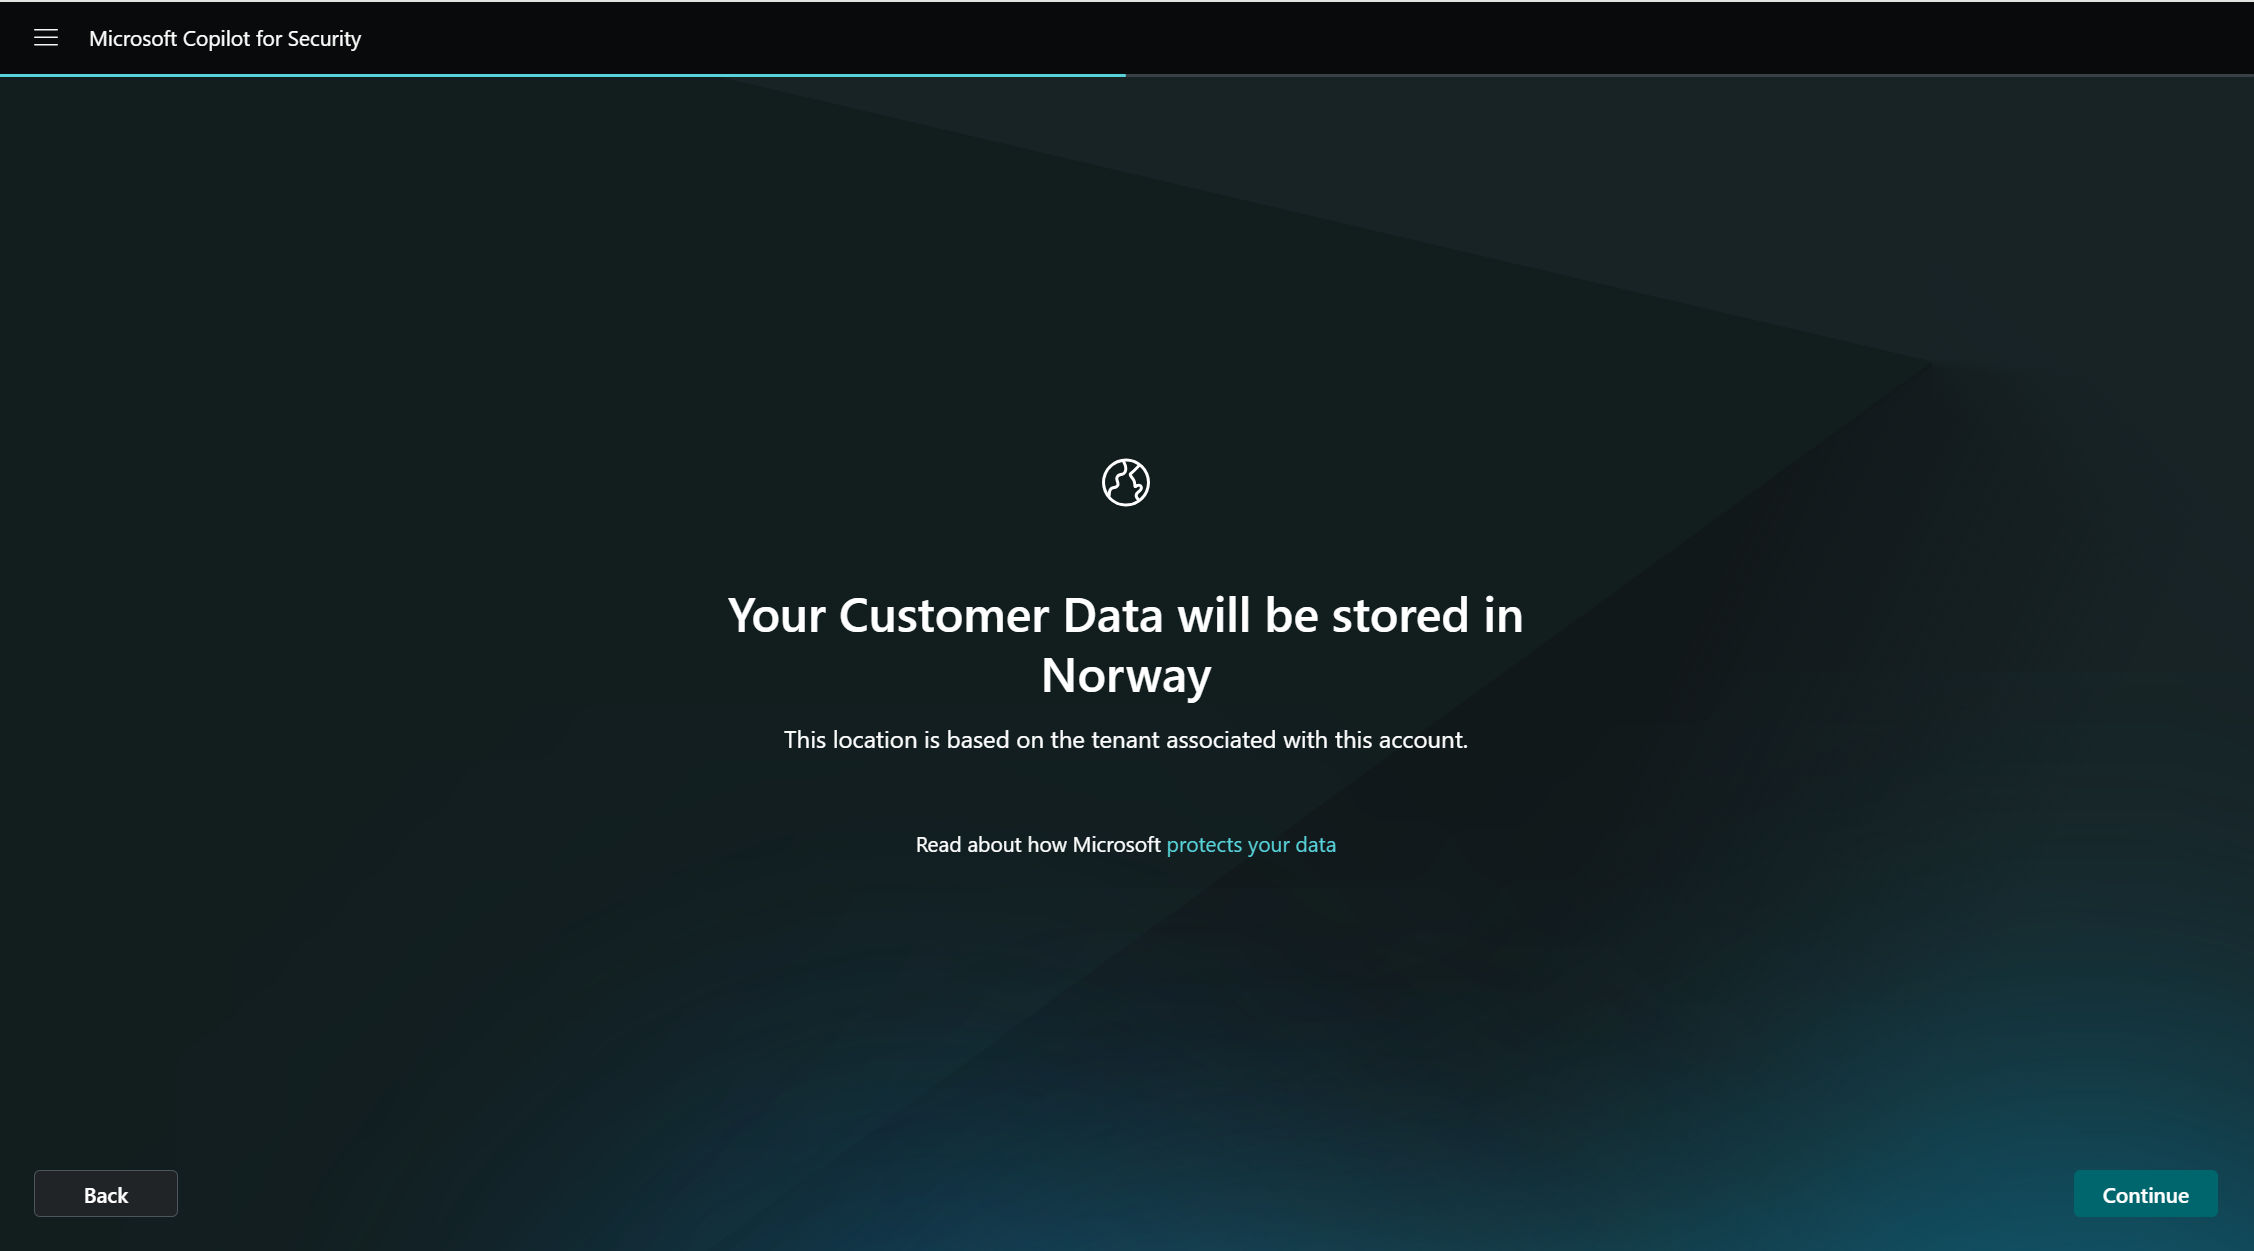
You're informed where your Customer Data will be stored. Select Continue.
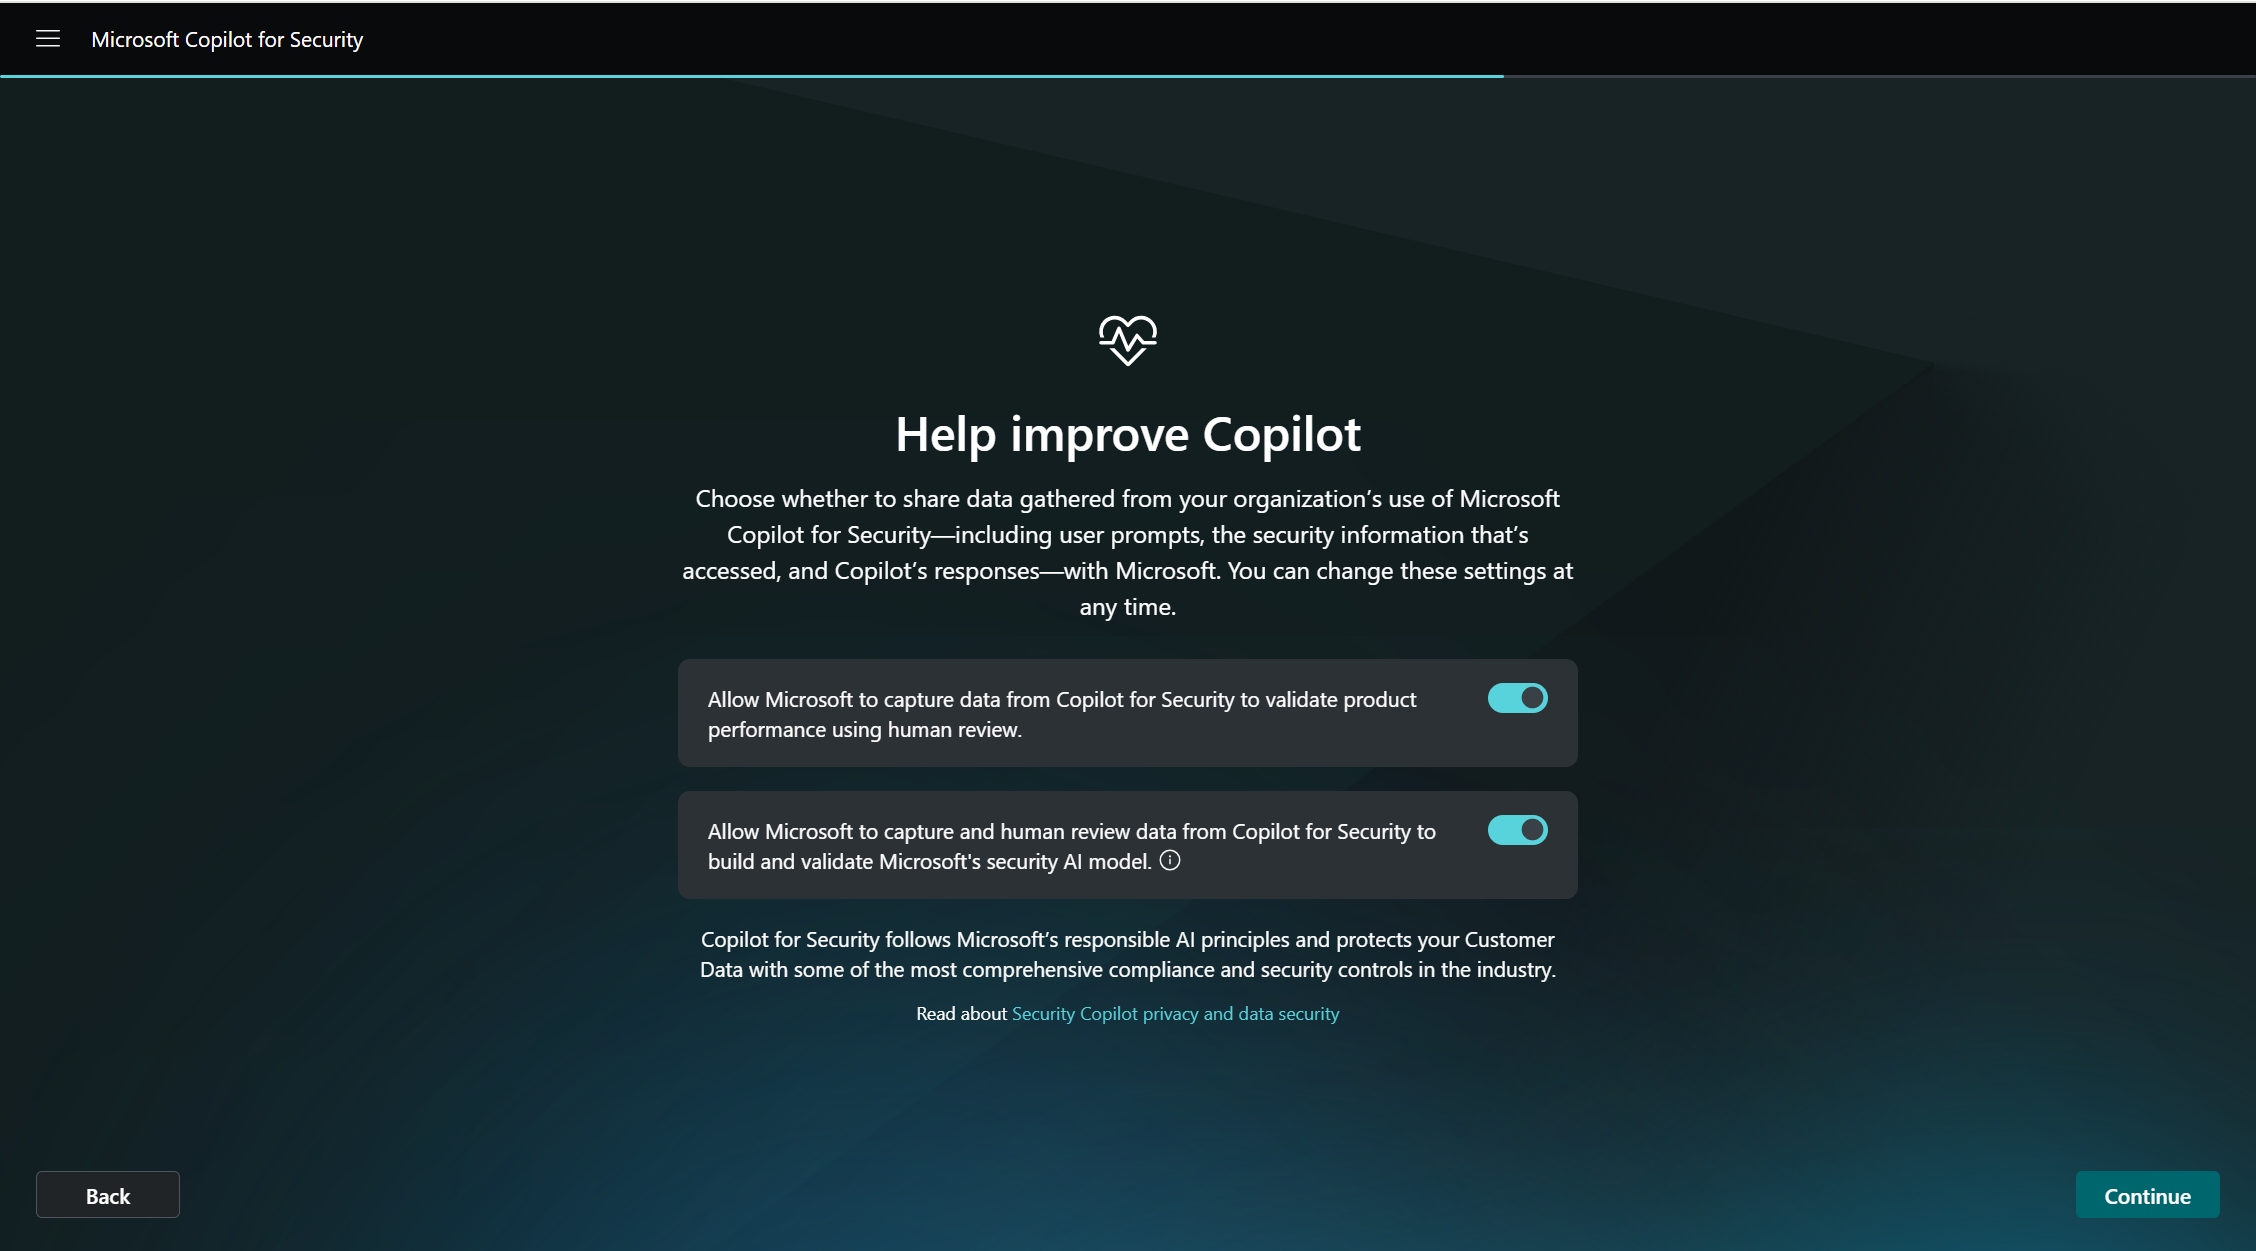
Select among the data sharing options. Select Continue.
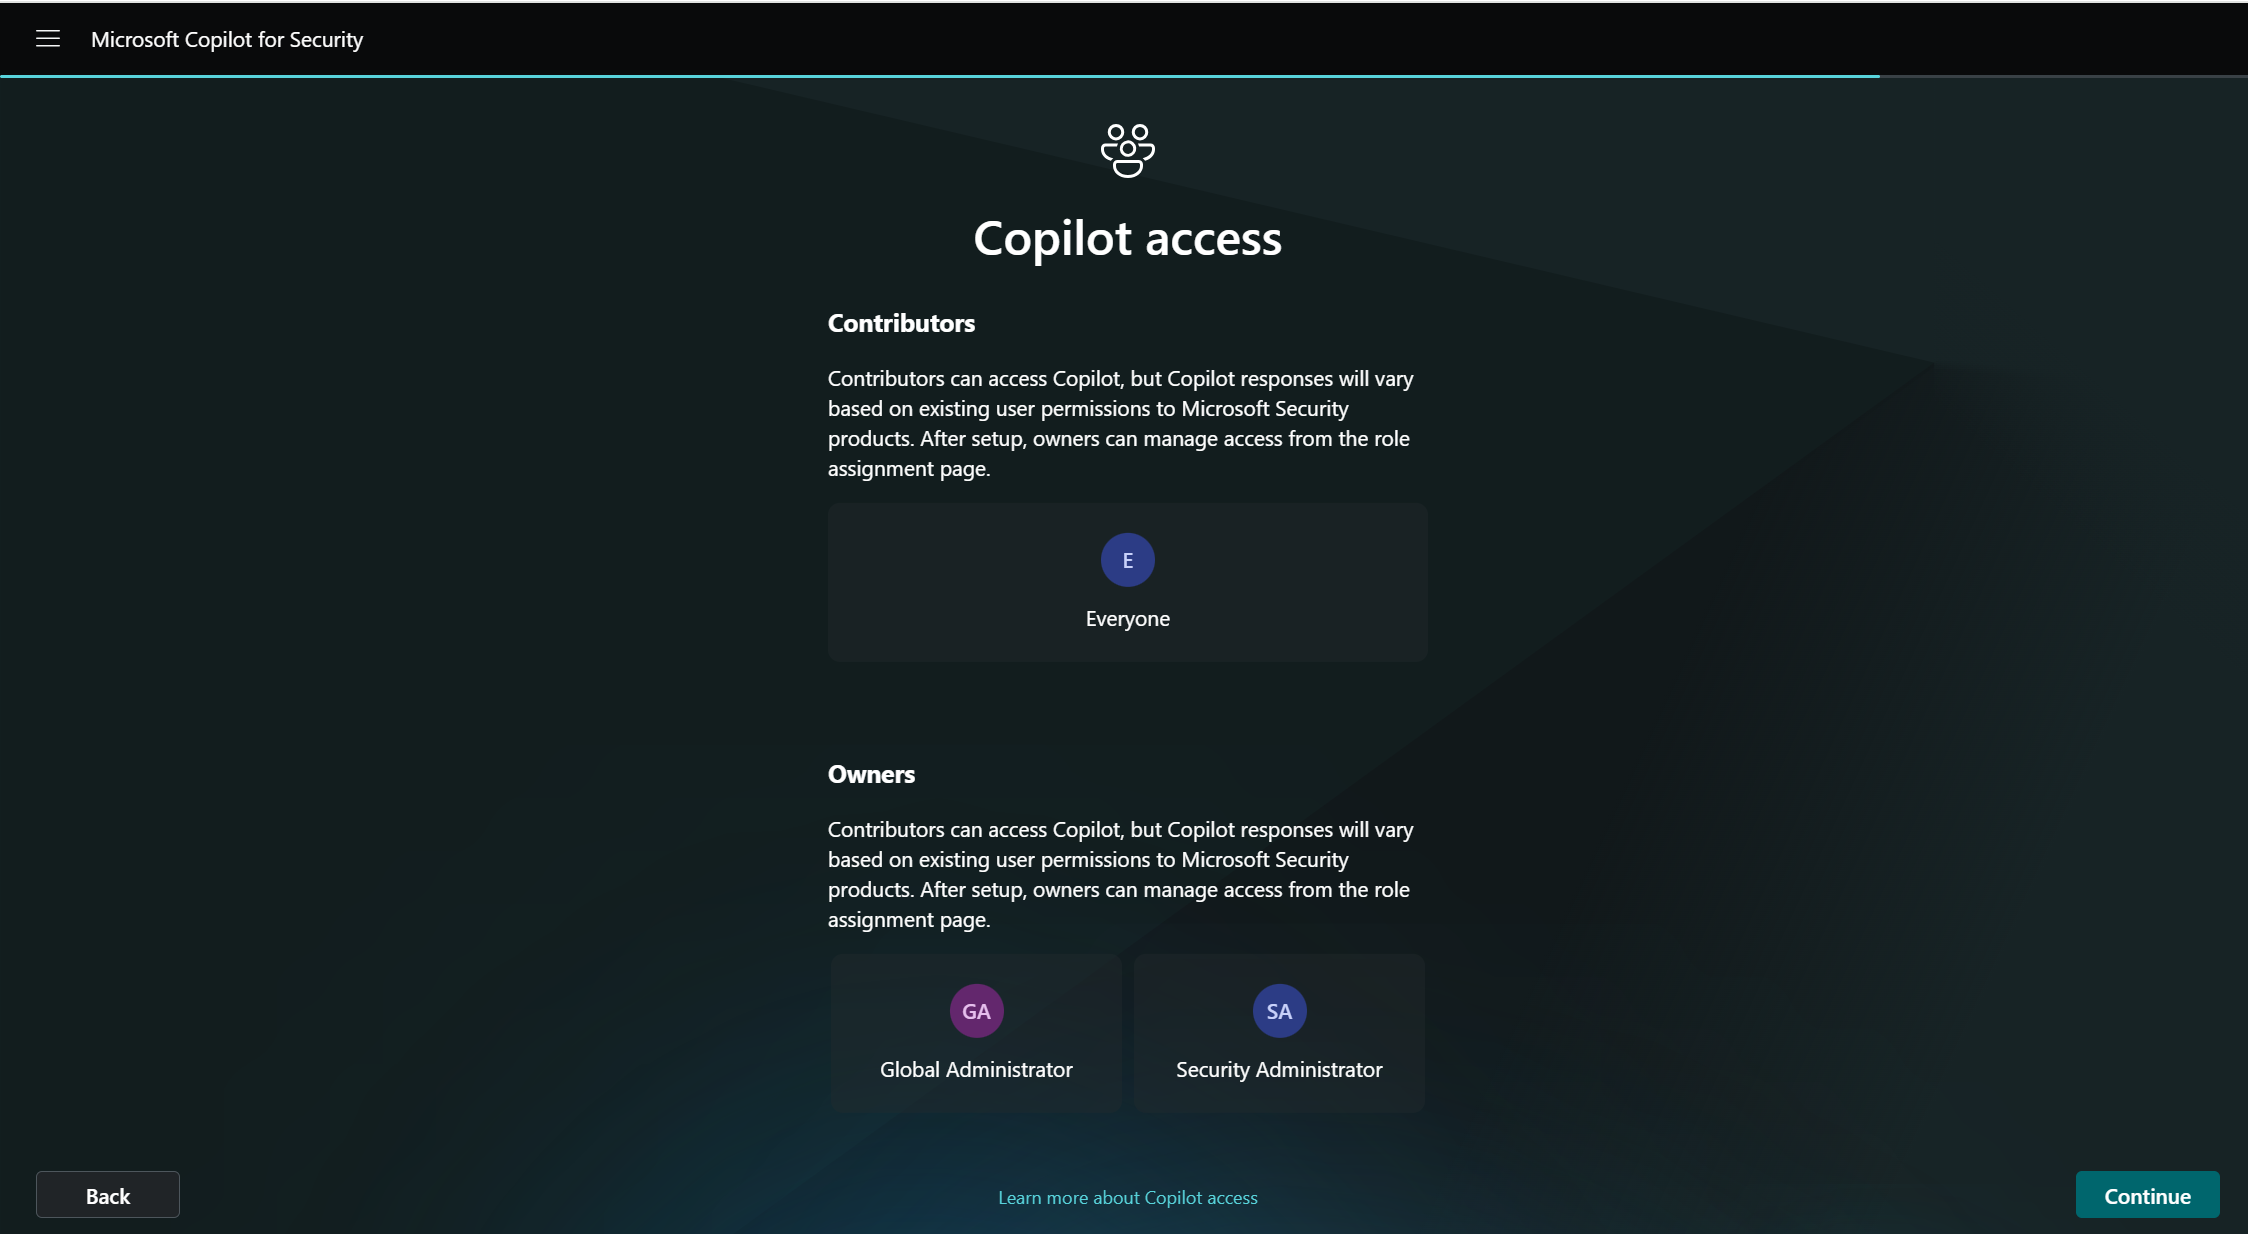
You'll be informed of the default roles that can access Copilot for Security. Select Continue.
A confirmation page is displayed. Select Finish.