Exercise - Add a dev container to an existing project
When you're setting up the dev container for a project, you'll need to add a container configuration to that project first. A container configuration sets up your environment in Visual Studio Code.
In this exercise, you'll add a dev container and open the Products Dashboard project in the container.
Add a dev container
Return to VS Code and the project you cloned earlier.
Press F1 to open the Command Palette.
Type add dev container and select Dev Containers: Add Development Container Configuration Files. This presents a list of Dev Container Templates. Templates contain the source files needed to configure a complete development environment for the specified tech stack.
Select Add configuration to workspace.
Select the following options:
Option Value Select a container configuration template Python 3 Python version 3.11 Select additional features to install Select OK
Important
In the first step when selecting a configuration template, you may need to select "Show All Definitions..." from the list, and then select Python once the full set of templates loads.
A Dev Container configuration will be added to your project. Visual Studio Code will notify you that you can now open the project in a container. For now, dismiss this notification.
Inspect configuration files
- Notice that a new folder called '.devcontainer' has been added to the project.
- Expand that folder and notice that it contains a devcontainer.json file.
Open the project in a container
- Press F1 to open the Command Palette.
- Type reopen in container.
- Select Dev Containers: Reopen in Container from the list of available options.
The container will begin building. The initial build might take a few minutes because a new image has to be pulled down and built on your machine. After the container has been built the first time, later builds will be much faster.
View the Remote Indicator
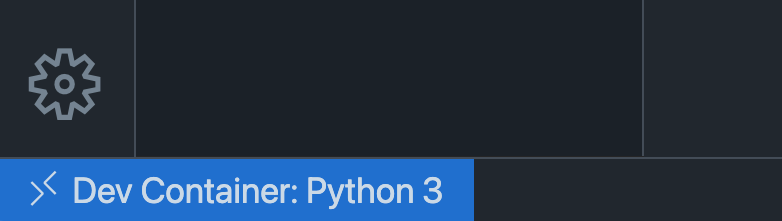
When the container build is complete, you can confirm that you're connected to the container by examining the Remote Indicator. You should also now see your project files loaded in VS Code.
Examine the Remote Indicator by viewing the bottom left-hand corner of VS Code. Notice that it now displays "Dev Container: Python 3".
Important
You might see notifications about Pylance or improving performance on Windows. You can safely dismiss any notifications that you see in VS Code. You won't need to do those things.
Inspect the container
Press Ctrl + ` to open the integrated terminal in Visual Studio Code if it isn't already open.
Notice that the terminal prompt might look different than your normal terminal prompt.

Run the following command to ensure that Python is installed:
python --versionThe terminal's output should be the version of Python used in the container.
Install project dependencies
Run the following command in the terminal to install the Flask dependencies that you need to run the project:
pip3 install --user -r requirements.txt
Run the project
Enter the following command in the terminal to start the project:
python app.pyOpen the project in a browser by navigating to http://127.0.0.1:5000.

Great work! You have a Python web application with Flask running on your machine, and you might not know what those things even are. That's OK! You don't have to. The container takes care of setting up the entire environment.
In the next section, you'll learn how to use the devcontainer.json file to automate the dependency install and customize VS Code for this Python project.