Exercise - Use input and output parameters
First, you'll need to open the desktop flow that you created in the previous module. You can open it from the Power Automate for desktop app directly, or you can open it on your browser from the Power Automate website. In the following steps, you'll open the flow from the browser.
Open the browser and then go to Power Automate.
Sign in to Power Automate if needed. Ensure that you're in the correct environment.
Select Solutions and then open the Invoice processing solution First Last solution.
Open the Enter an invoice desktop flow.
Select Edit.

In the Power Automate Desktop dialog, select Launch app.

Power Automate for desktop lets you receive input values from cloud flows and return values by using output values.
Now, you'll create a series of input values.
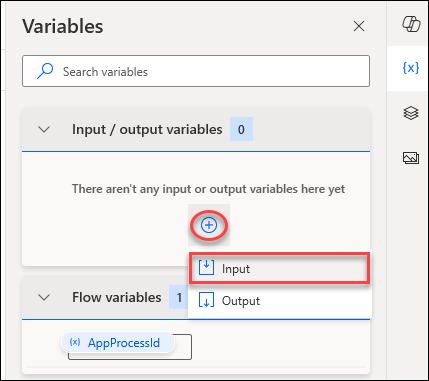
Within the Input/output variables section to the right of the screen, in the Variables pane, select the plus (+) icon and then select Input from the options list to add your first input.
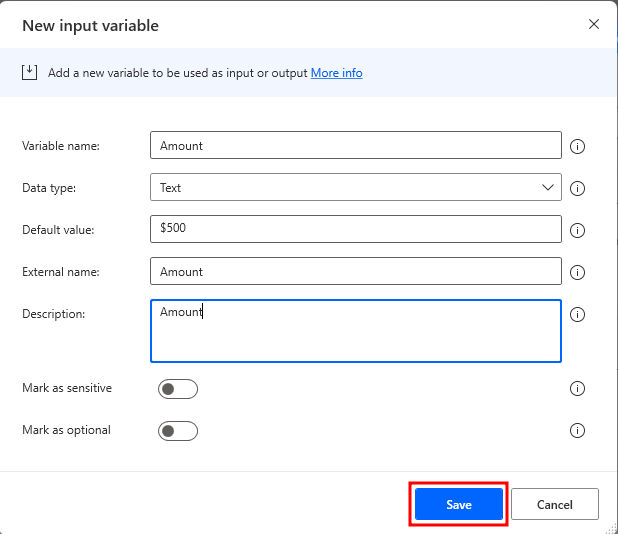
In the New input variable dialog, use these values to set up the first input variable:
Variable name -
AmountData type - Text
Default value -
$500External name -
AmountDescription -
Amount
Select the Save button in the lower part of the dialog.
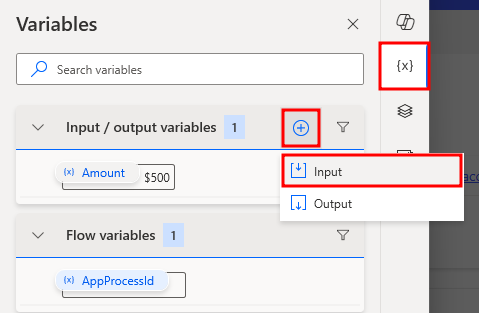
Repeat the previous steps to add a second input variable.
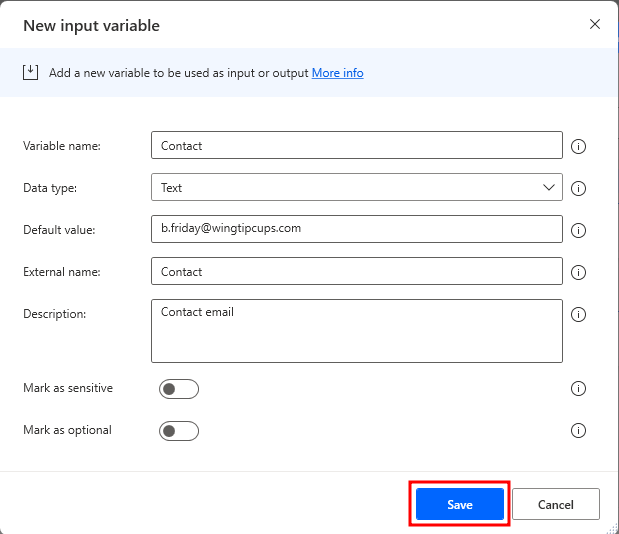
Use the following values to set up the second input variable:
Variable name -
ContactData type - Text
Default value -
b.friday@wingtipcups.comExternal name -
ContactDescription -
Contact email
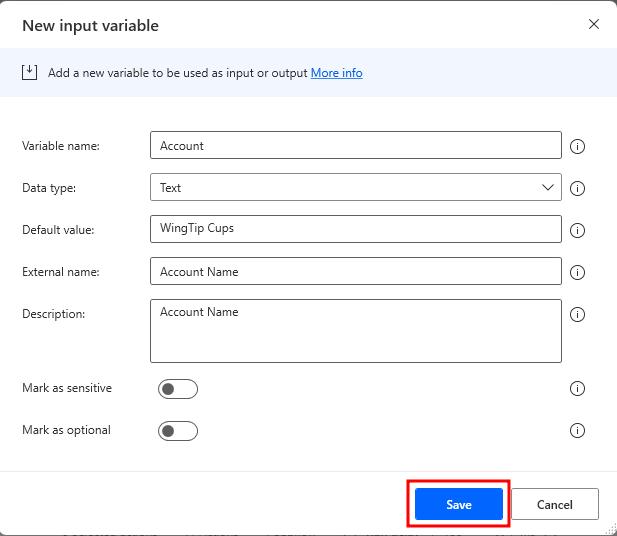
Repeat the previous steps again to create a third input variable. Use the information and these values to fill in the variables within the new, third input and then select Save.
Variable name -
AccountData type - Text
Default value -
WingTip CupsExternal name -
Account NameDescription -
Account Name
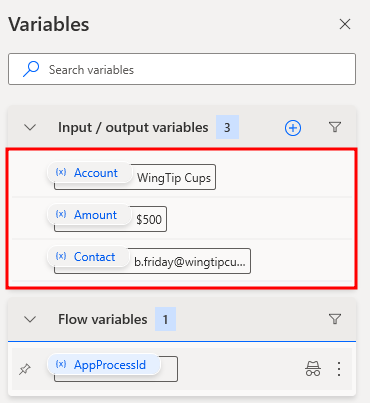
After you've added and saved all three input variables, select the Save button in the upper part of the screen to save changes that you've made within the module so far.
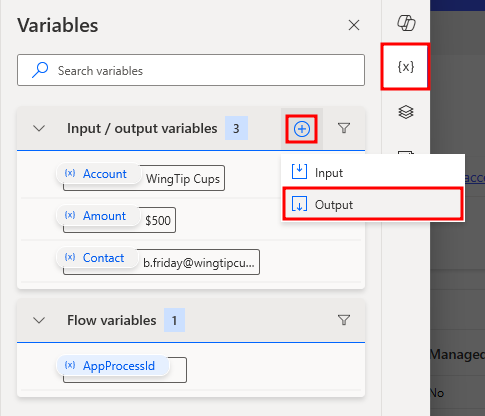
To the right of the screen, in the Variables pane, in the Input/output variables section, select the plus (+) icon and then select the Output option to add your first output variable.
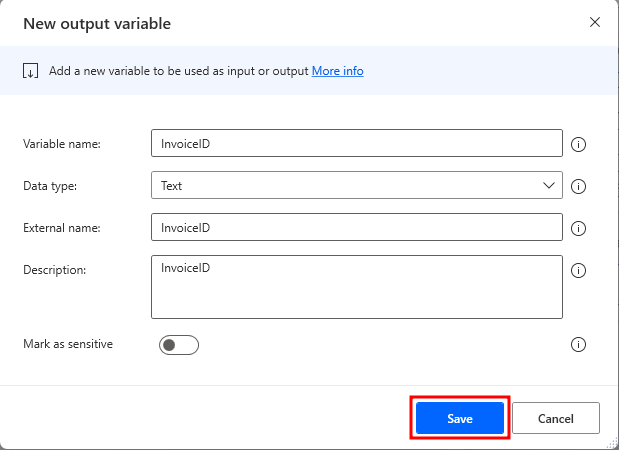
Use these values to set up the first output variable:
Variable name -
InvoiceIDData type - Text
External name -
InvoiceIDDescription -
InvoiceID
After entering the values for the output variable, select the Save button in the lower part of the dialog.
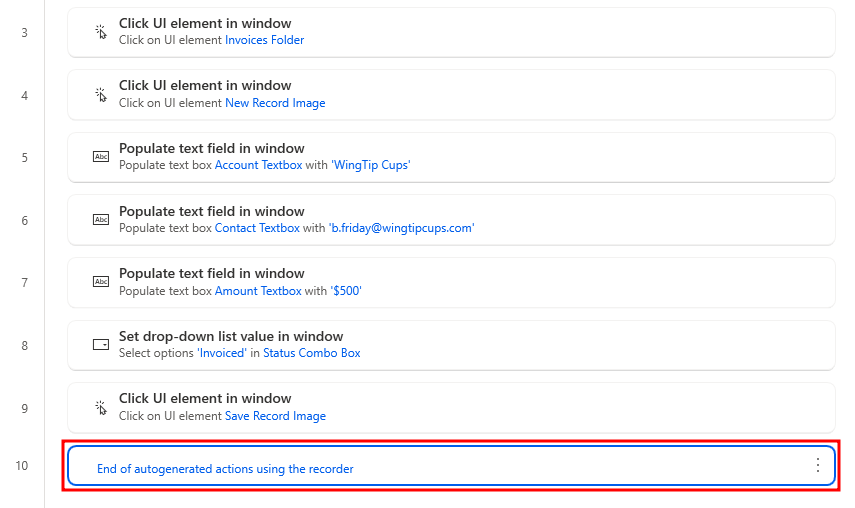
Add an action to set this output. Ensure that the Contoso Invoicing application is still running. Select step 10: End of autogenerated actions using the recorder.
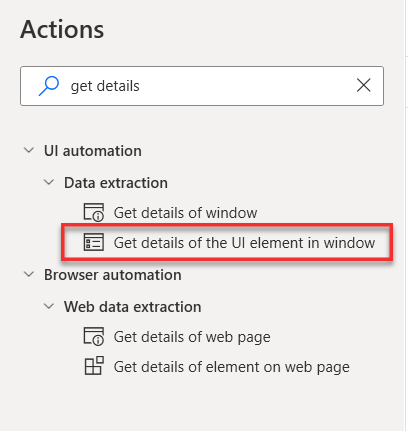
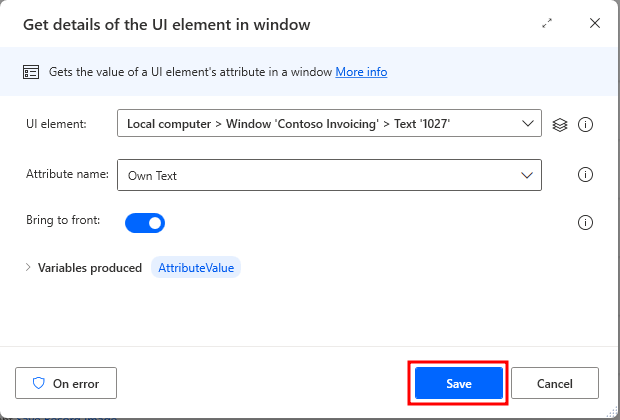
Go to the Actions pane, search for get details, and then double-click to add Get details of the UI element in window.
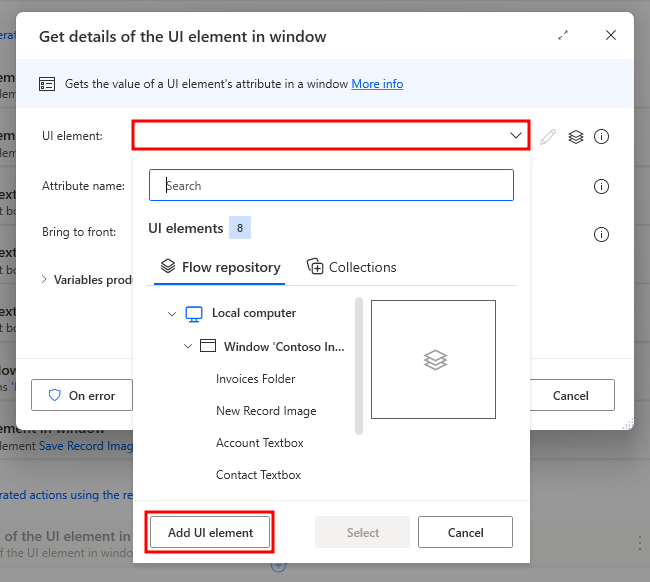
In the Get details of the UI element in window dialog, select the UI element dropdown menu and then select Add UI element.
Note
After you've selected the Add UI element option, a red rectangle will appear on the screen while you hover the mouse cursor over the different elements.
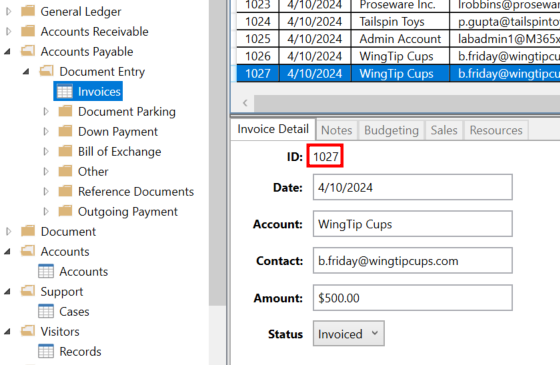
Go to the Contoso Invoicing app. On the Invoice Detail tab, move the mouse cursor over the number in the ID field. Press and hold the Ctrl key on your keyboard and then select the ID number.
Note
A different ID number might appear than what's shown in this exercise.
Return to the dialog and select Save.
Note
Your UI element might appear differently than what's shown in the following figure.
Note
This action will automatically produce a variable called AttributeValue that you can refer to in subsequent actions within Power Automate for desktop. You can view the variable from the pop-up window.
Select the new step that you added.
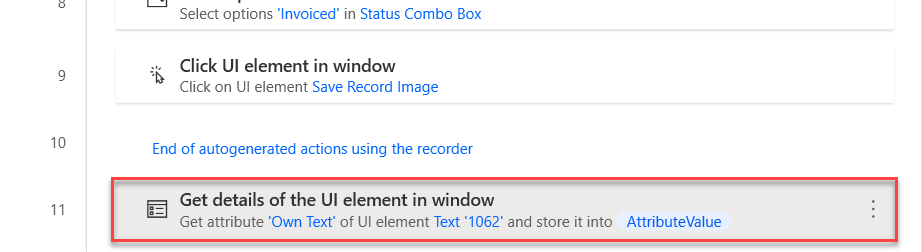


Next, set the InvoiceID output variable, which will allow you to use the Invoice ID in downstream processes or from your cloud flow in a future module.
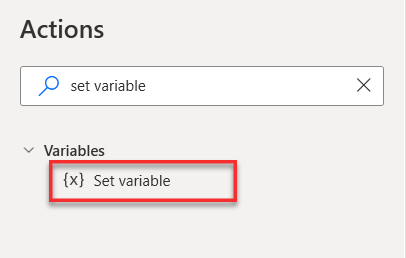
Go to the Actions pane, search for set variable, and then double-click to add the Set variable action.
Select
NewVarnext to Variable and select the {x} button to pull up the variable menu and selectInvoiceID.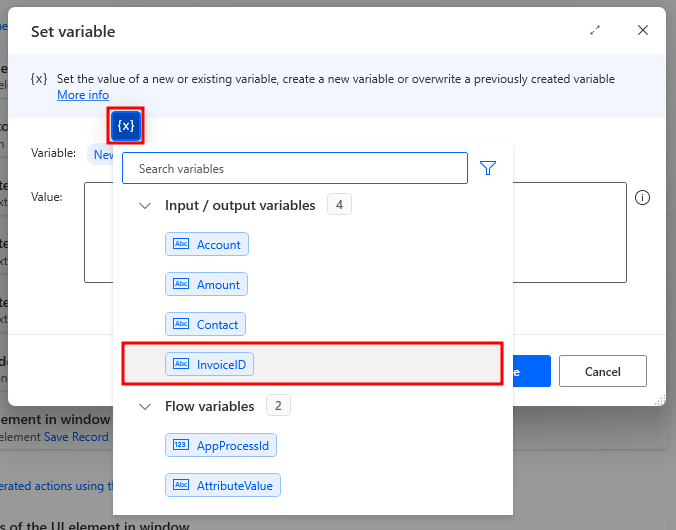
Select the {x} button in the Value section and double-click AttributeValue from the list.
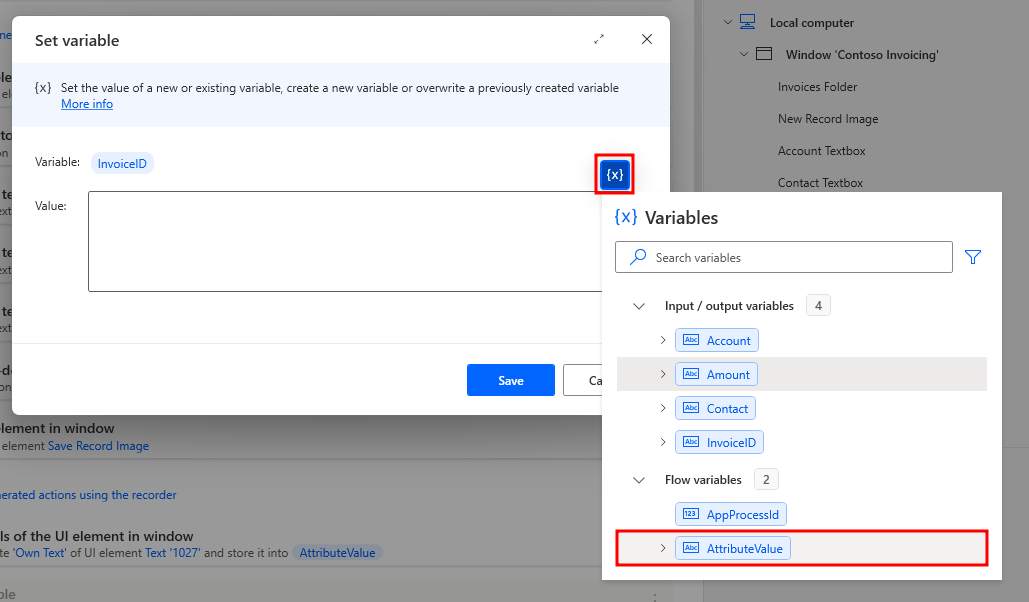
Select the Save button in the lower part of the Set variable dialog.

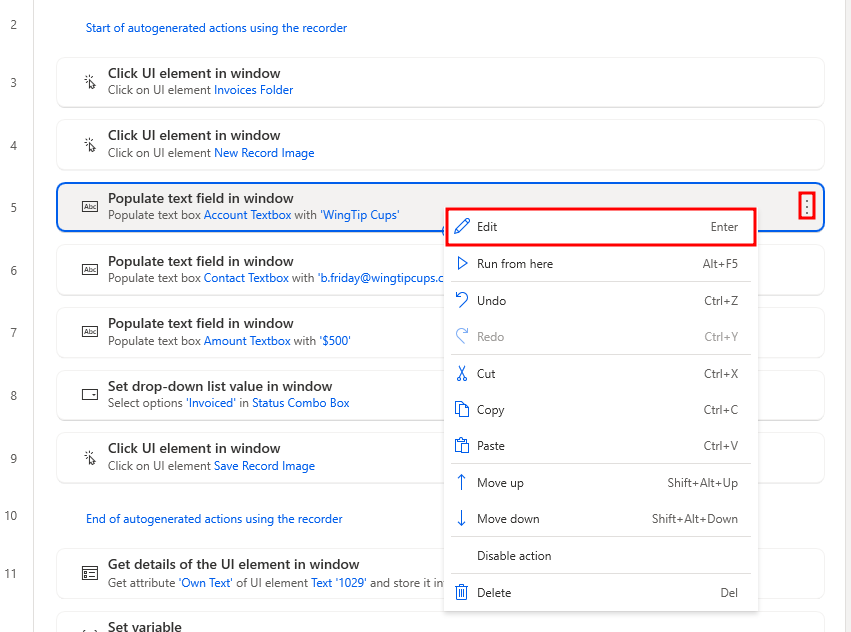
Set up the steps to use input variable values when you're running the automation. Select step 5: Populate 'Account Textbox' with 'WingTip Cups', and then on the right, select the ellipsis (...) menu. From the options menu, select Edit.
In the Populate text field in window dialog, delete the value in the Text to fill-in field.
Select the Account variable (one of the input variables that you previously created) by selecting the {x} icon and then double-clicking to select Account.
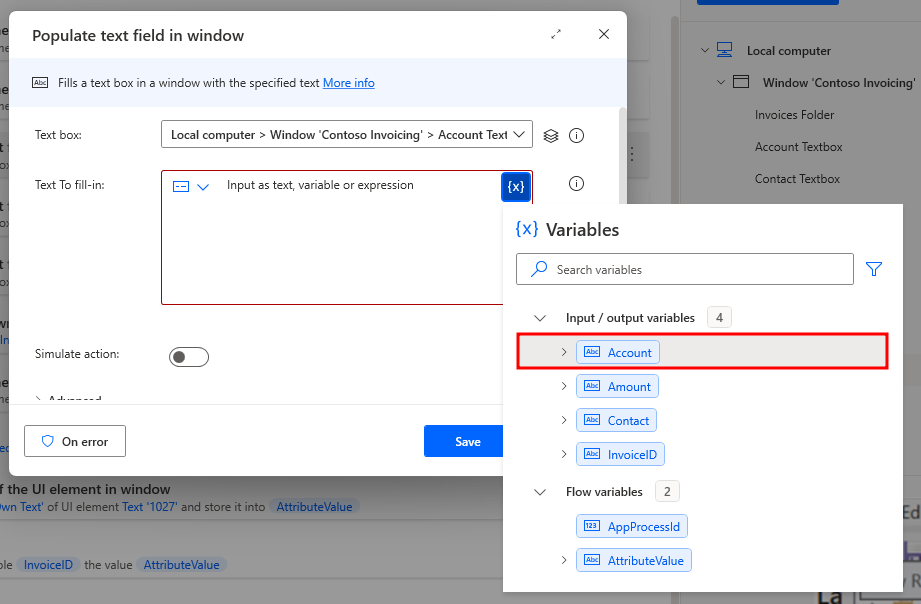
Select Save.

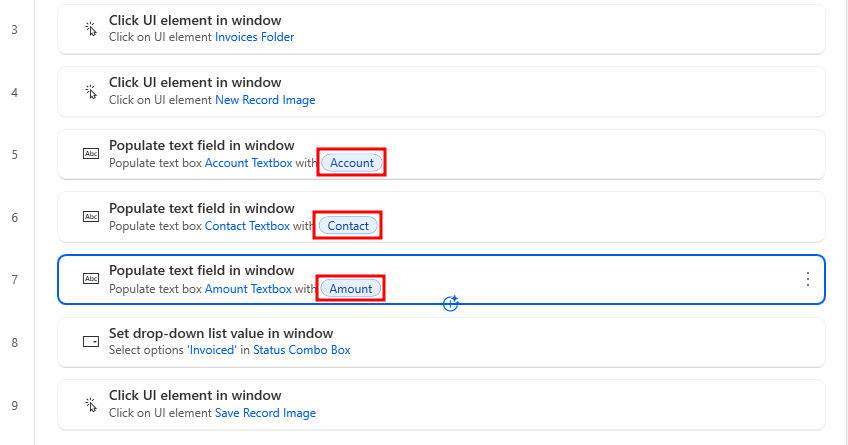
Repeat the previous steps to change the value of Text to fill-in in Step 6 and Step 7 in the desktop flow.
Use the Contact input variable for Step 6
Use the Amount input variable for Step 7
When you've finished, your actions should resemble the following figure.
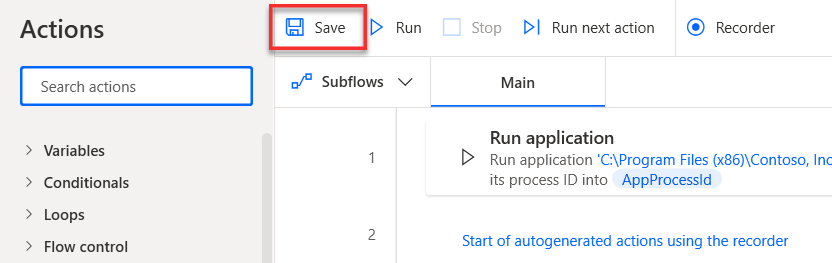
Select the Save icon to save all your changes.
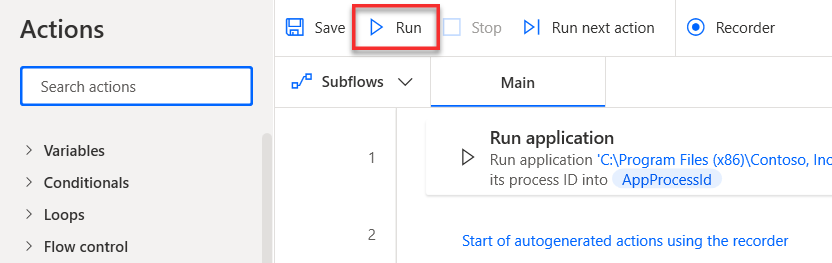
Now, you've completed the process of setting up and using inputs and outputs in your desktop flow. In the next modules, you'll use those inputs and outputs to pass data values between cloud flows and desktop flows. Next, you can test your flow by selecting the Run icon in the lower part of your screen and then watch the automation run by using the input variable values (default values).
Close the Power Automate for desktop application.


